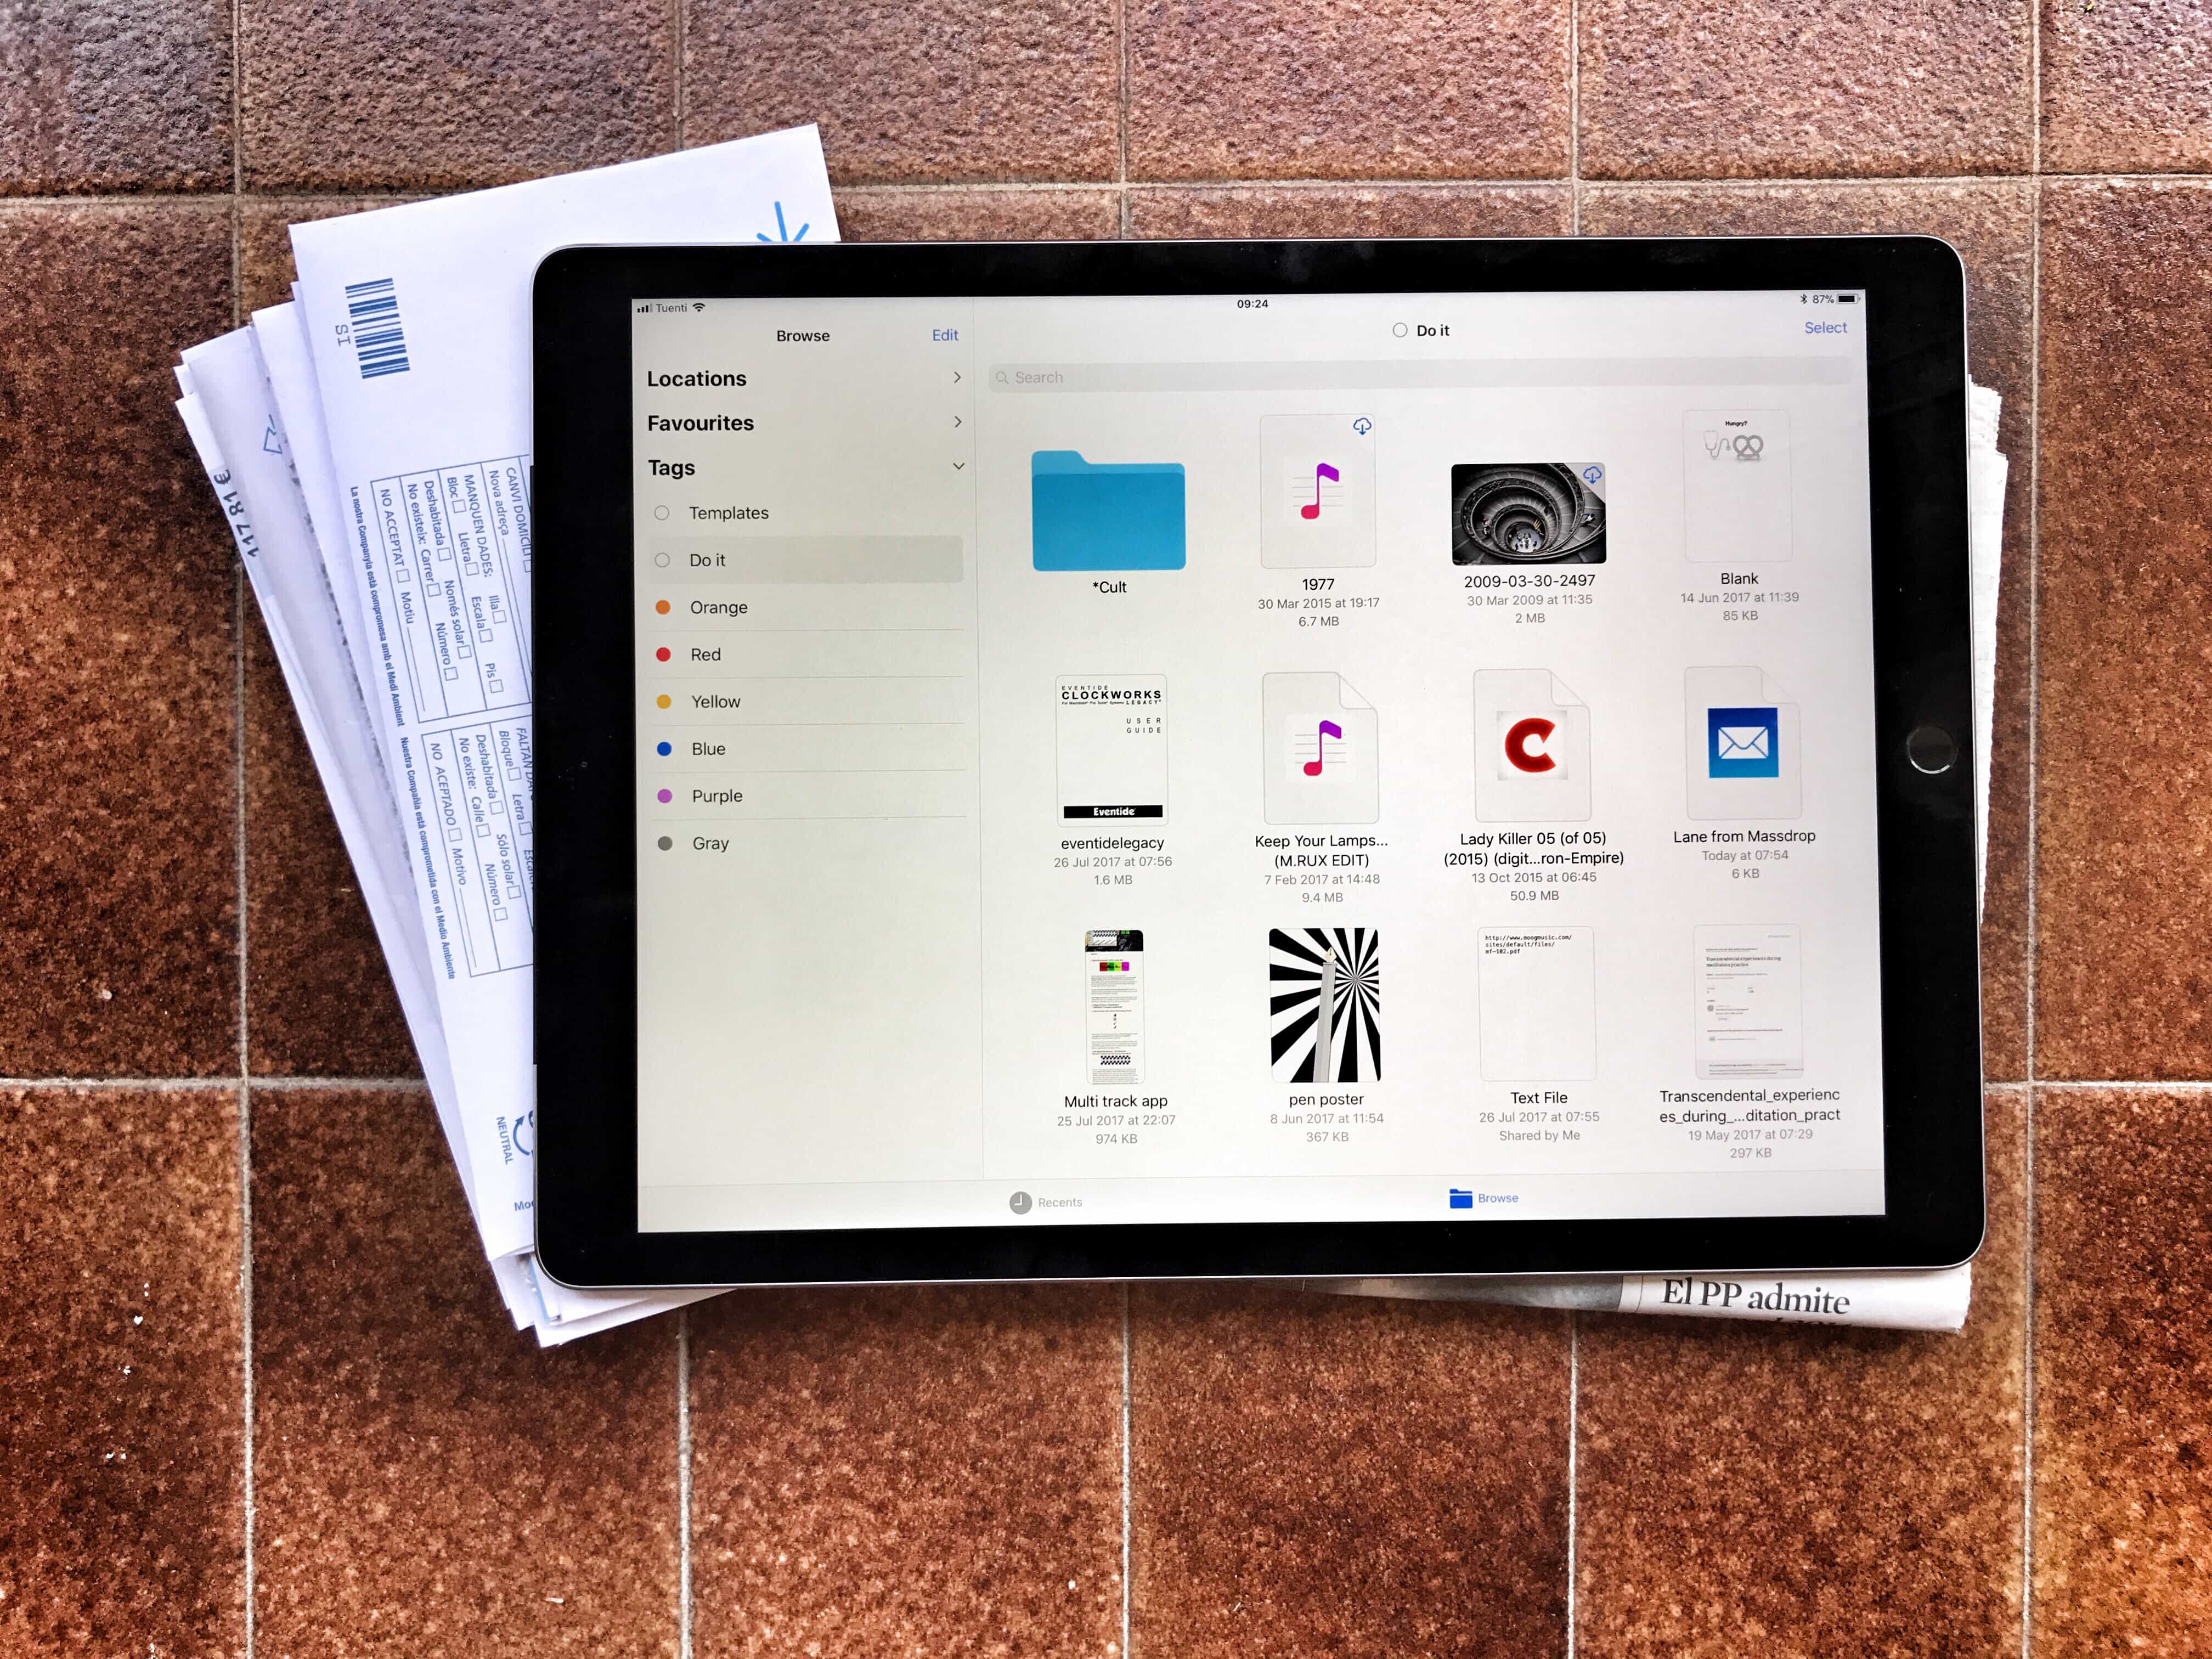
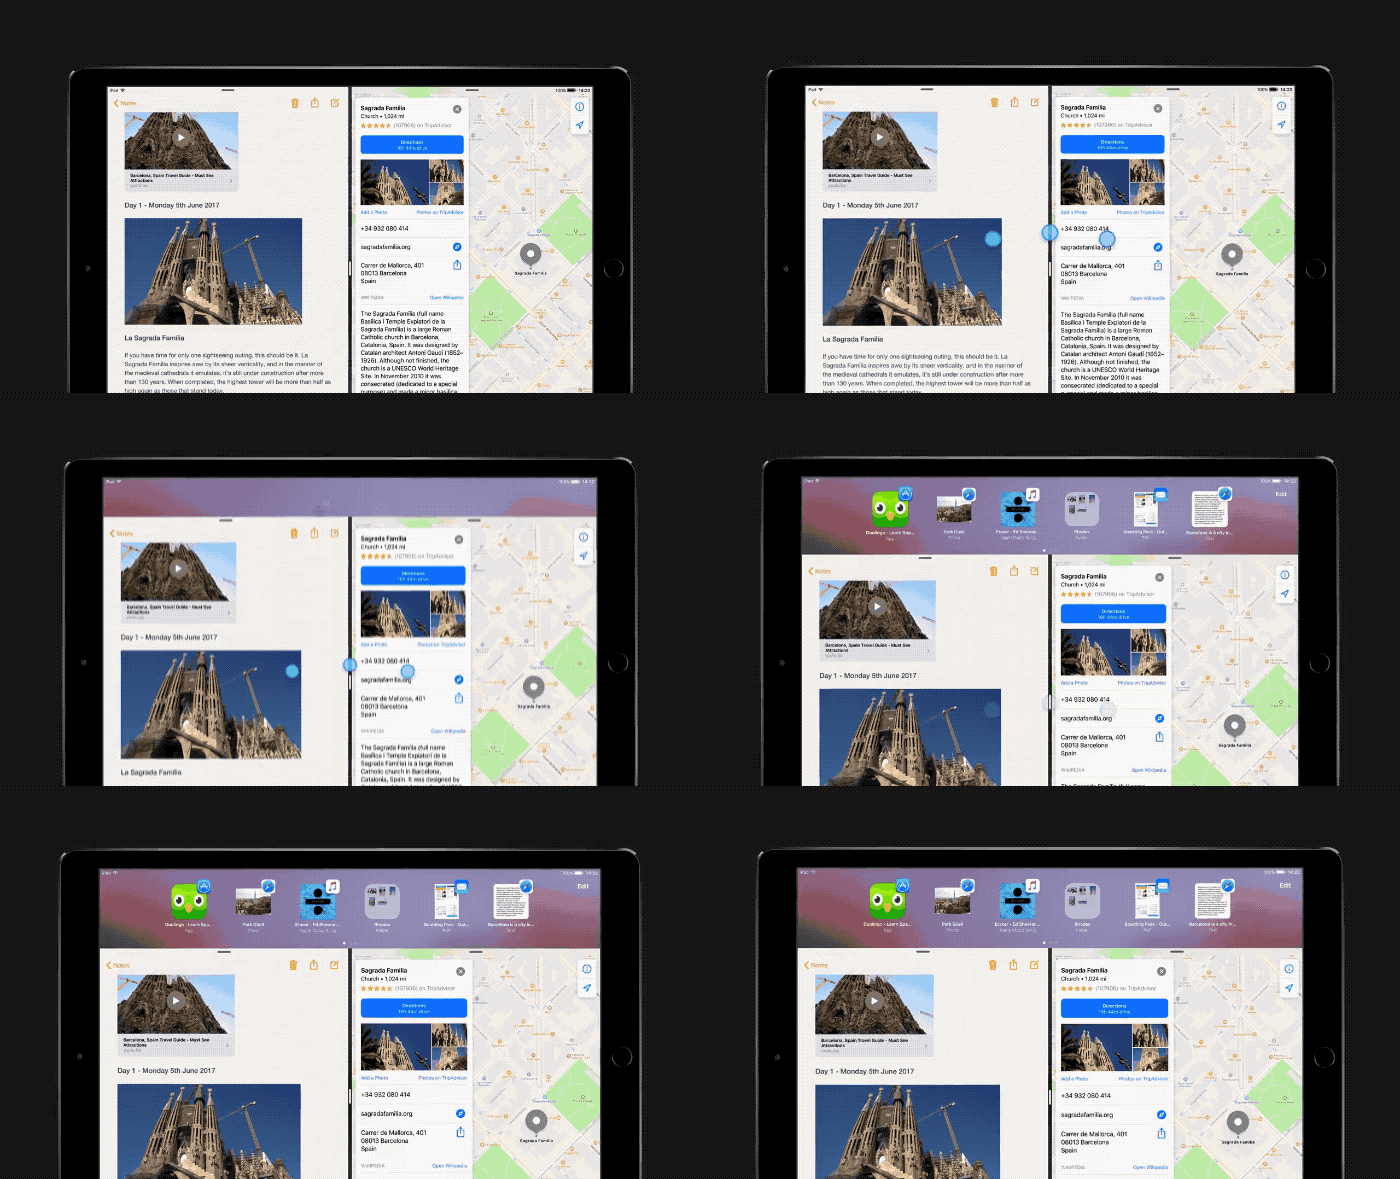
This is how they did Split View on the olden days. Photo: Charlie Sorrel/Cult of Mac
Split view on the iPad is amazing. Two apps, side-by-side, open up all kinds of neat shortcuts. You can drag text, links, and pictures from Safari into notes apps, emails, Pages documents and so on. The Mac is less in need of such a mode, because screens are bigger, and you can already place two windows side-by-side, but on a little MacBook, where every 1/64th inch counts, Split View is a great feature. Here’s how to use it.
This clock illustrates the time component of 'recent' items. Photo: Charlie Sorrel/Cult of Mac
One of the handiest features on iOS 11’s Files app is the Recents view. This view — available in the Files app itself, and in any other app that uses the Files picker to locate documents — shows all the files you have created or opened in the last few days.
Did you ever wish you could do the same on your Mac? Well, you can. Today we’re going to see how to add a folder to your Dock that shows recent iCloud Drive files.
No wonder this little chap is so happy... Photo: Cult of Mac
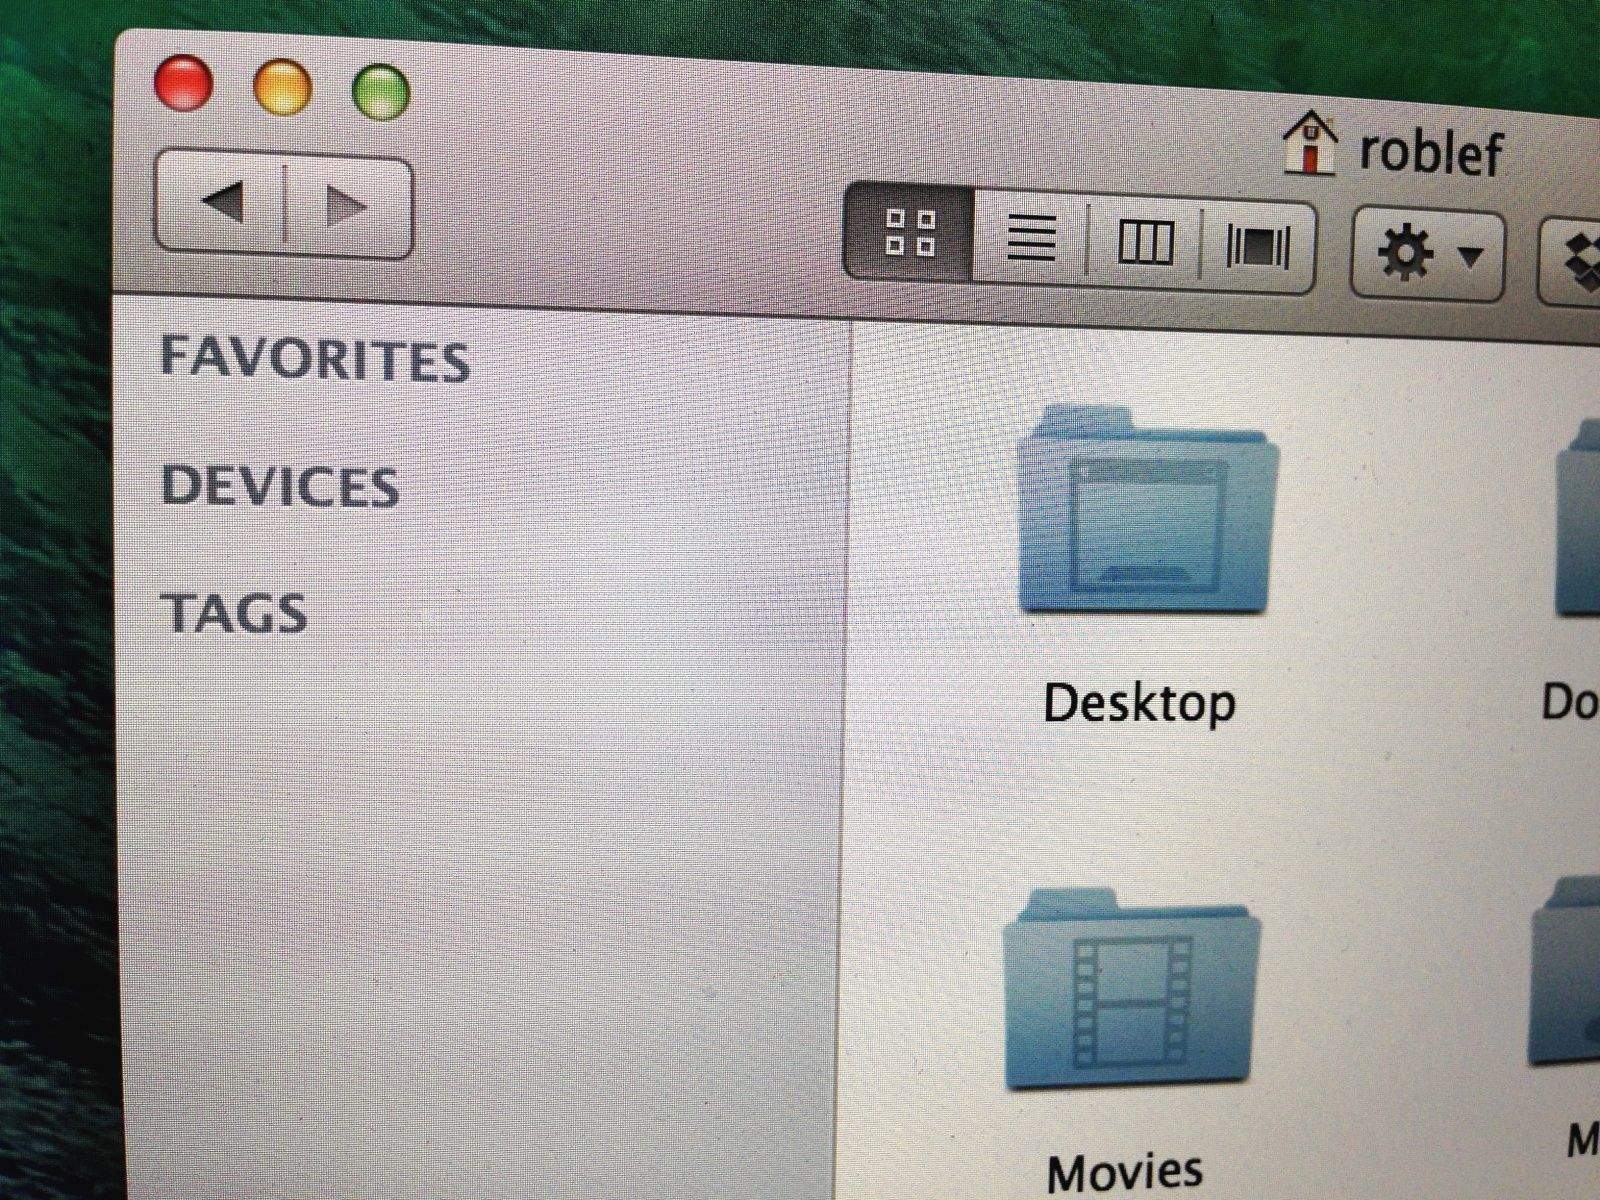
The Finder has been with the Mac since day one, way back in 1984. But just because it’s old, doesn’t mean that it doesn’t have some new tricks. Did you know, for instance, that you can add a path bar to the bottom of the window to show the path of the current folder on your Mac? Or that you can add a status bar in the same spot so you always know how full your drive is? Or that you can add a permanent preview pane over on the right side of a Finder window, even in icon and list views?
Quick Look is one of the Finder’s best features. Whenever you have a file selected in the Finder, just hit the space bar and you’ll see a preview of that file. It’s a great way to quickly view photos, or read the contents of a document, without opening it in an app.
But did you know you can pull up full-screen Quick Look slideshows just as easily?
Most people are animals. They drop files onto their Mac desktops the way teenagers drop junk food and candy wrappers in the street, littering the place up until you can’t find anything. I’m not gong to try to cure you of that habit. That was your parents’ job, and they already failed. But I can show you a few quick ways to access your shameful desktop when you decide you can face it.
A dictionary definition of "dictionary," to illustrate an article about dictionaries. Photo: Caleb Roenigk/Flickr CC
Your Mac has a built-in dictionary and spell-checker. You knew that. You also know that you can add and remove words from that dictionary as you go, teaching the dictionary on the fly.
But did you know that there’s also a text document on your Mac that contains your entire personal custom spelling dictionary? And that you can use this to move your spelling preferences between computers?
Tagging files is a powerful and easy way to tidy up your files, but it’s currently limited to the new iOS 11 Files app. Photo: Charlie Sorrel/Cult of Mac
One of the most useful new features in iOS 11 is tags in the Files app. Just like in the Finder on the Mac, you can mark your files with as many tags as you like, making them easy to organize, and easy to find, even when they are scattered across different folders.
For instance, if you’re working on a song on your iPad, you could create a new tag for that song. You can add that tag to the GarageBand project, to any versions of the song you export to share with other folks, to any ideas for that song you record with the Music Memos app, and to any little samples, field recordings or sounds you create with other apps. Then, you can see all those files together in one view, even while they all stay safe in their original folders.
Even better is that Files uses the exact same tags as the Finder on your Mac, so anything you keep in iCloud Drive will be tagged in both places. Let’s see how iOS tags work.
Did you know that your Mac keeps older versions of the documents you work on, auto-saving them in the background so you can go back to a previous revision, any time you like? It’s just like Time Machine, Apple’s Mac backup feature, only it’s for individual files. It even lets you compare old and current versions of your file, side-by-side. It’s called file versioning, and it’s pretty rad.
Ditch the trackpad and use the keyboard instead. Photo: Charlie Sorrel/Cult of Mac
You probably spend a lot of time in the macOS Finder. Much of it is likely spent pointing and clicking, using the trackpad pointer to duplicate files, or to click back to the folder you were in a moment ago.
But, like most Mac apps, the Finder offers a ton of useful keyboard shortcuts — to create new folders, navigate files and change what you see in the Finder window. If you learn a couple of them, you can spend a lot less time dithering with your mouse. You will also look like a cool TV or movie hacker if you click on the keyboard instead.
Today, we’ll look at the most useful day-to-day Finder keyboard shortcuts.
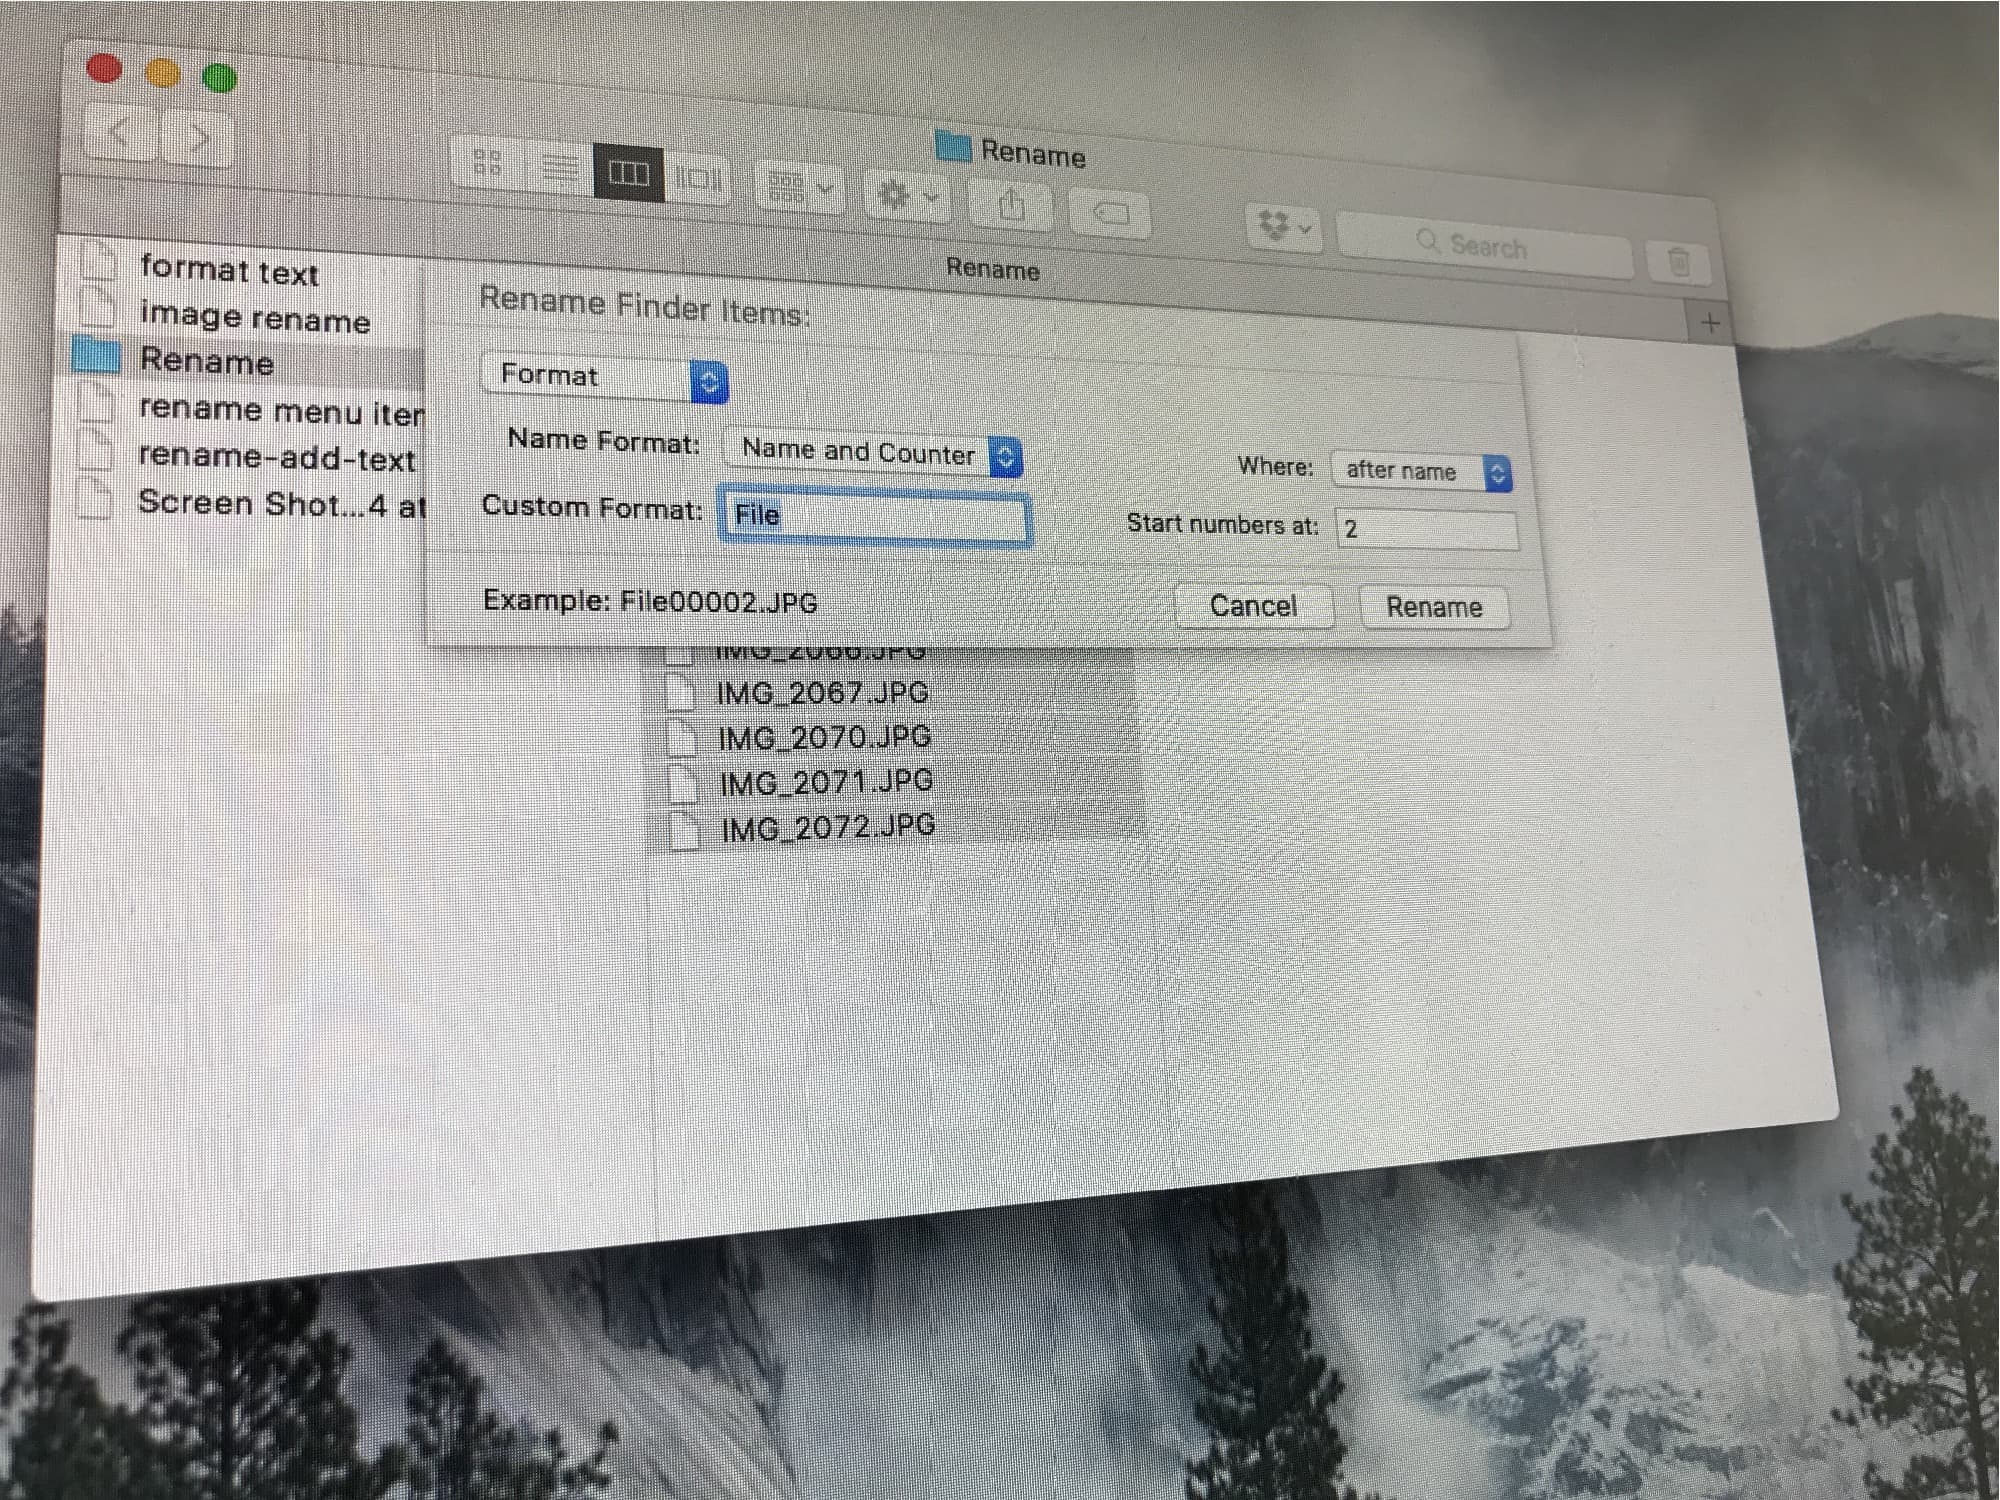
You might be surprised by how much the macOS Finder's renaming tools can do. Photo: Cult of Mac
Renaming a single file in the Finder isn’t too bad. You can click on its name and type in a new one. But what if you want to rename a whole bunch of files at once? Maybe you want to add the same text to the beginning of every file, or add a number to the end of a folder full of MP3 recording to keep them in the right order. Do you have a folder full of photos named IMG_00xx.JPG that need to be called dads_wedding_00x.jpg instead? Or perhaps that intern spelled the company name wrong on every single one of a hundred files, and you need to correct that word on every file?
In the olden days, you would have to either a) research, download, buy, and learn to use a new bulk-renaming app or b), punish your intern by making them correct everything by hand, before finally resorting to a) anyway because the intern screwed it up again. Now, the Finder has powerful bulk-renaming tools built in, so you can just take care of it all in a couple of minutes, and have your intern make you a coffee instead. If they can be trusted to do it, that is.
A system-wide dark mode for macOS has been rumored for years. Photo: Guilherme Rambo
There are less than two weeks until Apple introduces the next version of macOS at the WWDC. While the rumor mill has been busting out tons of hardware leaks, details have been scant on the software side of things.
Apple is expected to reveal some amazing features for the Mac with the new software update. We still don’t know everything that will be included in macOS 10.13, but of course, we have our own wish list of the features that we really hope make it onto the Mac.
This is what we want to see in Apple’s next big update:
Here's what to expect from the next version of iOS Photo: Ste Smith/Cult of Mac
With WWDC 2017 right around the corner, it’s that time of the year when Apple can fix all the annoyances of iOS 10 and unveil something truly revolutionary for the next generation of iPhones and iPads.
Apple is expected to show off all the major features of iOS 11 at the WWDC in a couple of weeks. Surprisingly, the rumor mill has been quiet on what to expect, but that hasn’t stopped a flurry of speculation. We’ve got some ideas of our own too that we really want to see come to iOS 11.
Apple hasn’t exactly given the iPad first priority when it comes to iOS updates, but that could change next month at WWDC where the company is expected to unveil iOS 11.
Most of the iOS 11concepts we’ve seen have been all about the iPhone, but iPad power-user Federico Viticci and Sam Beckett created a beautiful concept that shows some big and simple changes that would transform the iPad from a fun tablet into a pro machine. Features like Finder, Drag and Drop between apps, multi-channel audio and more are on display in the fantastic mockup.
Apple, if you’re reading this, please steal these features:
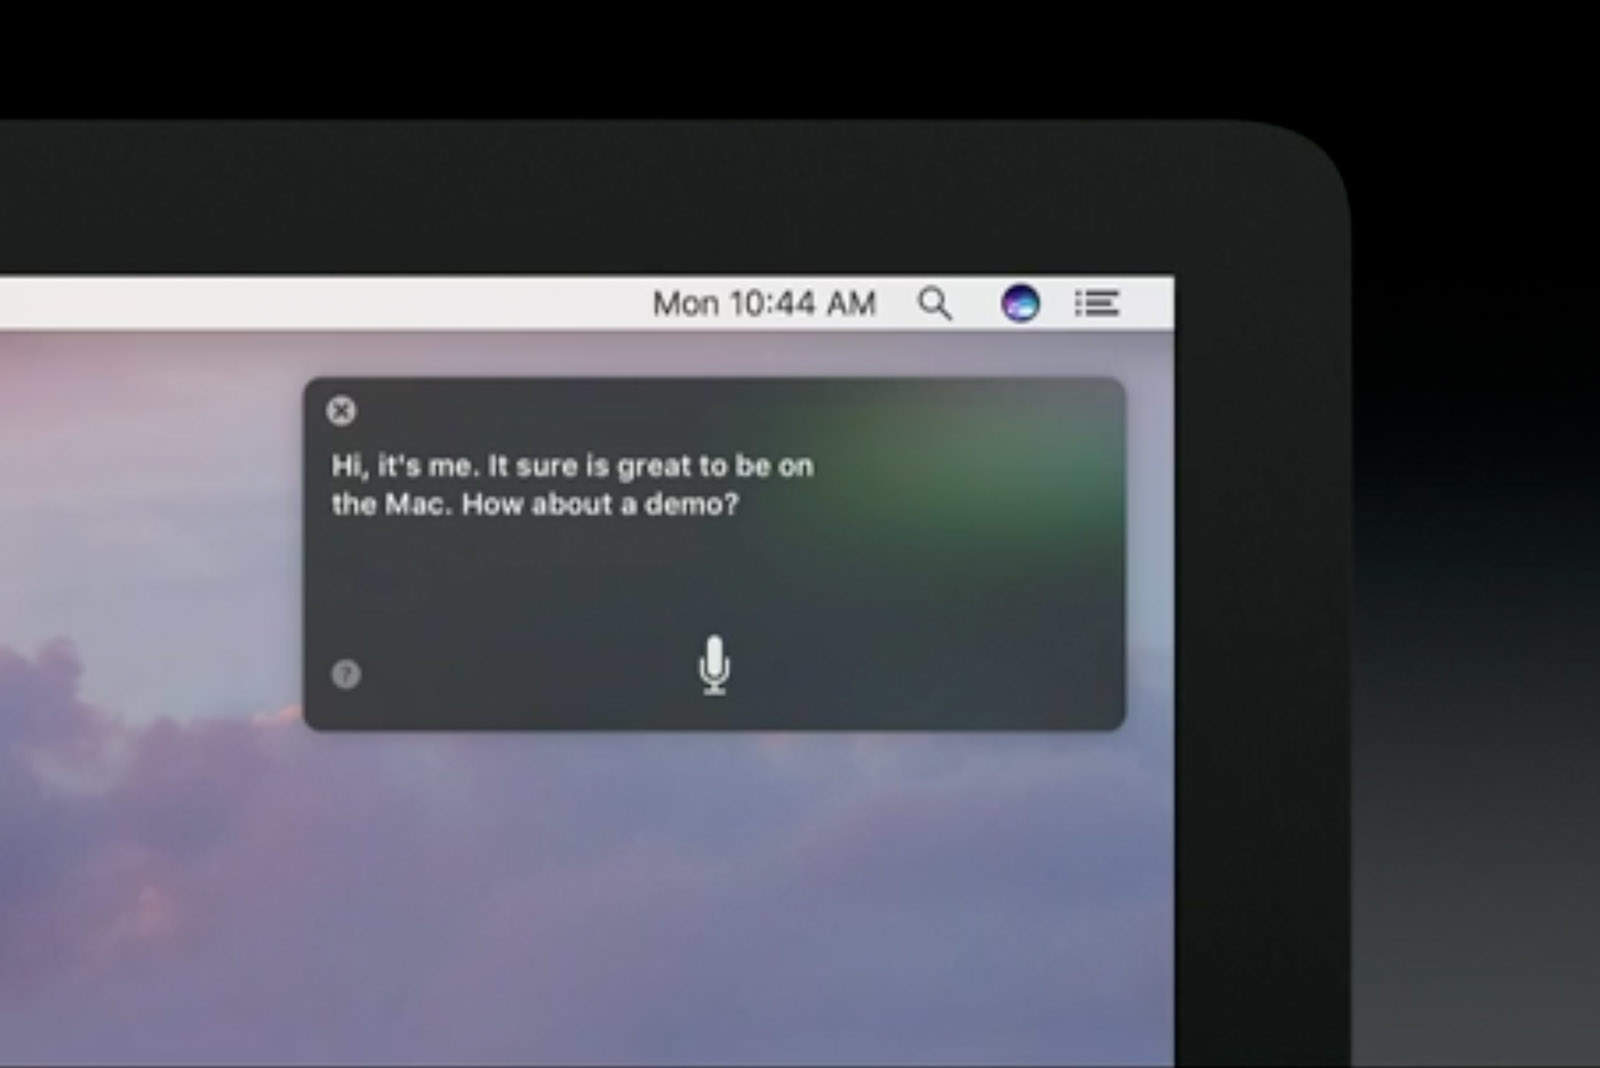
Siri is coming to the Mac, and will be opened to third-party developers on iOS. Photo: Apple
Big changes are coming to Siri, Apple’s intelligent voice-activated assistant. For the first time, Siri will be available on the Mac and will be opened to third-party developers on iOS.
While Siri was one of the first voice-controlled AI assistants on the market, it’s fallen behind competitors like Amazon’s Alexa and Google Now, largely because it was a closed system that worked only in Apple’s apps. Opening it to developers makes it much more functional, and presents a more serious challenge to upstarts like Viv that promise to help with a wide range of services and tasks.
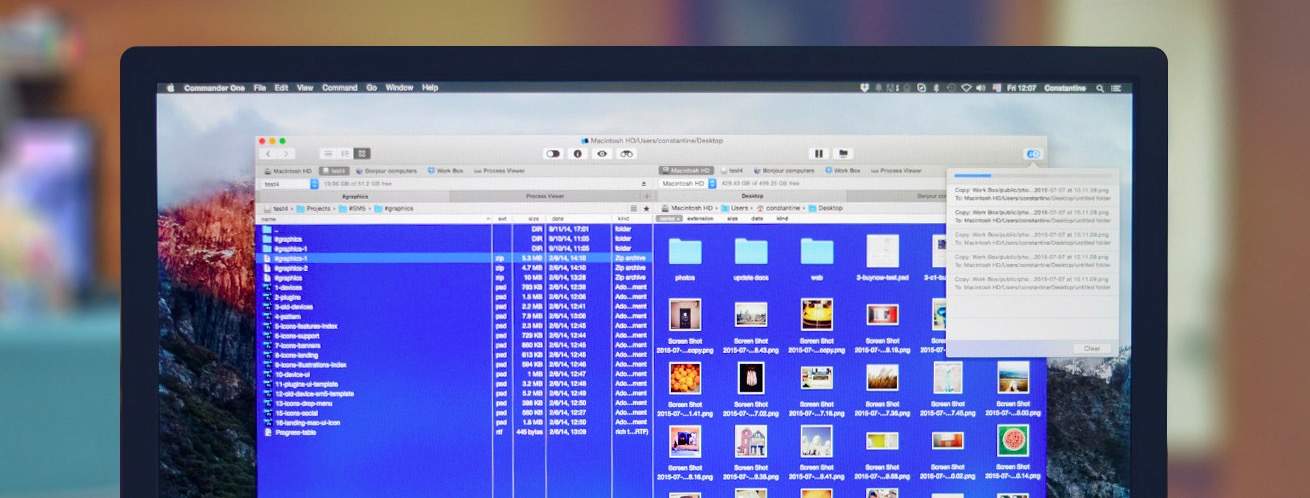
Commander One is the app Finder wishes it could be. Photo: Eltima
Maybe it’s just me, but Finder is one of the default Mac apps I find most annoying. Even though Apple introduced tabs to the default experience a few years ago, Finder still makes it harder than it should to move files from one folder on your computer to another.
Commander One, a Finder alternative for OS X 10.9 and above, makes Finder better for power users. It adds the ability to drag and drop files between two folders displayed in side-by-side panes, not windows or tabs. But there’s more to it than just that.
Apple has rolled out a new update for the iMac that promises to fix a Yosemite bug that can cause the all-in-one to freeze up when opening large JPEG files.
Master your Mac with these 10 Finder tips. Photo: Yeray Hdez Guerra/Flickr CC
In Mac OS X, you’ll spend much of your time in the Finder, the part of your operating system that manages files and such. While you might think you know all there is to know about it, the Finder is a complex and wonderful app — with its own special tricks to master.
Here are 10 essential Finder tips that will help you get the most out of your time working or playing on your Mac.
The OS X sidebar, introduced in Mac OS X Panther (10.3), has gotten an increased set of features over the years, including the most recent changes in Mountain Lion, which let you Hide and change the order of your Sidebar items.
These changes carried over to Mavericks, and it’s possible some of us forgot that we could do these things, if we even knew it in the first place.
In the spirit of showing you how to do do stuff you may have missed, here’s how to add things to your Sidebar, hide them when you don’t want to see them, and then move them into a different order over there on the left-hand side of your Finder window.
Spotlight is crazy useful to find stuff on your Mac. Just hit Command-Space on your keyboard and type in the name of files, words from in text files, the kind of document you want, or even the date when you think it might have been created or modified, and you’ll find it in an instant.
I rarely organize stuff into fine-grained folders anymore due to the power of this one simple to use feature in OS X.
Sometimes, though, I want to know where a found document is — here’s a cool trick to do just that, sent to us from Cult of Mac reader Ivan Manzanilla.
I’m kind of a stickler for a clean hard drive, especially since I started using Macbook Airs a few years back, what with their tiny little SSD units. I’ve moved most of my music to the Cloud and my iPhoto library to an external hard drive, but there’s still a ton of cruft that ends up on my system.
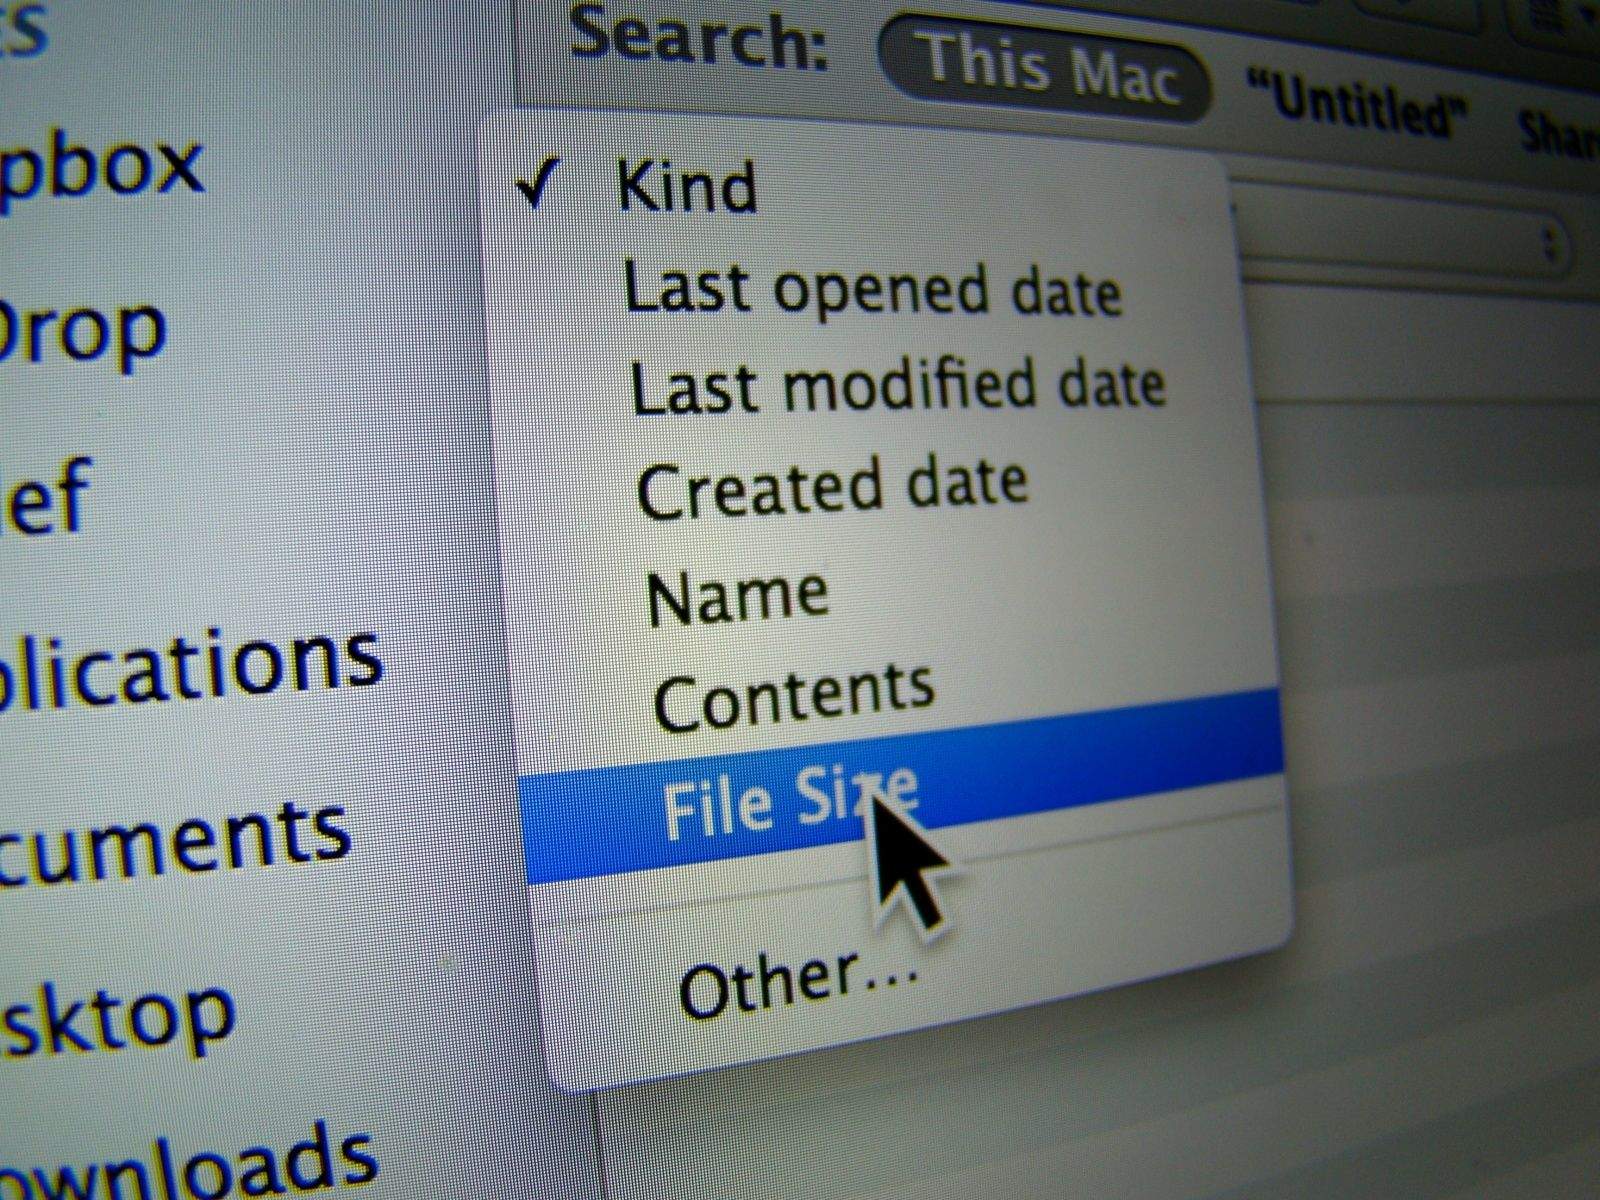
So, once a month or so, I sort my Movies, Applications, and Downloads folders by size, and delete the biggest things I don’t need anymore. Or I move them to an external hard drive for access later.
What I’ve never done before is use Spotlight to find these files easily across all my folders.
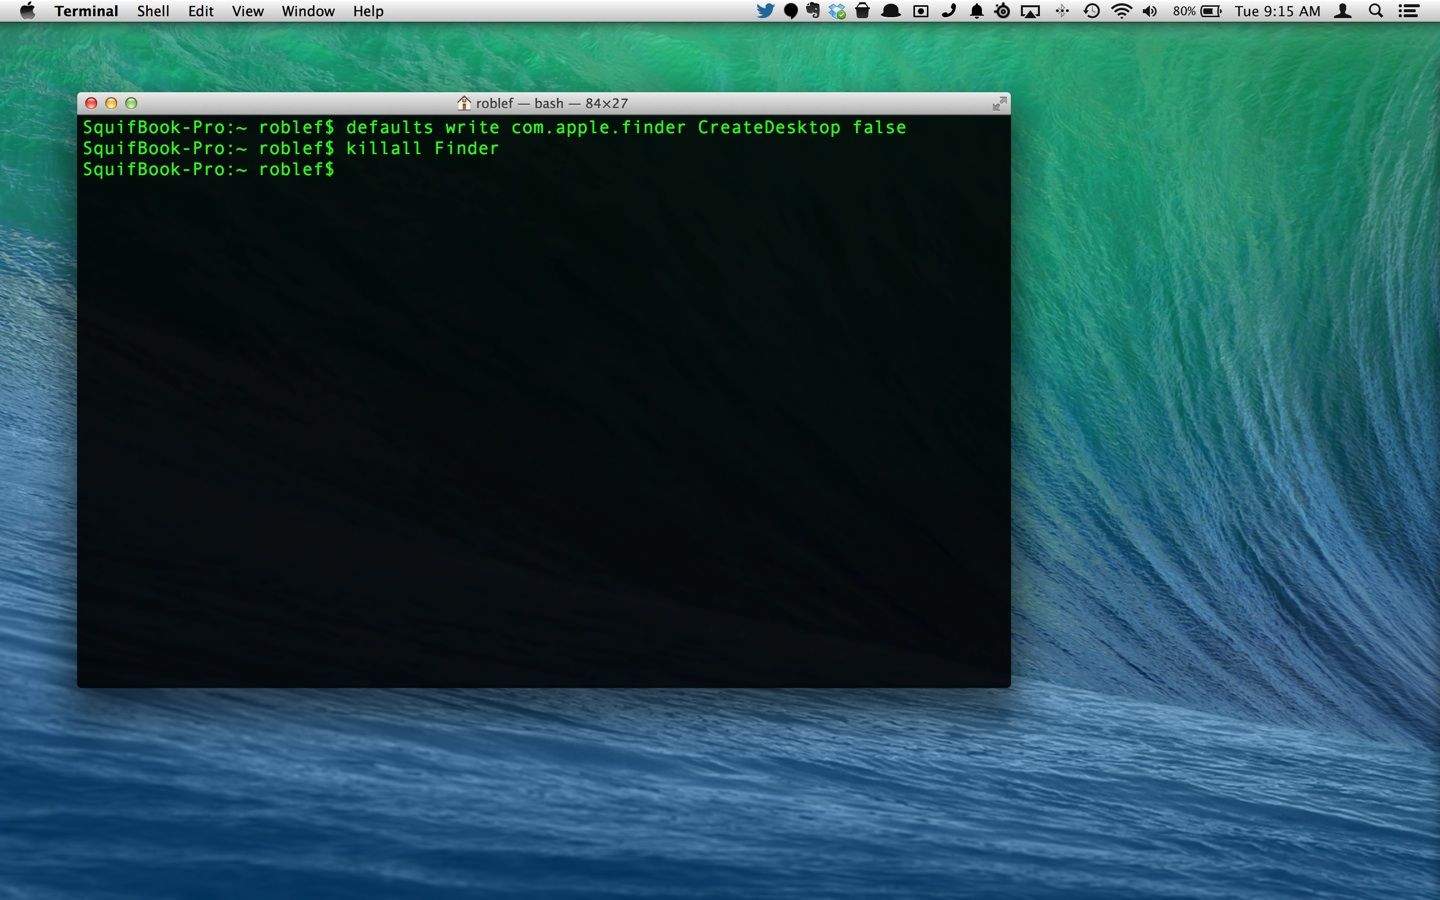
There are times when you just need to clear off the icons on your Desktop, like when you’re giving an important presentation at work. No one wants to see all the images you’ve saved from the internet, right?
I used to solve this problem with a Sort Me folder on the Desktop, just select all in a Finder window focused on the Desktop, and drag it all to the Sort Me folder.
There’s an even faster and easier way to hide all the icons on your Desktop, though, using the Terminal.
The Mac’s Finder is great at locating files if you know the file’s name and likeliest folder. But often you don’t, and end up searching through your entire computer to find that one file. Now, Trickster does a fantastic job at keeping track of all the files you’ve been using recently. You won’t ever need to open Finder again on your Mac. With Trickster you can simply drag and drop files exactly where you want them. Trickster gives you quick and easy control over finding your files and documents–just a mouse click away right there in your Menu bar. Read on to see the video and get the special deal here.
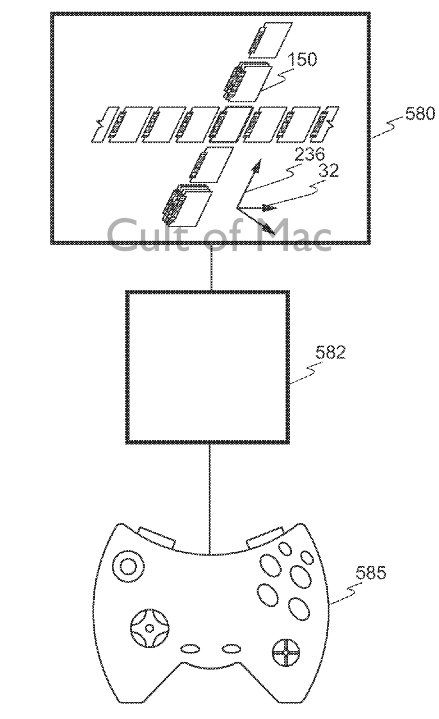
A new Apple patent describes an invention that may one day replace the Mac’s Finder.
Referring to a method for classifying documents in such a way as to allow for a multi-dimensional graphical representation of their contents, the patent would move away from the way information is currently structured toward a “graphical multidimensional file management system and method” that would be far more intuitive than the system used today.
I swear, the more I learn about the Mac OS X operating system, the more there is to know!
There are so many little hidden key strokes on the Mac that help you do all sorts of things, and there’s really no way to find them out.
This little gem is something I just found out today, and I’ve been sending you OS X Tips for the better part of two years.
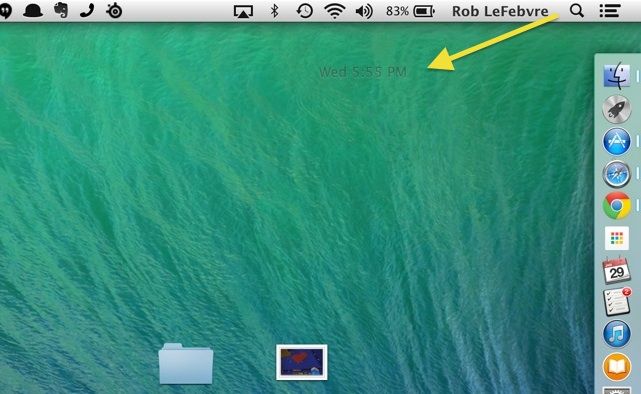
To get rid of the system menubar icons, you can drop into each System Preference pane and uncheck the “Show in Menu Bar” option, or you can just do this.
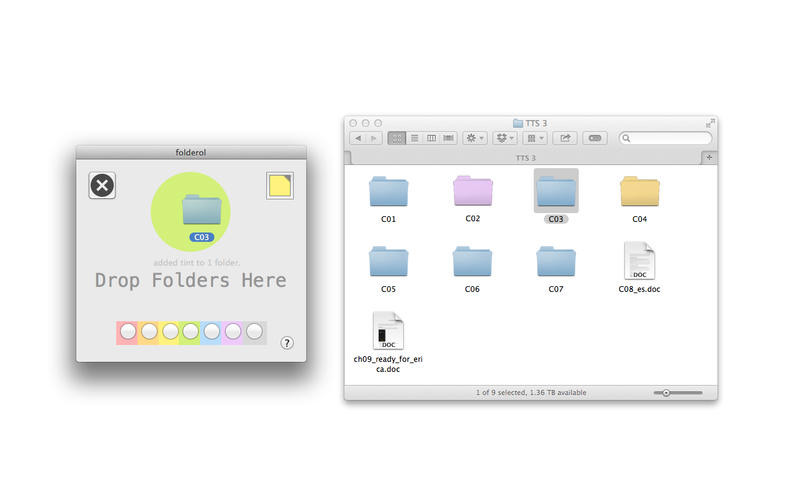
Sick of all those boring blue folders that crowd your Finder windows? I know I am. I can barely copy a file without my eyes starting to cross, my breathing slowing and the tendrils of sleep starting to soothe my brain. What you and I need is Folderol, a $1 Mac app that lets you change the colors of your folders by drag and drop.