I wrote recently about the shameful squalor of my previous “setup” — basically a borrowed PC laptop perched on a pile of junk — and my effort to build something worthwhile around a gleaming new 14-inch M1 Pro MacBook. Well, like a lot of people in the throes of building a computer setup, I found that second-guessing haunted me into buying a whole lot of alternative gear.
You know, for testing purposes. Trial and error. Not because of my apparent shopping addiction. Or not much, anyway.
This post contains affiliate links. Cult of Mac may earn a commission when you use our links to buy items.
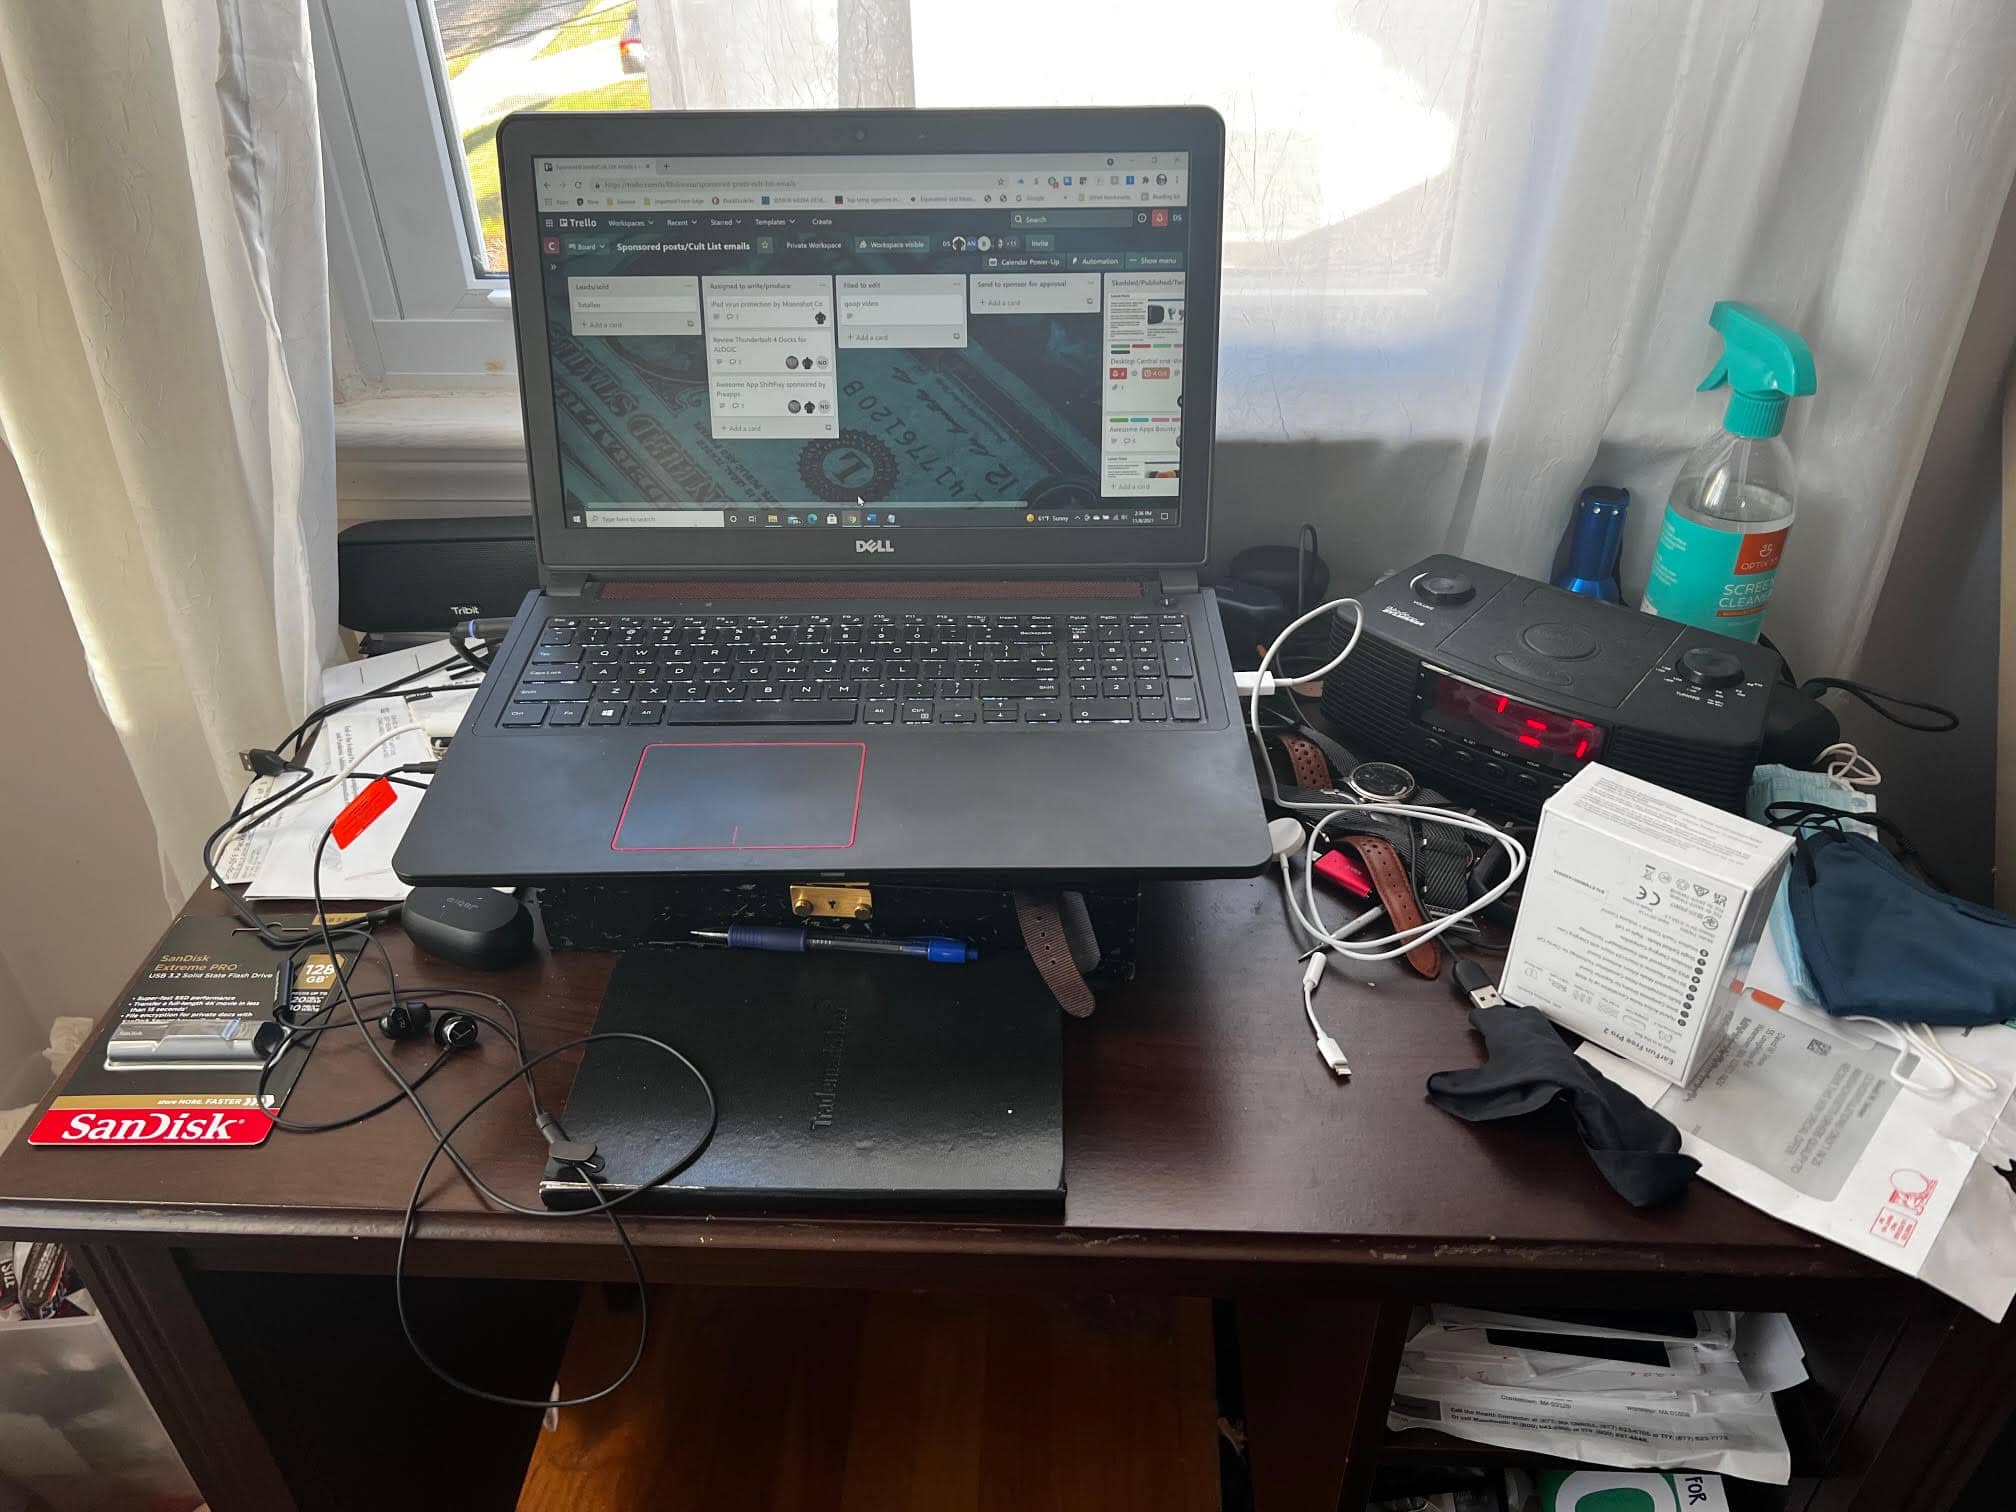
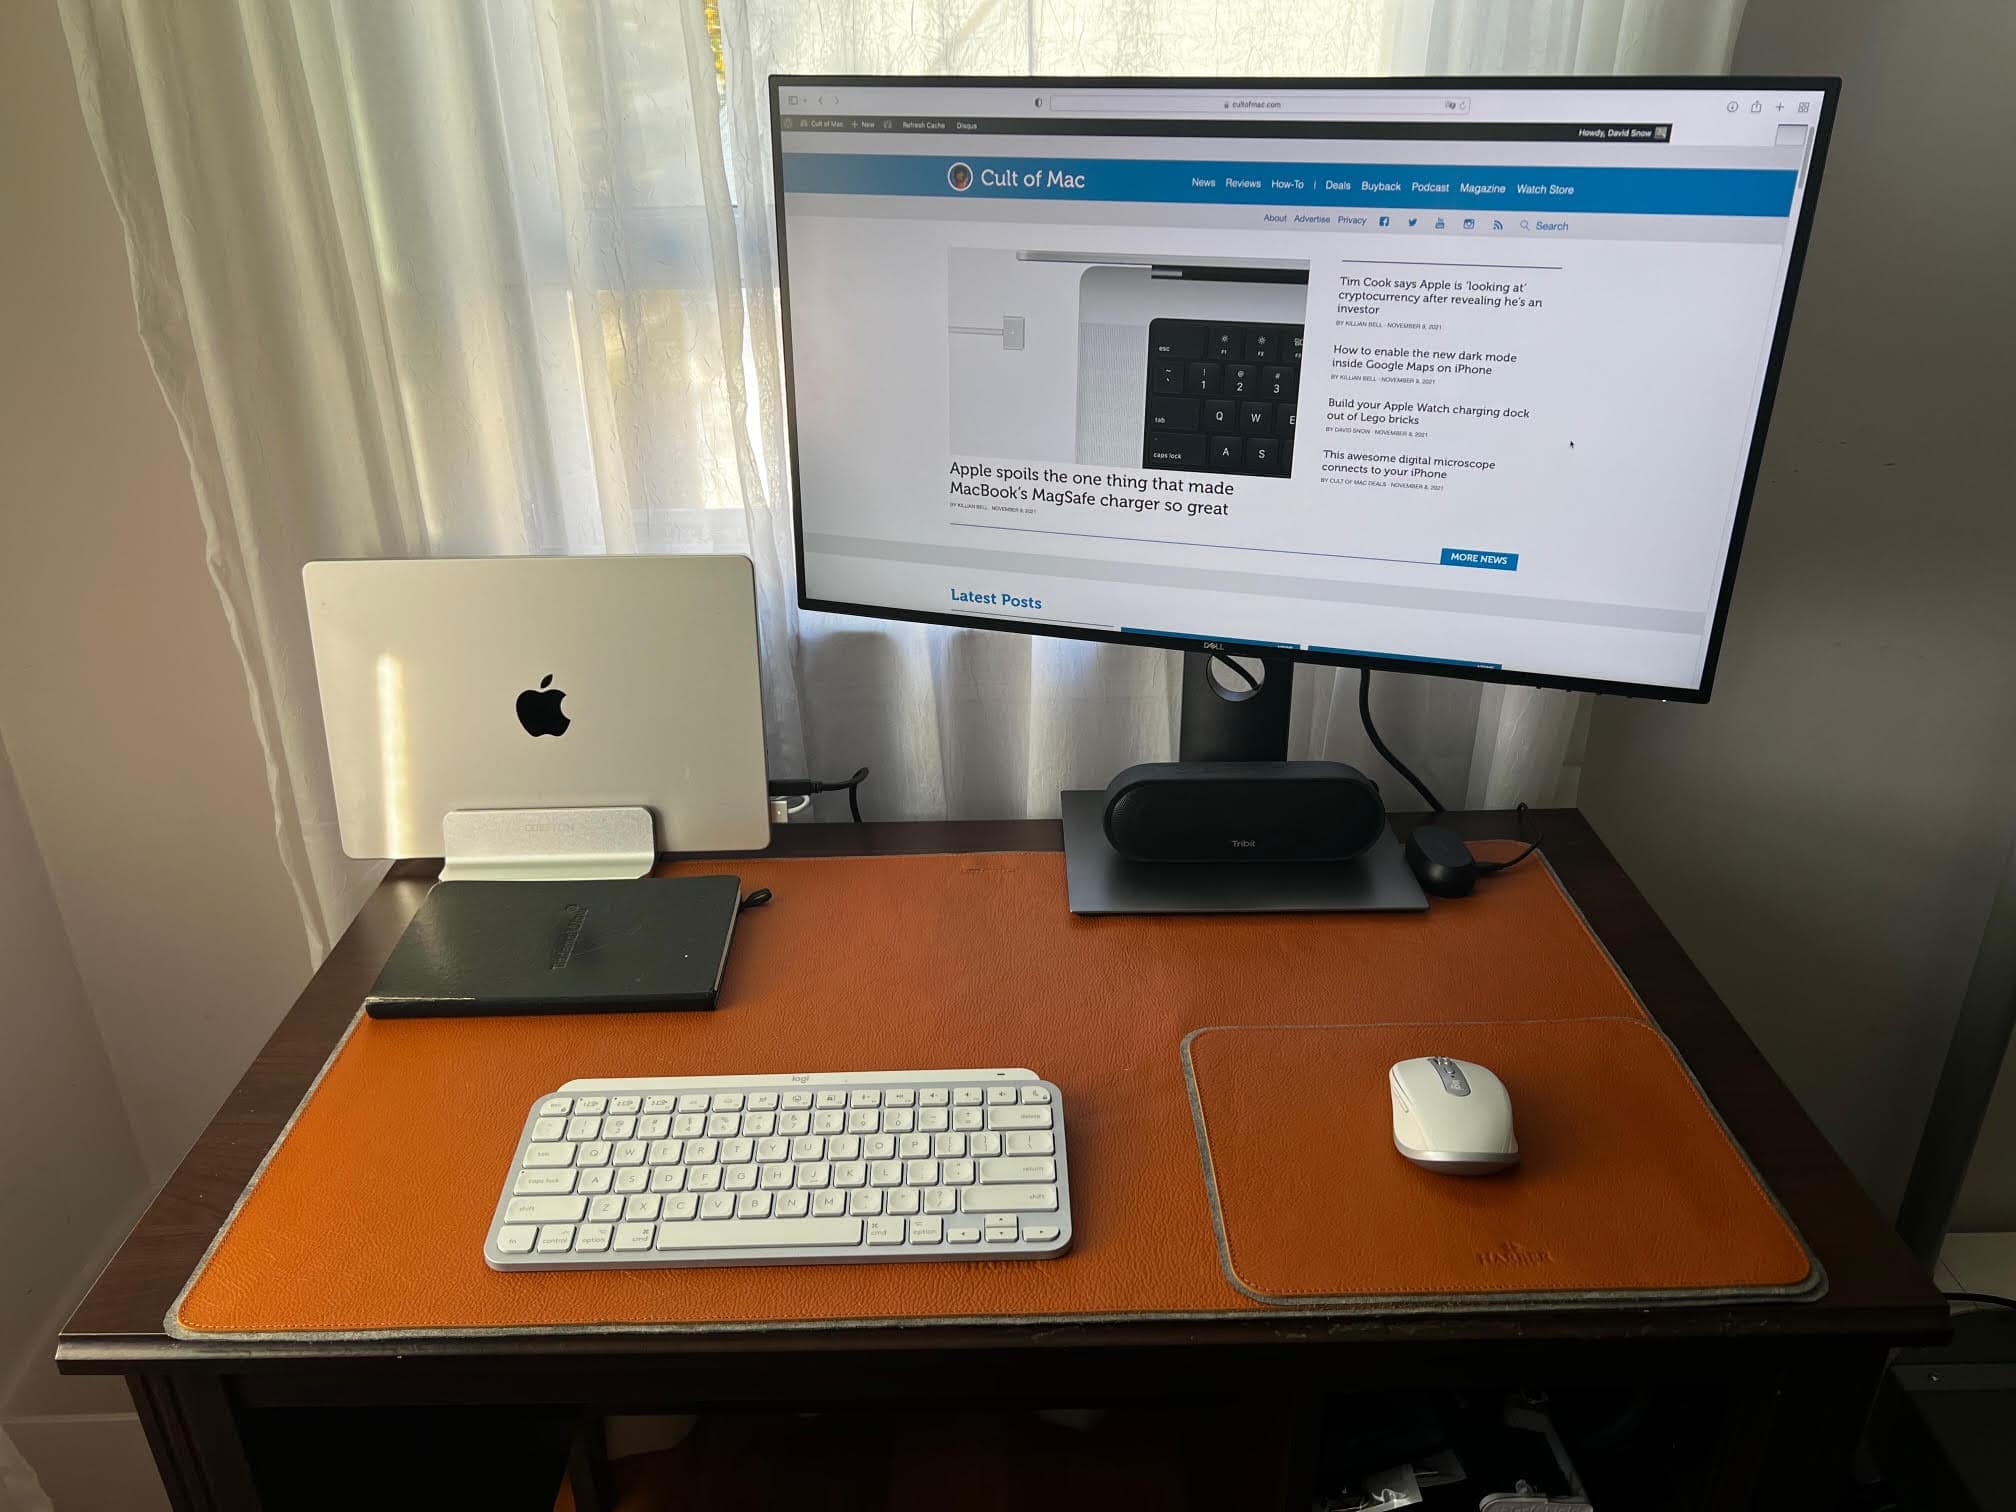
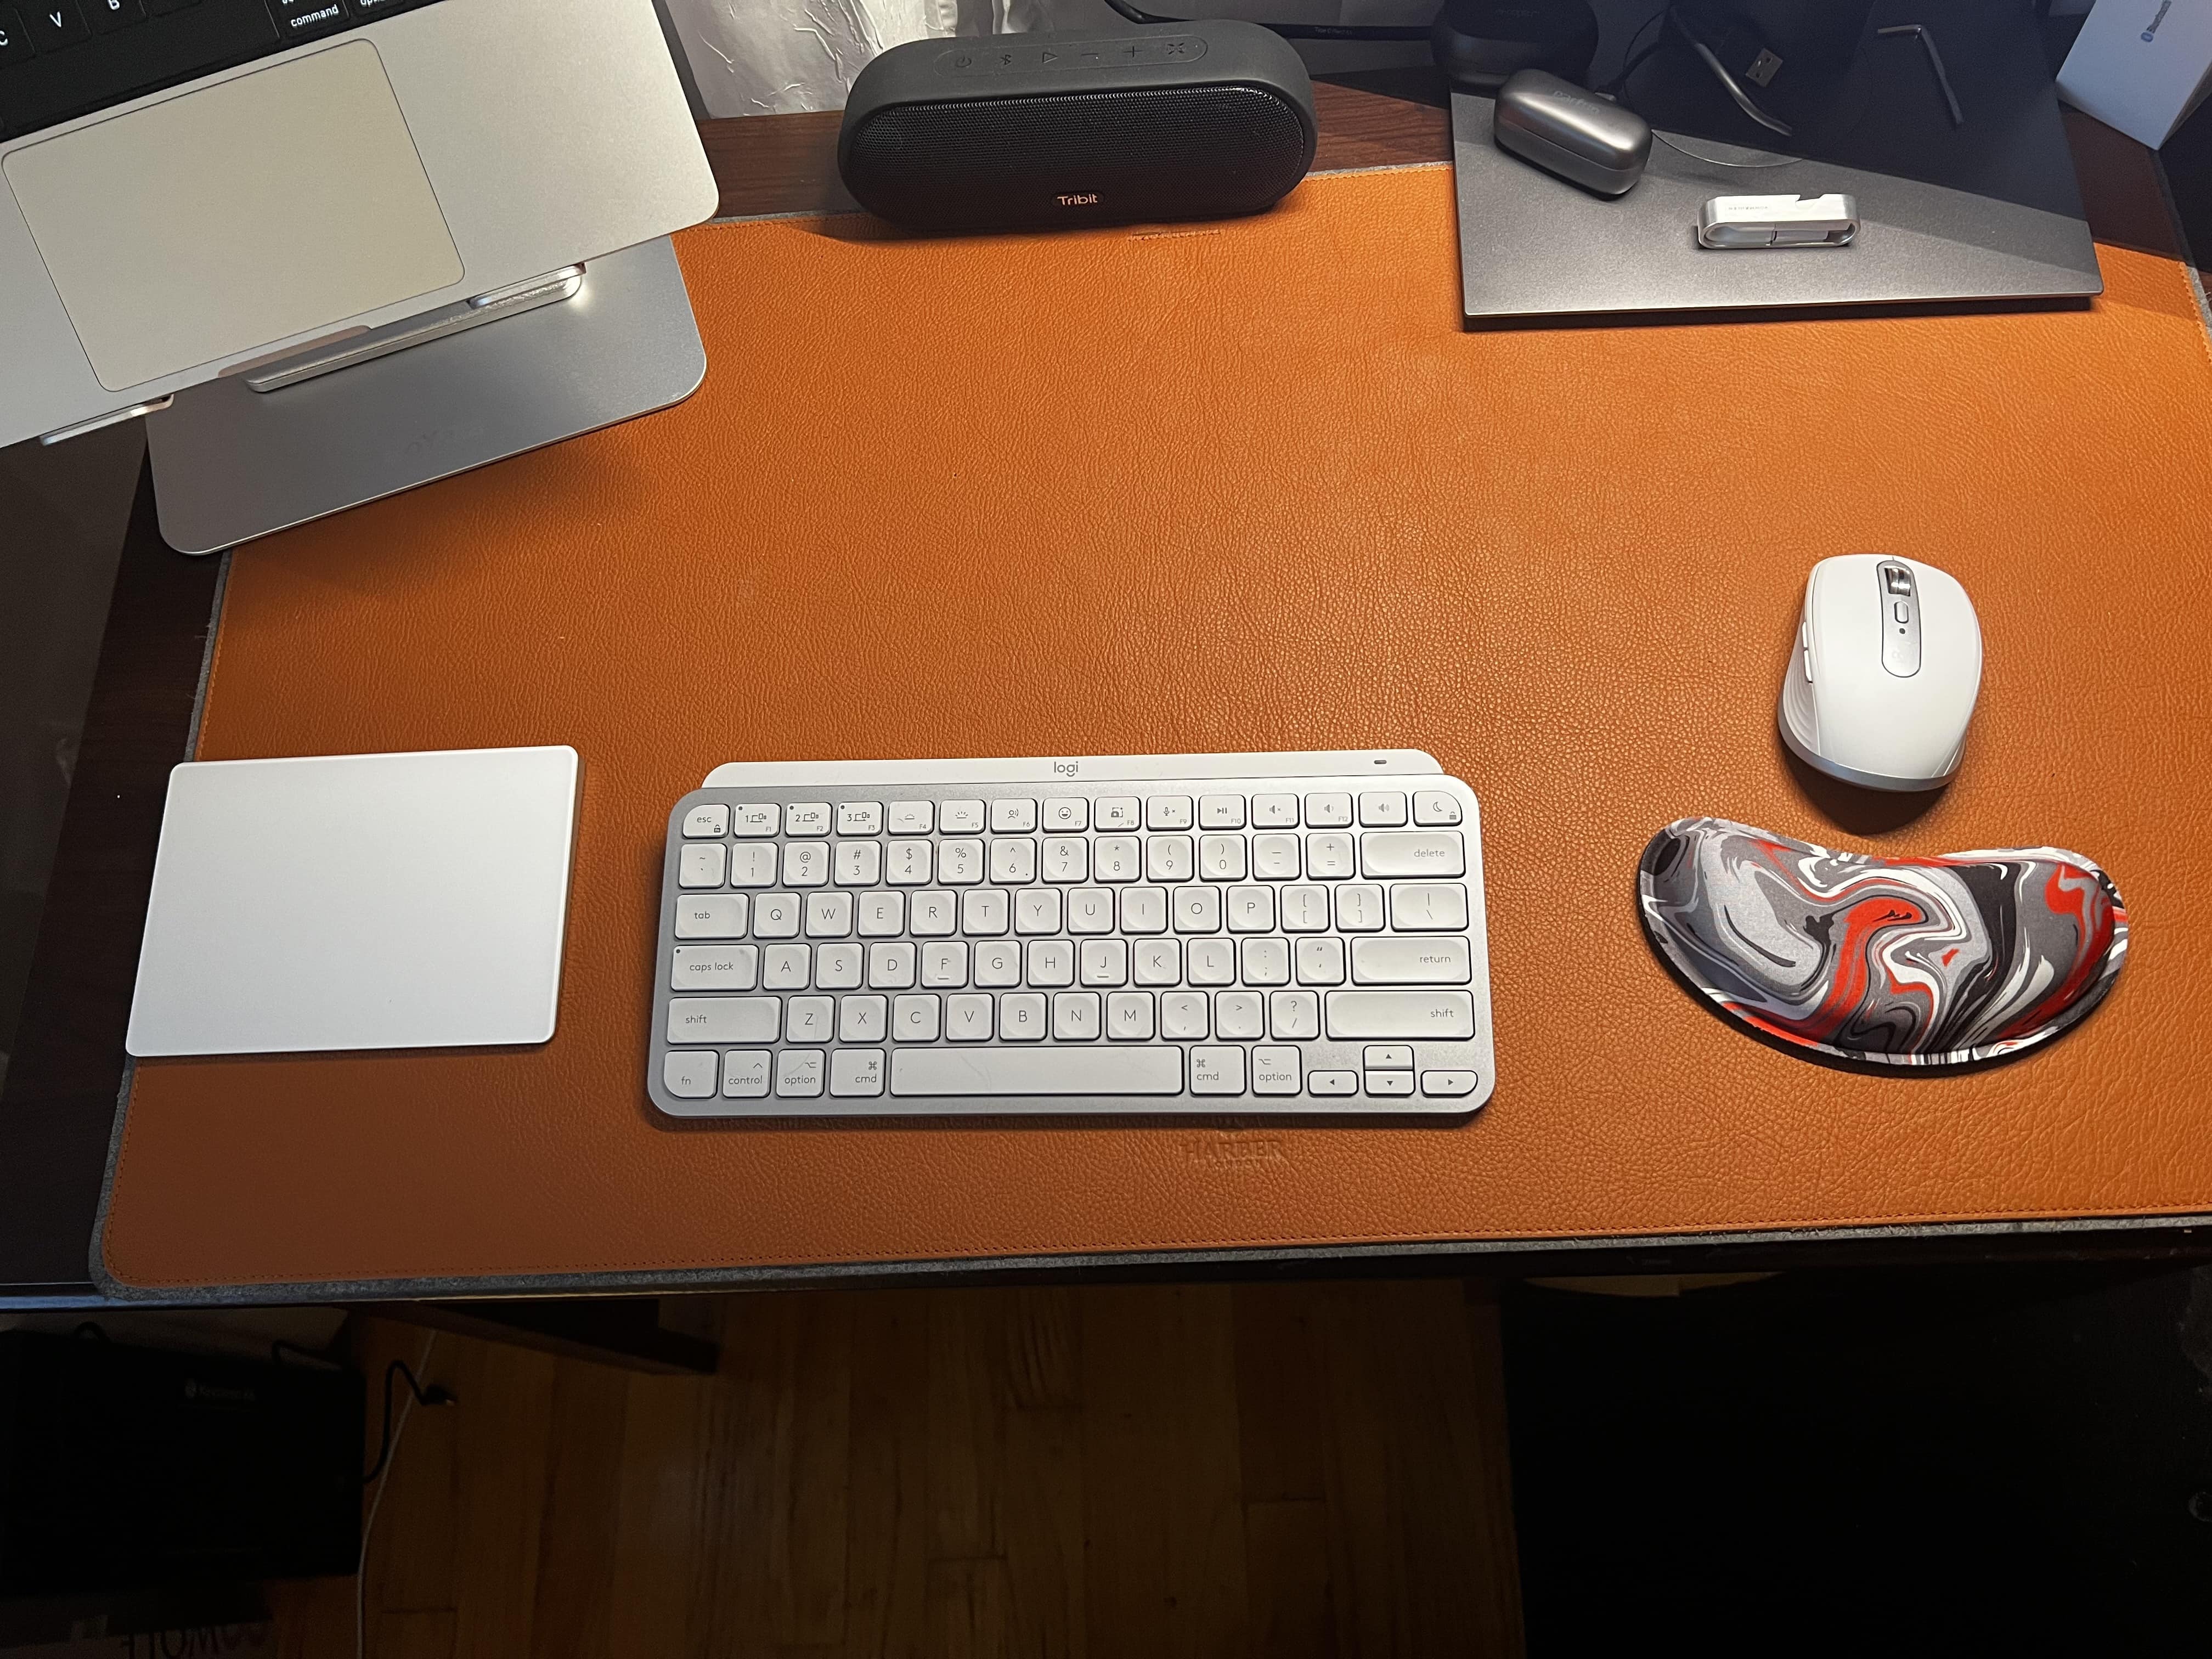
You can read about the first setup in a little more detail in the previous article, “Part 1: From PC pigsty to prim M1 Pro MacBook workstation.” At the top of this post you can see a photo of the current setup, after recent tweaks. The original “pigsty” setup photo appears immediately below and the interim setup — the first try — appears below that. At the bottom of the post a photo shows the input devices I may end up settling on, after some back and forth.
Before: a borrowed laptop perched on a pile of junk

Photo: David Snow/Cult of Mac
After a move cross-country, my previous setup — or non-setup, really — got me by for a while. After an HP laptop of mine quit, my brother lent me a Dell laptop. That Inspiron 15, powered by an Intel Core i5 processor and sporting 16GB or RAM and a 256GB hard drive, worked just fine.
The shameful bit is that I just propped it up on an old watch case used to store some mechanical watches I don’t wear anymore because I got an Apple Watch Series 6. I didn’t even have a decent laptop stand. And I didn’t bother with peripherals, either. I just kept putting off building a proper workstation.
After a while, though, the excuse of having just moved got old. Ironically, I’d been hunched over a PC laptop while writing about marvelous Mac Setups, among other things. But that all changed when Apple released its fabulous new M1 Pro and M1 Max MacBook Pros. I mean, I’m only human.
With the new MacBook in hand, it was only a matter of time before I started surrounding it with wonderful peripherals. They just weren’t the right ones on the first try, necessarily. Or were they?
After: a M1 Pro MacBook, USB-C external monitor, Logi input devices (part 1)

Photo: David Snow / Cult of Mac
A tiny desk calls for a compact setup
Knowing I wanted to keep things simple and stick with the small desk I already had, I decided to go with a particularly compact setup. That was true with the initial new setup and remained true with the ensuing tweaks. It’s just not a big desk. And I didn’t want to buy a new one.
The basic setup hasn’t changed a great deal. It still centers on the 14-inch M1 Pro MacBook attached via USB-C cable to a 27-inch Dell UltraSharp U2720Q 4K UHD IPS monitor. The big Haber London leather desk mat remains, underlying everything.
From vertical to open monitor stand
After mounting the MacBook in “clamshell” mode in an Omoton vertical laptop stand, I noted I might be tempted to get a regular stand, even though it would take up a little more room. That way, the MacBook would sit open, serving as an additional screen while giving me ready access to the keyboard’s Touch ID button, the built-in 1080p webcam and direct sound from the six exceptional speakers.
And that’s exactly what happened. So far so good on those plusses, including a little extra screen real estate for moving windows around.
As expected, I probably won’t be using the Tribit MaxSound Plus bluetooth speaker at the desk because the laptop itself sounds so good. But the Tribit is still a great portable source for tunes elsewhere around the house.
Let there be monitor light
Another item I didn’t think of in the initial setup build-out was a monitor light bar. It’s exactly the sort of thing you don’t realize you need until you have it. After reading about that a few times when writing about other people’s setups, I decided to try one, particularly because the room where I work has only a small lamp.
Most monitor light bars not only bathe the desktop in your choice of warm or cool hues, they ease eye strain associated with long hours of peering at a monitor. The one I got is called Oowolf computer monitor light, which goes for about $40 on Amazon. Setup is simple. You can have it go on and off with the monitor, which is also its power supply.

Photo: David Snow/Cult of Mac
Input device shuffle: mechanical keyboard? Magic Trackpad?
On the first setup go-round, I selected a simple pair of space-saving input devices: a Logitech MX Keys Mini Keyboard and the Logitech MX Anywhere 3 Mouse for Mac. They’re both super-easy to customize and to pair and run wirelessly with the MacBook.
But I kept wondering if maybe a mechanical keyboard might be more to my liking. So I ordered a Keychron K6 wireless mechanical keyboard with Gateron Red switches. It’s a 65% layout keyboard, nice and small, and it’s set up out of the box to run with Mac-specific keycaps. Toggle switches on the side make it simple to switch between wired operation and Bluetooth and between Mac and Windows.
The jury is still out on the Keychron K6 vs. the Logitech MX keys mini. But I’m finding it hard to get used to the mechanical keeb, I must admit. I don’t care for the feel of the keys or for their sound. This could lead to me simply settling on the Logi, or it could open the door to vast amounts of mechanical keyboard experimentation (Gateron Brown switches, maybe? With the Keychron Q1 QMK Custom Mechanical Keyboard, when it’s finally back in stock, maybe?).
Wrist rests for high keyboard + alt mouse for pain
Having ordered the mechanical keeb, and knowing it would be significantly taller than the Logi mini, I ordered some wrist rests. I decided to try a wooden one by Voertuig but hedged my bets by ordering a memory foam set for keyboard and mouse by Gimars.
I bought the rests to address the higher keyboard as well as some wrist pain mousing caused me on day 1 with the mouse (repetitive strain injury: does it ever go away?). And that also made me order a Logitech Ergo M575 trackball mouse. But its curve only fits the right hand, so no swapping from one side of the keyboard to the other. And moving the trackball with the thumb feels a little funny, too. I’m just not used to it, I suppose.
Just before the wrist rests came along, a refurbished Magic Trackpad 2 showed up. I had originally ordered it with a closed laptop in mind, but decided to try it out even after I went with an open laptop (which puts the laptop’s trackpad within reach, though somewhat awkwardly).
Given my history of repetitive strain injury, I figured I may as well split input duties between the external trackpad and mouse (gestures, scrolling, pointing, clicking, etc.) to save my wrists. The mouse made me remember how I resorted to wrist braces years ago while working online publishing jobs, not to mention a parade of trackball-based mouse options and copious amount of ice.
Shop these items now:
Computers:
- 14-inch M1 Pro MacBook Pro
- 15-inch Dell Inspiron 15 laptop with Intel Core i5
- BoYota laptop stand
- Omoton vertical laptop stand
Display and monitor light:
Input devices:
- Keychron K6 wireless mechanical keyboard (Gateron Red switches)
- Logitech MX Keys Mini Keyboard
- Logitech Ergo M575 Wireless Trackball Mouse
- Logitech MX Anywhere 3 Mouse for Mac
- Magic Trackpad 2
Wrist rests:
Audio:
- Tribit MaxSound Plus Bluetooth Speaker
- Various wired and wireless earbuds
If you would like to see your setup featured on Cult of Mac, send some high-res pictures to info+setups@cultofmac.com. Please provide a detailed list of your equipment. Tell us what you like or dislike about your setup, and fill us in on any special touches or challenges.
![Part 2: From PC pigsty to prim M1 Pro MacBook workstation [Setups] In round 2, I experiment with an open laptop stand, a mechanical keyboard with a wrist rest, a Magic Trackpad 2, an ergonomic mouse with a trackball and a monitor light bar.](https://www.cultofmac.com/wp-content/uploads/2021/11/IMG_6024-1536x1152.jpeg)

