Mobile menu toggle

How-To - page 93

Use AirPlay to turn Apple Watch into a Music hub

By •

Play your tunes on the big screen. Photo: Rob LeFebvre/Cult of Mac

Playing music on the Apple Watch is a lovely thing. You can control your iPhone’s Music app using the Apple Watch Music app, choosing playlists and adjusting volume on the fly.

You can even start apps like Spotify or Rdio on your iPhone, then use the Music Glance on your Apple Watch to forward, reverse, pause or play music from these streaming services.

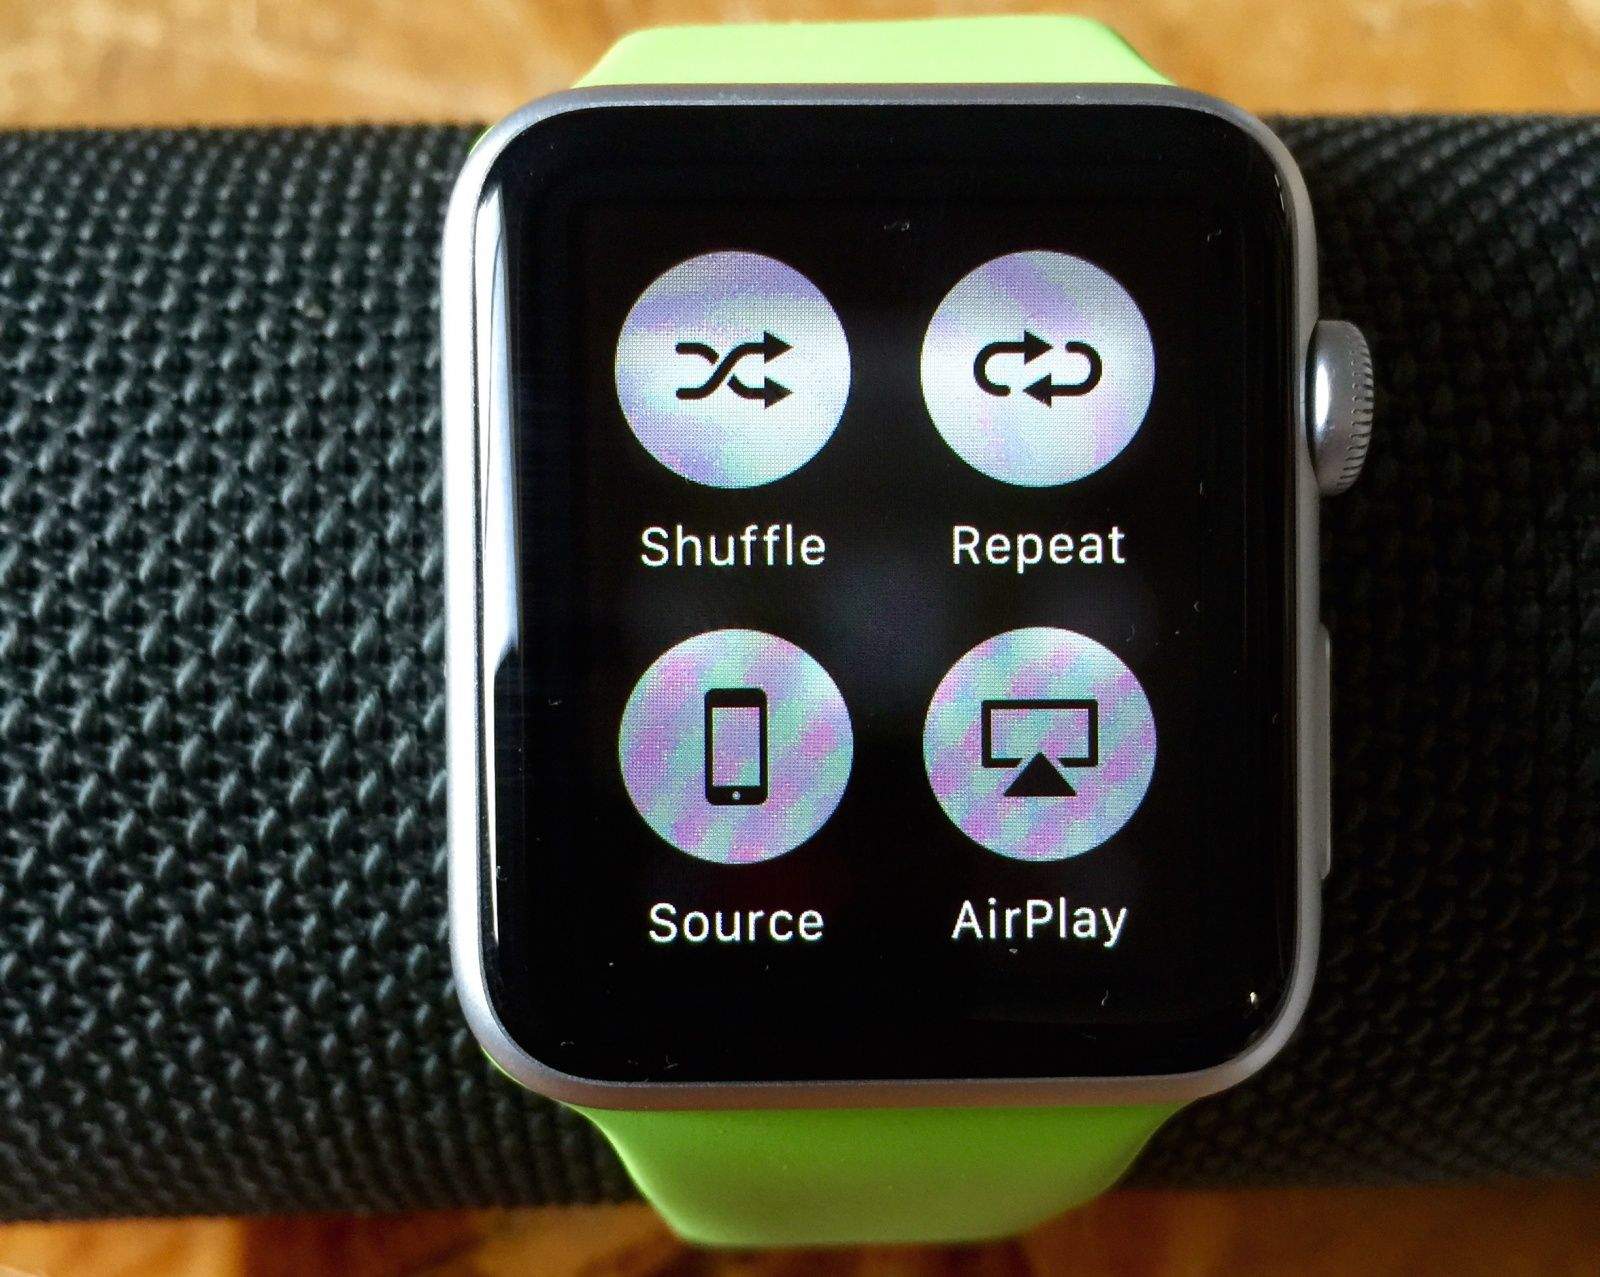
Did you know, however, that you can also send music from your Apple Watch to your Apple TV or any AirPlay-enabled speaker?

Here’s how.

How to restore an erased Apple Watch from backup

By •

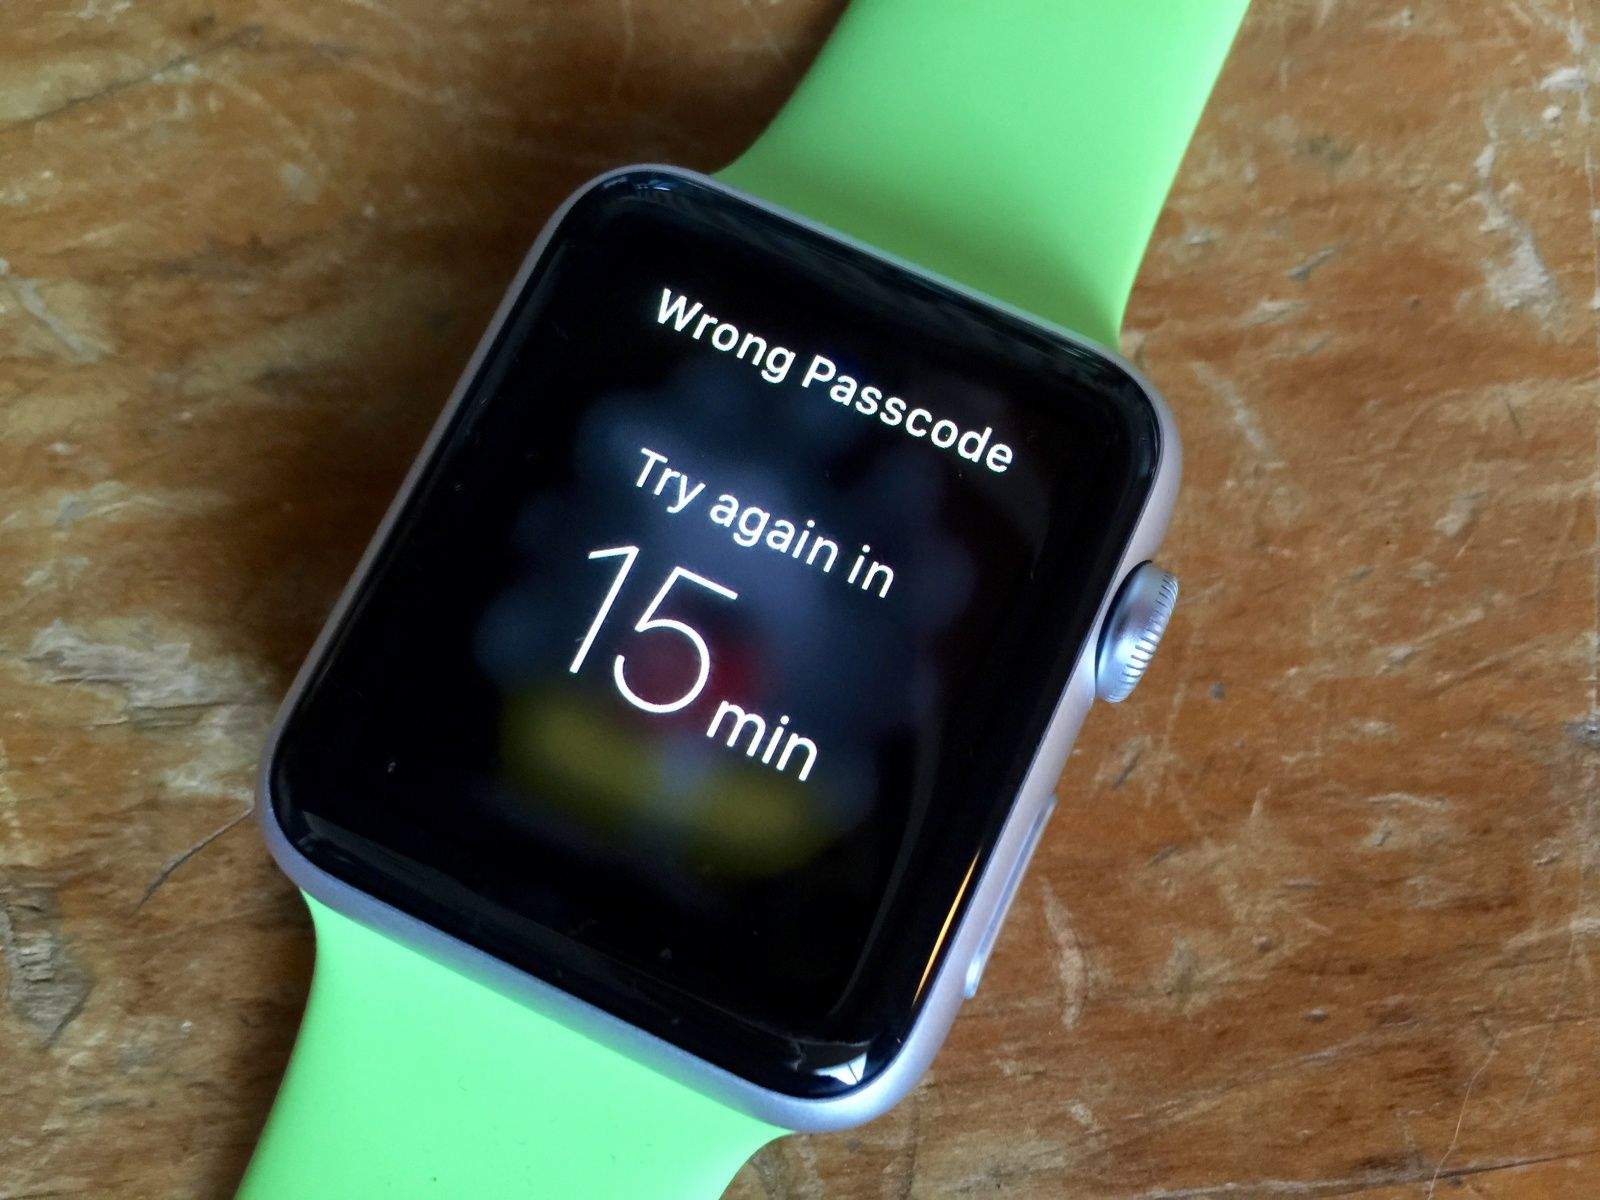
Too many incorrect passcode attempts. Photo: Rob LeFebvre/Cult of Mac

If you forget your passcode on Apple Watch, or you’ve entered an incorrect one too many times, you can use the Apple Watch app on the iPhone to enter the passcode one more time. If you still can’t quite remember it, though, you’ll need to erase and restore the erased Apple Watch. This sets it back to factory default settings, and takes all the content off of it.

So how do you get all your stuff back onto the Apple Watch?

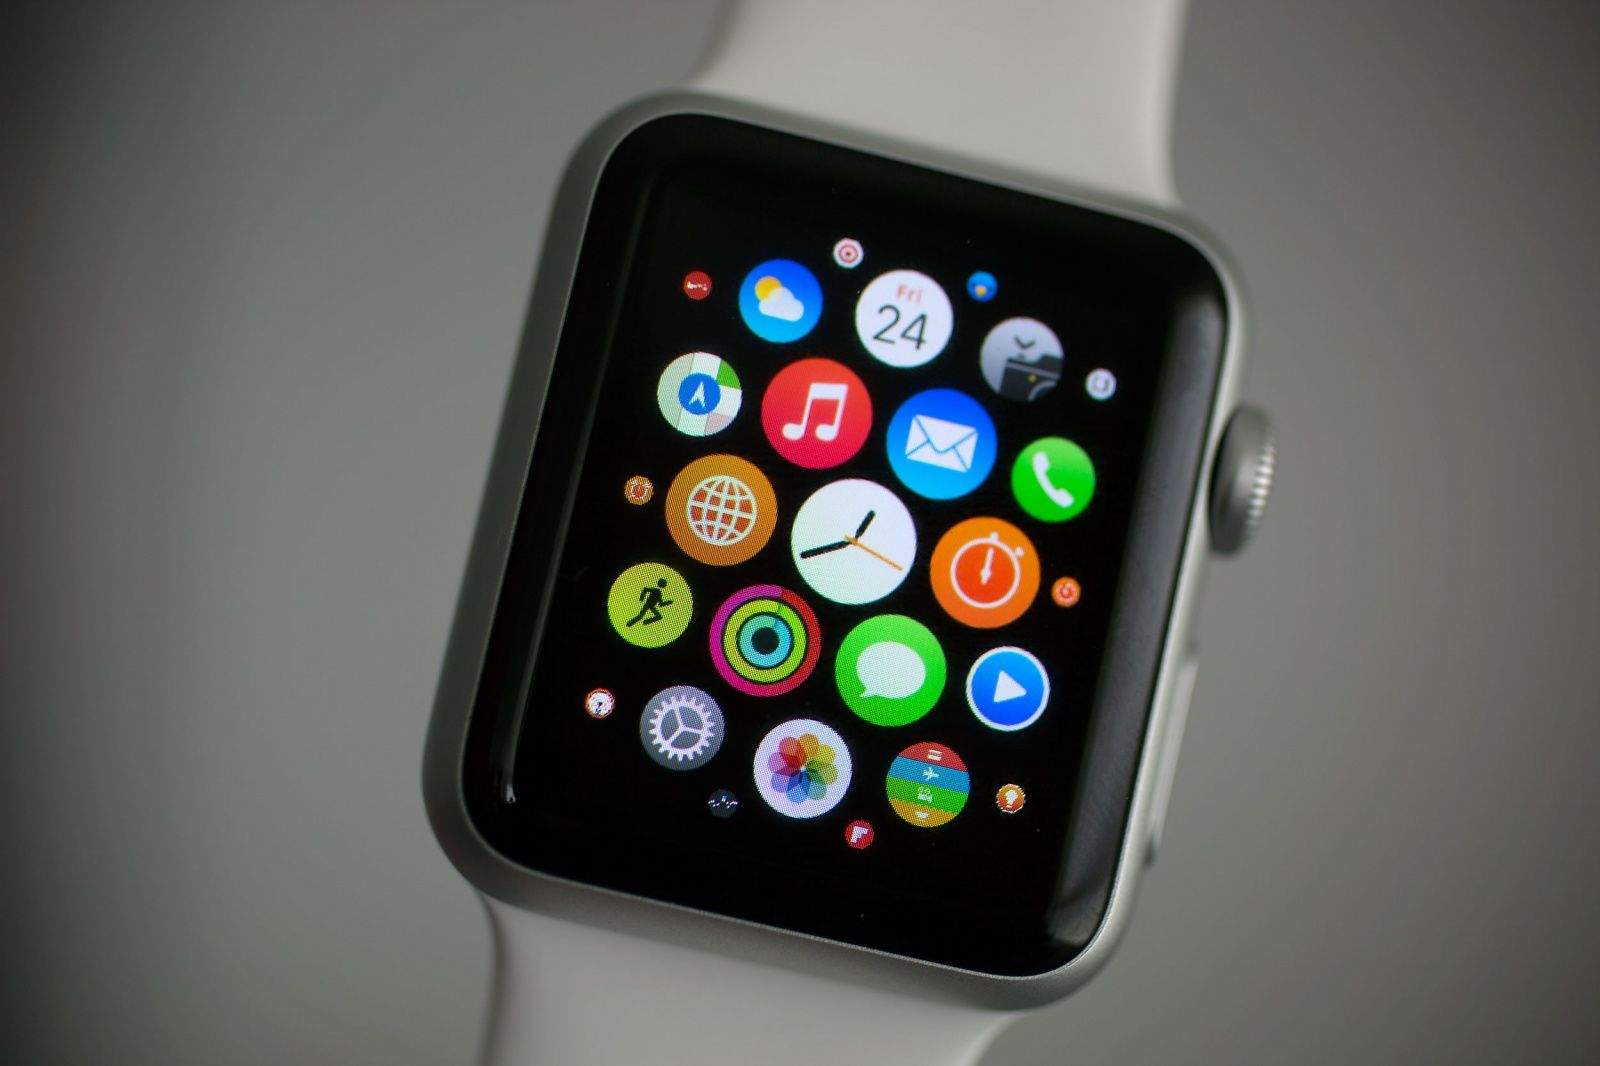
7 stealthy tips and tricks for Apple Watch

By •

Learning the user interface can take some time, and then there are all the subtle tricks.
Learning the user interface can take some time, and then there are all the subtle tricks. Photo: Jim Merithew/Cult of Mac
Photo: Jim Merithew/Cult of Mac

So, you just got your shiny new Apple Watch and you’ve doubled down on learning how to use its all-new interface. That should keep you busy for a while.

There are still a few things that you might not know about it, however, especially these not-so-obvious tips and tricks for Apple Watch we’re going to share with you right now.

How to change out your Apple Watch band

By •

Apple Watch band connector
The band stops here.
Photo: Jim Merithew/Cult of Mac

When I found out I’d be able to change out the band on my Apple Watch Sport, I was ecstatic. While I really don’t mind the green fluoroelastomer band, I’m looking forward to swapping it out for something a little less Swatch and a bit more Gap casual.

Changing the band is a pretty simple affair, but if you haven’t had the chance to put one on your wrist yet, it’s a bit hard to tell just how to do so.

How to clear credit card info from a stolen Apple Watch

By •

Apple Watch back
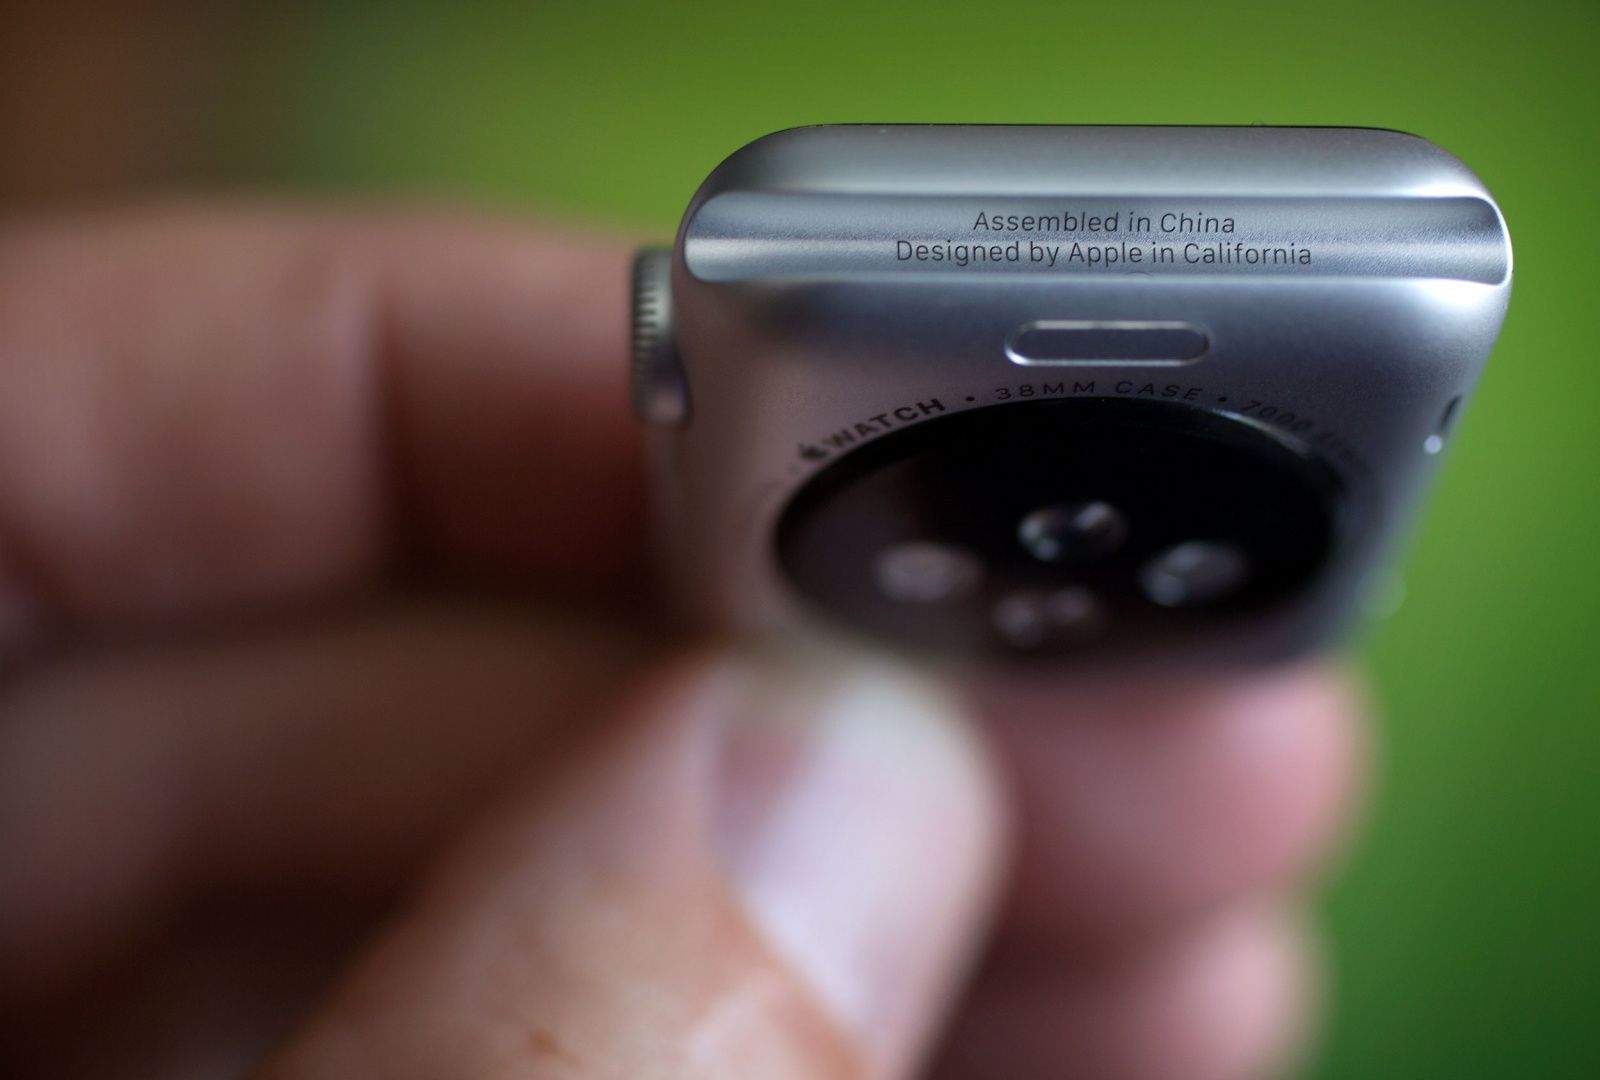
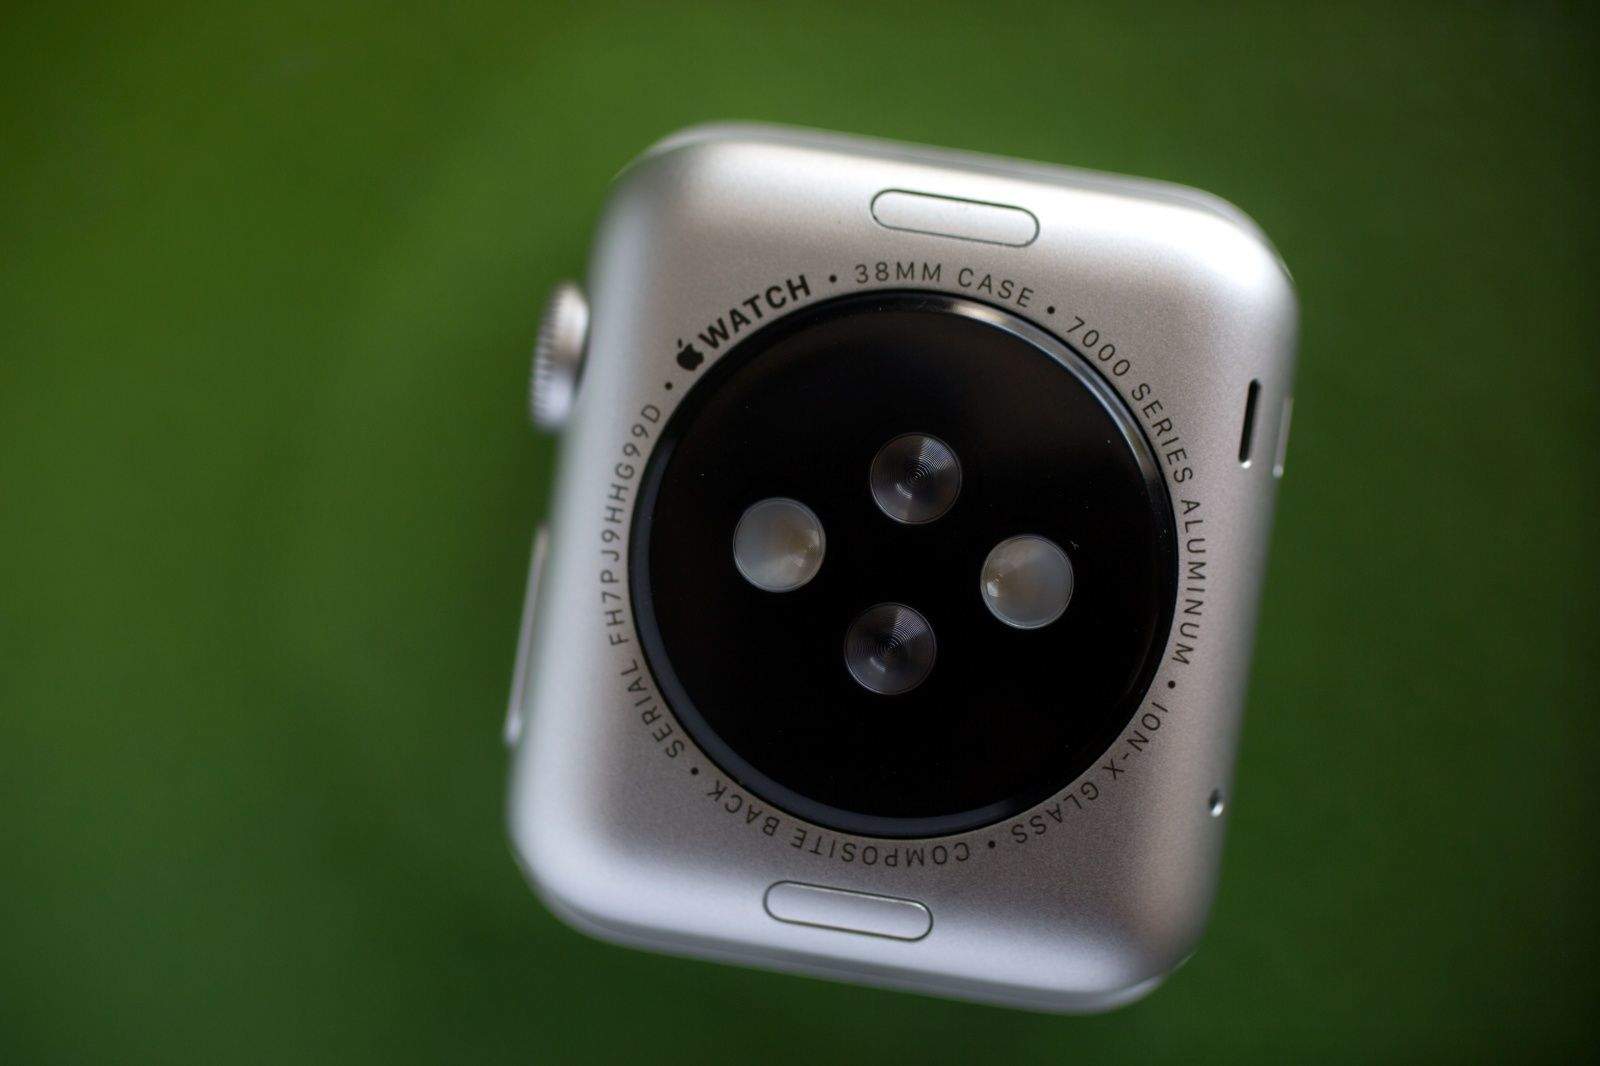
Let's hope you never have to worry about theft. Photo: Jim Merithew/Cult of Mac
Photo: Jim Merithew/Cult of Mac

So, you just got that shiny new Apple Watch. It’s amazing, right?

So amazing that someone may try to steal it from you. Sure, that sucks, but it could happen.

Here’s how to clear the credit card info from the stolen device if you no longer have physical possession of your Apple Watch.

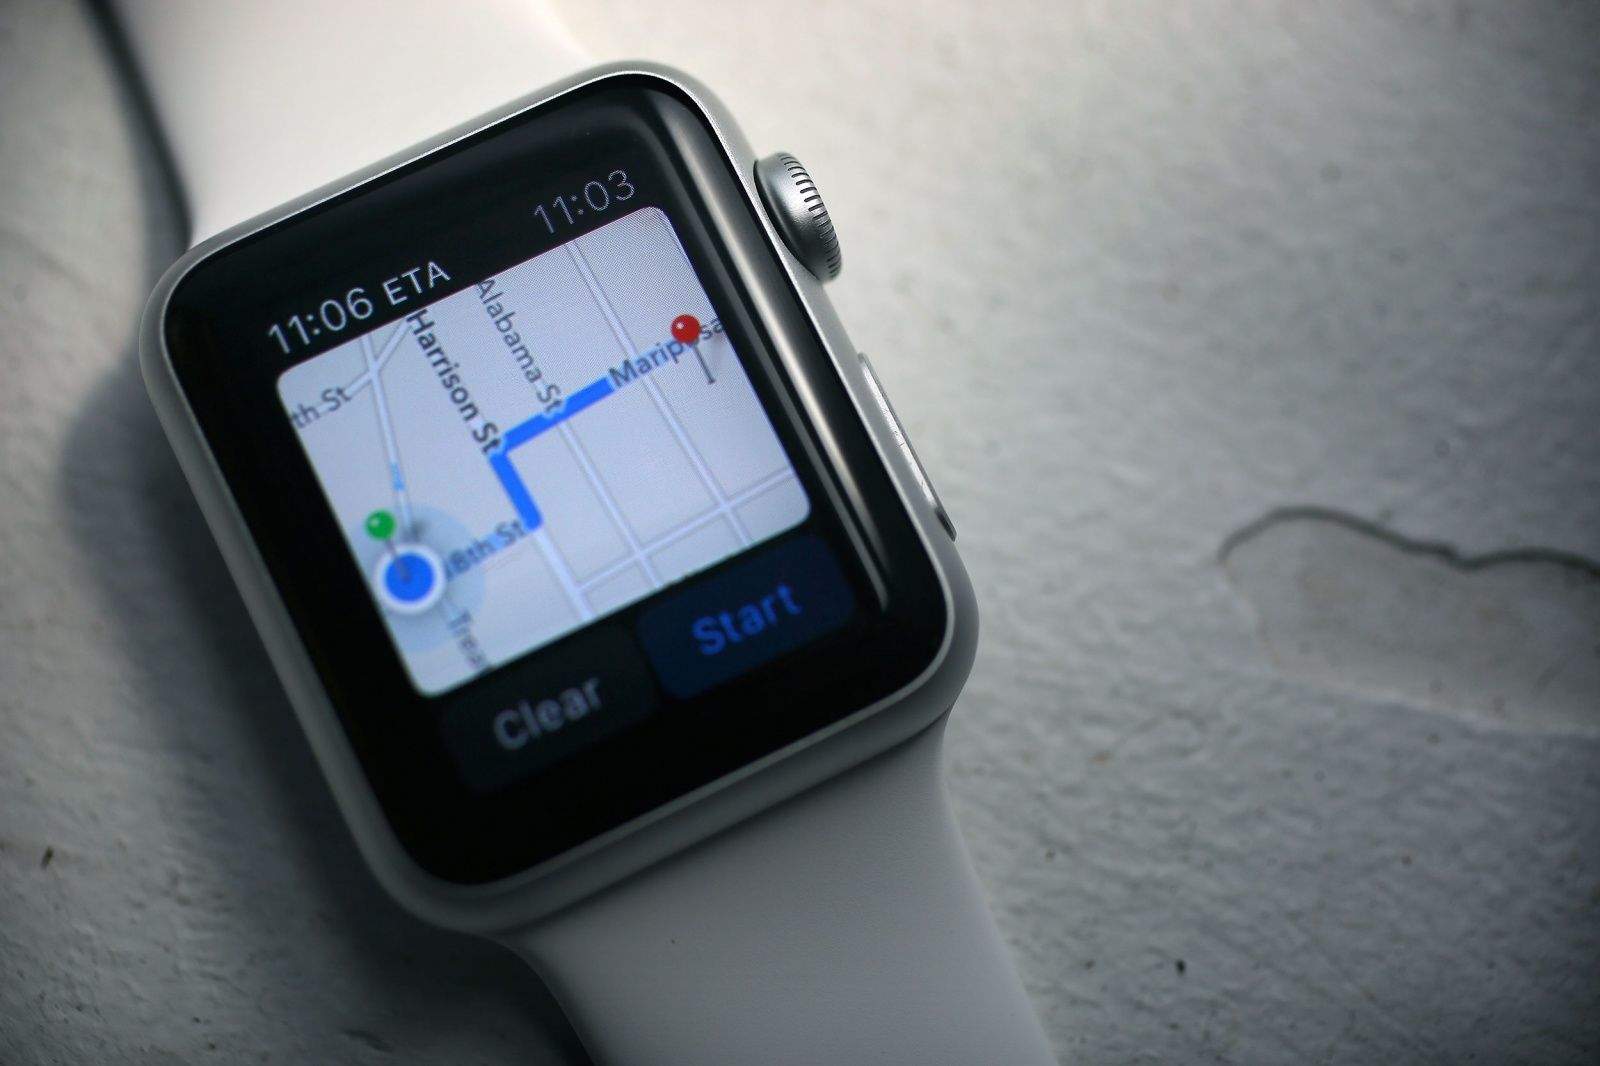
How to navigate using only your Apple Watch

By •

Tap your way to wherever you want. Photo: Jim Merithew/Cult of Mac
Photo:

As a sufferer from dysmappia (not a real word), I still get lost in a town I’ve lived in for 15 years. The iPhone and GPS accessibility has allowed me to find my way around pretty much any urban center I’ve been in, and even some rural ones as well.

Now that Maps is on Apple Watch, I’m going to be navigating around even more easily, lifting my wrist to see which way to go instead of burying my head in an iPhone. It’s sure to at least be a ton safer.

Here’s how to get from point A to point Z using just your Apple Watch.

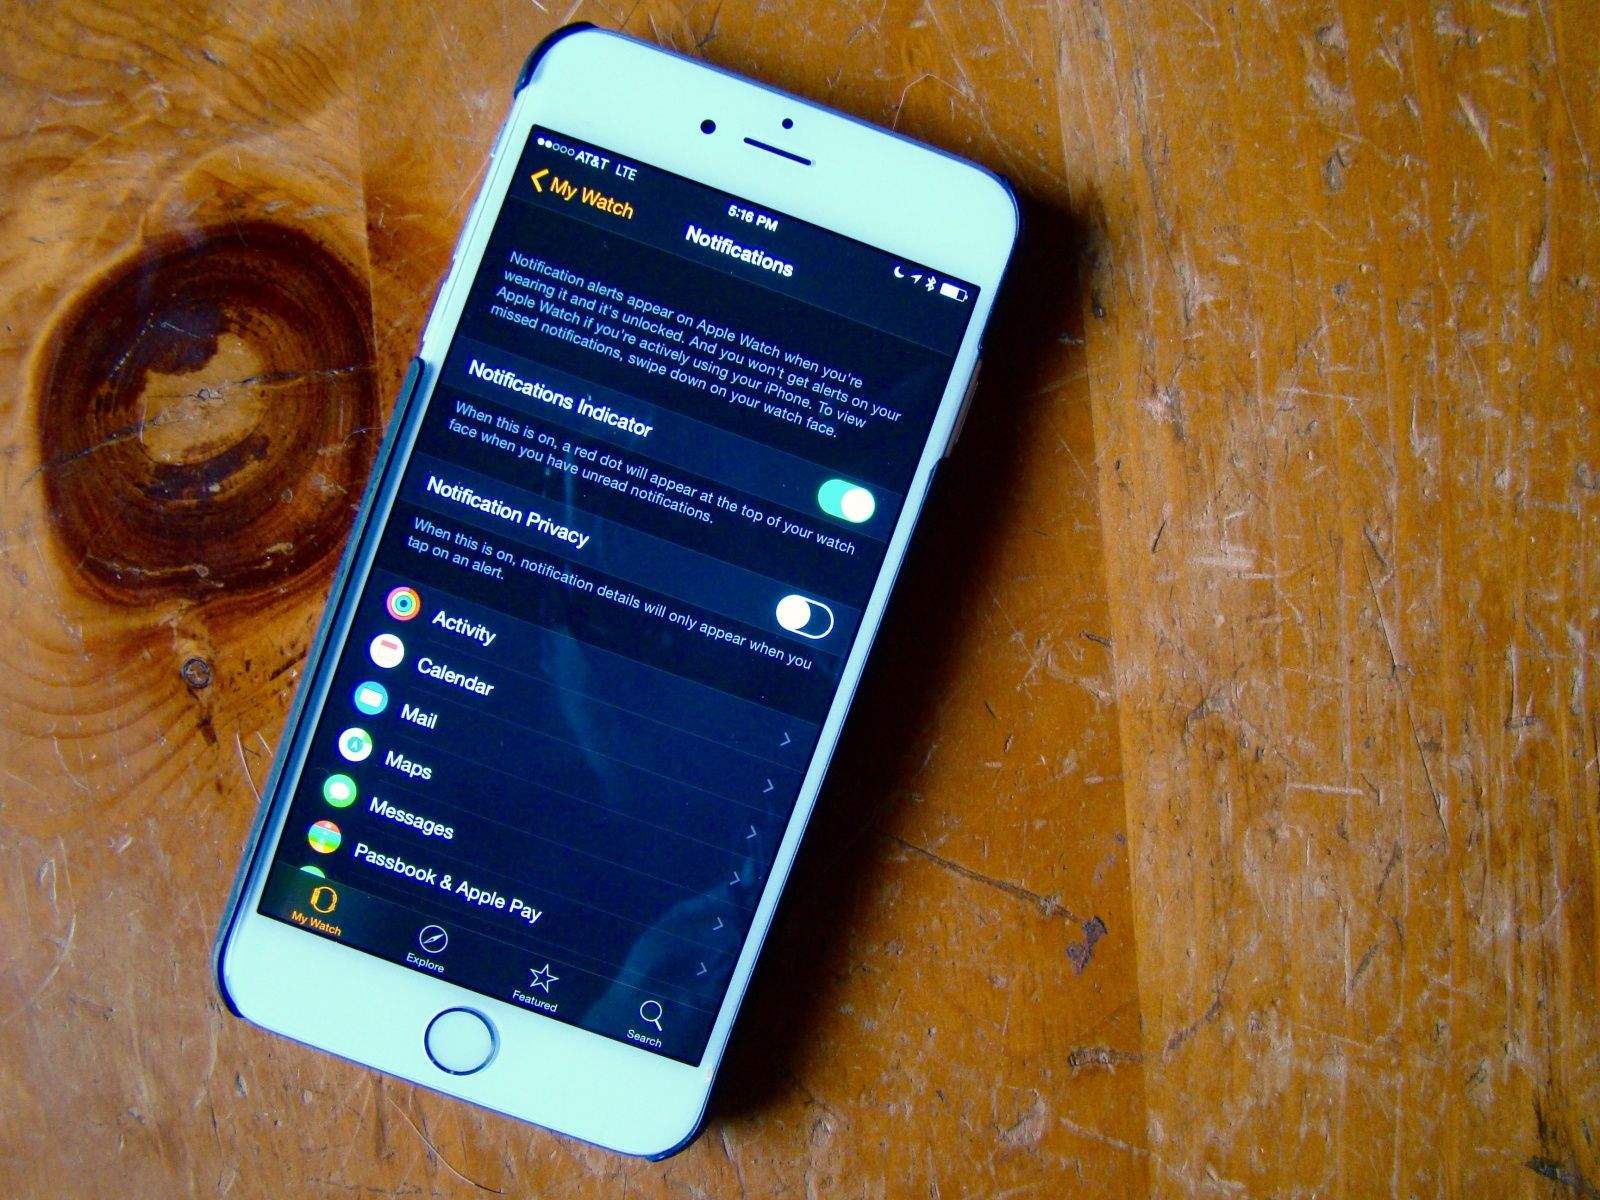
Tweak your Apple Watch notifications

By •

Manage your Apple Watch Notifications from your iPhone. Photo: Rob LeFebvre/Cult of Mac

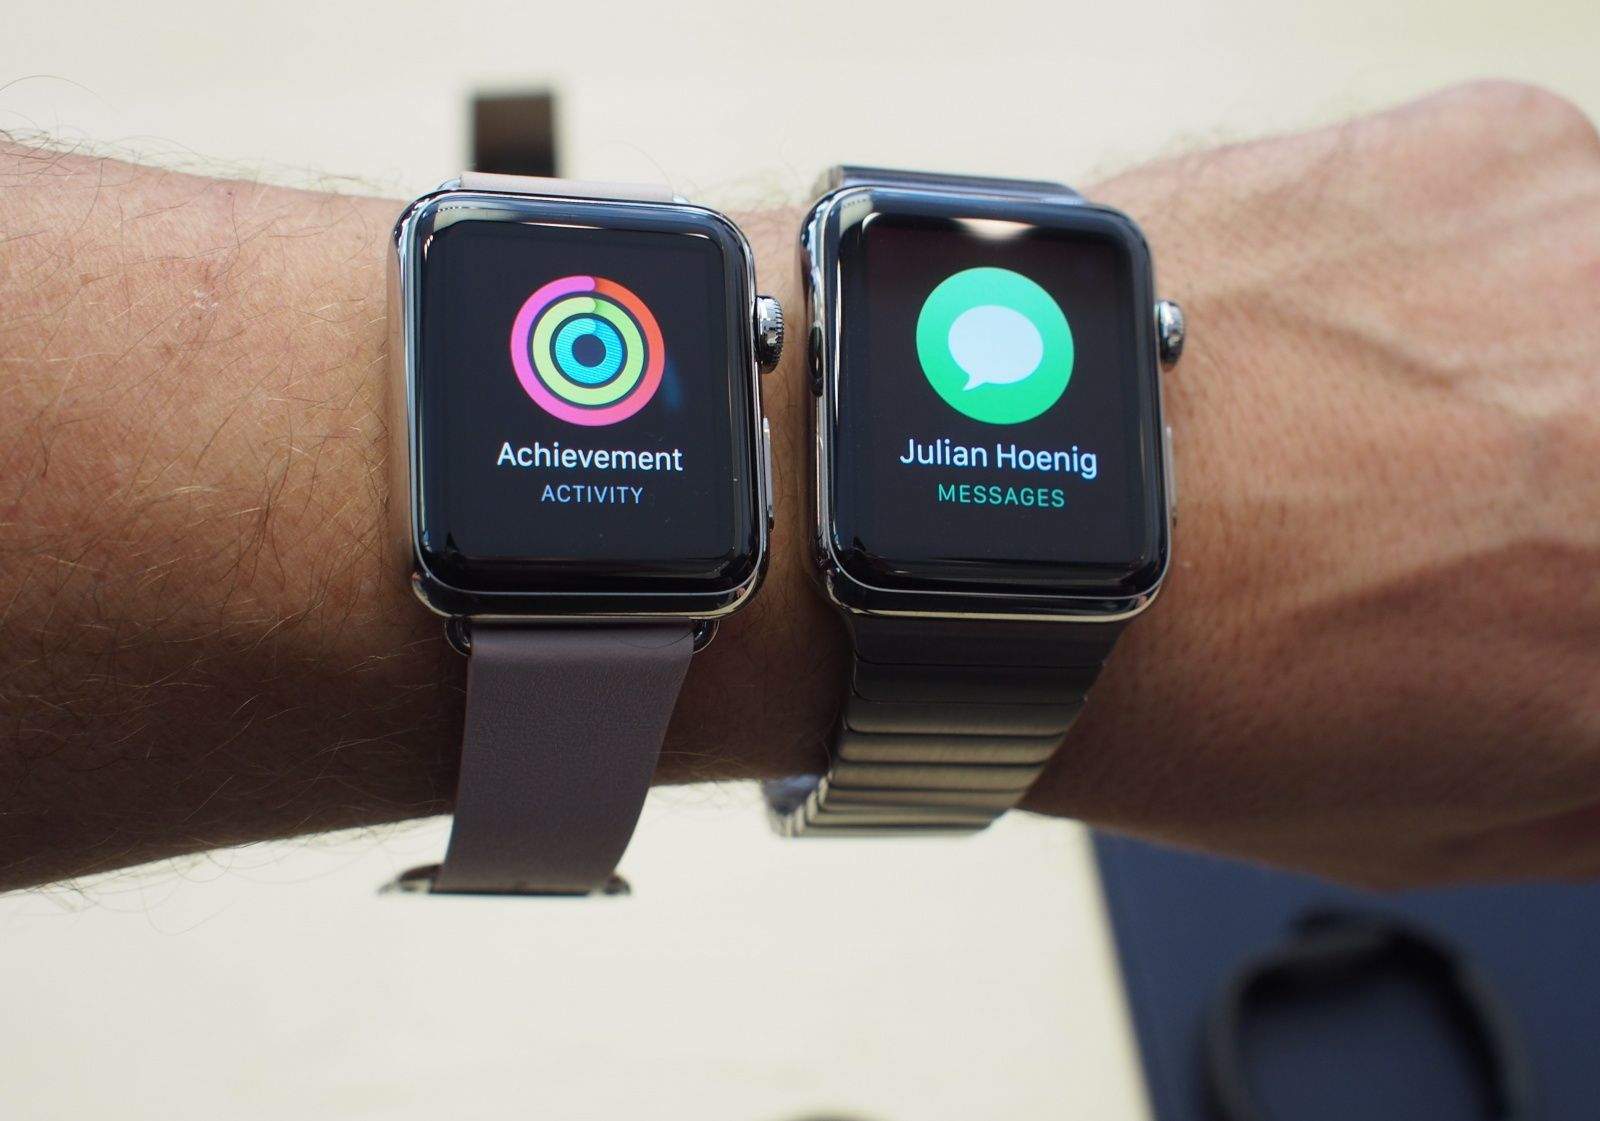
Notifications are why we all got an Apple Watch, right? We want to be able to know what’s going on in our digital lives all the time, but we want to do it faster, without having to pull out an iPhone. Because that’s just rude.

However, getting every single Notification that you get on your iPhone shunted automatically over to your Apple Watch is going to get tiresome. No one wants to deal with a wrist tap every time someone takes a turn in Evil Apples.

Here’s how to manage all of the notification cruft a little bit better.

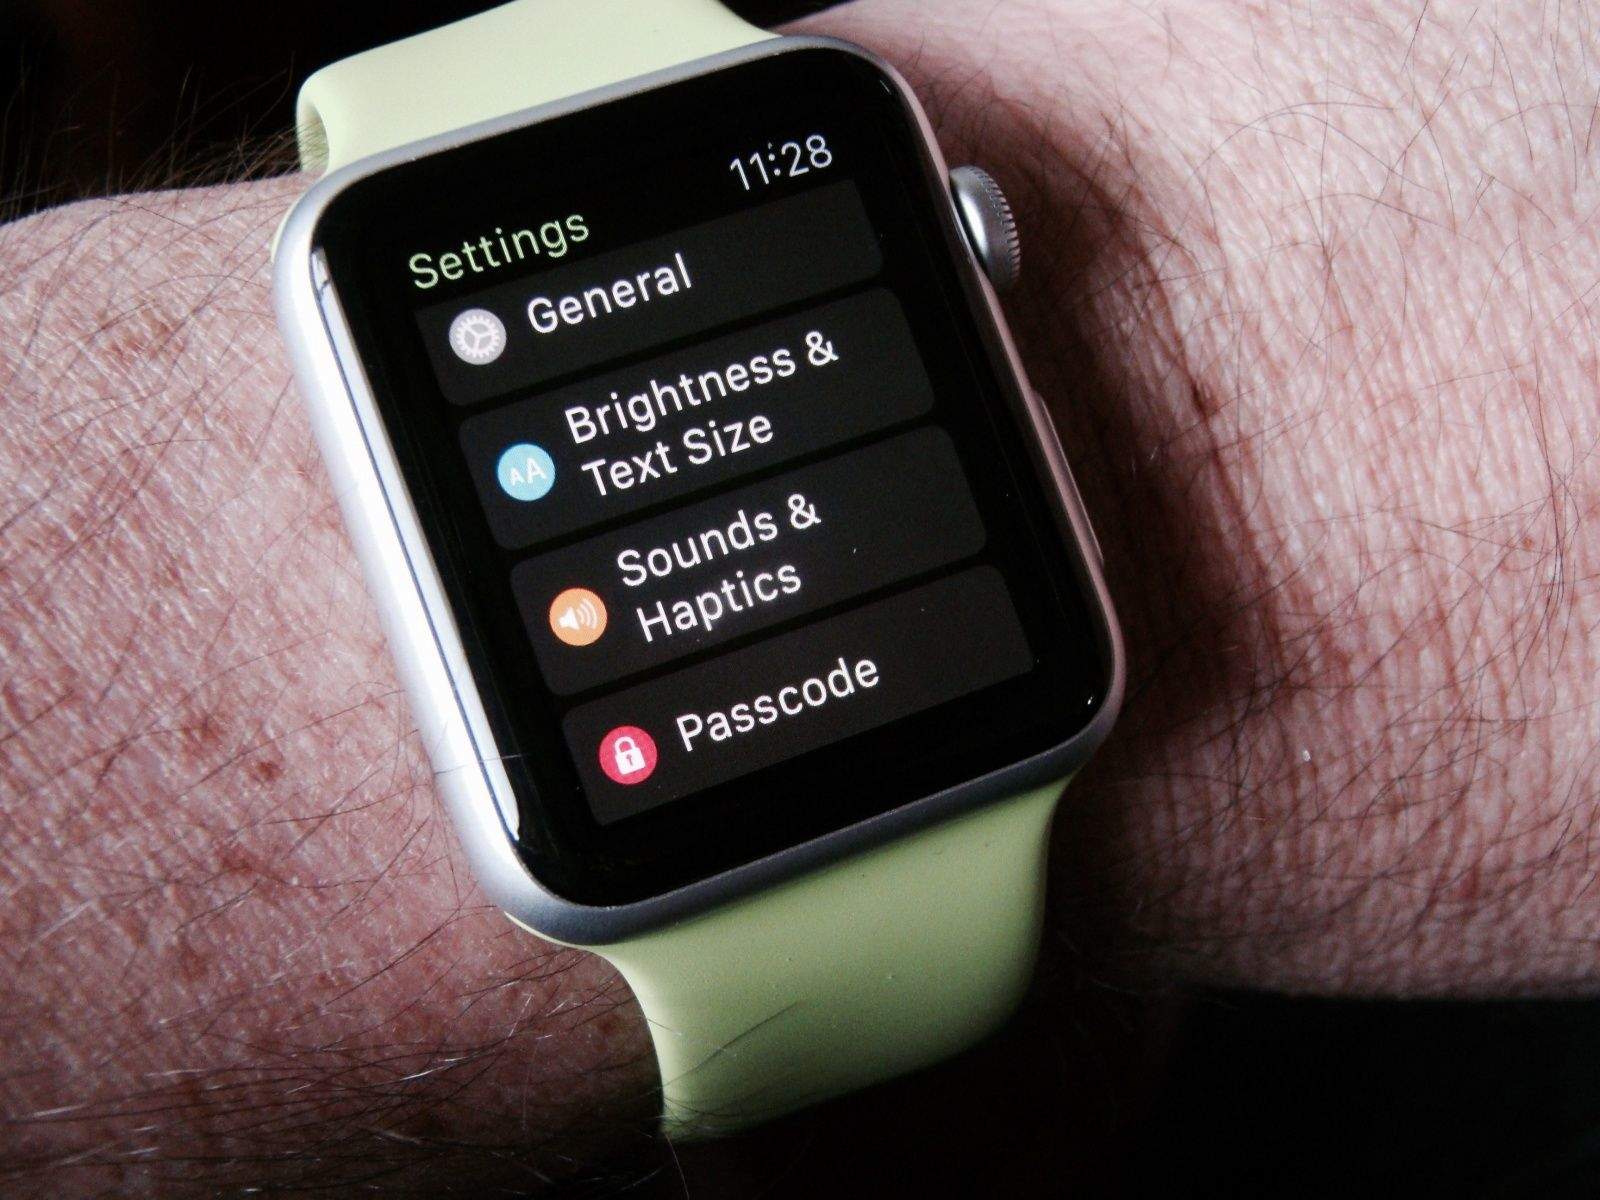
Customize your Apple Watch settings

By •

This screen is way too small for all the tweaks available. Photo: Rob LeFebvre/Cult of Mac

Getting your Apple Watch set up is fairly basic, but to truly make this your own personal device, you’ll need to dig into the Apple Watch settings.

You can do all of these things on the Apple Watch itself, but why force yourself to tap and swipe on that tiny screen? Use the Apple Watch app on your iPhone for a much more pleasant experience. You can thank me later.

How to set up your Apple Watch Friends screen

By •

Learning the user interface can take some time, and then there are all the subtle tricks.
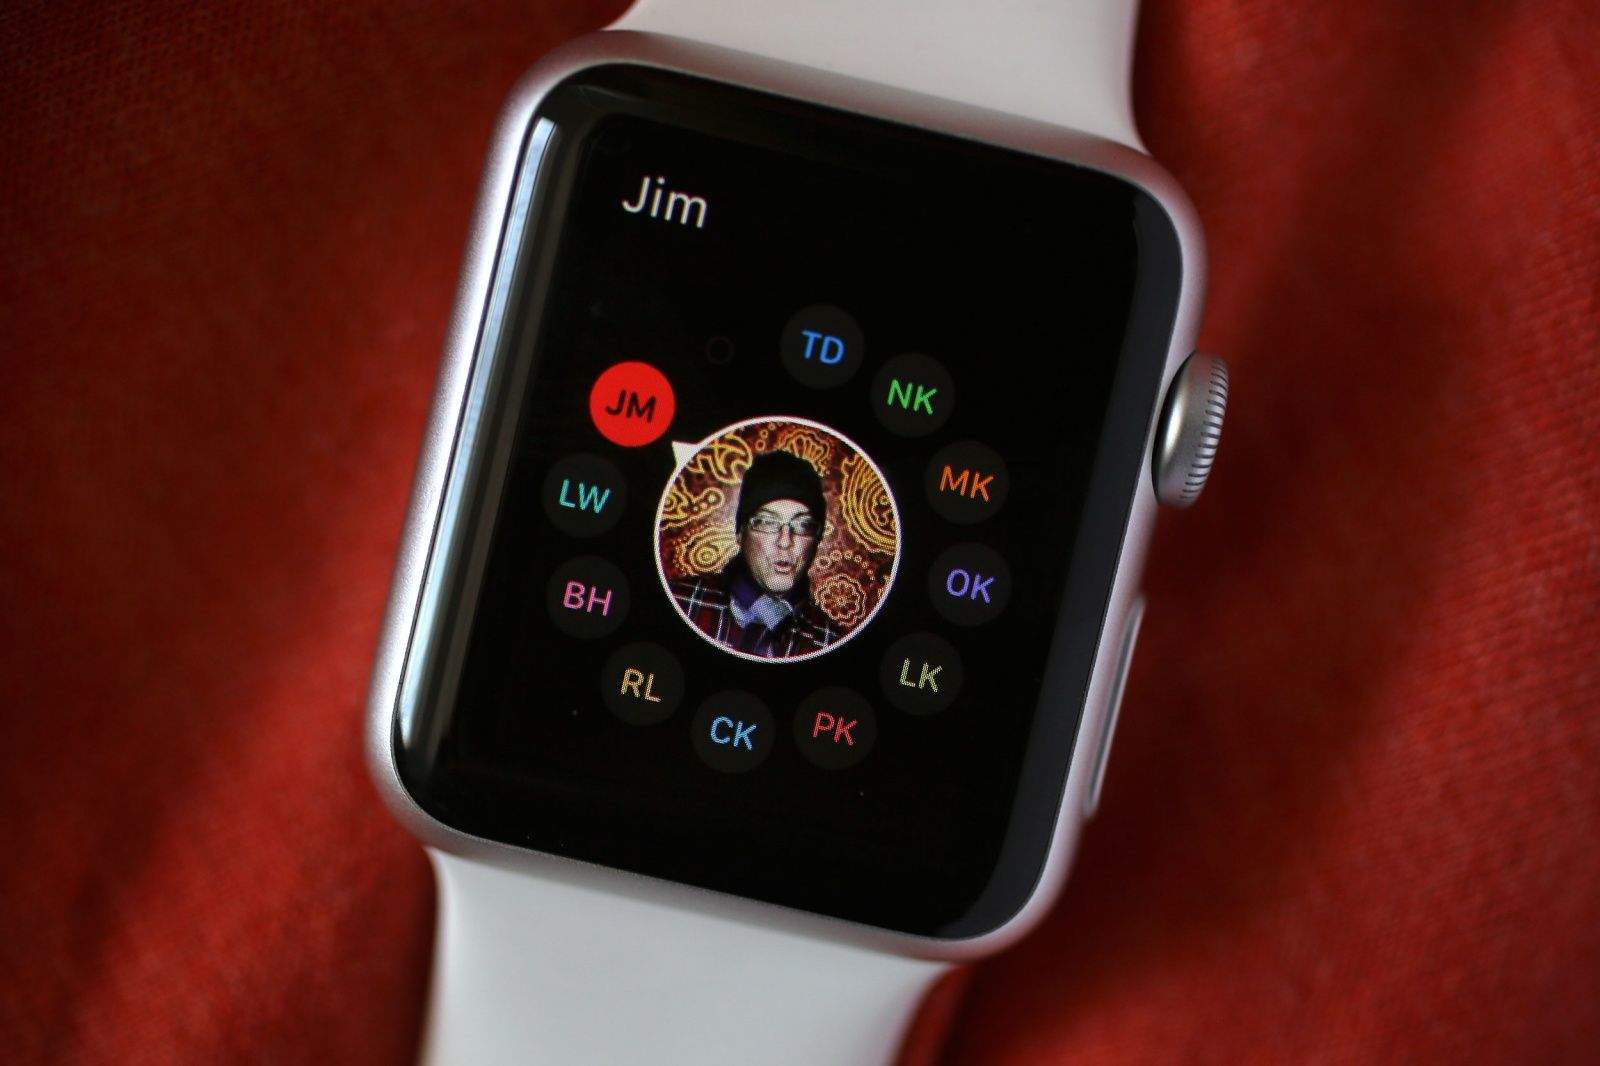
The Friends screen is one of the most important on the Apple Watch. Photo: Jim Merithew/Cult of Mac
Photo: Jim Merithew/Cult of Mac

After linking your new Apple Watch to your iPhone, your favorite contacts are automatically synced over. But to get the most from the device, you’ll want to make a couple of tweaks to the Apple Watch Friends screen.

It’s truly one of the most important screens on the Apple Watch — here’s how to make the most of it.

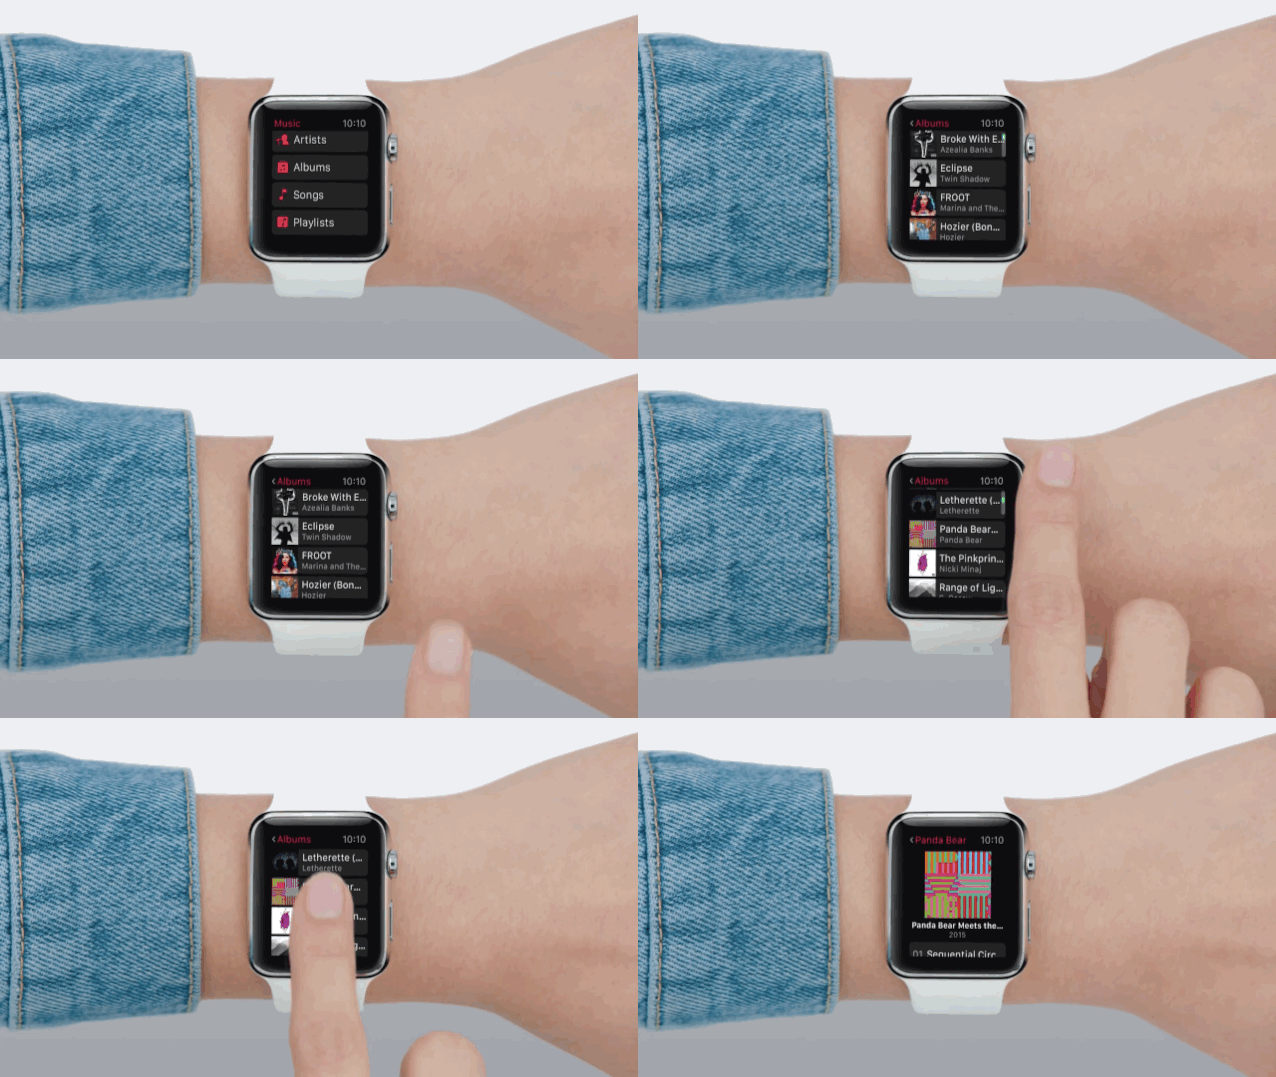
How to sync and play music with your Apple Watch

By •

Get ready to rock with your Apple Watch. Photo: Apple

Apple’s smartwatch doesn’t come with much onboard storage, but that doesn’t mean you’re screwed when it comes to Apple Watch music. You can add your own playlists and listen to your favorite tunes using Bluetooth headphones or AirPlay speakers.

To get the songs you want, you need to create a playlist on your iPhone or iTunes, then beam it over to your Apple Watch. Here’s how to do it.

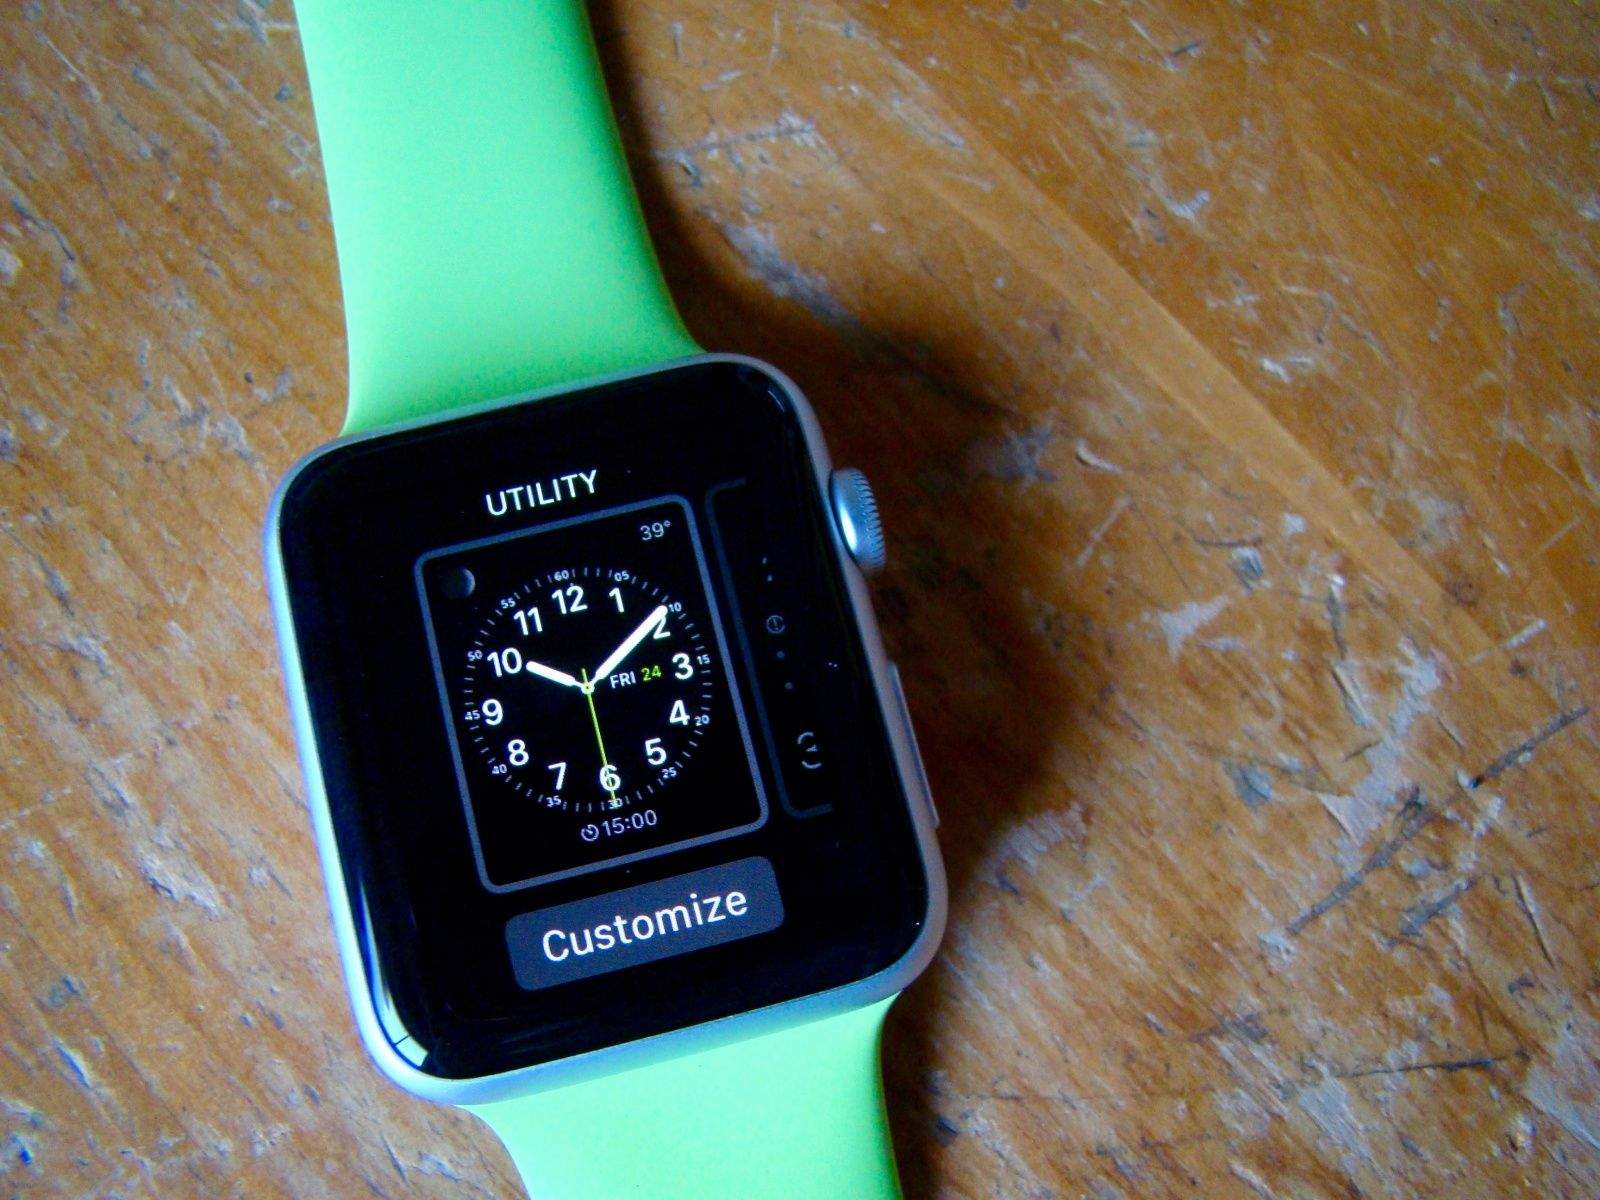
Set up your Apple Watch face the right way

By •

There's a lot of utility in this watch face. Photo: Rob LeFebvre/Cult of Mac

 There are 10 Apple Watch faces to choose from, and each one comes with a crazy amount of options. The moon phases widget is pretty neat, but do I really want to clutter up my watch’s minimalist look? If you’re looking for the coolest Apple Watch faces to match your style, there are plenty of customizable options.

The cool thing is that you can almost have it all. Apple makes it pretty easy to pick your preferred Apple Watch face and then tweak the specific options you want to add to (or delete from) your wrist.

Here’s how.

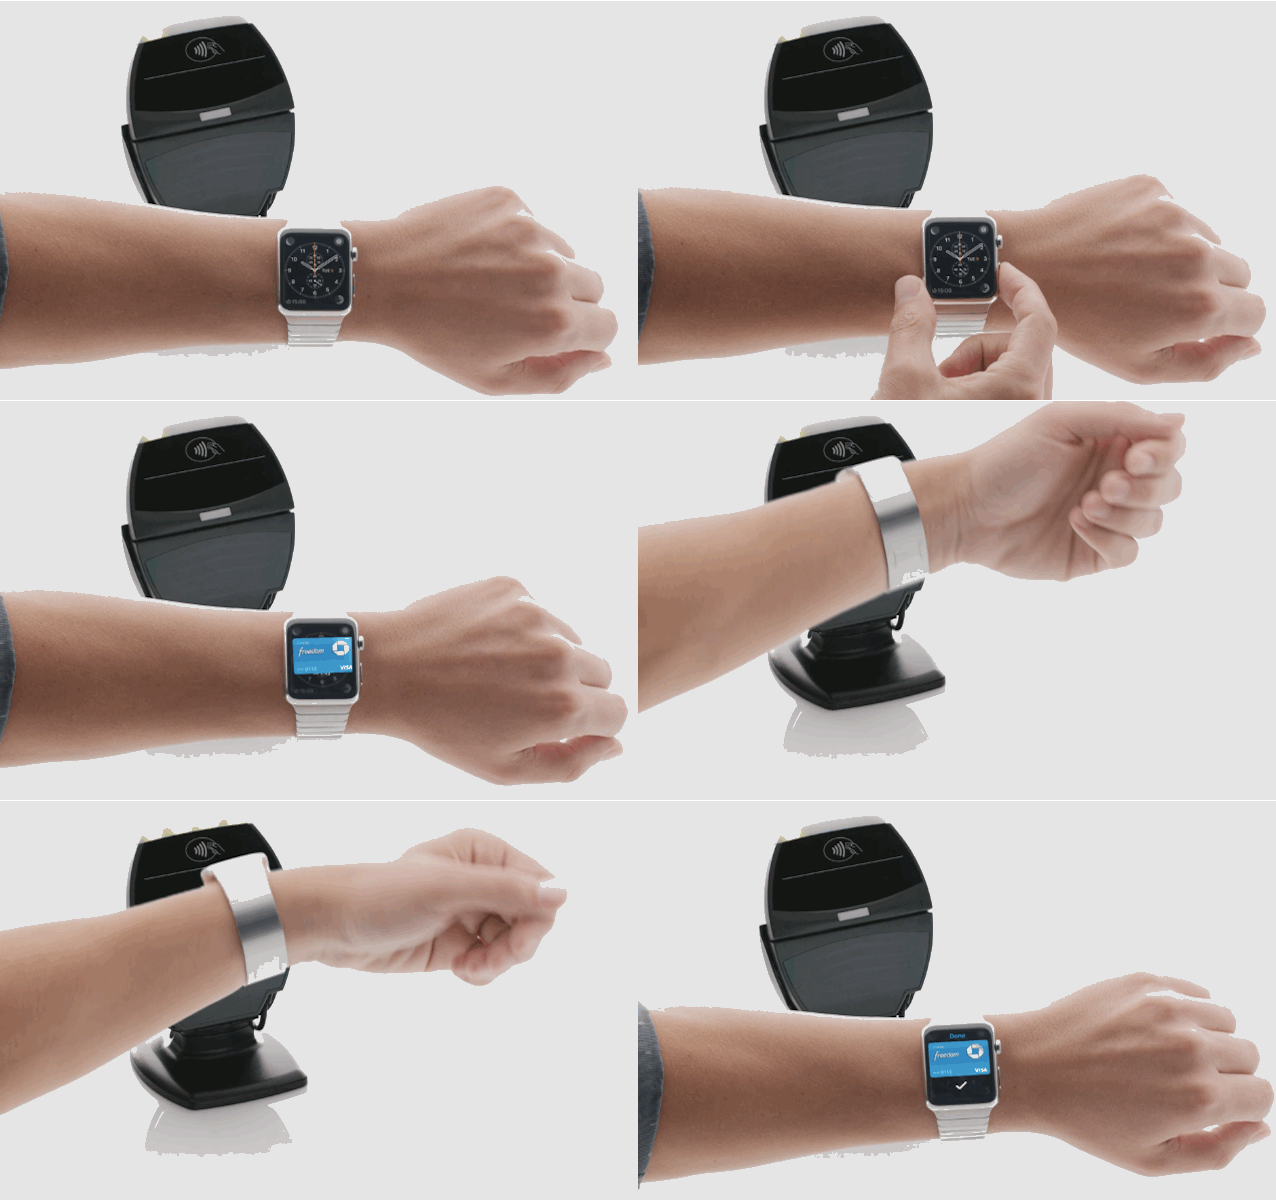
How to set up Apple Pay on Apple Watch

By •

How to set up Apple Pay on Apple Watch so you can breeze through checkout lines.
Once you get Apple Pay up and running on Apple Watch, you'll be breezing through checkout in no time.
Photo: Apple

Using Apple Pay on Apple Watch is ridiculously easy. Once you get everything set up, all you have to do is double-click the side button and then hold the Watch face up to a terminal. Apple’s also made it super-easy to add new cards to your Apple Watch, or create a custom Apple Pay profile just for your wrist.

Here’s how to get started with Apple Pay on your Apple Watch

Master your Apple Watch before it arrives

By •

Do your homework now so you'll be a master of Apple Watch right out of the gate. Photo: Apple
Do your homework now so you'll be a master of Apple Watch on Day 1. Photo: Apple

Once your Apple Watch arrives, you’re going to slap it on your wrist ASAP. But then what?

There’s a fairly steep learning curve for the Apple Watch, since Apple came up with innovations like Force Touch and the Digital Crown to make wrist computing more manageable. Luckily, there’s an easy way you can avoid being baffled by your shiny new Apple Watch — and it won’t take more than a half-hour of your precious time.

Never miss an iPhone call or alert again

By •

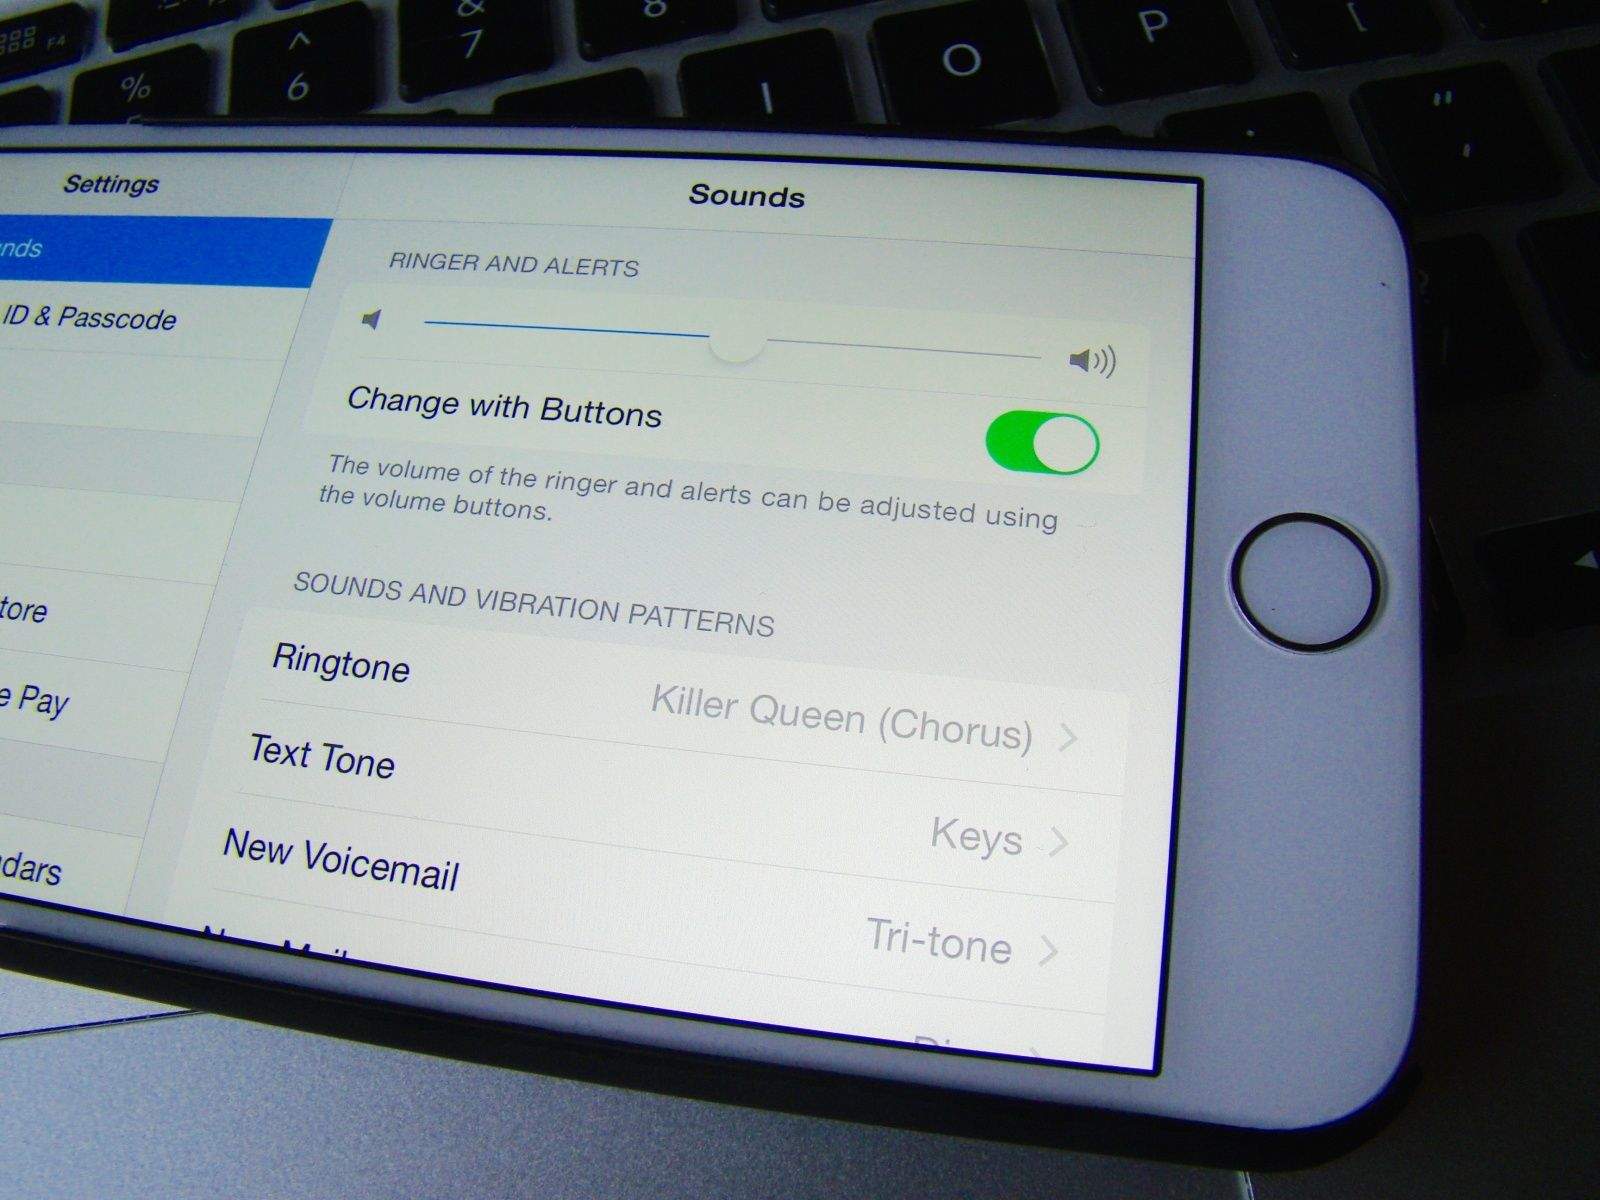
Keep your ringtone volume and media volume separate. Photo: Rob LeFebvre/Cult of Mac

There are two different channels for audio on your iOS device: there are ringers and alert sounds and there are media sounds, like from the Music app or various games on your iPhone.

The hardware volume buttons on the side of your iPhone are set to control both by default, but you can separate it out, making the hardware buttons only turn down the media sounds instead of both media and ringer sound.

Here’s our recipe on how to make sure you never miss a call because someone “accidentally” turned your volume all the way down.

Take better selfies with your iPhone’s timer mode

By •

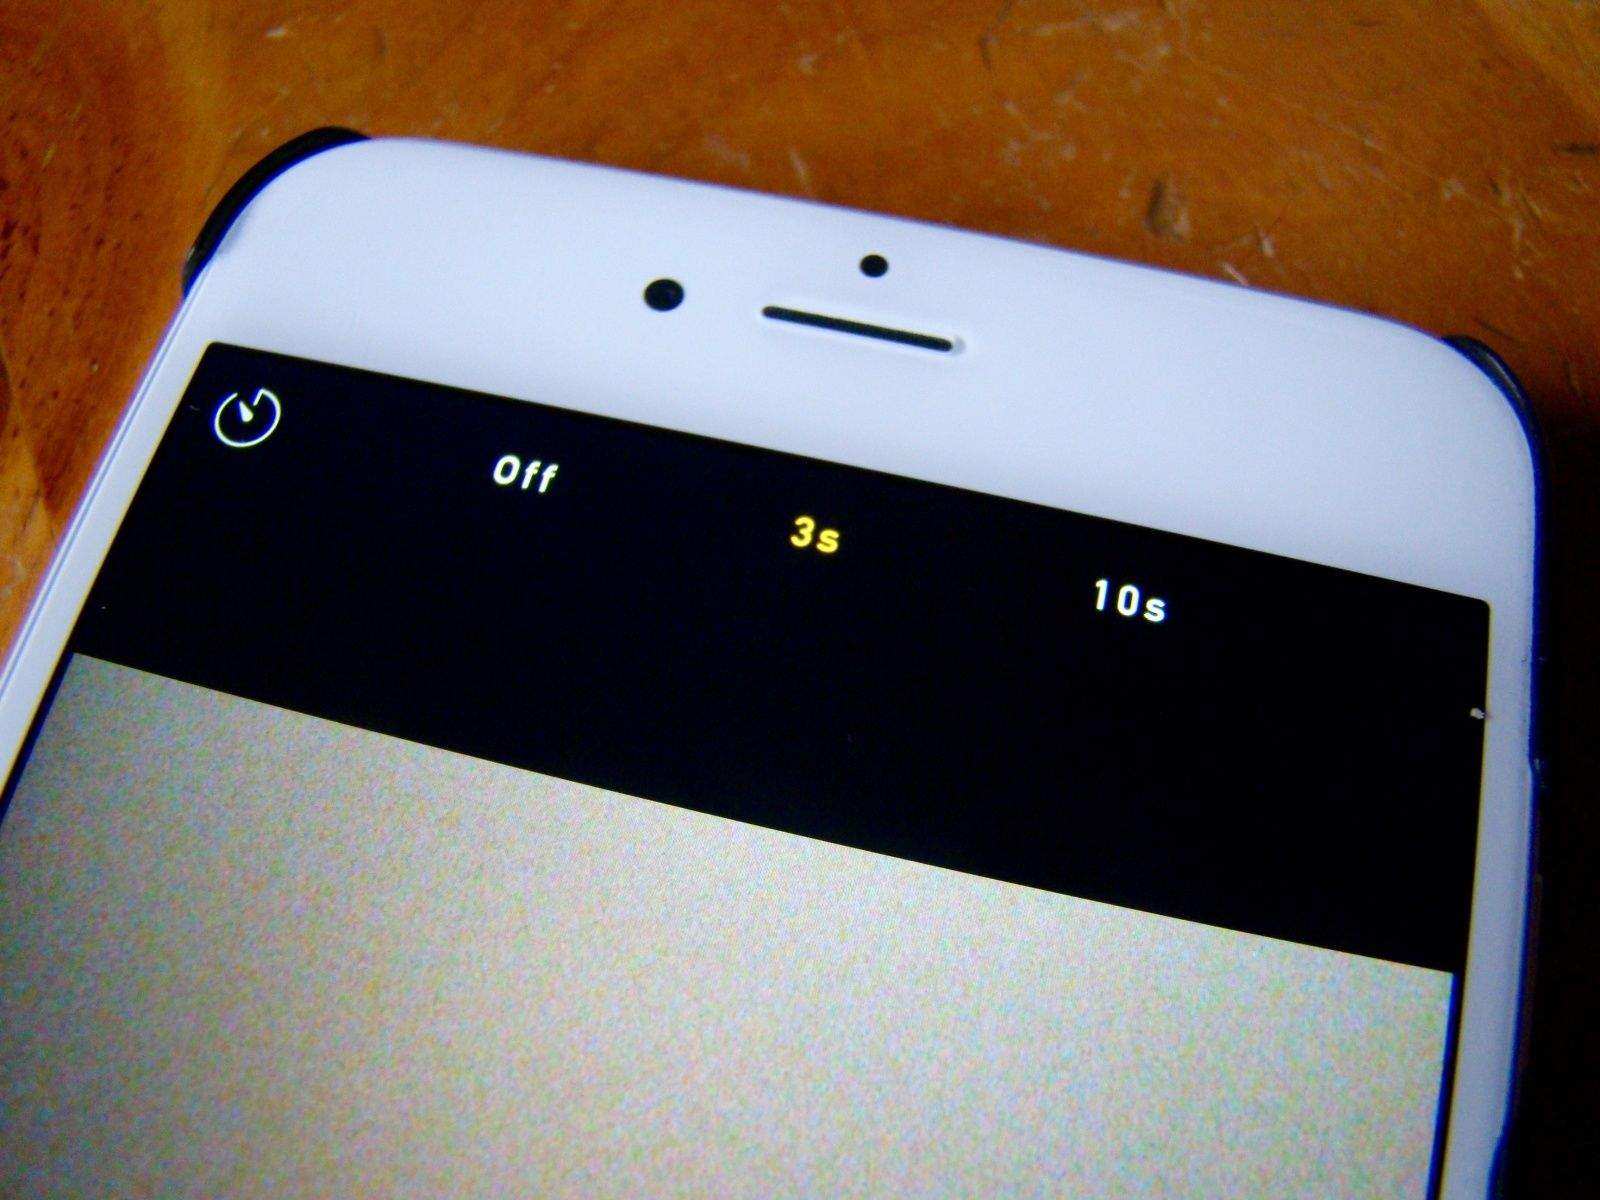
Gather all your friends for a groupie with the timer on your iPhone. Photo: Rob LeFebvre/Cult of Mac

It can be tricky to get the best shot when taking a selfie or group shot with your iPhone. If you want a better angle than the length of your arm can provide (or your ridiculous selfie stick will telescope to), you might consider setting your iPhone on a ledge or tripod and using the built-in timer mode to get yourself and everyone else into position before the shutter goes off.

It’s not super-tricky, but you do need to know where to look. Here’s our recipe to enable timer mode on your iPhone.

10 essential Finder tricks every Mac user should know

By •

Photo: Yeray Hdez Guerra/FlickrCC
Master your Mac with these 10 Finder tips. Photo: Yeray Hdez Guerra/Flickr CC

In Mac OS X, you’ll spend much of your time in the Finder, the part of your operating system that manages files and such. While you might think you know all there is to know about it, the Finder is a complex and wonderful app — with its own special tricks to master.

Here are 10 essential Finder tips that will help you get the most out of your time working or playing on your Mac.

How to create entirely separate photo libraries in Photos

By •

Maybe you just want to have a library full of food pictures, you know? Photo: Rob LeFebvre/Cult of Mac

One of the cooler hidden features of Photos (and iPhoto before it) is the ability to create more than one photo library. You can make one for your home photos, work photos, photos from a different camera, or those racy photos you don’t want the kids tripping over.

It’s pretty simple, but not totally intuitive – there’s no menu item to select to create a new library.

Follow our recipe to create as many different libraries as you like for separate but equal Photos access.

How to hack the new MacBook’s power chime onto the MacBook Air and Pro

By •

Original MagSafe connector
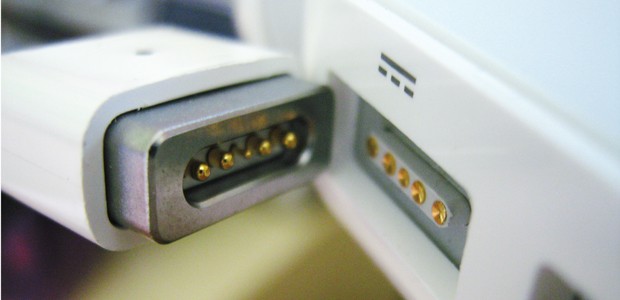
Here's how to hack the new MacBook's power chime onto the Air and Pro. Photo: Cult of Mac
Photo: Apple

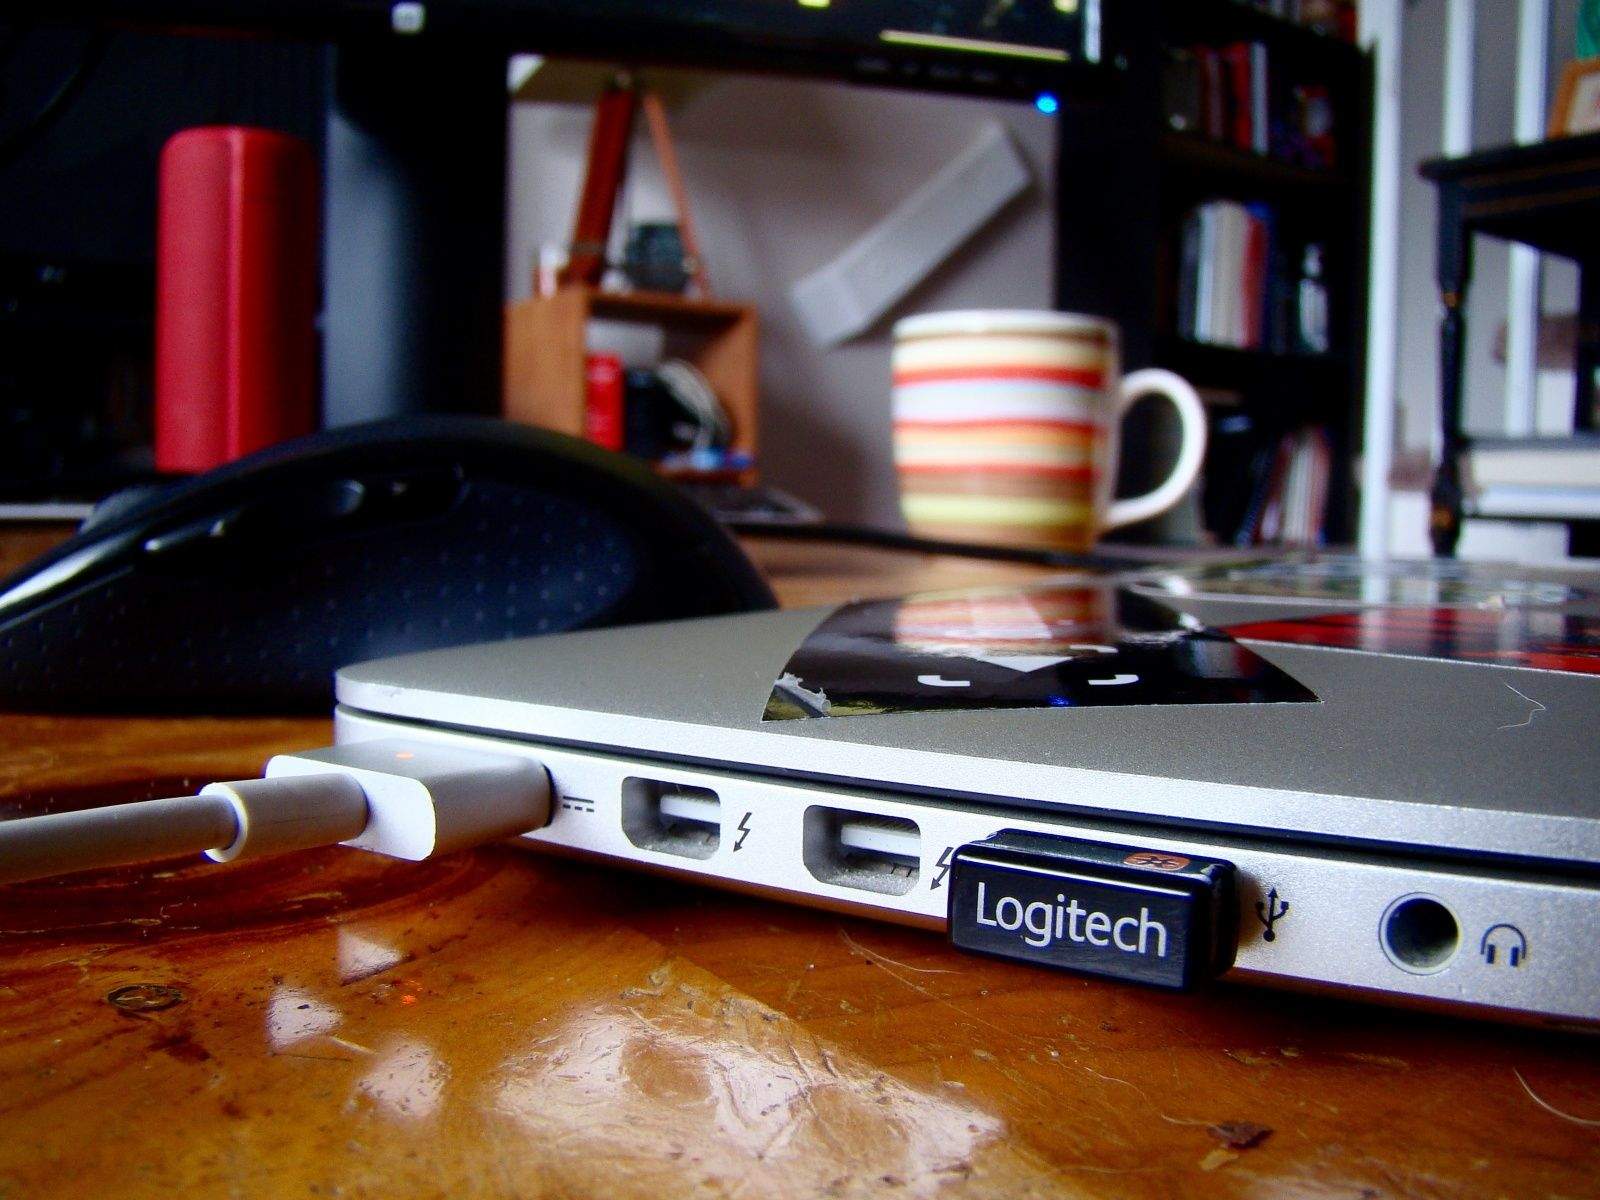
You know how the iPhone and iPad plays a little chime when you plug it in? The new MacBook also does that. But sadly, the MacBook Air and MacBook Pro remain completely silent when they connect to juice — which can make it hard to tell when you’ve accidentally knocked the MagSafe loose.

If you’ve got a MacBook Pro or MacBook Air, though, it’s easy to hack in the new MacBook’s power-charging sound. Here’s how.

Shield your iPhone fitness data from other apps’ prying eyes

By •

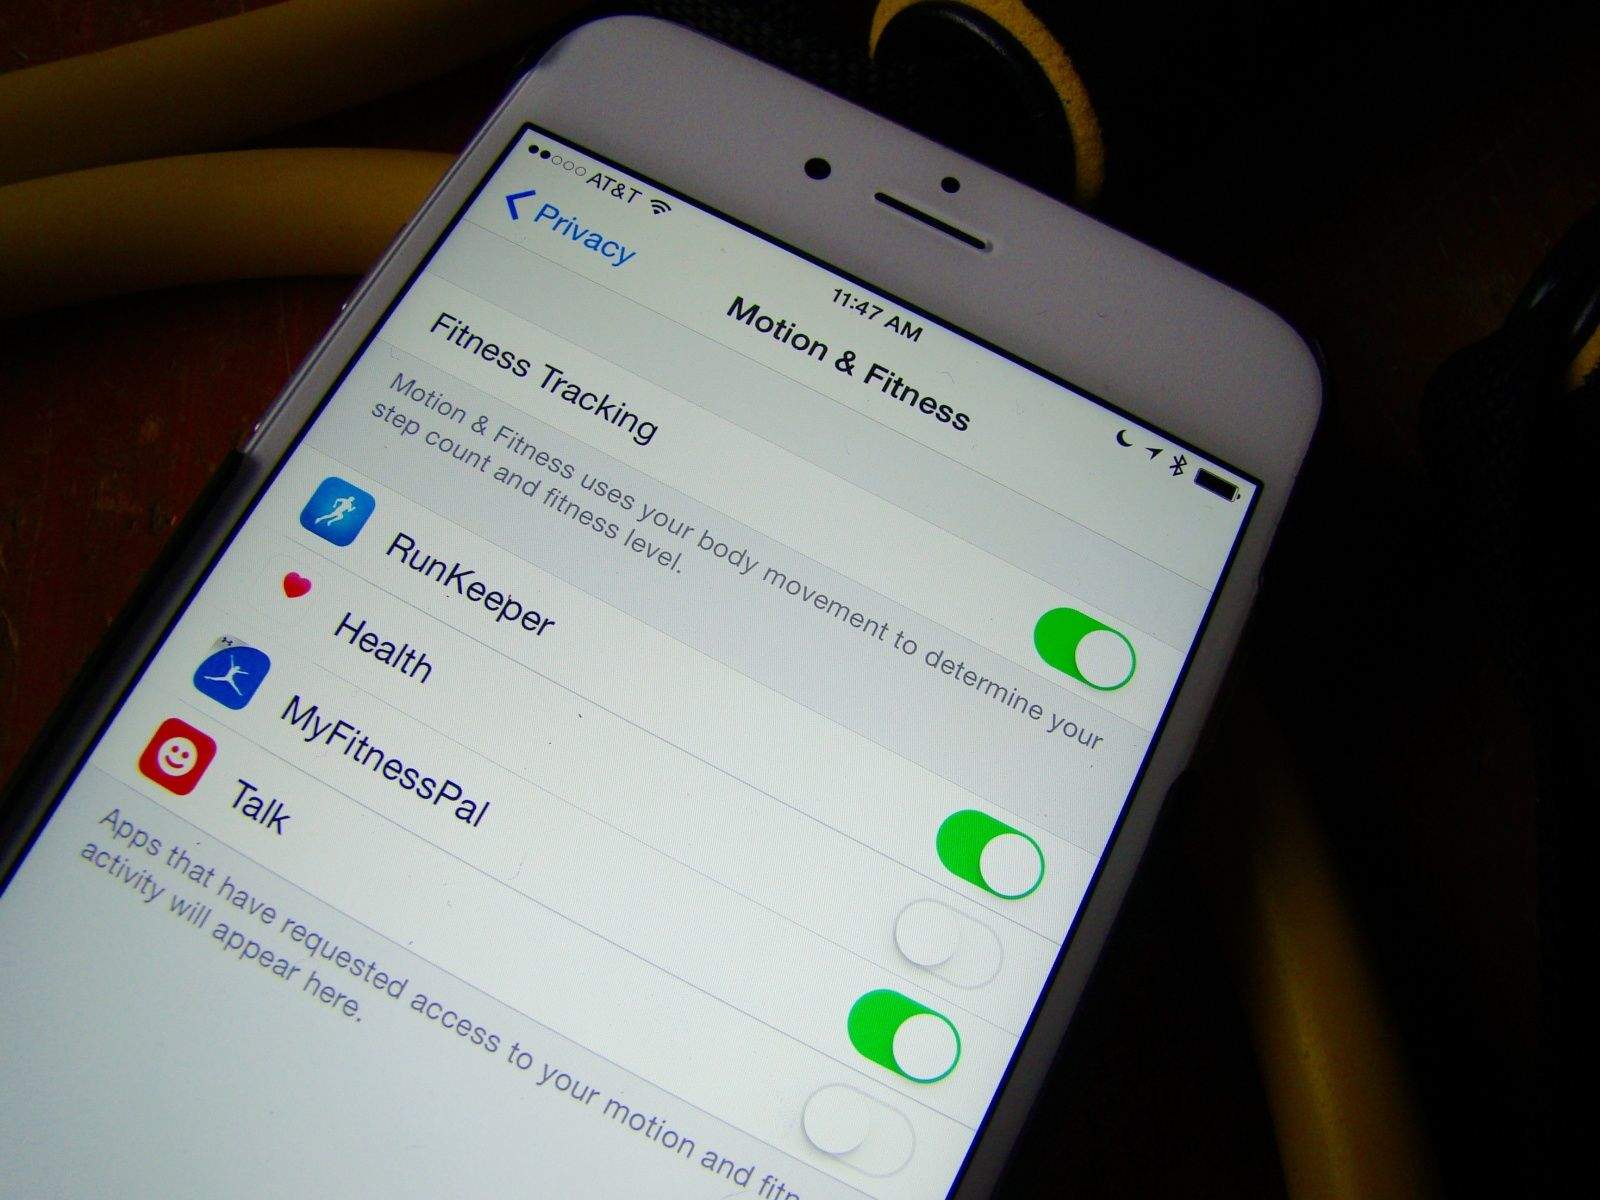
Keep your activity data private. Photo: Rob LeFebvre/Cult of Mac

With the advent of Apple’s motion coprocessor chip (the M8 in recent iOS devices), any apps that you download and grant permission to can use this data to enhance their offerings.

This lets apps like RunKeeper, Carrot Fitness and others both gather fitness data from your iPhone as well as send it to the Health app.

This could raise privacy concerns for some, so being able to decide which apps we allow to access our fitness-tracking data — or whether the iPhone tracks these activities at all — can be a helpful.

Here’s our recipe for getting finer-grained control over your fitness-tracking data.

Make iOS Calendar look the way you want

By •

Calendar
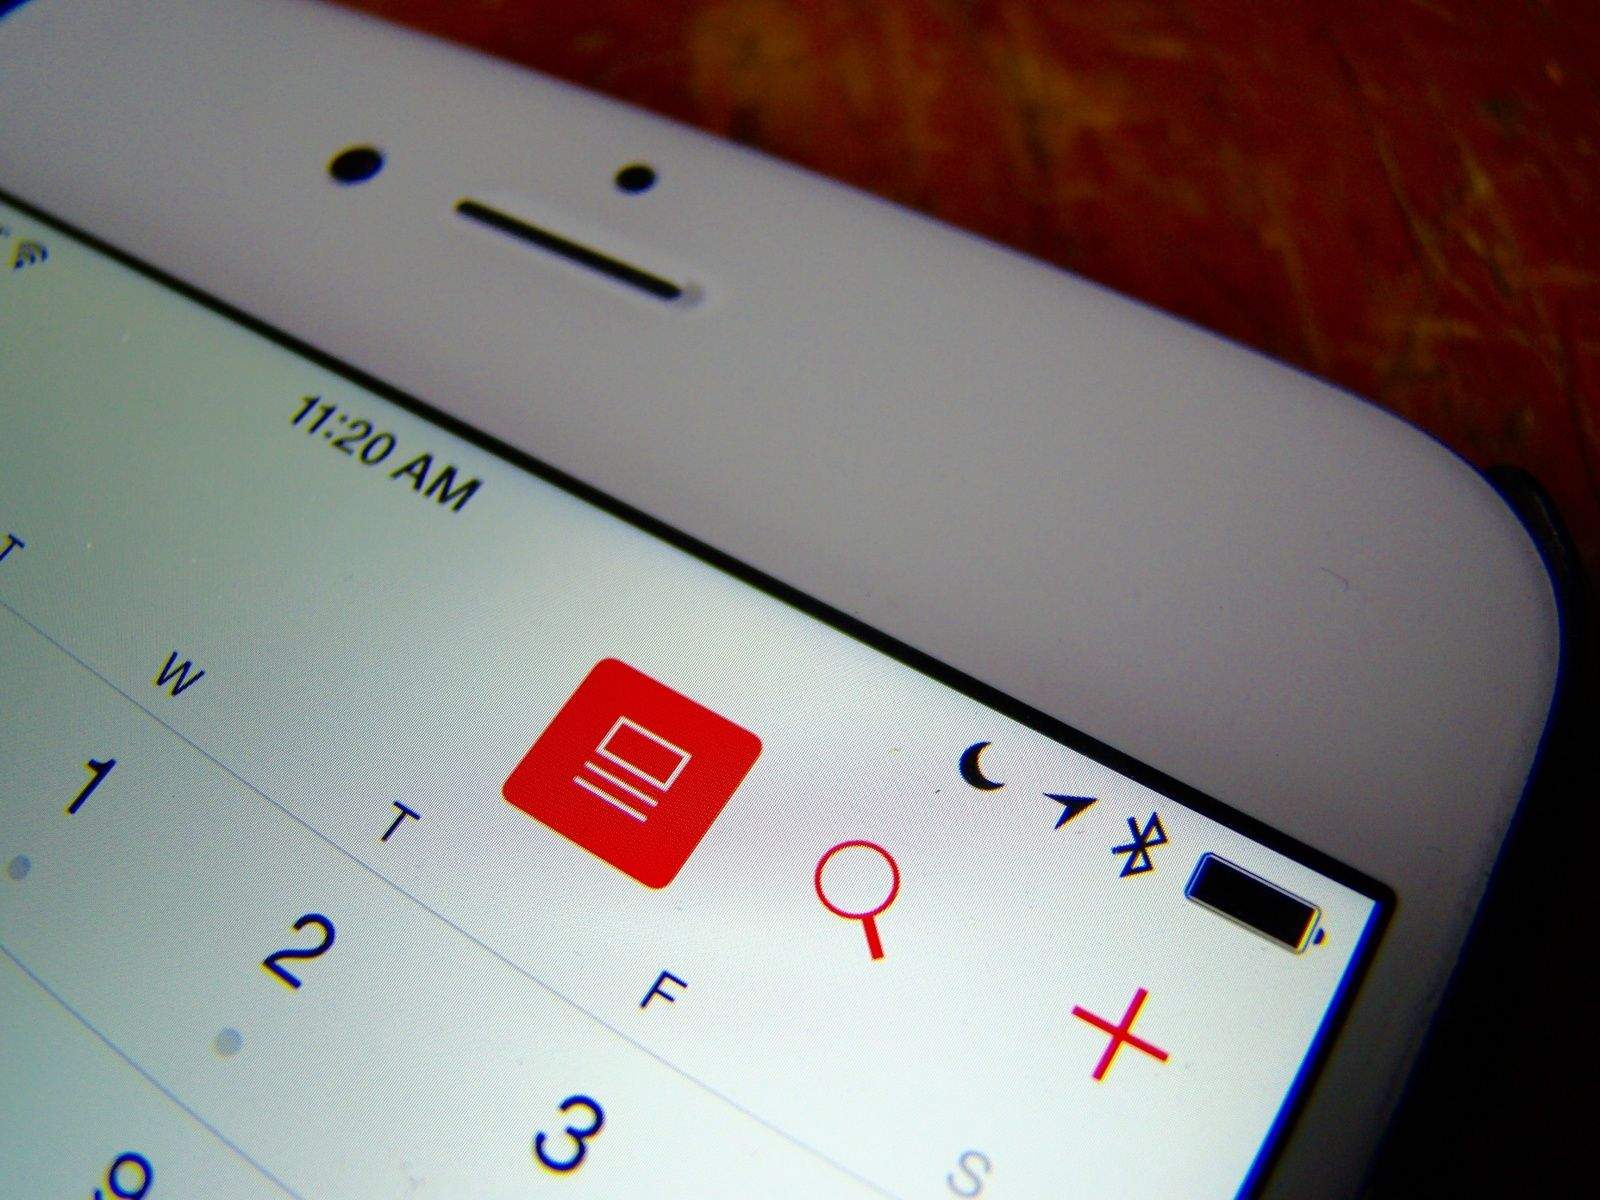
Press the button. Photo: Rob LeFebvre/Cult of Mac
Photo: Rob LeFebvre/Cult of Mac

Oh, that pesky list view in your iOS Calendar app. It sure likes to go missing in various iOS updates, doesn’t it, like in iOS 7 when it just, sort of, disappeared.

It’s not totally gone now in iOS 8.3, but there is a new way to access it along with a new layout. There are also some funky ways to move around your Calendar app that may not be as intuitive as they should. These aren’t necessarily new to iOS 8.3, but it’s handy to know them, as well.

Here’s the recipe you’ll need to view your iOS Calendar the way you want on your iPhone and iPad.

How to keep iOS gaming sessions from being interrupted

By •

Stop getting interrupted when you're gaming. Photo: Rob LeFebvre

I’ve been playing Vainglory quite a bit lately, and the one thing that really distracts me and actually impacts my gameplay (when on my iPad 3) is notifications. They can make the game stutter, which wreaks havok on my ability to gank an enemy Joule from the bushes with my Krul.

Seriously, it’s annoying.

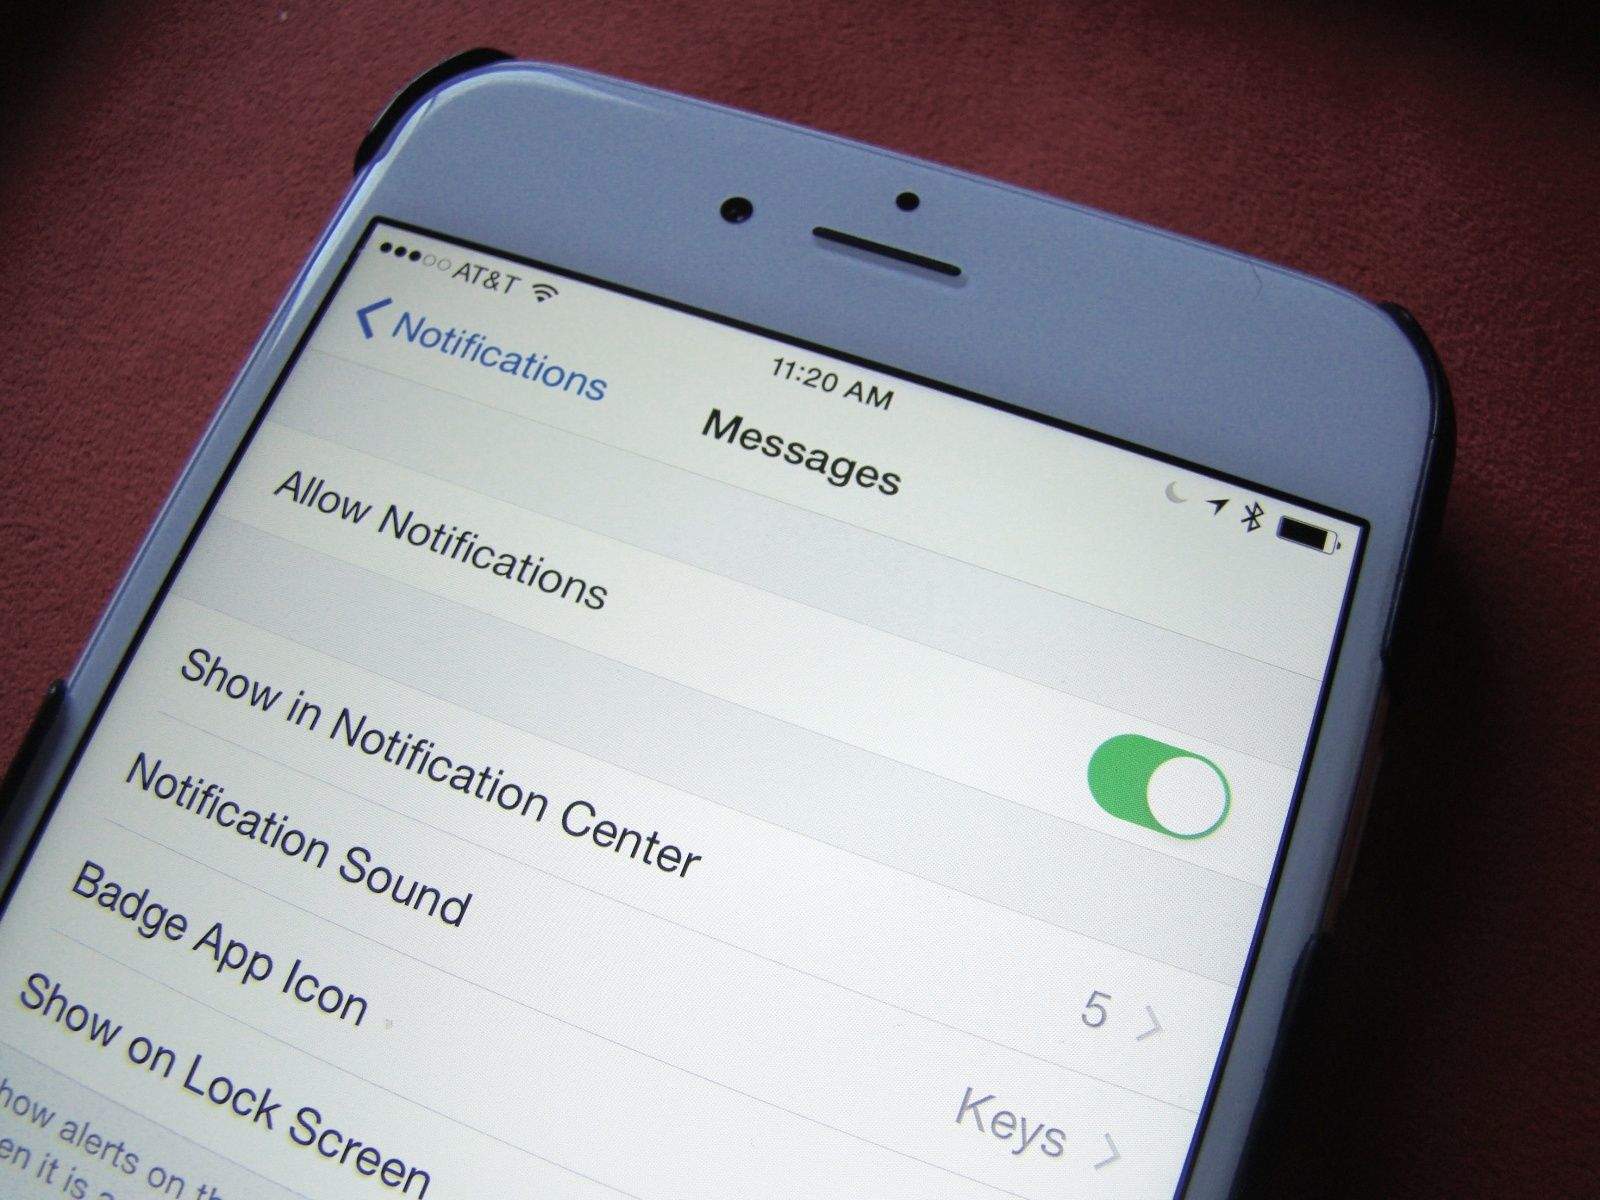
I turned on Do Not Disturb last week to try and get rid of these badges that annoy, but it never worked: I still got notifications from Facebook, Messages and other appss. I did some digging to find out why.

Pro tips for traveling with your MacBook

By •

Keep your MacBook safe whilst on the move. Photo: Quentin Meulepas/Flickr
Keep your MacBook safe while you're on the move. Photo: Quentin Meulepas/Flickr

Being a workaholic means I’m always taking my MacBook with me wherever I travel, but carrying around a $2,000 machine is a constant risk. In today’s s video I show you everything you need to know to keep your MacBook safe while you’re on the move.

How to use your MacBook in closed-clamshell mode

By •

Save yourself some desk space with this closed MacBook mode. Photo: Rob LeFebvre/Cult of Mac

I was setting up my MacBook Pro with Retina display to work with a new external monitor today, thinking that when I connected to the monitor via HDMI and closed the lid, I’d see the display up on the new monitor.

I was disappointed when I saw absolutely nothing up on my new monitor, so I went searching to find out how to make it work. Is it a special setting in the System Preferences? I haven’t had an external monitor for a while, now; maybe things are more complex.

Luckily for me (and you!), it turned out to be much simpler to make happen. Here’s the recipe.