A lot of people, like me, had the misfortune of buying a 3G iPod, loving it, and absolutely hating its terrible battery life. Apple eventually provided a product recall following a class-action suit, but the replacements weren’t that much better. At this point, my factory installed battery literally averaged just 45 minutes of life each charge. Less if I tried to skip a song or change playlists.
To really get this lovely vintage gear in top shape, an upgrade with longer life is called for. Lots of companies are now offering service to install new batteries, but that’s for wimps!
Ready to take on the challenge, I ordered a DIY kit for iPod battery replacement last week, and tonight I got the process down. It’s easy, and it’s fun. So click through for a complete step-by-step photo guide to installing a third-party battery.
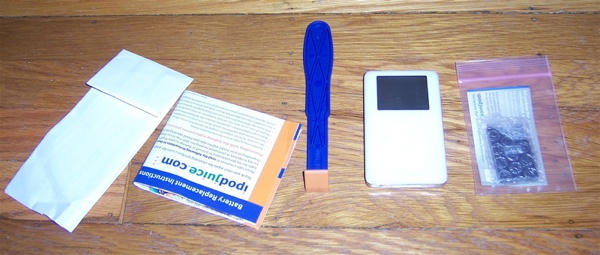
1. Essential Tools
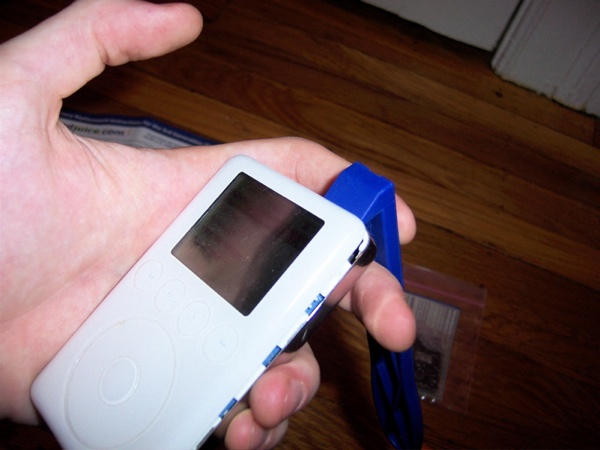
Lots of kits exist for installing new iPod batteries. I went with the 1100 mAh kit from iPodjuice.com, buying into the idea that a large number of milliAmp hours would make my life better. It’s really cheap — less than $40, and it comes with a colorful — and comical — iPod-opening tool. The battery by itself is $5 cheaper, but it doesn’t matter one way or the other.
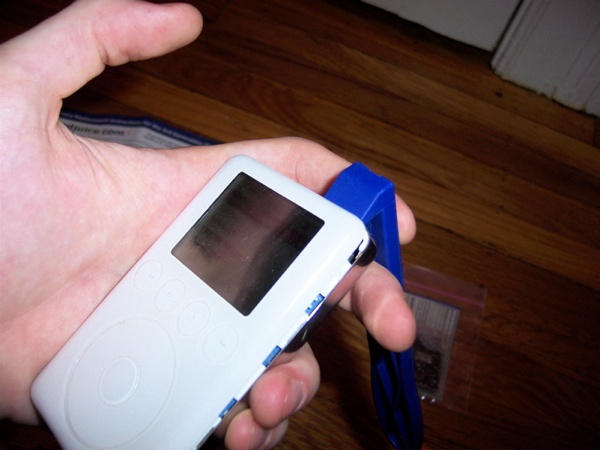
2. Pry it open!
Use the sharp end of your tool (a screw driver could work, too, but it could damage the case or internals) to open one of the lengthwise sides of your iPod. Just get in between the plastic and the metal, and then very slowly work around the edges until the case halves can be pulled apart. You should turn your iPod off, but mine came on spontaneously — the hold switch from this era really sucked.
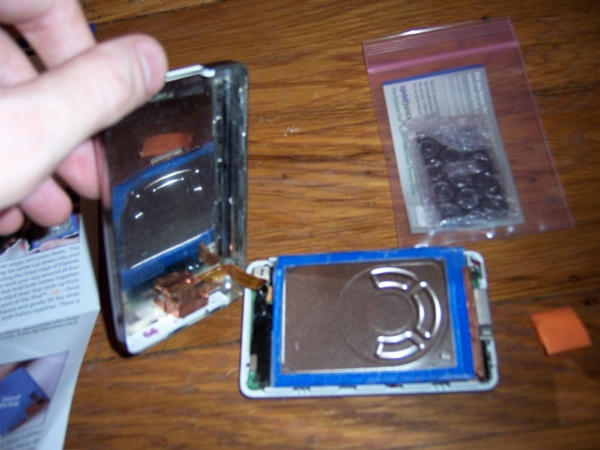
3. Flip it open, lay the halves flat.
This one’s pretty self-explanatory. Make sure to protect the bronze ribbon connecting the motherboard to the metal case. The blue foam rubber on the hard drive is wacky, huh?
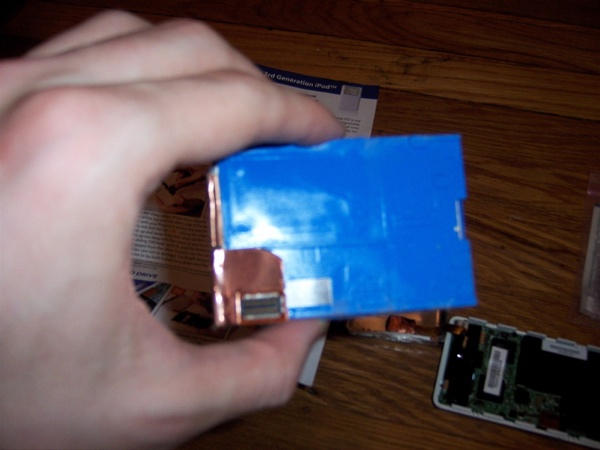
4. Remove the hard drive.
Ground yourself by touching something big and metallic first. Lift from the end of the hard drive without the concentric circle indentations on it. Last, gently lift the bronze tab with the connector on it away from the motherboard and look at the mysterious underbelly.
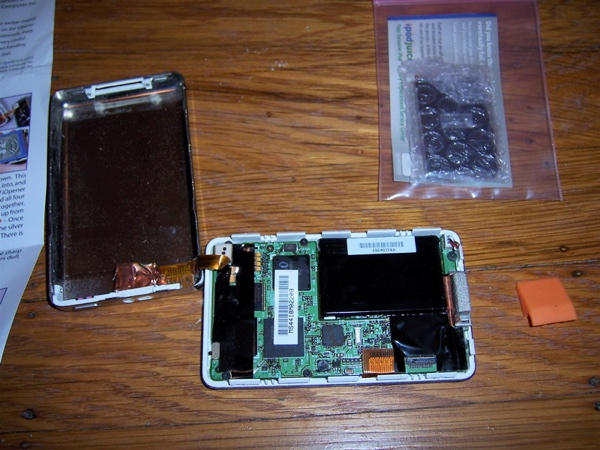
5. Look at the motherboard: Weird. And remove the battery.
The battery is the big black rectangle at the upper right. Lift it out, and note the three brightly colored wires that run from it to a white interface box. The wires are wrapped around the bottom of the motherboard, so guide them clear, then tug. No more battery!
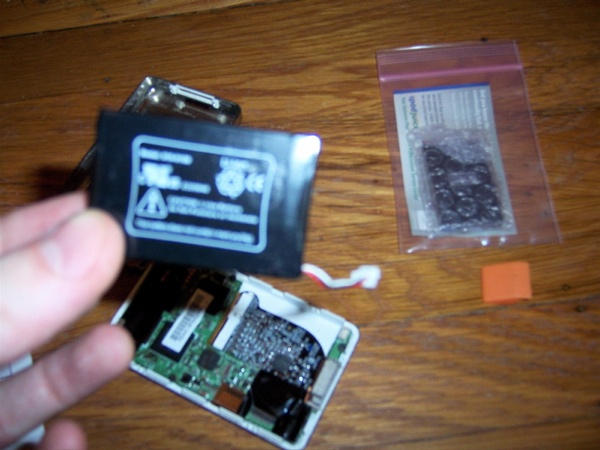
6. Yell at the battery.
You suck, factory-installed battery!
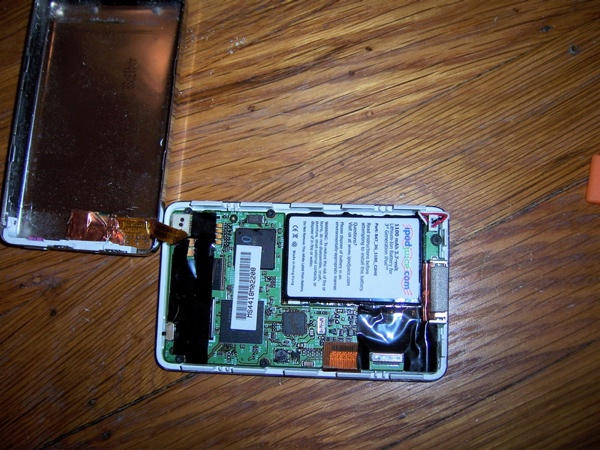
7. Install the new battery. Reinsert the hard drive.
Use the white connector box on your brand-new battery to hook into the motherboard. Lay the battery into place, carefully wrapping the cables around the outside of the motherboard. Now it’s hard drive time. Remember that weird bronze tab on the back of it? match it up to the line of circuits at the lower right. Pick up your iPod with the hard drive in roughly the right place, then use your fingers to feel that the connection is right. This is the hardest step, so check to make sure your music comes up when you turn it on before closing up. If you can play any songs, you’re good hard drive wise.
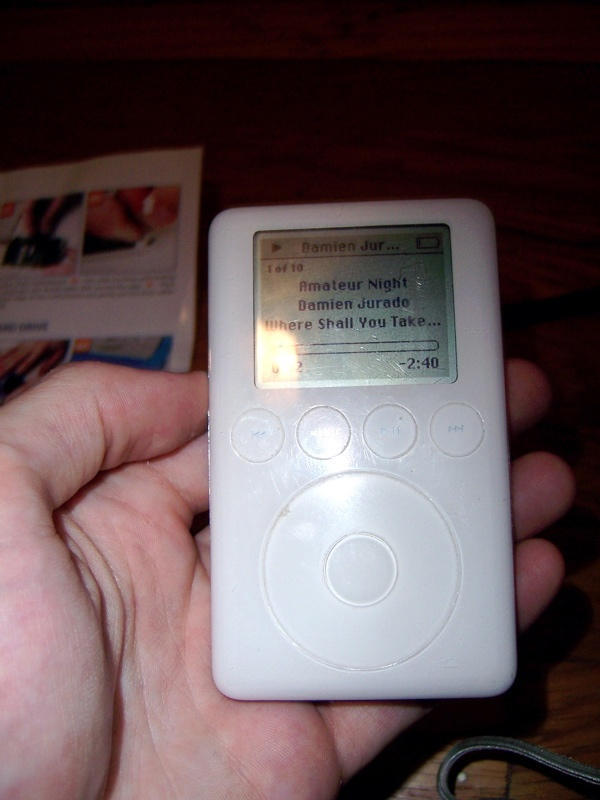
8. Close it up and rock on.
That’s it. Soon you’ll be back to listening to the mid-tempo acoustic ballads of gothic Americana that you’ve always dreamed about. I’ll report back soon with a new battery life figure.


18 responses to “CULT HOW-TO: Replacing an iPod Battery Isn’t Actually Hard”
A lot of people also had the misfortune to like the Third-Generation iPod a lot more than the newer ones with their click wheels and useless color and video functions and lack of FireWire connectivity, thinking that the third-gen was a cleaner-looking solid-state design.
Damien Jurado! Noice. Damien is sweat.
I agree STeve
3G is still the best looking design
I never even had any issues with my battery life.
3G rocks!
(That’s why I’m also waiting for a 3G iPhone. Yes I have tried edge with my Moto slvr L7 and it sucks it is so slow for google maps)
You make it look so easy!
Unfortunately devices like the iPod Mini are not quite as simple to get apart, then even more difficult to put back together. I almost lost a thumb attempting it.
Another 3G lover here. I don’t need album art; I don’t need to watch videos. It was released at that critical point before they started adding unnecessary “extra” stuff and taking away the freebies, like the complimentary wall charger, dock, carrying case, and wired remote. Plus, I still get a couple hours’ worth of battery life, and got a free shuffle from my class-action settlement.
Actually, I’ve been using my new iPhone for about a month now and found that Google Maps is the only thing that doesn’t crawl over EDGE. Waiting for NYTimes.com to load, on the other hand…
I performed the same trick on my 3G.. not so difficult for people who know there way around this sort of thing but DEFINITELY NOT for everyone. I still like my 3G and it lives permanently in my car at this point (factory iPod adapter) but I must say the the best looking iPods was the next generation after the 3G w/ the click wheel. Integrating the function buttons in the wheel was pretty exciting at the time.
The real question is why does it have to be so difficult to replace the battery? That has always bummed me out. Anyone replace a battery in an iPhone yet? How hard is that?
“6. Yell at the battery.
You suck, factory-installed battery!”
Too funny, glad to see there’s a great sense of humor on this How-To.
The partner and I have these particular models as our 1st iPod. Looks like this Christmas we’re going to get these batteries replaced, thanks to your easy-peasy illustrated guide!
I love(d) my 3G. The battery was fine. Not great but fine. But then the hard drive suffered the “click o’ death,” and I replaced it with the photo (which now suffers from the frozen drive heads, but a quick smack on any solid surface usually clears that up. When I walk the dogs that usually my head. Really.
What I want to know is what’s involved with replacing the hard drive. Is that foam glued to the disk? Is the ribbon cable easy to disconnect without destroying it? Should I disconnect the battery? And do I need a “special” iPod disk, or will any 1.8″(?) drive work?
Thanks for any help.
And i really liked the “elevator” buttons on the 3G (I’m old enough to remember when they were amazing new technology), but I gotta admit the click wheel is easier to use in the Winter. It works with gloves on. But since you can’t adjust the volume wearing gloves, a shuffle can scare the bejeezus outa me when London Calling blasts me right off the sidewalk.