iOS 9.3 has a new feature that allows you to protect your sensitive Notes with a password or with Touch ID. It’s a great way to keep stuff like security codes or medical information safe on your iPhone.
It’s kind of a weird process, though, so you might miss it at first glance.
Here’s how to keep your private notes secure with the latest version of iOS 9.
First up, you’ll need to make sure your iPhone is running iOS 9.3. Once that’s accomplished, tap open the Settings app and swipe down to the Notes preferences. You’ll also need to have OS X 10.11.4 or later to see password protected notes on your Mac.

Photo: Rob LeFebvre/Cult of Mac
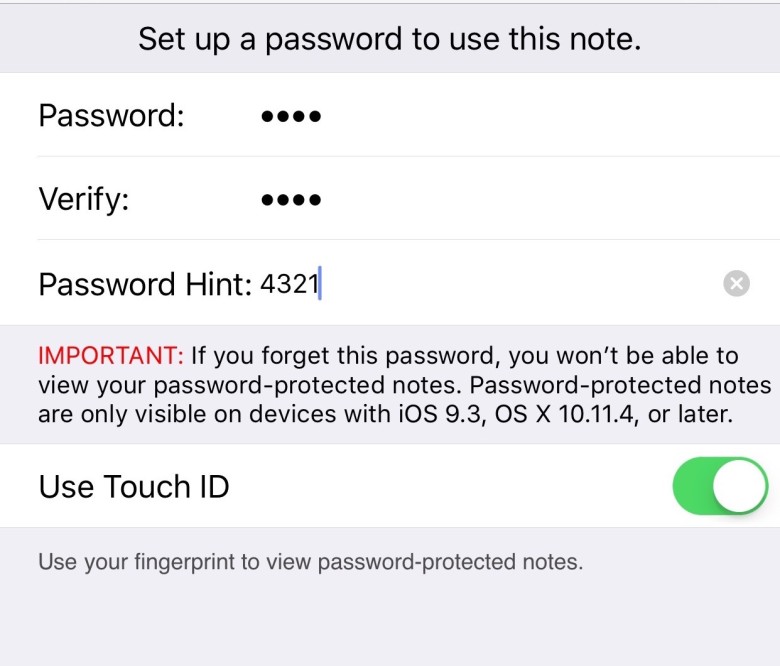
Tap into the Notes area and then tap on Password Protection, then tap on Set Password. Enter a password you’ll remember and isn’t easy for someone to guess, then type it again into the Verify field. Add a Password Hint to help you out if you do forget it. But don’t, because if you do, you won’t ever get to see any password protected notes again.
If you want to use Touch ID in place of the password, simply toggle the Use Touch ID switch to ON.

Photo: Rob LeFebvre/Cult of Mac
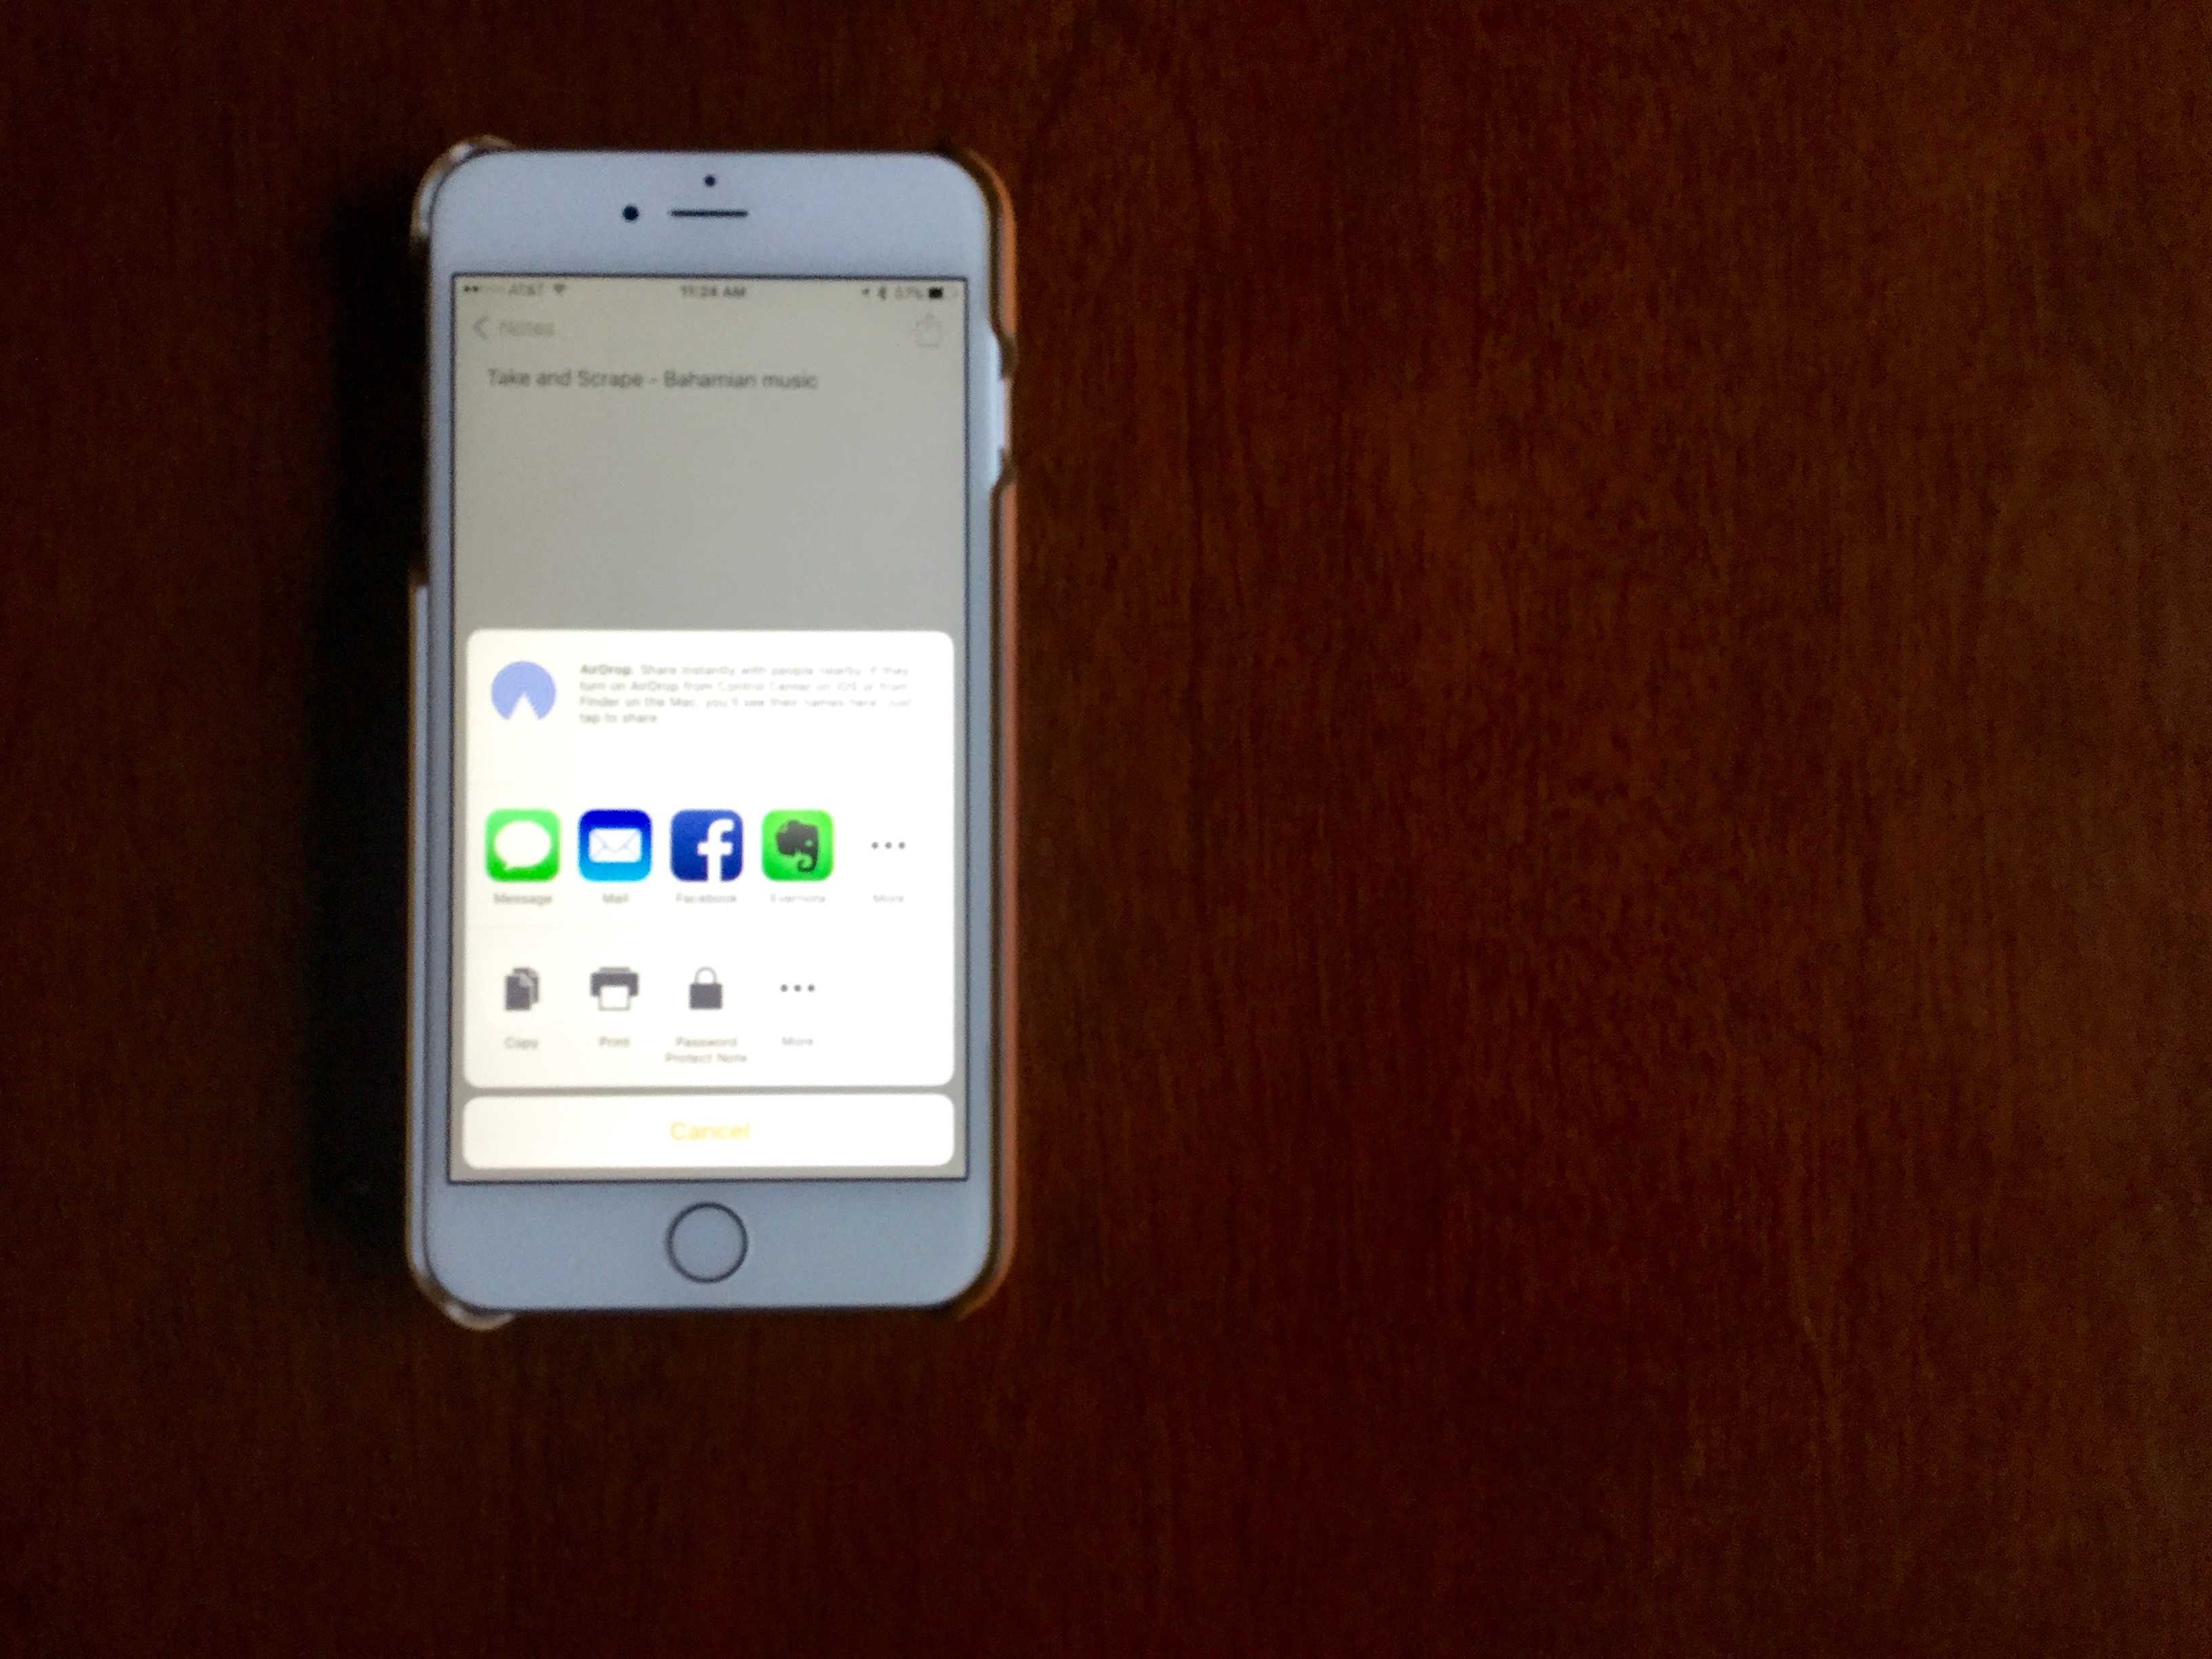
Now, head into your Notes app with a tap and create a new note, or open an already-existing one. You’ll want to tap on the share button in the upper right of the note you want to secure. In the bottom row of sharing options, you’ll see a new button: Password Protect Note. Simply tap that note, and then you’ll see a little animated locking icon.

Photo: Rob LeFebvre/Cult of Mac
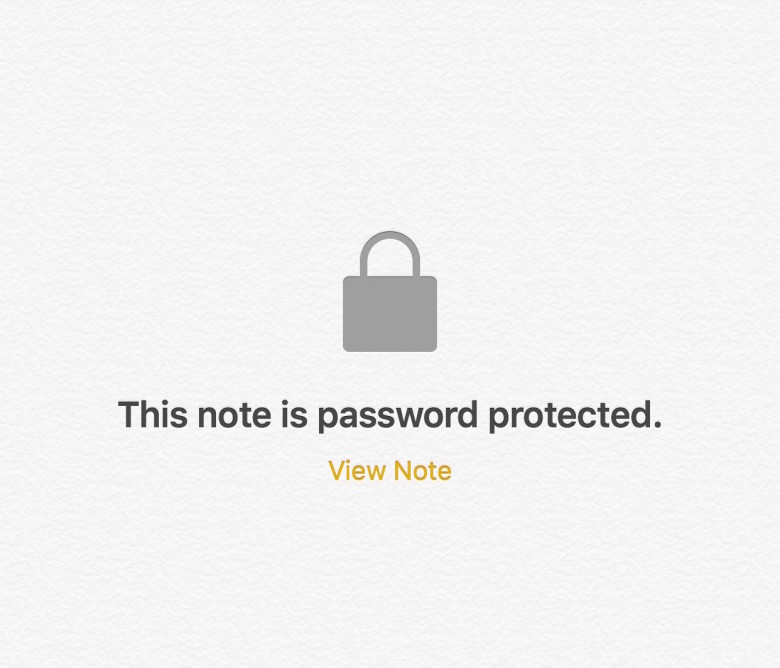
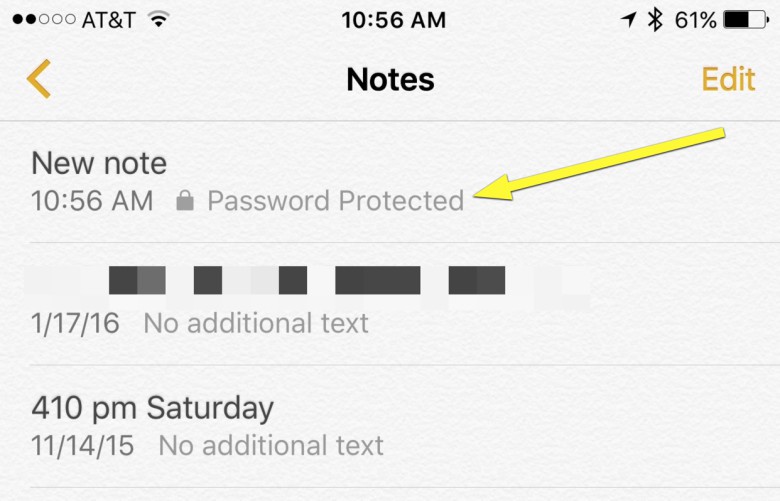
When you tap out of the note, you’ll see it in the list of notes with a little lock icon with “Password Protected” next to it. To see the content of any of these notes, simply tap them, then either enter the password or use Touch ID to unlock.

Photo: Rob LeFebvre/Cult of Mac
Now no one can get into the notes you deem important enough to keep under lock and, well, thumbprint.


4 responses to “Secure your Notes with password protection in iOS 9.3”
I can see Notes becoming as bloated as iTunes one day. Great feature though.
“Add a Password Hint to help you out if you do forget it. But don’t, because if you do, you won’t ever get to see any password protected notes again.” I’m confused, do you mean there’s a bug and if you do as instructed notes is locked permanently?
Any news on whether you will be able to see the Protected Note in the iCloud web app?
My question is very simple: Are Secure Notes SAFE in iCloud after back up? Because from what we know, End to end encrypted immessages are kept in plain text on Apple serves after you back up your iOS device to iCloud. Whats the point of these so called security features when Apple servers is the weakest point?