Your AirPods Pro controls are cleverly incorporated in the earbuds’ stems. The stems are touch-sensitive, and various squeezes or strokes will play or pause music, adjust the volume, answer phone calls, launch Siri, change noise cancellation settings and more.
Here’s how AirPods Pro controls work, and how to customize their settings.
AirPods Pro controls
AirPods Pro’s basic controls are almost all based on a built-in force sensor, a tiny touchpad built into the stem.
To activate the force sensor, you need to actually squeeze the stem. A light tap or press won’t usually activate the controls.
When you squeeze the stem, you’ll feel a click. Amazingly, there’s no actual click. Instead, a click sound plays through the AirPods you just squeezed — and the resulting audio illusion is pretty convincing. It really seems like you feel a physical click.
You can squeeze either AirPod Pro stem. And, just as with regular AirPods, you can tweak these squeezes.
The default AirPods Pro settings are:
- Squeeze once: Play/Pause
- Squeeze twice: Skip forward
- Squeeze thrice: Skip backward
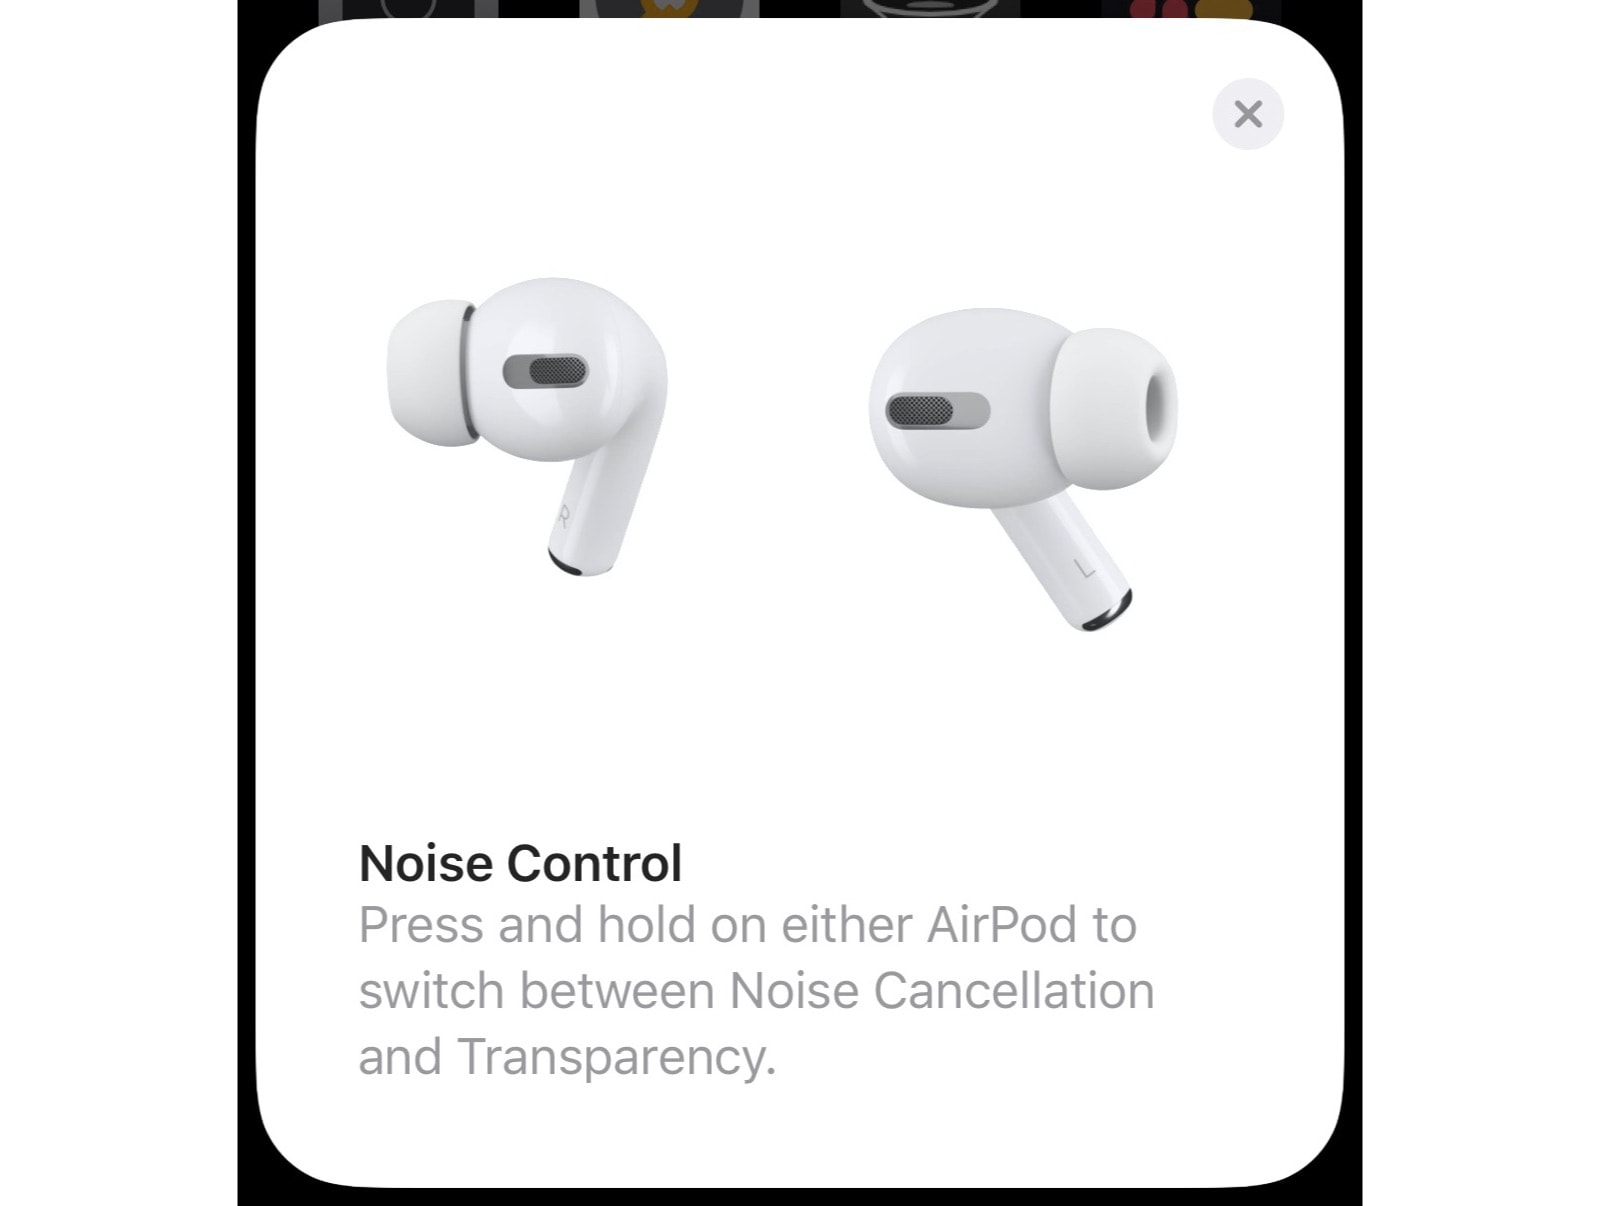
- Long squeeze: Toggle between active noise cancellation and Transparency modes
These work with both left and right units. Unlike previous AirPods, you’re stuck with the first three play and skip shortcuts — but that’s fine, because you get all of them on both sides of your head, thanks to the new triple-squeeze option.
Customize the AirPods Pro long-squeeze

Photo: Cult of Mac
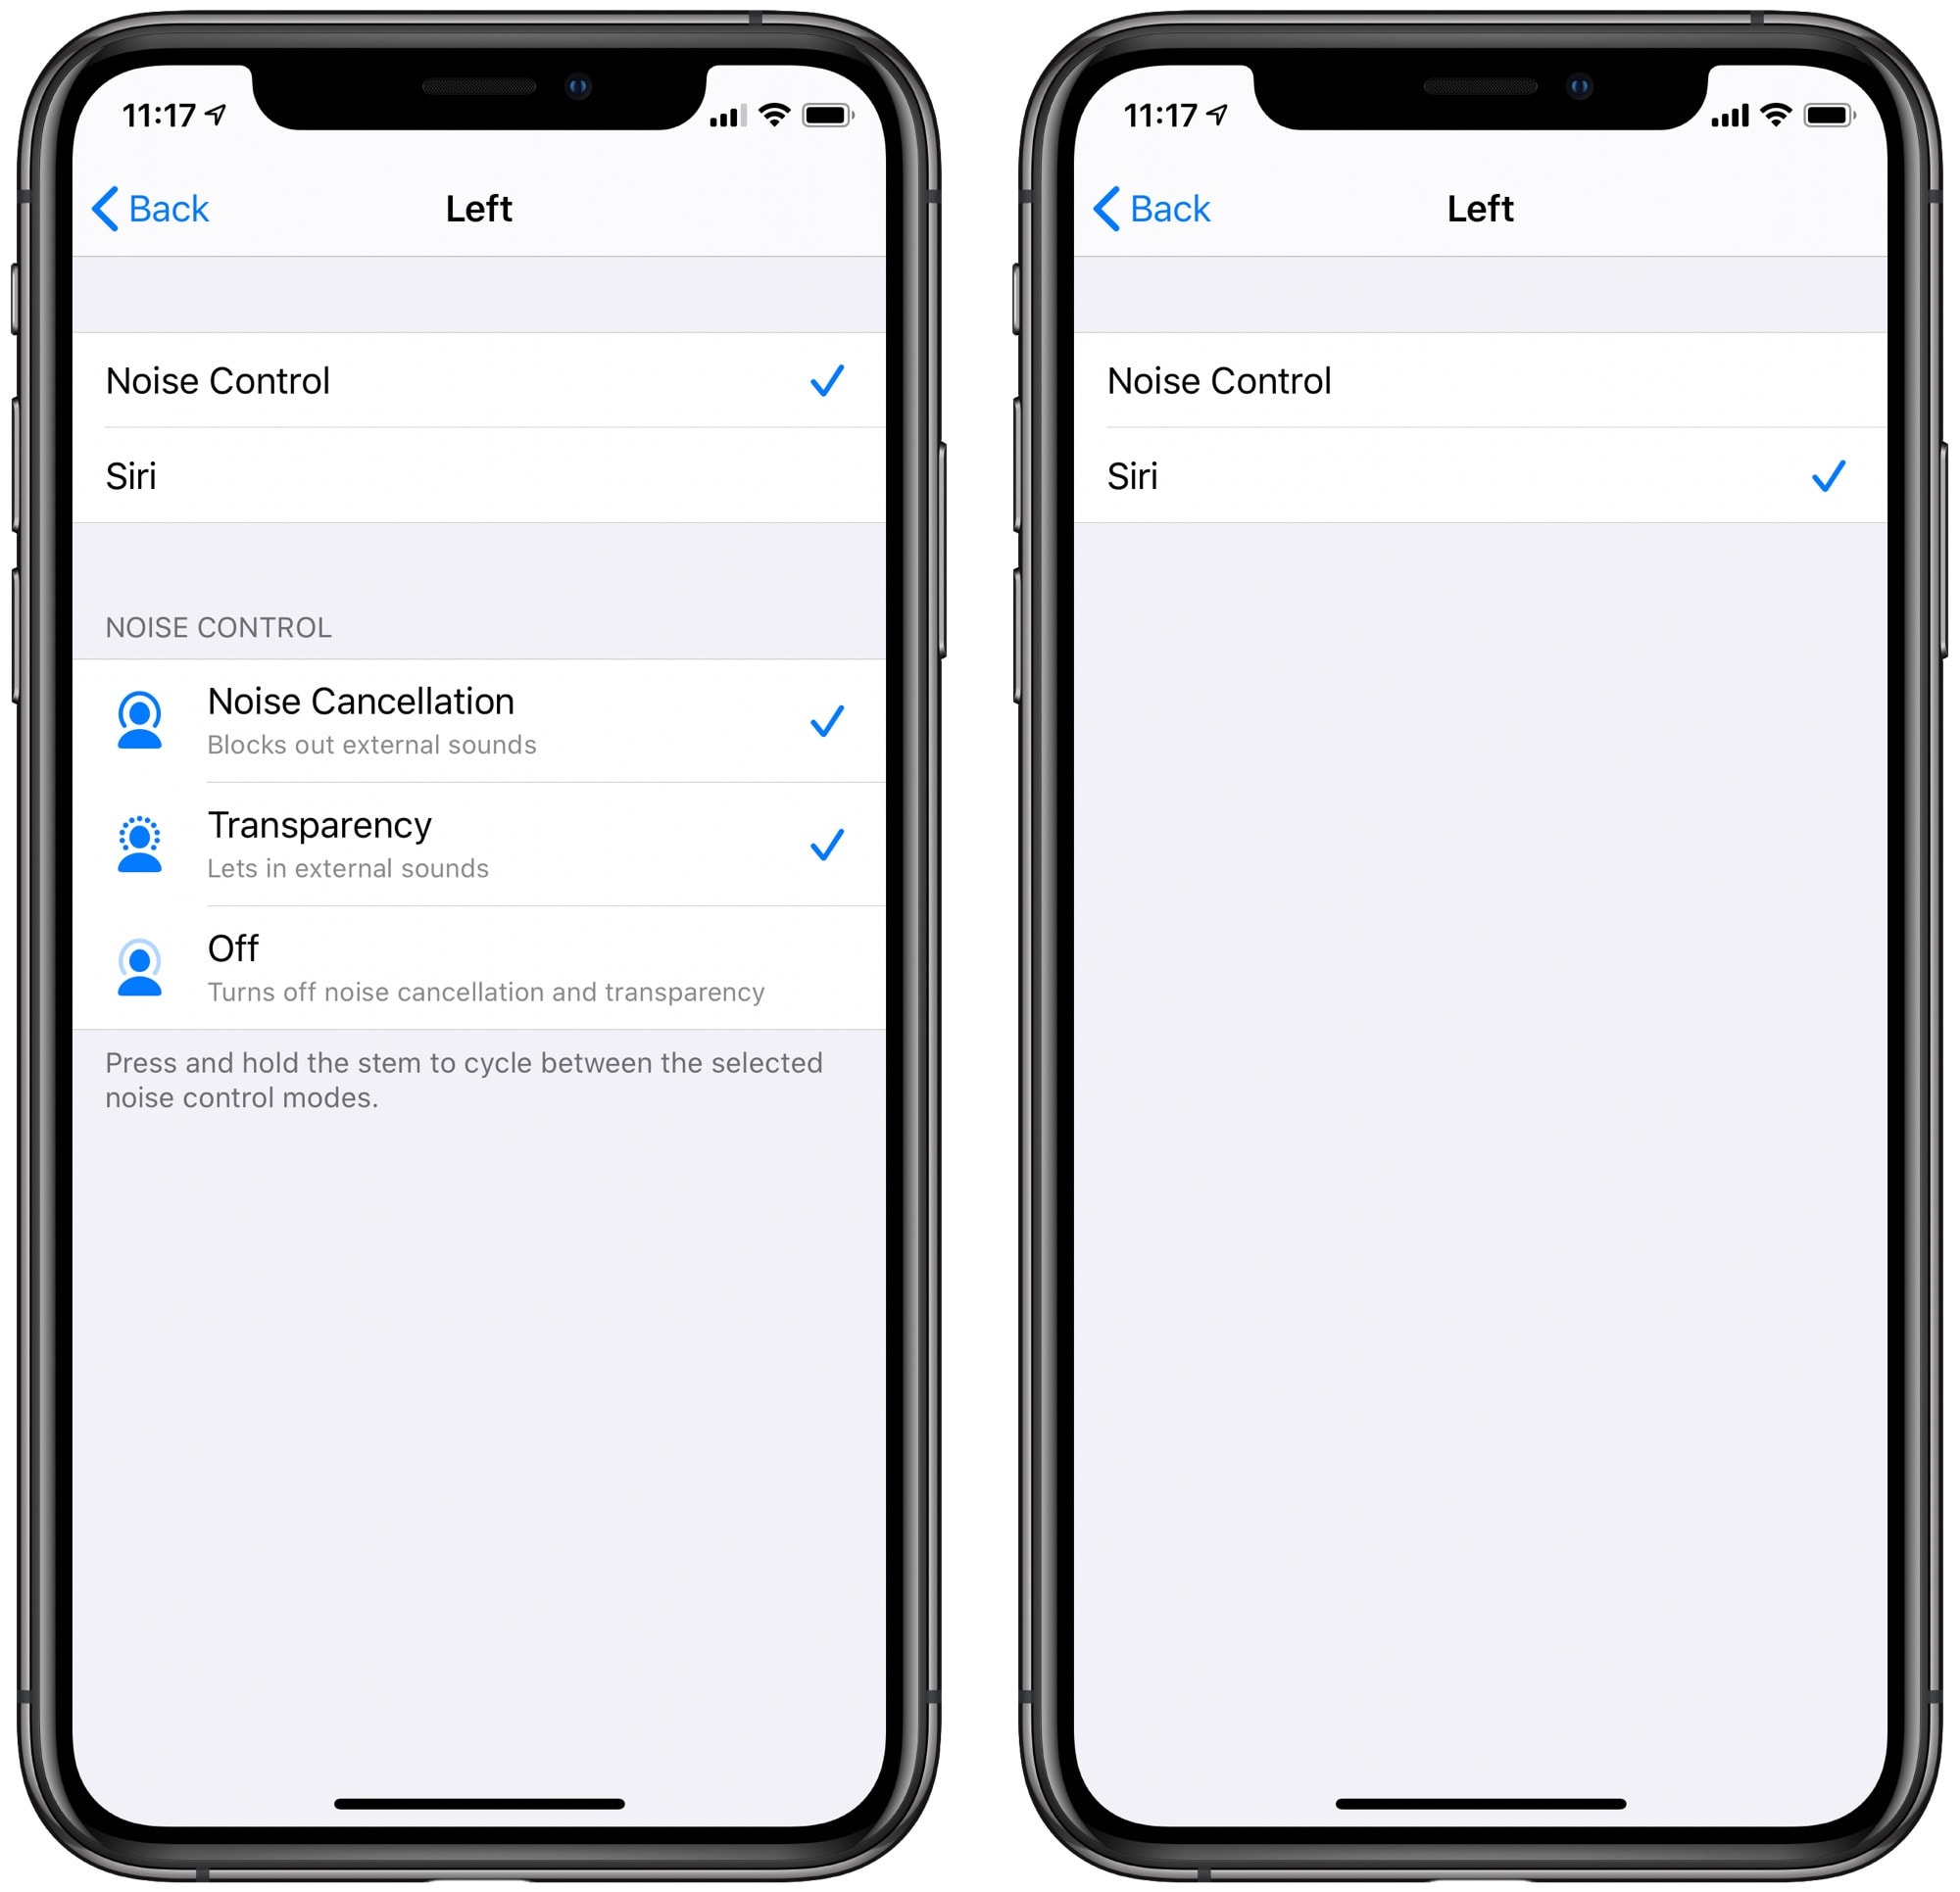
But you can customize the long-squeeze shortcut, using it to invoke Siri or cycle between noise cancellation options on either of the two AirPods Pro. To set them up just how you like them, head to Settings > Bluetooth on your connected iPhone. Then tap on the little i icon next to your AirPods Pro. (The earbuds need to be connected in order to access these settings.)
Then, in the Press and Hold AirPods section, you can choose the long-squeeze action independently for each AirPod. The choices are Noise Control and Siri. If you choose Siri, you can squeeze to invoke Siri (in addition to using the usual Hey Siri method).
Three options for Noise Control

Photo: Cult of Mac
If you choose Noise Control, you can further customize your AirPods Pro behavior. There’s a list of the three Noise Control options, and you tap them to activate or deactivate the checkmarks next to each. Then, when you squeeze the AirPod, it will cycle through the checked options. The options are:
- Noise Cancellation
- Transparency
- Off
You’ll probably want to keep all three checked while you work out which ones you prefer. If you listen a lot in quiet environments, then off is a good option, if only to make the battery last longer (noise cancellation causes an extra battery hit).
And that’s it. You can now set up your amazing new AirPods Pro just how you want them. Have fun!
This post was updated on December 23, 2023.


