iOS 15, iPadOS 15 and macOS Monterey allow you to use tags inside the Notes app to keep everything organized. They can help you quickly separate notes for different projects, and they make it easier to find things later.
Here’s how to use tags in Notes on iPhone, iPad and Mac.
Lots of third-party note-taking apps, such as Agenda and Bear, already support tags. They’re a useful way to separate different categories of content, and they work well alongside folders for keeping things organized.
You can add a tag to any note, including those you’ve already created, incredibly easily inside the Notes app in iOS and iPadOS 15 and macOS Monterey. We’ll show you how — and how to use them to stay organized.
How to use tags inside the Notes app
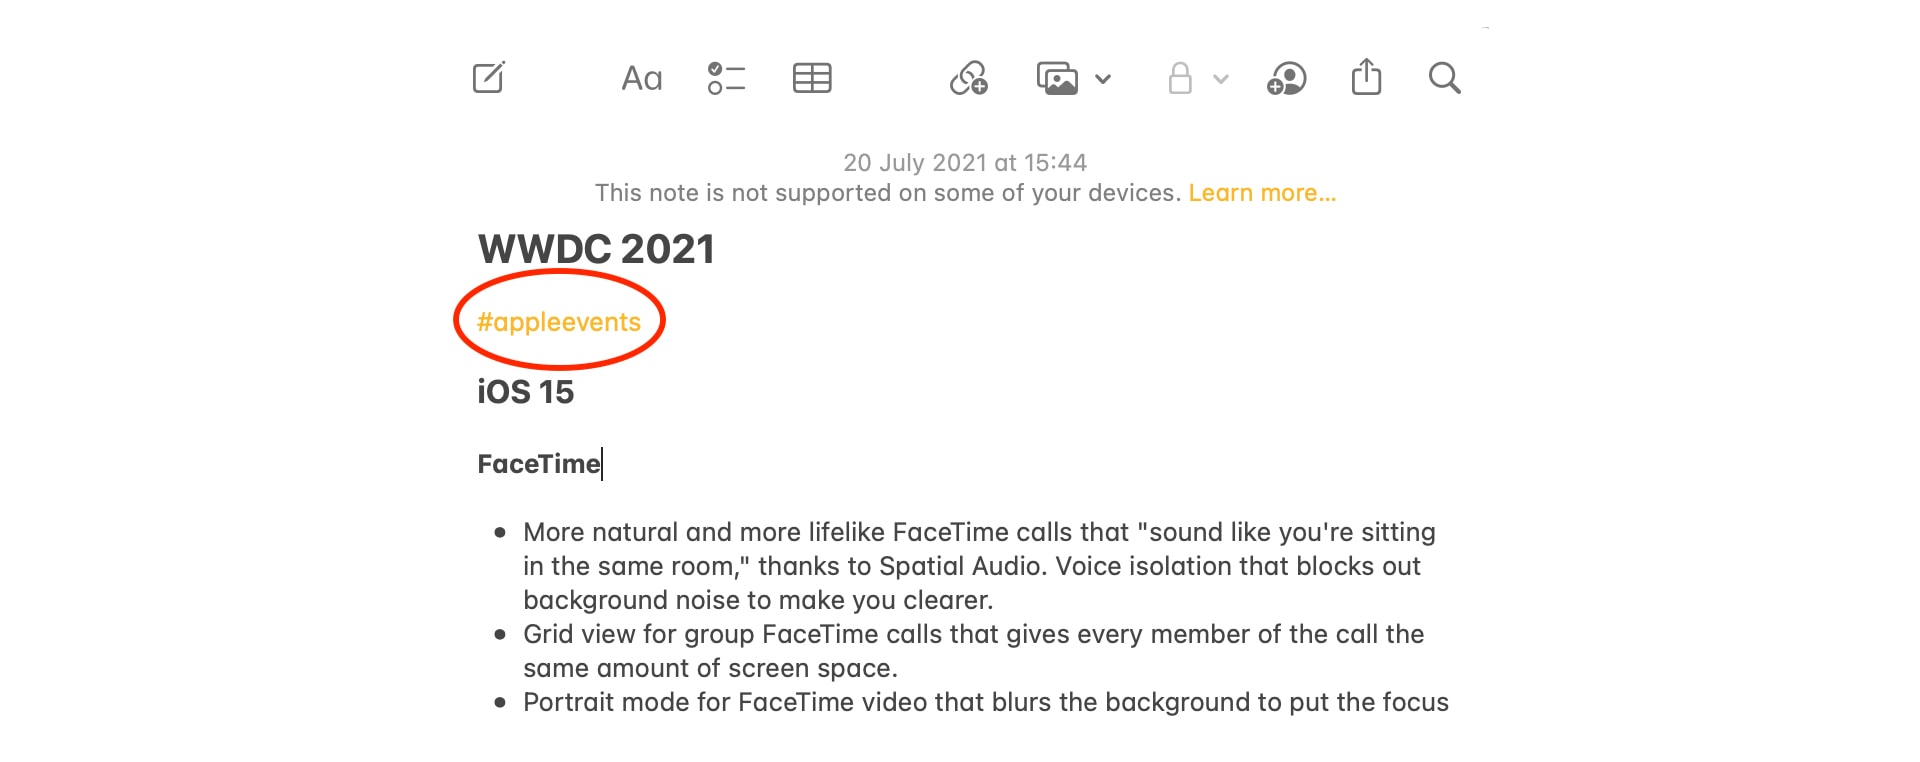
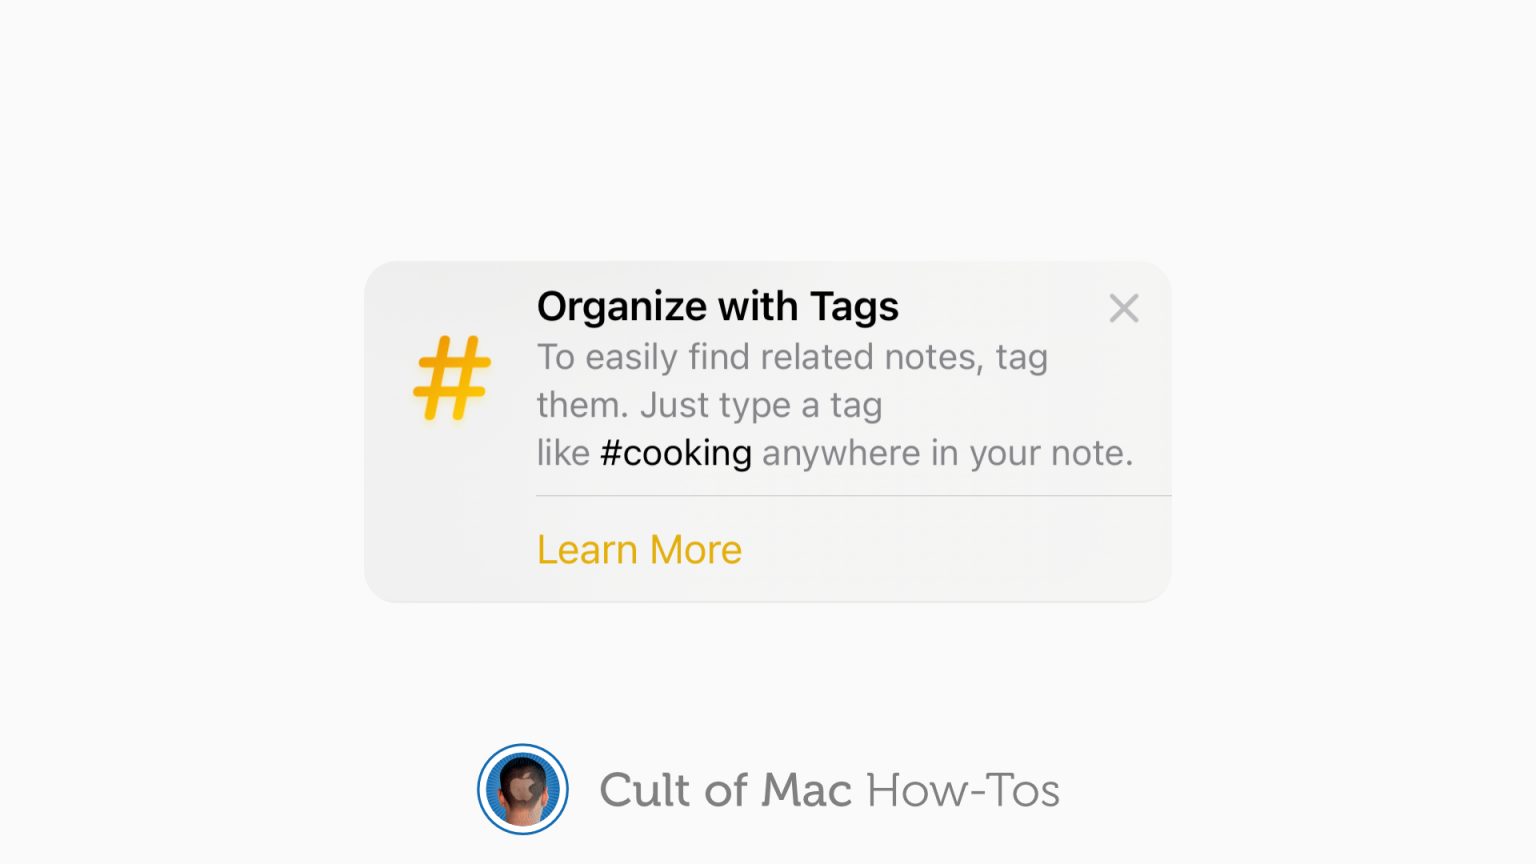
To add a tag to any note, simply enter the # symbol alongside your tag — such as #budget — anywhere in your text. Pressing the space bar completes the tag and turns it yellow (so you can’t have spaces within it).
You can use multiple tags inside the same note, and they can be any font size or style, so you can use them in titles and headers if you like.

Screenshot: Killian Bell/Cult of Mac
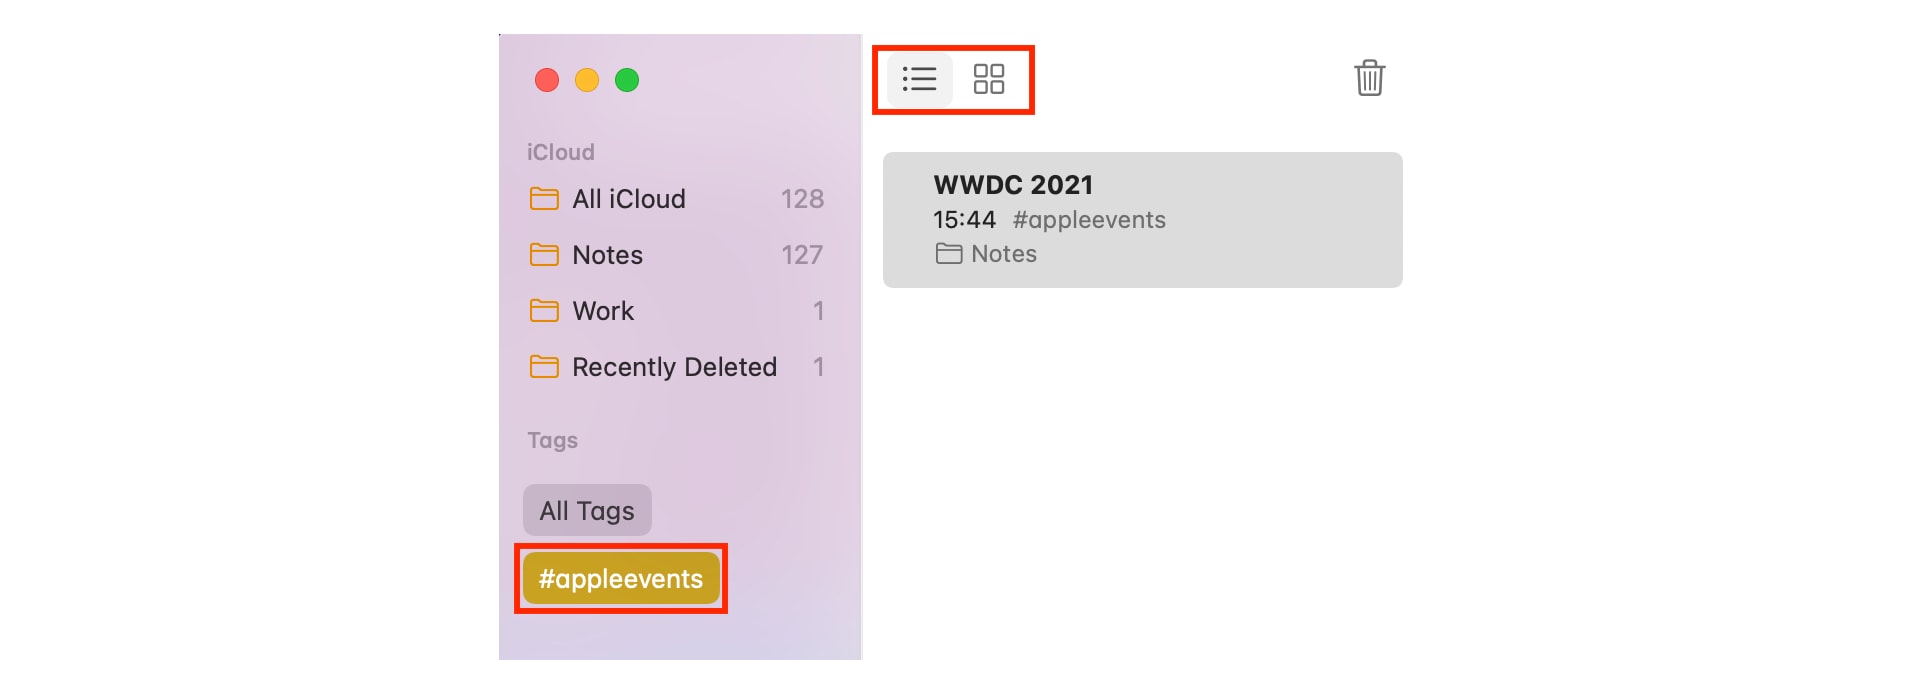
Once you’ve started created tags, you’ll notice a new Tags section appears beneath your folders on the main Notes page on iPhone, and in the Notes sidebar on iPad and Mac. You’ll see all your tags there, and you can tap or click any of them to view all notes containing that tag — regardless of which folder those notes are saved in.
Using tags can help you organize and pull together specific content incredibly quickly. For instance, you might have two folders that contain notes you’ve created on two separate vacations, and they both include recipes. Using a tag like #recipes can help you quickly view those notes without having to trawl through the different folders individually.
Tags are also useful for separating different aspects of a larger project. You can create a folder for the project itself, then use tags like #ideas, #tasks and #budget to quickly organize everything and find what you need later.
Viewing and sorting tags
The Notes app offers a number of ways to view and sort your tags to make them easier to find. This will be particularly useful over time if you use tags a lot and end up with dozens of them.
To start sorting on iPhone and iPad, follow these steps:
- Tap the All Tags button within the Tags section.
- Tap the options button with three dots in the top-right corner.
- Use the View as Gallery button to display tags in squares that might be easier on your eye, and use the Sort Notes By button to sort tags by oldest to newest, newest to oldest, title, date created, or date edited.
And to sort on Mac, follow these steps:
- Click the All Tags button in the side bar.
- Use the buttons at the top of the Notes app to switch between the List and Galley views.
- Click View in your Mac’s menu bar, then select Sort Folder By to sort tags by oldest to newest, newest to oldest, title, date created, or date edited.

Screenshot: Killian Bell/Cult of Mac
Creating new notes and Smart Folders
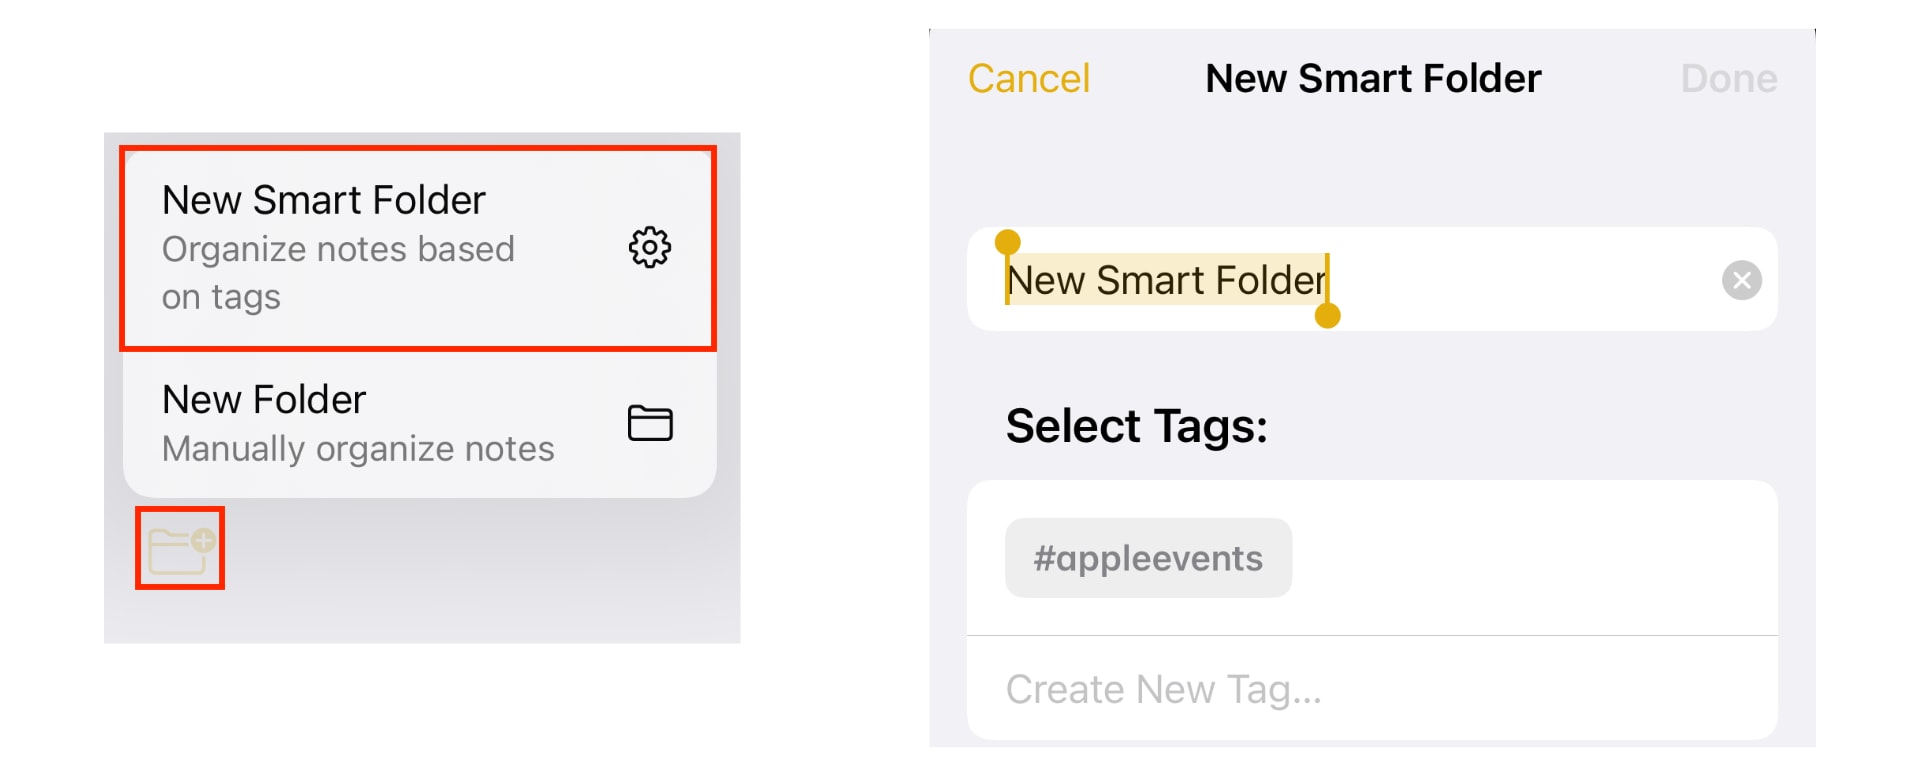
Another way to organize tags is by using folders dedicated to one or more tags. To do this, tap or click the New Folder button in the bottom-left corner of the Notes app, then select New Smart Folder. Give the folder a name, select which tags you want to include in it, then tap or click Done.

Screenshots: Killian Bell/Cult of Mac
Selecting any tag and then tapping or clicking the New Note button will create a new note that includes that tag automatically.
Tags not supported in earlier Notes versions
Before you start using tags in the Notes app, it’s important to bear in mind that they are not supported in earlier versions of iOS, iPadOS and macOS. Adding a tag to any note will prevent it from appearing on devices that are not running iOS and iPadOS 15 or macOS Monterey or later.


