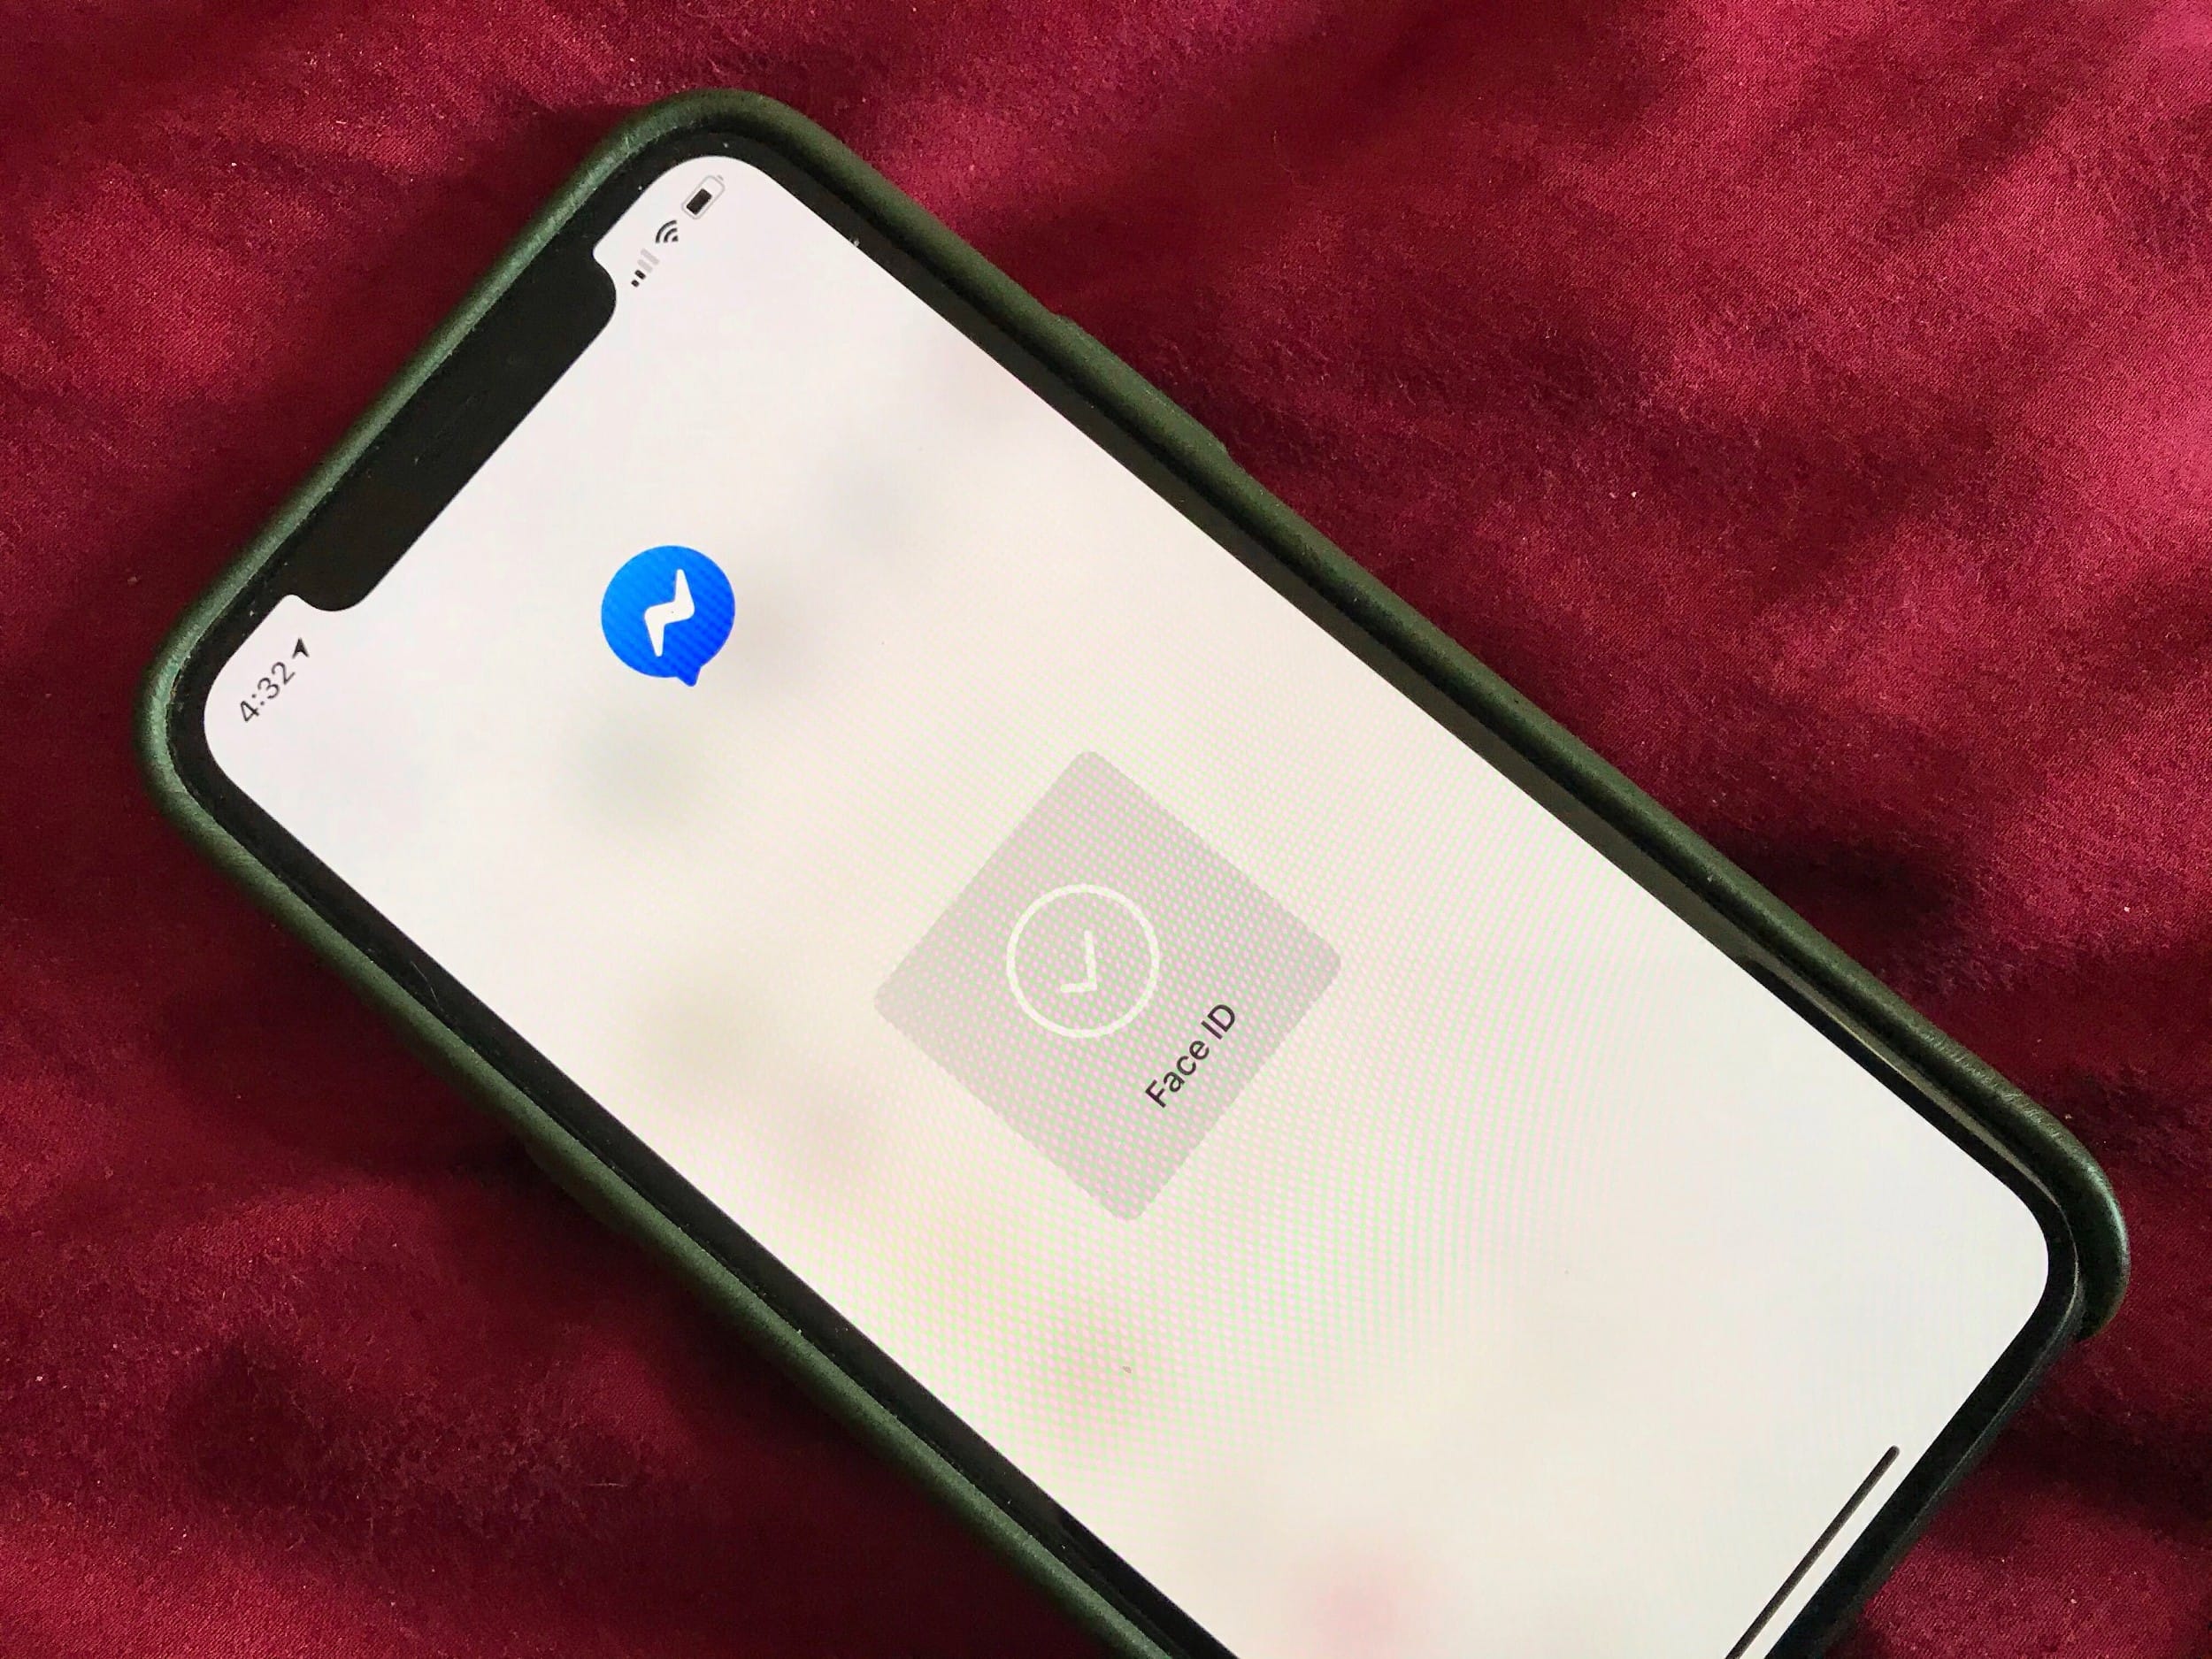
Facebook Messenger’s new App Lock feature lets you add an extra layer of security to the popular chat app. iPhone and iPad users can switch on Face ID or Touch ID so they never need to worry about anybody seeing their messages.
The previously rumored feature, which Facebook rolled out for iOS devices Wednesday, is easy to enable. Plus, you can tweak a setting to make sure App Lock works ideally for you. Here’s all you need to do to turn on Face ID or Touch ID for Facebook Messenger.
Make Facebook Messenger more secure
At first, you might not think you need this extra layer of security. If you already secure your iOS device with Face ID or Touch ID, why duplicate that for Facebook Messenger? Really, it’s just an extra safeguard against accidentally letting somebody get a glimpse of your private messages.
“This optional feature gives you the confidence to know that if a friend or family member needs to borrow your phone, they won’t be able to access your chats,” Facebook wrote in a blog post announcing App Lock.
As with other uses of Face ID and Touch ID, it’s really seamless and fast once you enable it. (Sorry, Android fans — you’ll have to wait. Facebook says this enhanced privacy feature “is available today on iPhone and iPad and will come to Android in the next few months.”)
Turn on Face ID or Touch ID for Facebook Messenger
If you own an iPhone or iPad with Face ID or Touch ID, it’s simple to add this extra measure of biometric security to Facebook Messenger. (Note: I’ll use Face ID in these instructions. If your device uses Touch ID instead, you’ll follow the same steps — just substitute Touch ID for Face ID.)
- Open the Facebook Messenger app.
- Tap your Facebook profile picture in the app’s upper left corner.
- Tap Privacy, then tap App Lock.
- Toggle Require Face ID to on.
- Your iPhone or iPad will ask, “Do you want to allow ‘Messenger’ to use Face ID?” Tap OK. (Be sure to do this. If you accidentally tap “Don’t Allow” like I did at first, Face ID won’t work with Facebook Messenger. You will be required to tap in your passcode every time you open the app, at least until you go into Settings > Face ID & Passcode > Other Apps and toggle on access for Messenger.)
That’s it! Now, every time you open the Facebook Messenger app, it will use Face ID or Touch ID to authenticate your session. You can feel free to loan your device with wild abandon. Your Facebook Messenger chats will remain secure from prying eyes.
Note: Once you enable the feature, App Lock defaults to requiring Face ID or Touch ID every time you leave Facebook Messenger. If desired, you can pick a time window — one minute, 15 minutes or one hour — to adjust how quickly the Face ID or Touch ID requirement kicks in. You’ll get the option to set your preferred time when you set up App Lock. But if you change your mind, you can tweak the setting anytime by going back to the app’s privacy settings.


