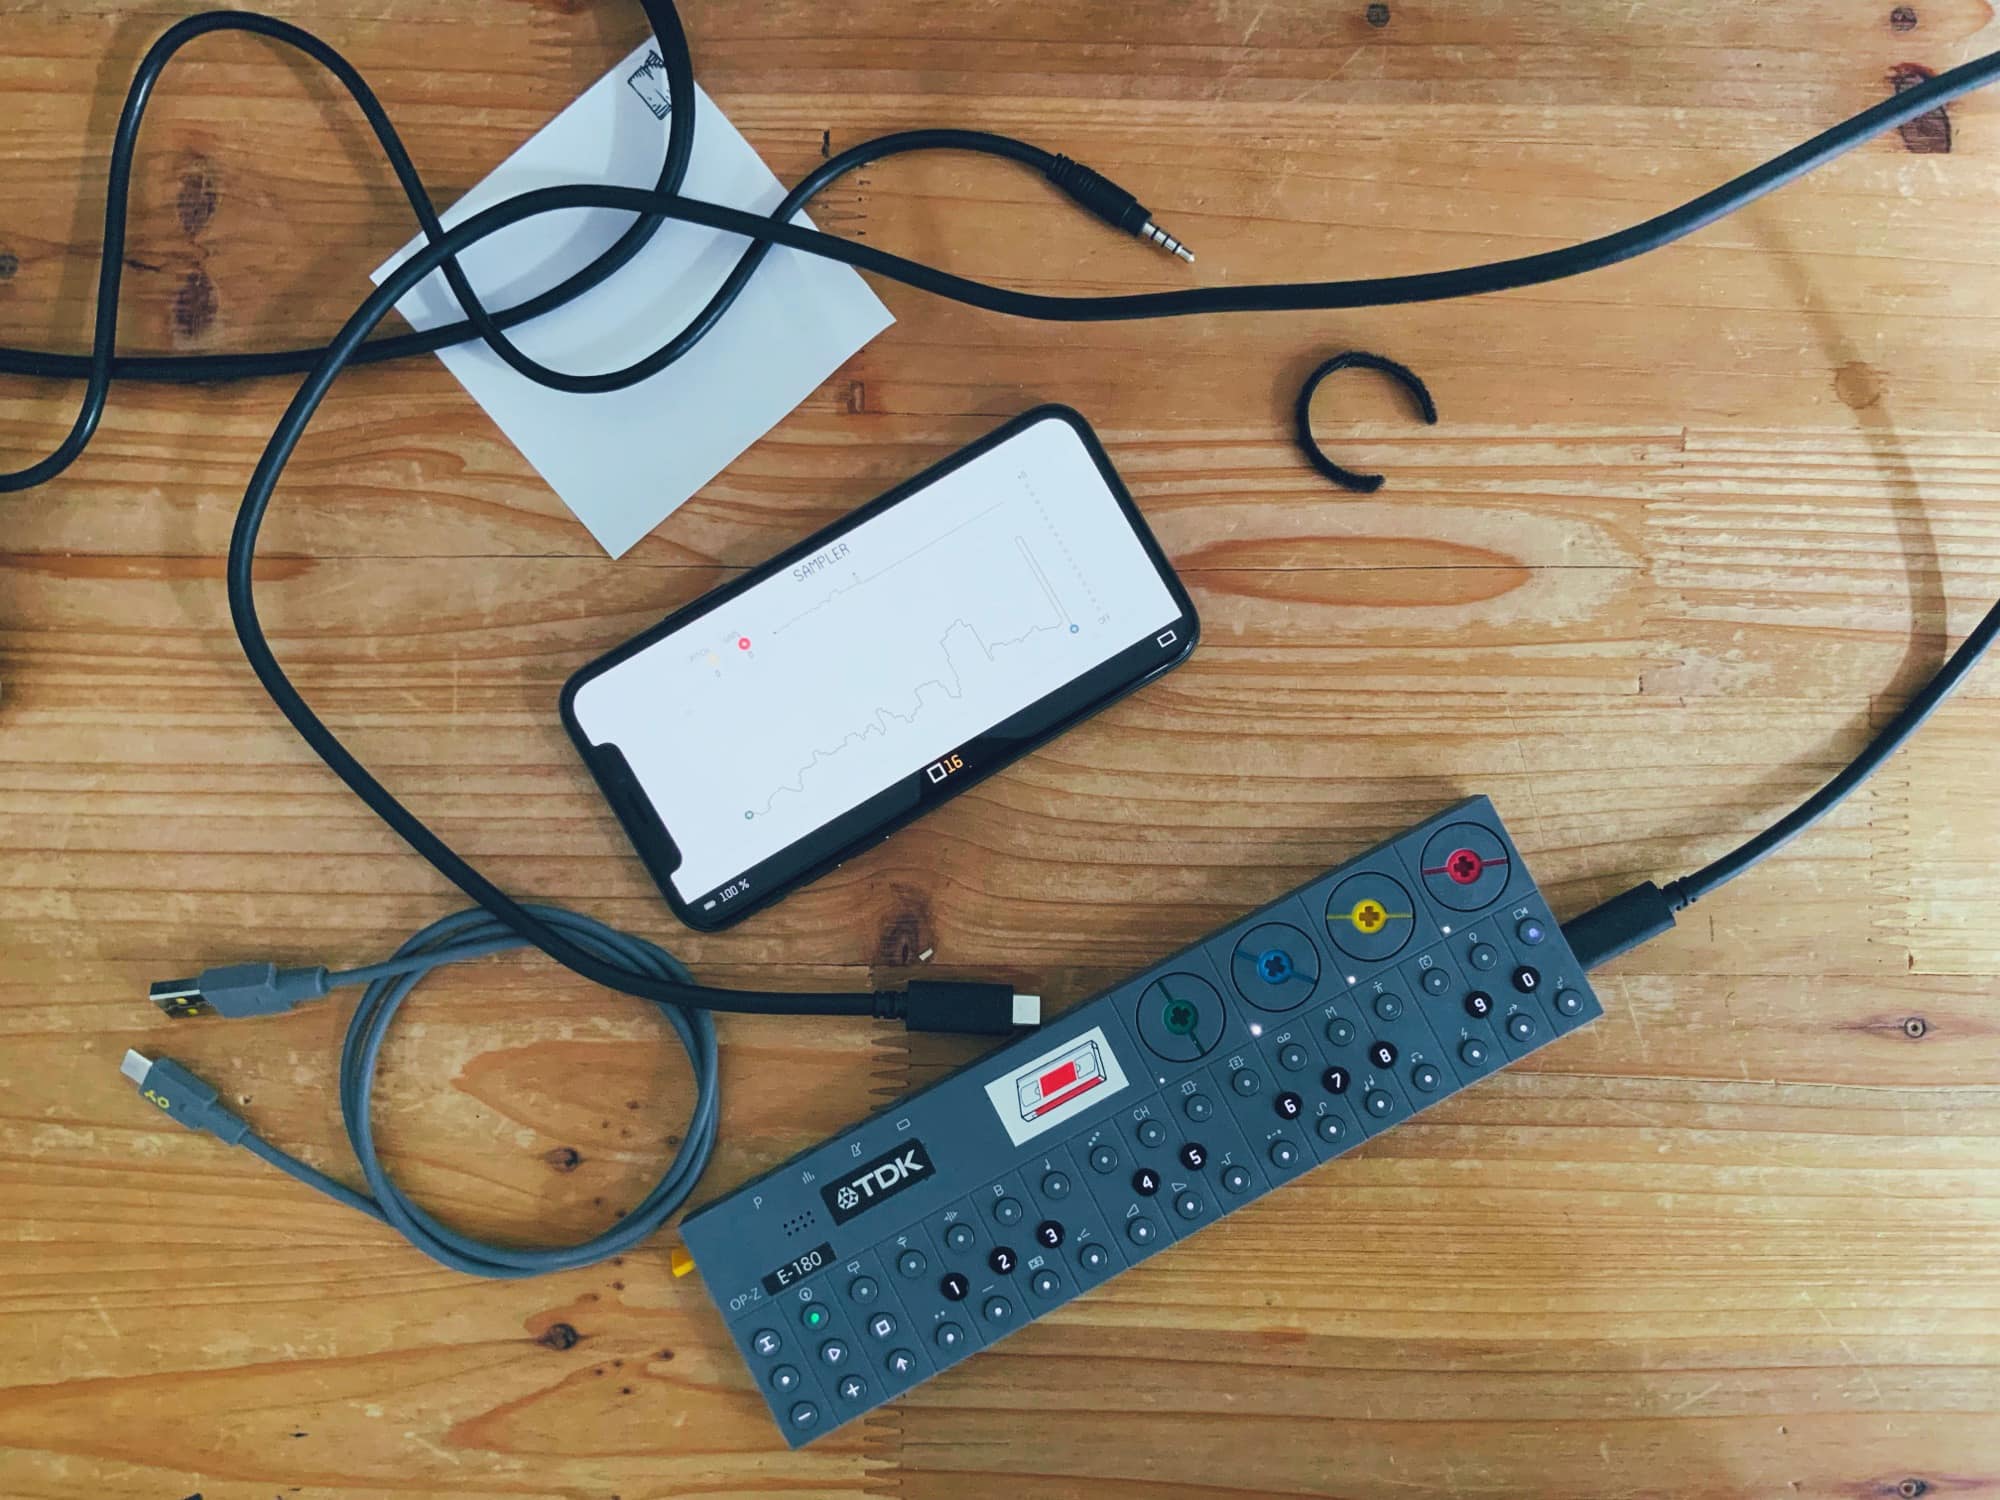
Teenage Engineering’s awesome, pocket-size OP-Z synth can now record and use samples. Thanks to a massive software update, it can now sample live audio in through its mic, or via its USB-C port. And yes, if you hook it up to an iPhone or iPad via USB, it shows up as a standard audio interface: You can record from, and send audio to, the OP-Z in lossless digital quality.
Today we’re going to check out these new features. A few limitations prove annoying, but Apple users should feel accustomed to that by now.
This post contains affiliate links. Cult of Mac may earn a commission when you use our links to buy items.
Samples on OP-Z
The OP-Z is a tiny sequencer and synthesizer. And now it’s a sampler. A sequencer is a device (or app) which plays back chunks of audio in the order you specify, and can manipulate those chunks on the fly. Audio can be either: 1) live sounds created by the synthesizer or 2) samples played back from memory.
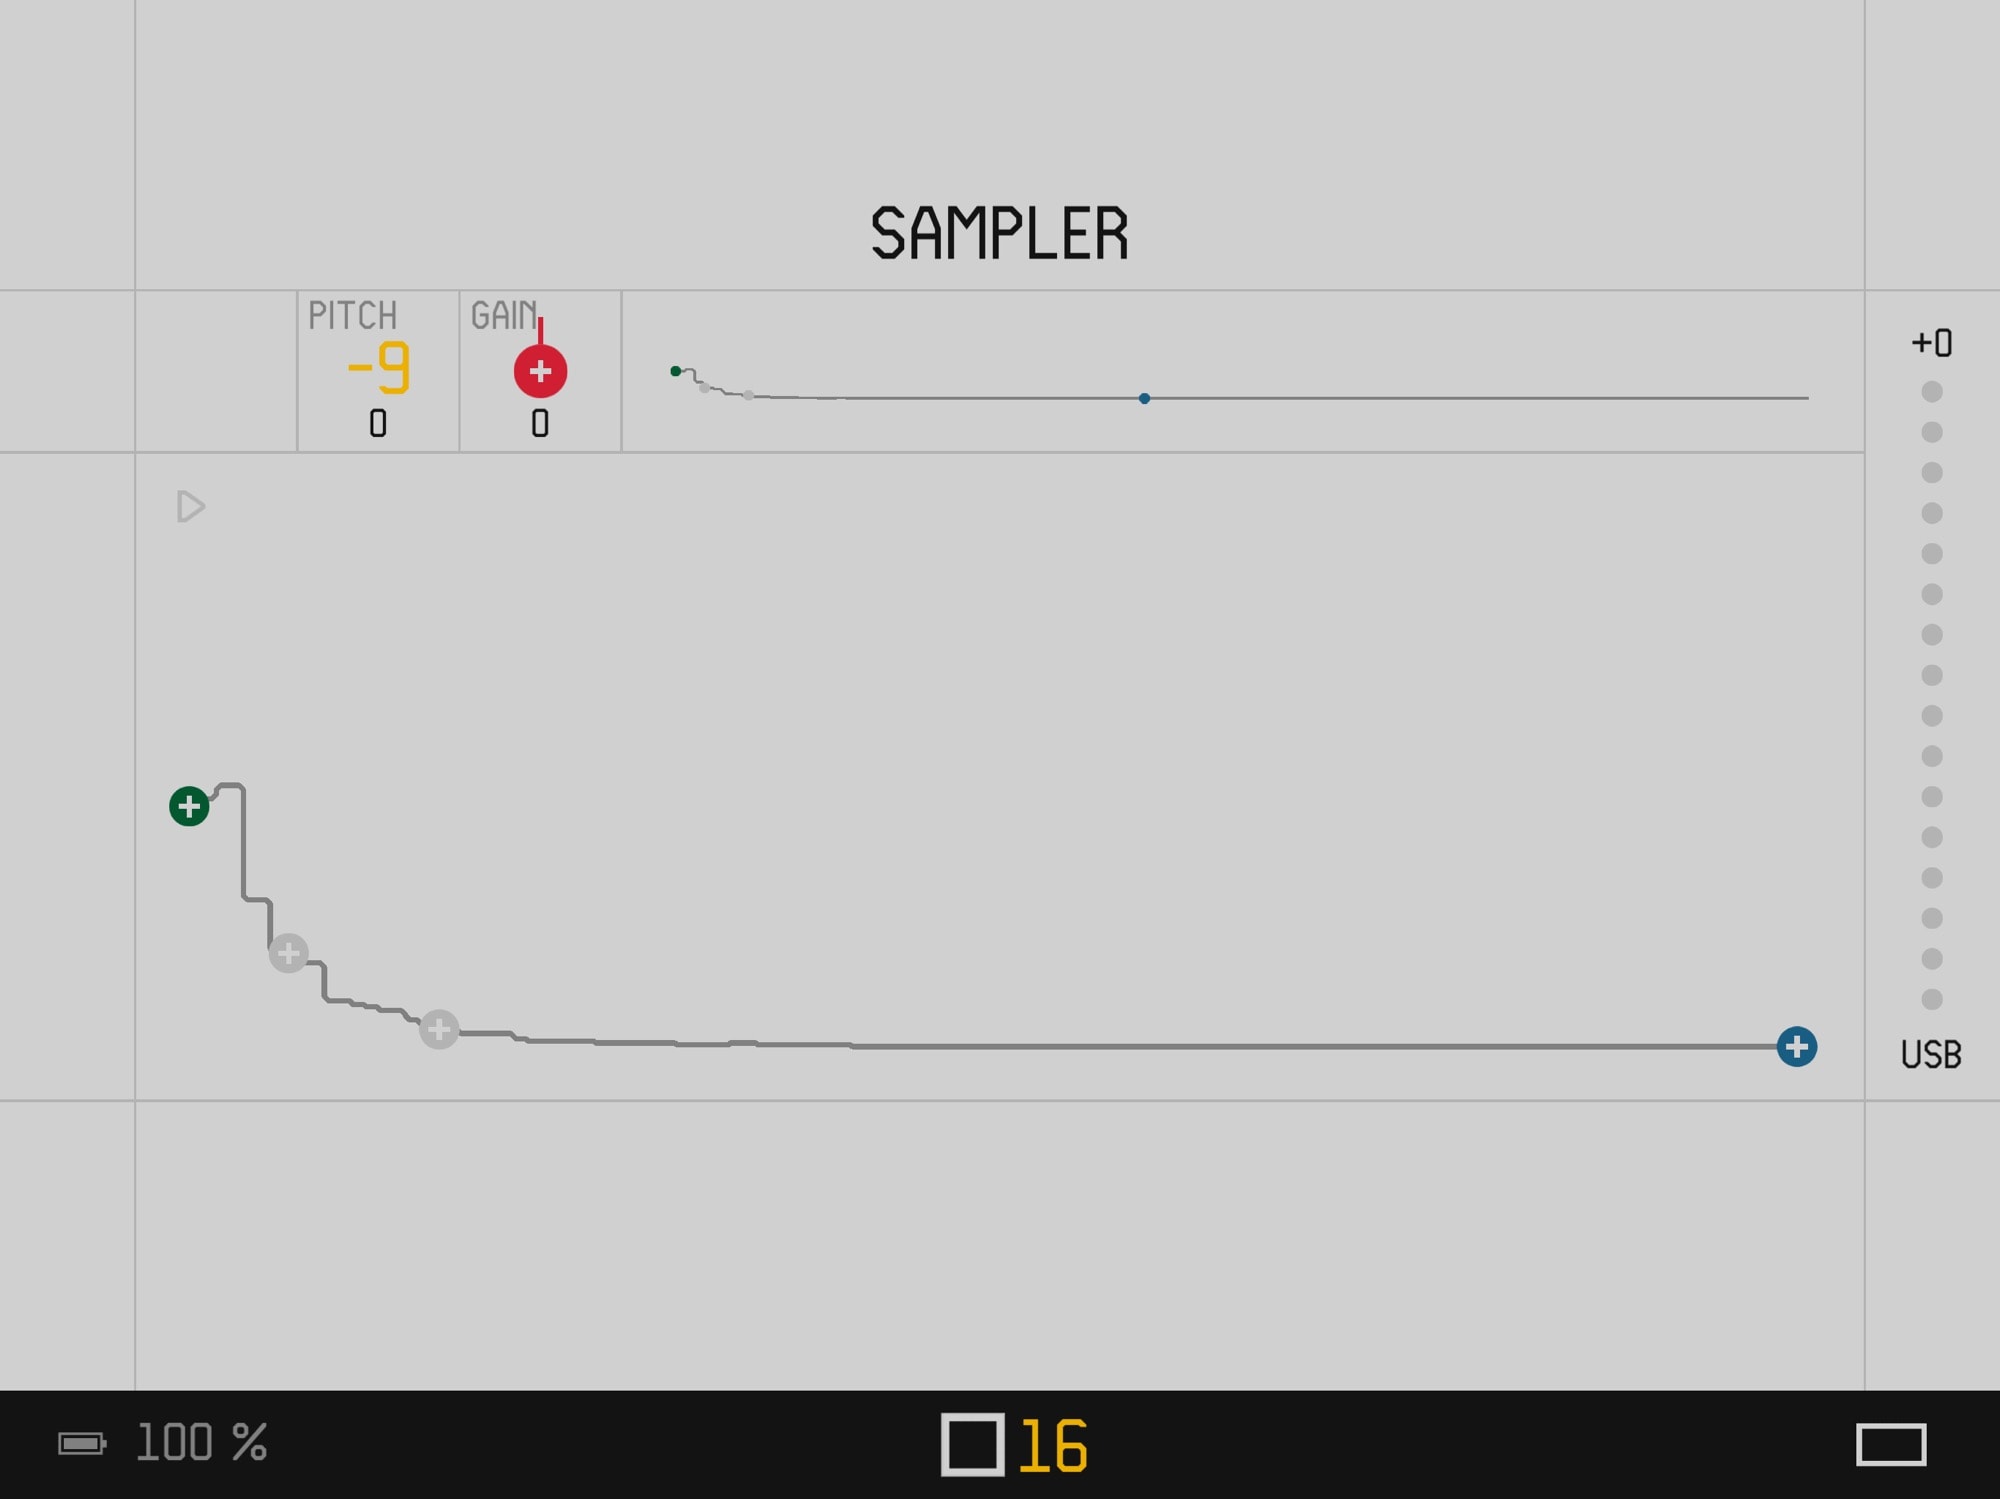
Photo: Charlie Sorrel/Cult of Mac
On the OP-Z, there are two kinds of samples. A synth sample lets you take a short (up to six seconds) audio snippet, and play it back using the keyboard. This is the sampling that everyone knows. You record a sound, and use the keyboard to play a tune. The sample is pitched up and down automatically.
The other kind of OP-Z sample is the drum sample. This takes the incoming audio (up to 12 seconds this time), records it, and automatically splits it into slices. The idea is that you play several drum hits into the sampler — a kick, a snare, a whack on the table, etc. — and, if all goes well, the OP-Z will separate out those hits and map them to keys on the keyboard. Then, each key will have its own drum sound.
The OP-Z already lets you load in samples by dragging and dropping precut snippets into folders, using a Mac or PC to mount the OP-Z as a USB drive. Now, though, you can record samples directly into the unit, and you also can edit them. All without using a screen!
OP-Z as USB audio interface
The ability to use an OP-Z as a USB audio interface is an important new feature. I’ll cover it first, because it’s used while sampling. If you plug your OP-Z into a Mac, or a USB-C iPad Pro, using a regular USB-C cable, it will show up as an input and output device. You can record from the OP-Z to any app. Plus, you can send audio from any app, and sample it on the OP-Z.
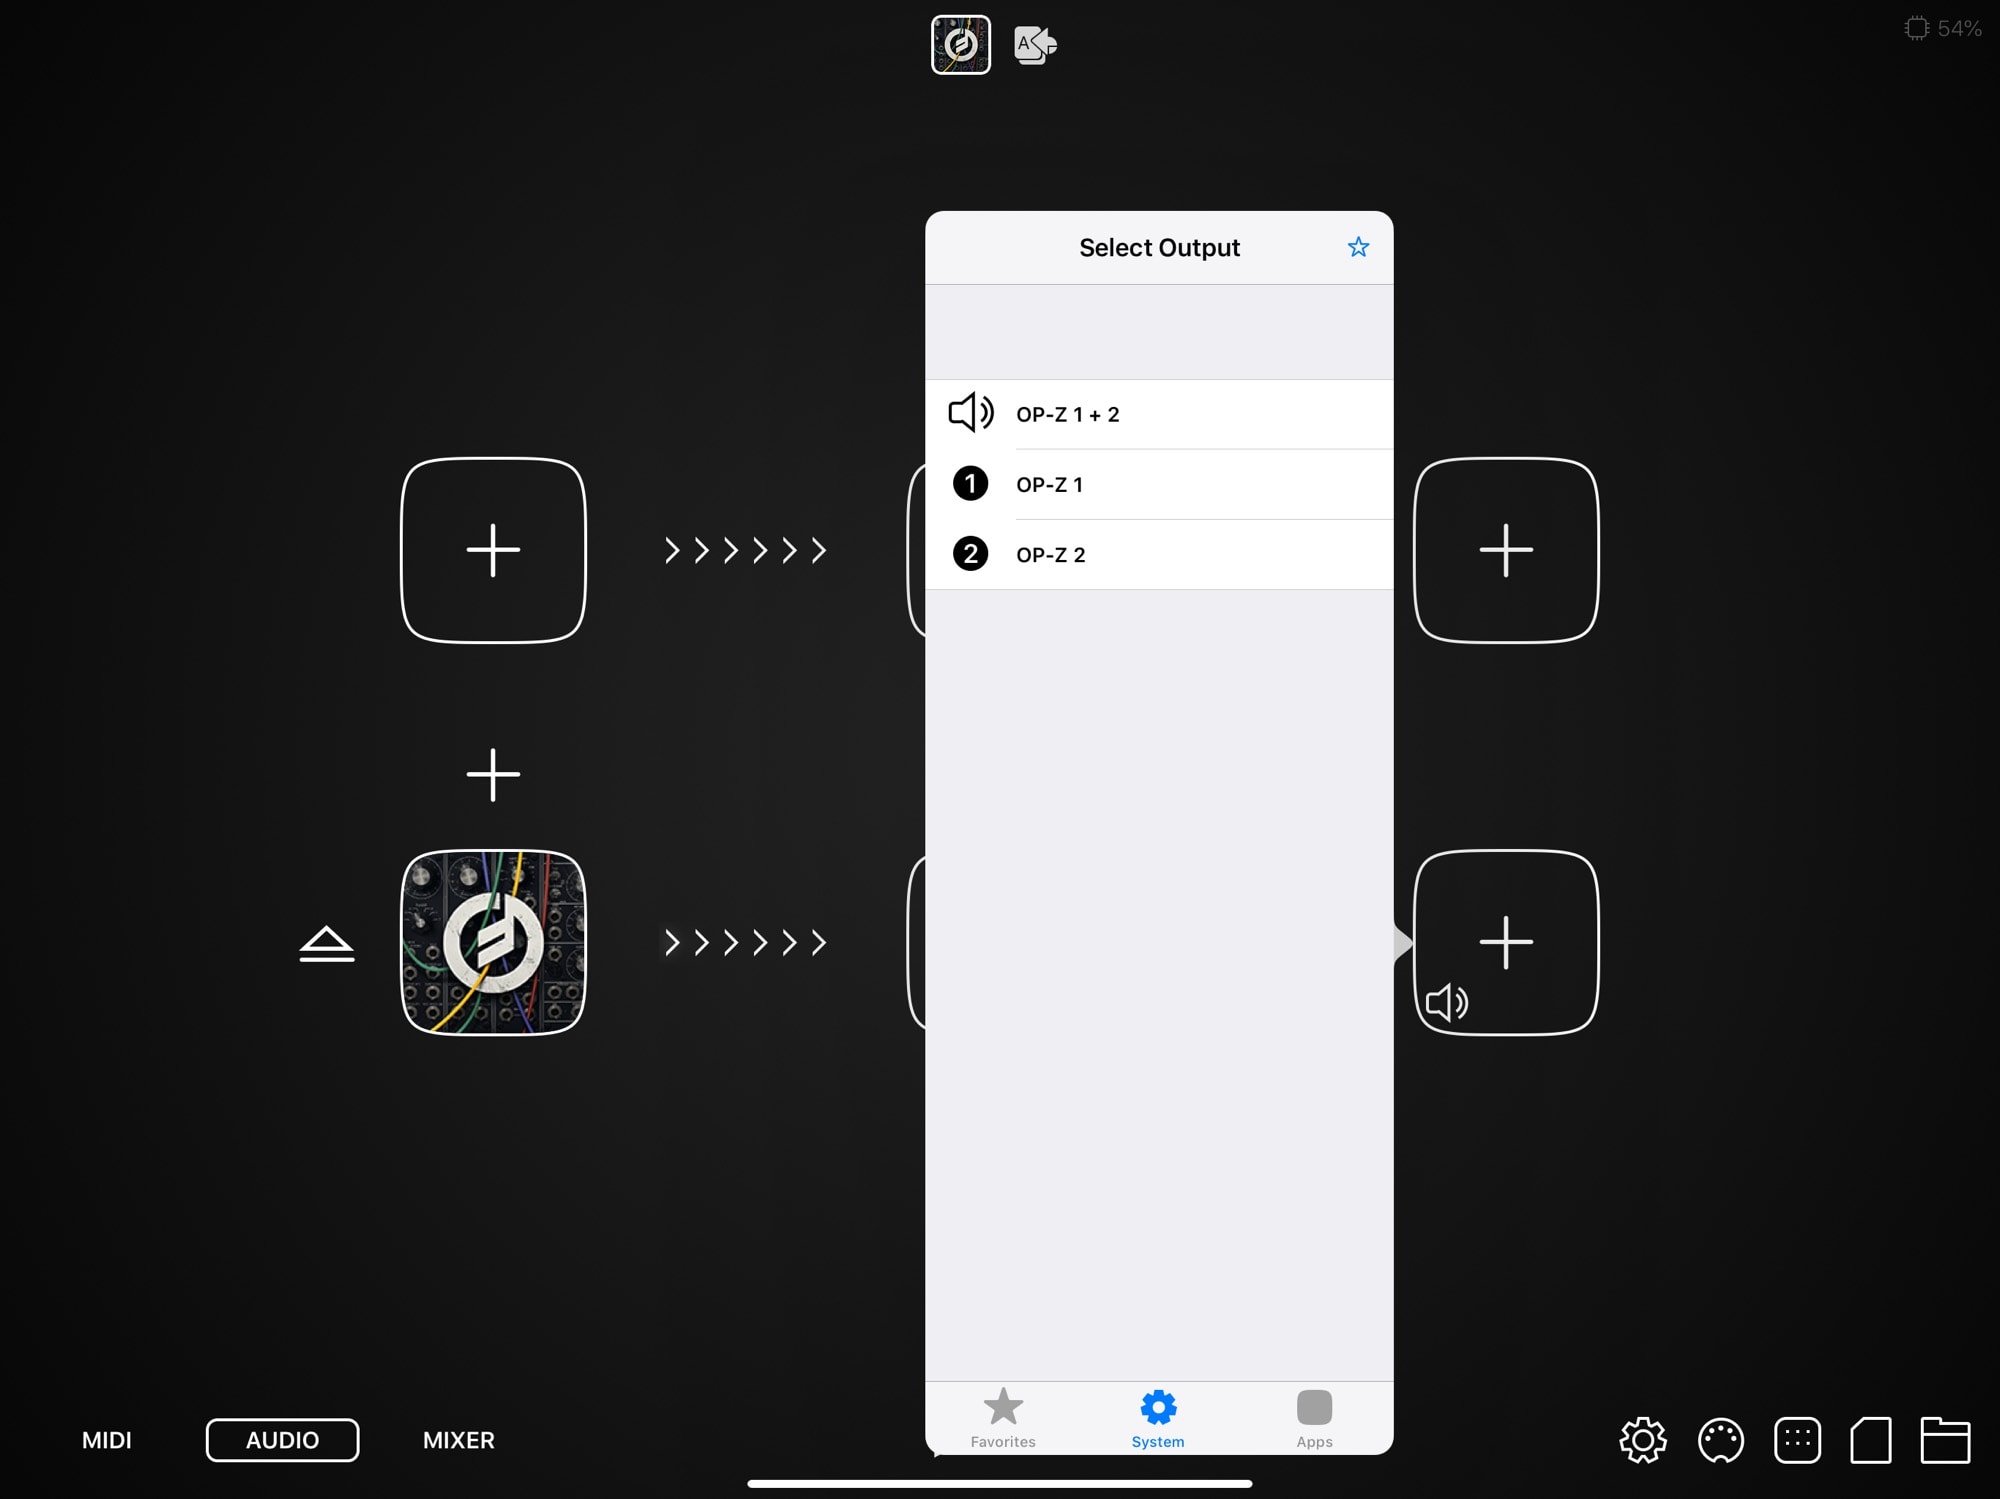
Photo: Cult of Mac
(If you have an iPhone, or a Lightning iPad, you will need to use Apple’s optional Camera Connection Kit USB adapter to hook up the devices. Otherwise things work the same way.)
The downside of connecting the OP-Z to your iPad via USB-C is that the iPad is now mute. You’ve just used up its only output1. The only way to hear it is via the OP-Z’s headphone jack, which is fine, but limited, as we shall see later. If you’re using a Mac, you can plug in as many USB audio devices as you want, and use them all at once.
Prepare to sample on OP-Z
Recording an audio sample, and recording a drum sample, are done the same way on the OP-Z. The difference is in how you process and use the results. First, you must make sure you have the latest firmware installed. If you’re using the iOS app, you should update that, too.
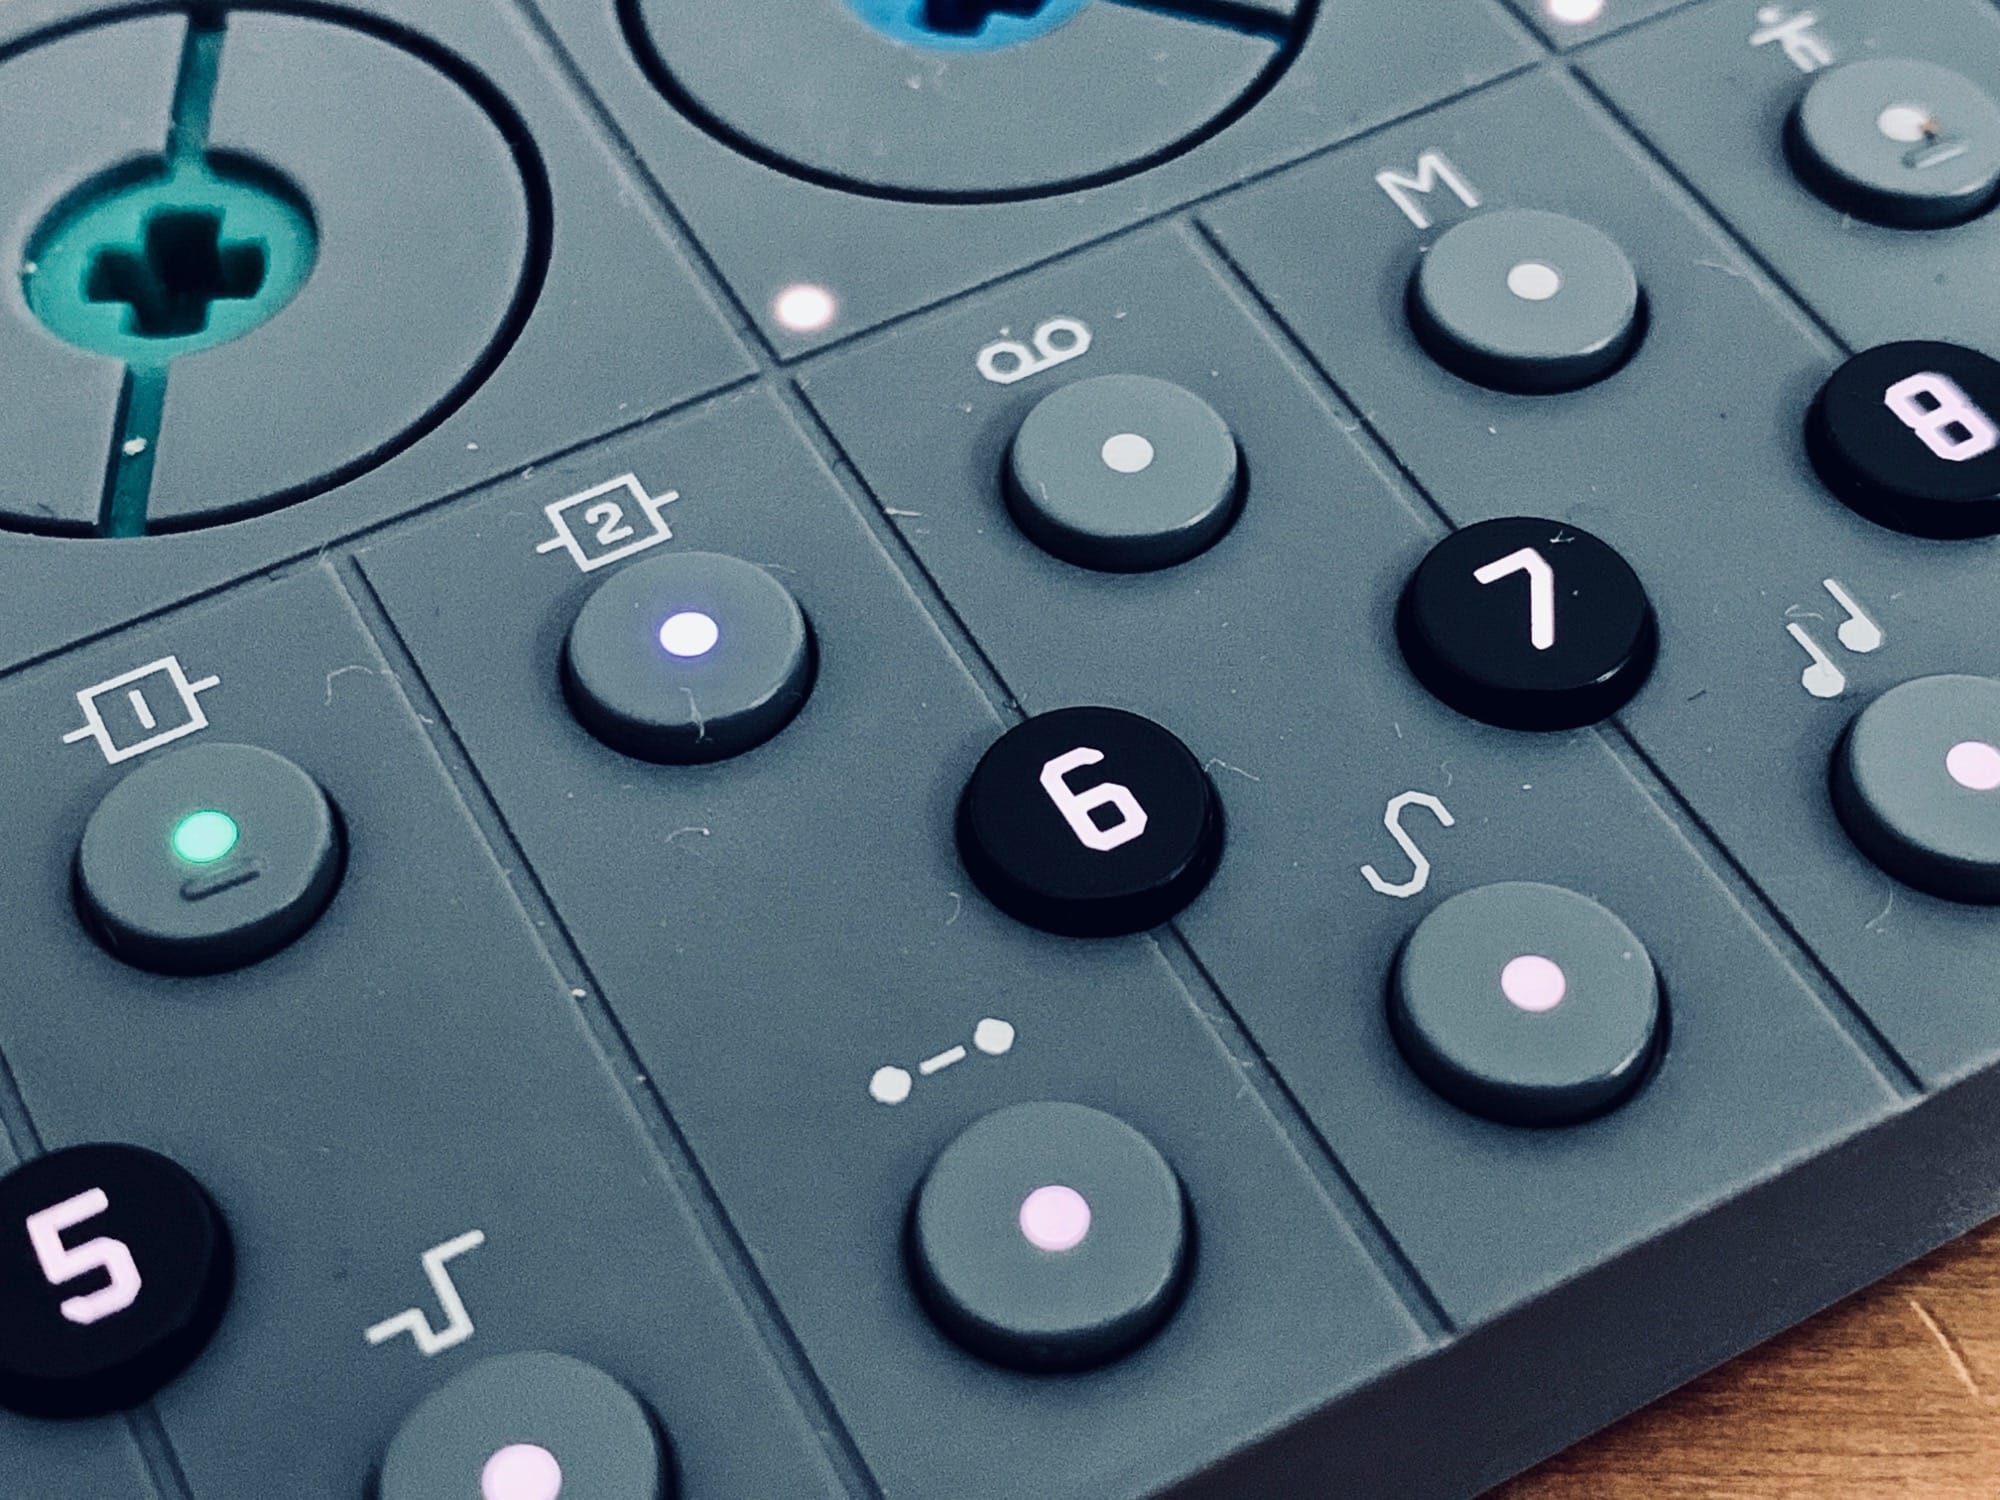
Photo: Charlie Sorrel/Cult of Mac
Next, prepare a sample slot to record. I won’t go into depth on the basic workings of the OP-Z, because they are too complex for this post. And if you’re following this how-to, you already know them.
To prepare a slot, choose one of the instrument tracks (lead, arpeggio, bass or chords), then hold down the Track button (the I button), plus the slot you want to clear. This will delete any existing audio in that slot. Then, repeat this exact action to tell the OP-Z you want to record a sample there. On the unit, the lights will animate from left to right in a kind of LED progress bar. In the iOS app, you get an actual (purple) progress bar. If you’re recording a drum sample, then do the same, only on a drum track.
Then, choose your input method. There are three ways to pipe audio into the OP-Z: the built-in mic, the mic on an iPhone headset, and USB audio. The built-in mic is the default, and fine for lo-fi samples. The iPhone headset mic seems pretty pointless, but it’s cool if you’re singing, I guess. And the best is USB-C. If you are recording from an iPhone or iPad (or a Mac or Android device), you should do this.
How to record a sample on OP-Z
On the OP-Z, press STOP+REC to enter sampling mode. If you’re using the iOS app, you’ll see this screen:
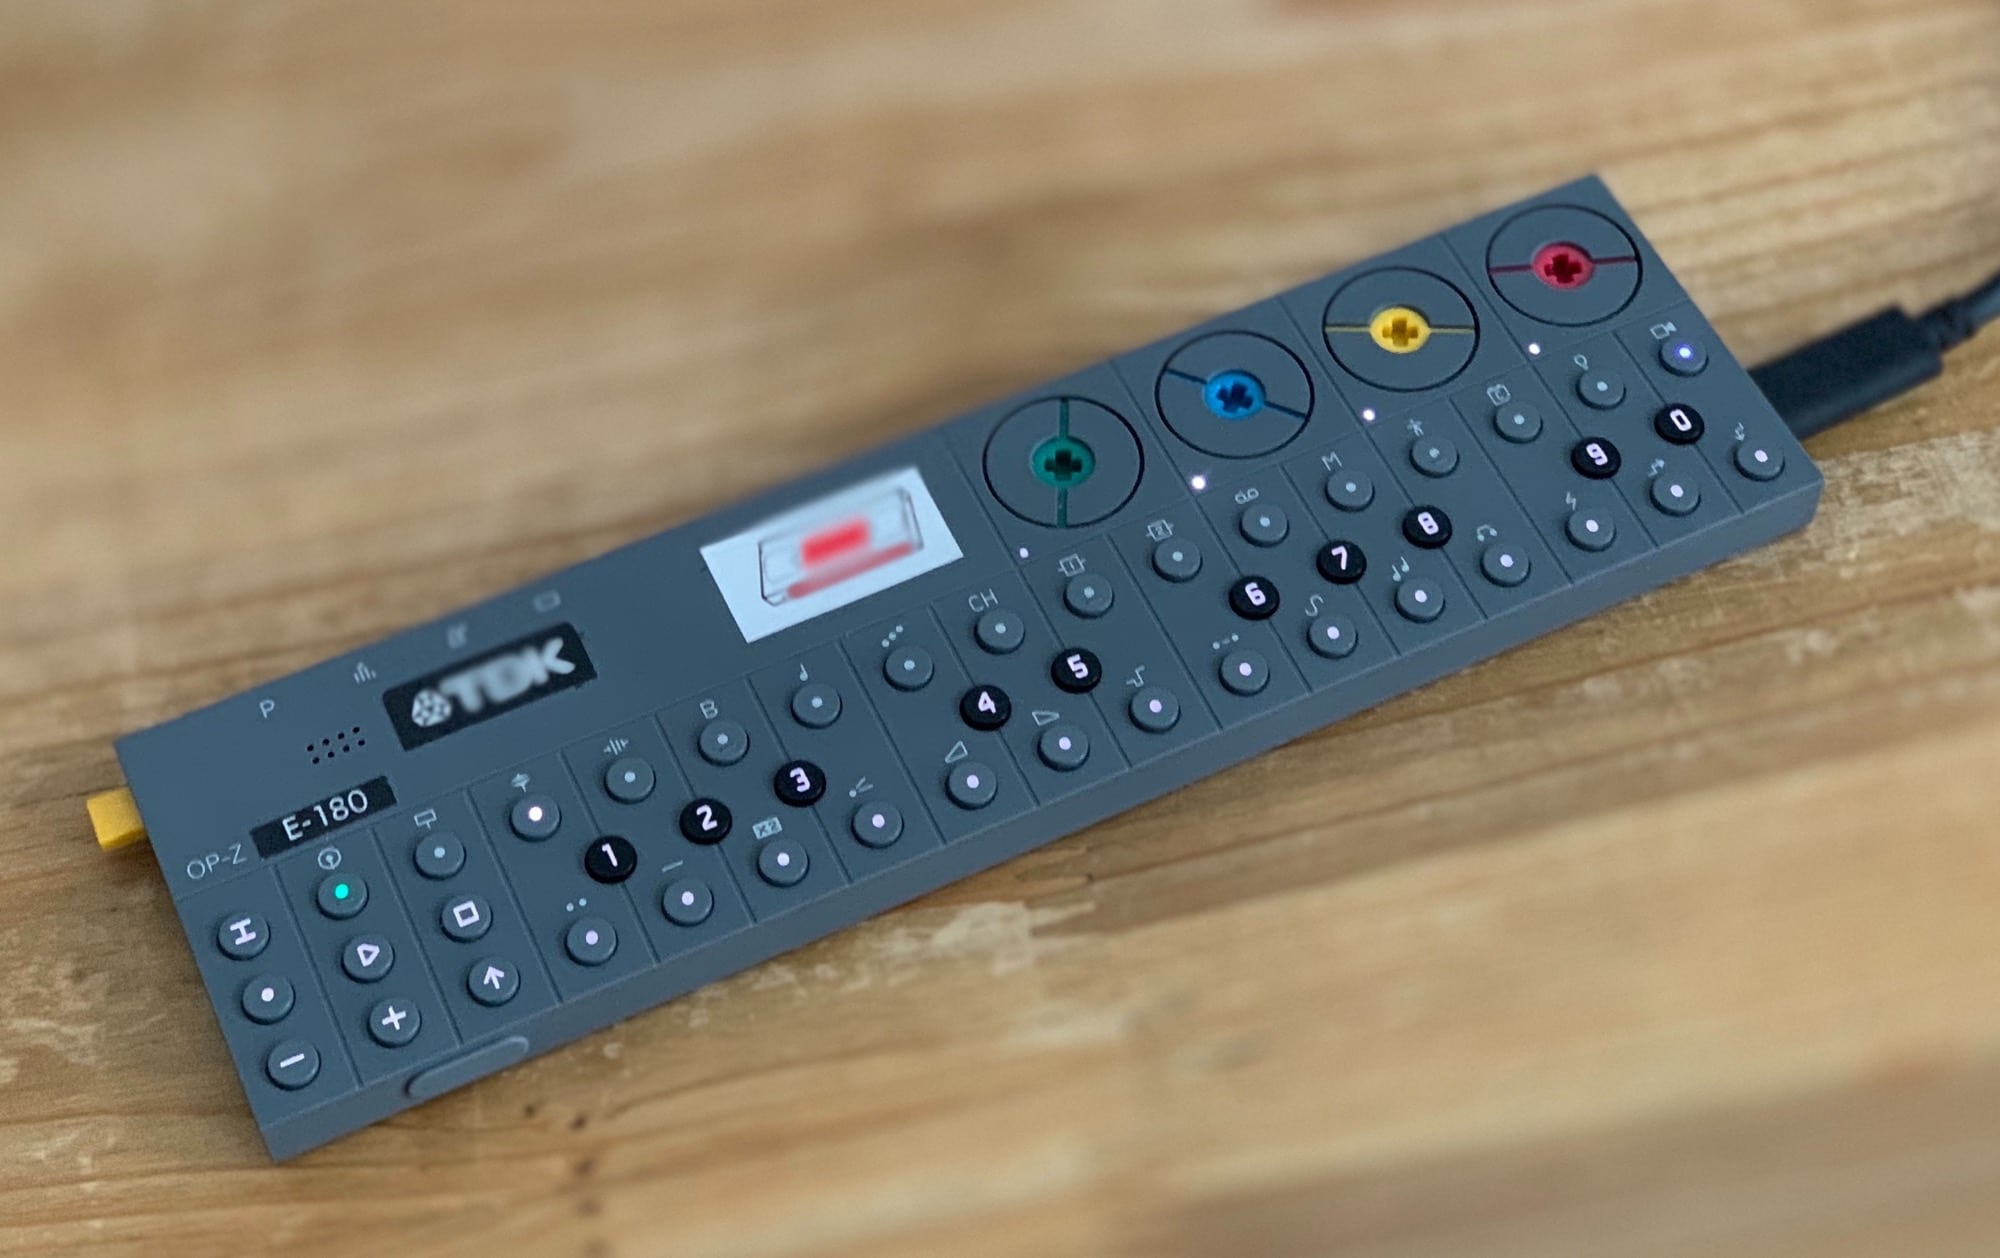
Photo: Charlie Sorrel/Cult of Mac
You’re now in sample mode. To hear the incoming audio from your iPad, press PLAY on the OP-Z. This monitors incoming audio, wherever it’s coming from. Now you should tell the OP-Z what note you’re about to play. If you’re going to play a C into it, then hold the SHIFT key, and press the C key on the keyboard. This tells the OP-Z where to store the base sample.
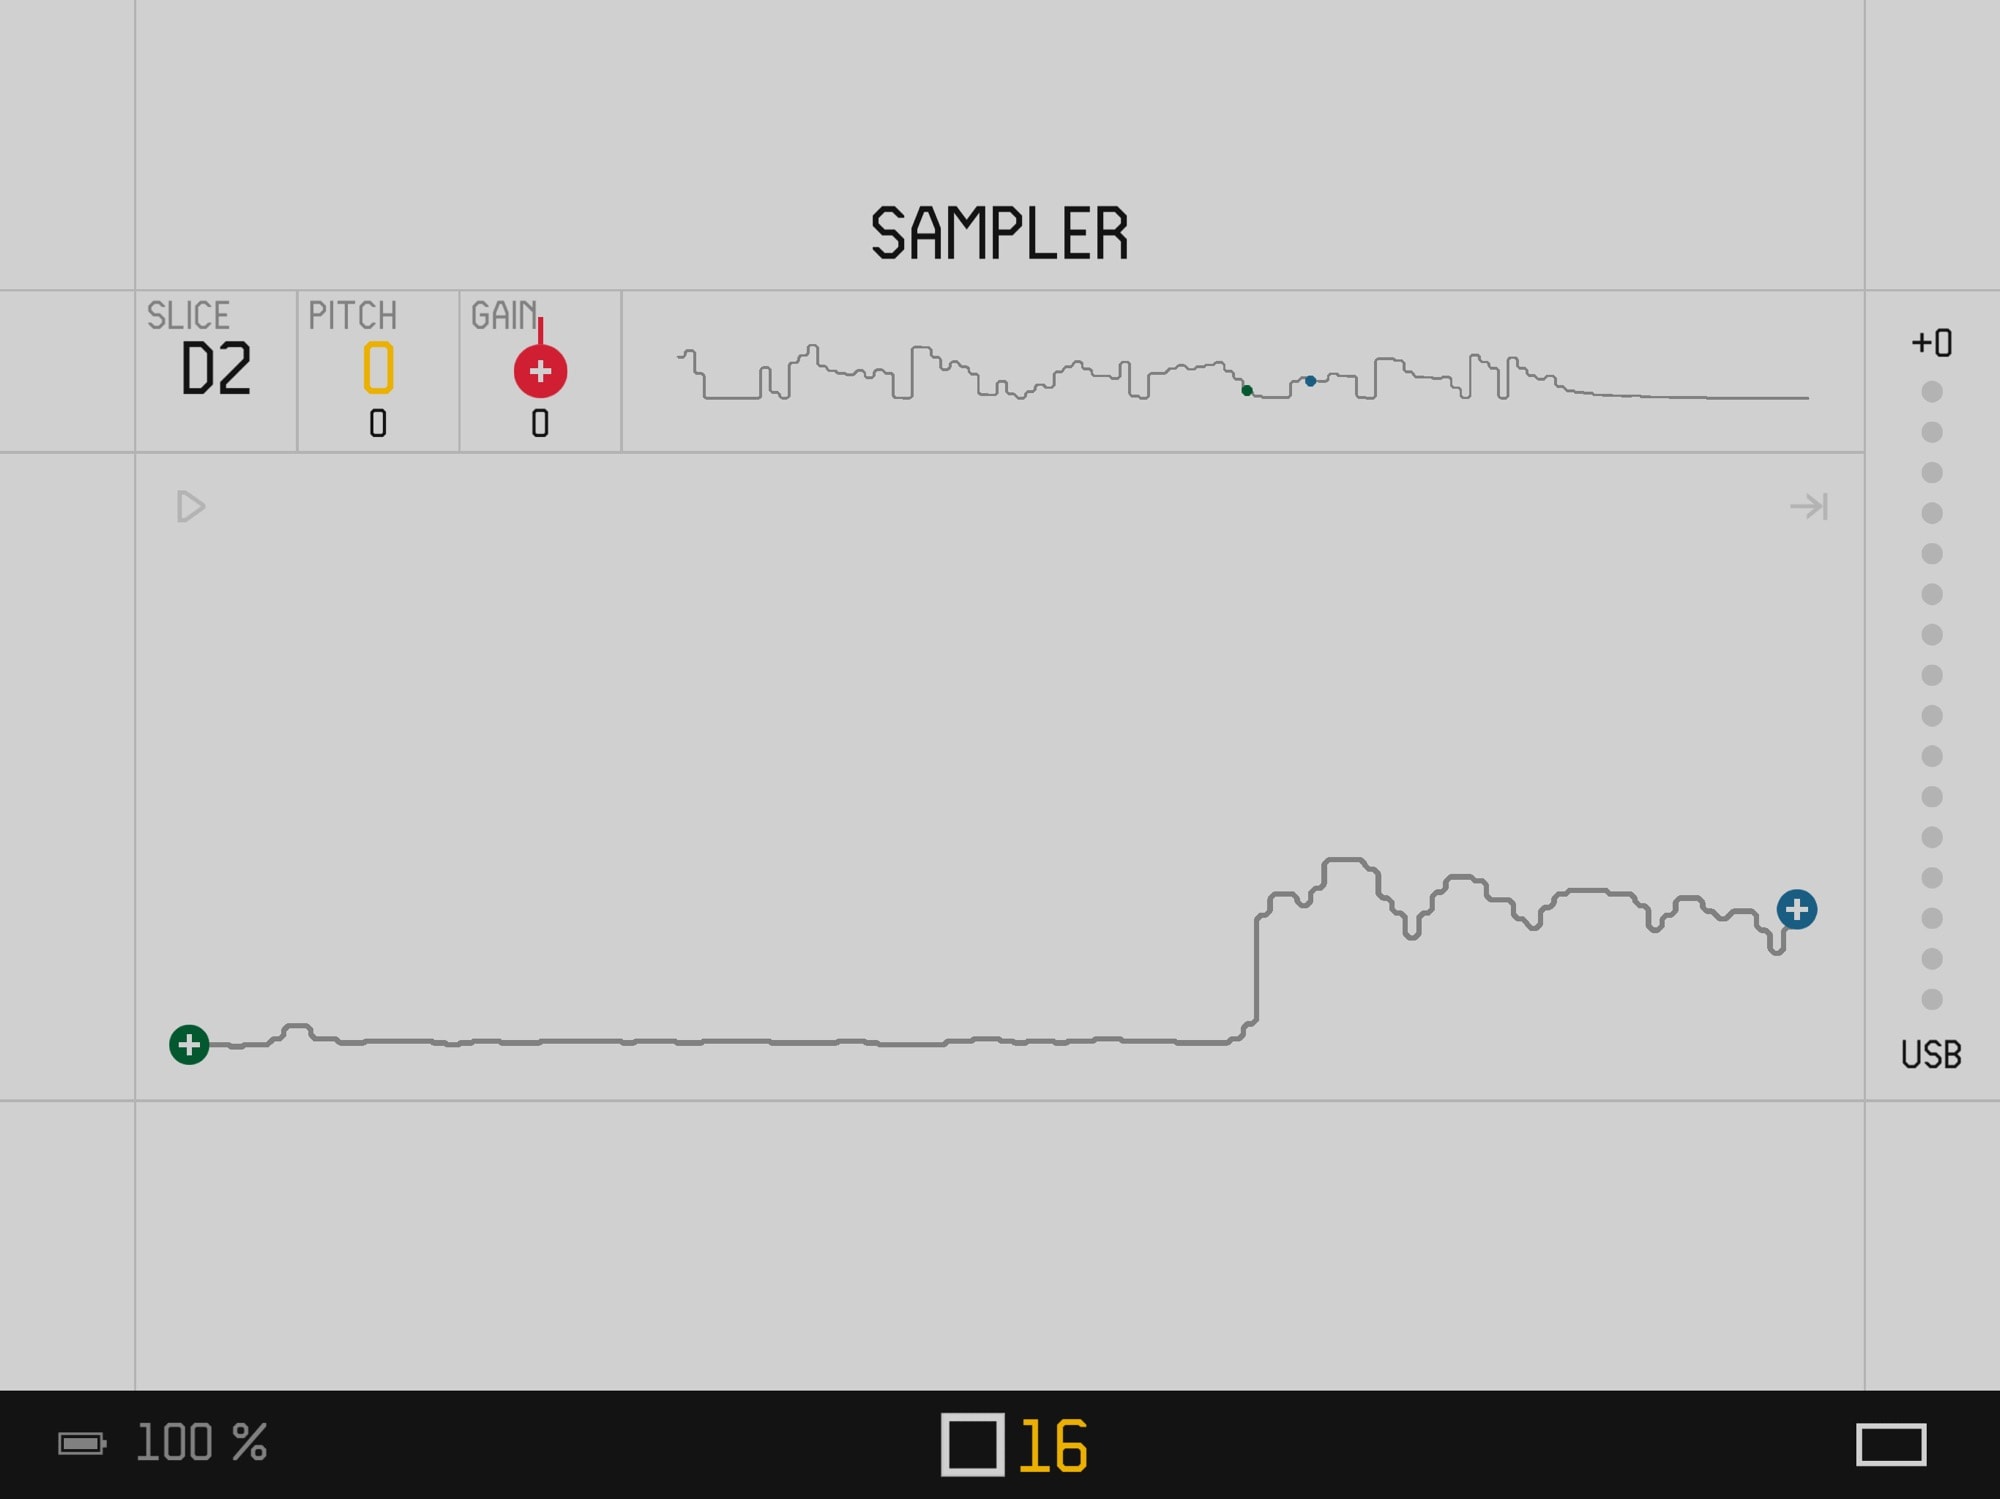
Photo: Cult of Mac
Then to sample, just press RECORD and play the audio from the iPad. This works the same if you’re using the OP-Z’s built-in mic.
Keep holding down the RECORD button until you’re done, or until you reach the six-second limit. If you’re recording a drum sample, you have 12 seconds. If you need two hands to play your audio, then you will need a friend, as the RECORD button has to stay pressed down.
The sample is now recorded, and will show up as a waveform in the iOS app.
How to edit your new synth sample
You will now probably want to edit the sample. You can chop off the silence at the beginning and end, and you can also tweak its pitch, volume and other parameters.
On the OP-Z, you spin the green encoder to set the start point of the sample, and the blue encoder to set the end. This is just like trimming the ends of videos in the iOS Photos app, only without a touchscreen. Keep pressing the key to play the sample, so you can hear when you have trimmed it correctly. You can also see the waveform on the screen of the app, but it’s not required.
The red encoder adjusts the gain, and the yellow encoder adjusts the sample pitch. Shift+yellow lets you choose the sample direction (forward or reverse). For more in-depth explanation of the sampling adjustments, check out the online OP-Z manual.
Once you’re done editing, tap STOP and you’re back in sequencer mode. You can use your new sample just like any other sound on the OP-Z.
Chopping and slicing with the drum sampler
I’ve saved the best till last. Drum sampling works the same way as synth sampling, only instead of getting a single sound that is played at different pitches across the keys, the drum sampler chops up a sample, and places those slices on consecutive keys. You can tweak the beginning and end of each slice in the same way as for the synth sampler.
But the drum sampler doesn’t have to be used for drums. The first thing I did was to play a guitar sample into it (prerecorded, as I can’t play guitar and operate the OP-Z at the same time). I then assigned triggers to the OP-Z’s sequencer, and told it to play random slices on each trigger. Then, I picked out the parts that sounded best, deactivated a few steps to get a rhythm, added a kick drum and some other percussion, and I had a pretty good groove. One which I could never have come up with on any other device.
The OP-Z is absurdly powerful
It’s hard to look at the tiny, screen-less OP-Z and think of it as anything other than a toy. Probably the same thing would happen if you showed an iPhone to a computer operator from the 1970s.
“You call that a computer?” they’d say, eerily echoing the Crocodile Dundee movie, still a decade hence. They’d point to their huge mainframe and row of tape machines, or whatever people used to tweet back then. “That’s a computer,” they’d say.
Sampling is definitely flawed on the OP-Z, although only by the annoying lack of proper line-in and line-out jacks for connecting to audio equipment. If you do manage to get audio into it via the jack, then you can’t hear anything, as you’ve used up the jack hole. I’ve ordered a y-splitter cable to see if that lets me connect a mic and headphones at the same time. If it works, I’ll update this post.
And yet, despite this small annoyance, the OP-Z is now pretty incredible. Getting sounds in and out is easy, and you can record perfect mixes of your music via USB. All this in a pocket-size device you can use anywhere. It’s pretty wild, and amazingly creative.
- Plugging in a USB audio device takes over all the iPad’s audio I/O. Even the internal speakers are disabled.The OP-Z, on the other hand, keeps its internal speaker on, so you can use it to monitor everything, even while it’s used as both a USB input and output. ↩
