You’ve been able to import photos into an iPad ever since the first iPad launched. You had to buy a Camera Connection Kit to do it, which at the time consisted of two 30-pin Dock connectors, one with a USB-A port for hooking up cameras and CF readers, the other with an SD card slot. Since then, imports have gotten faster, and better. And the biggest difference with the 2018 iPad Pro is that now you can use any old USB-C card reader or hub to do the importing. Let’s see how it works.
Photo import on 2018 iPad Pro

Photo: Charlie Sorrel/Cult of Mac
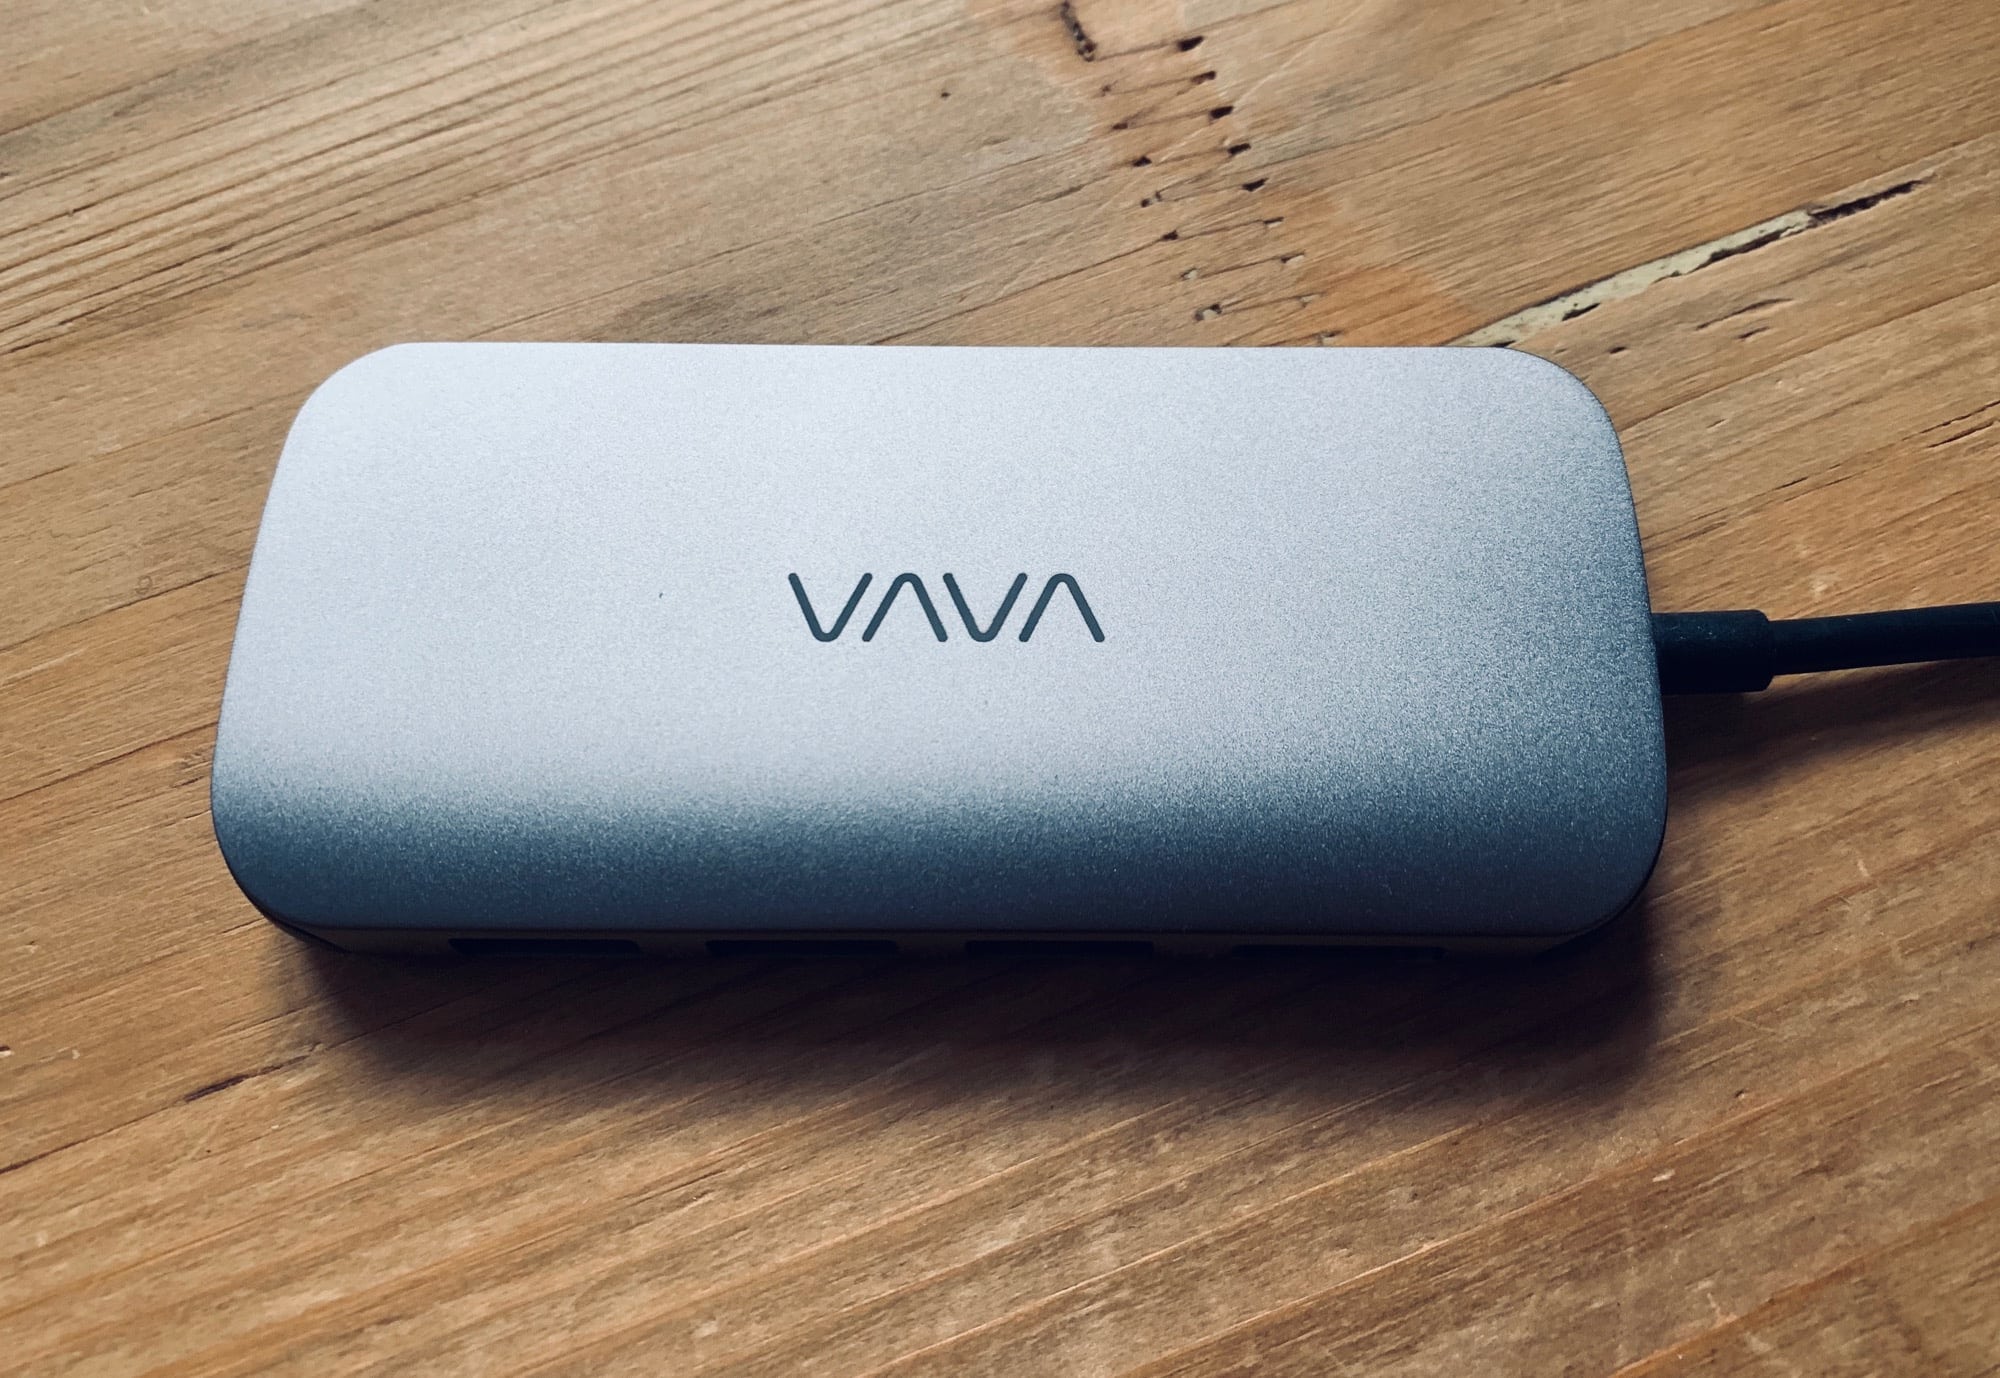
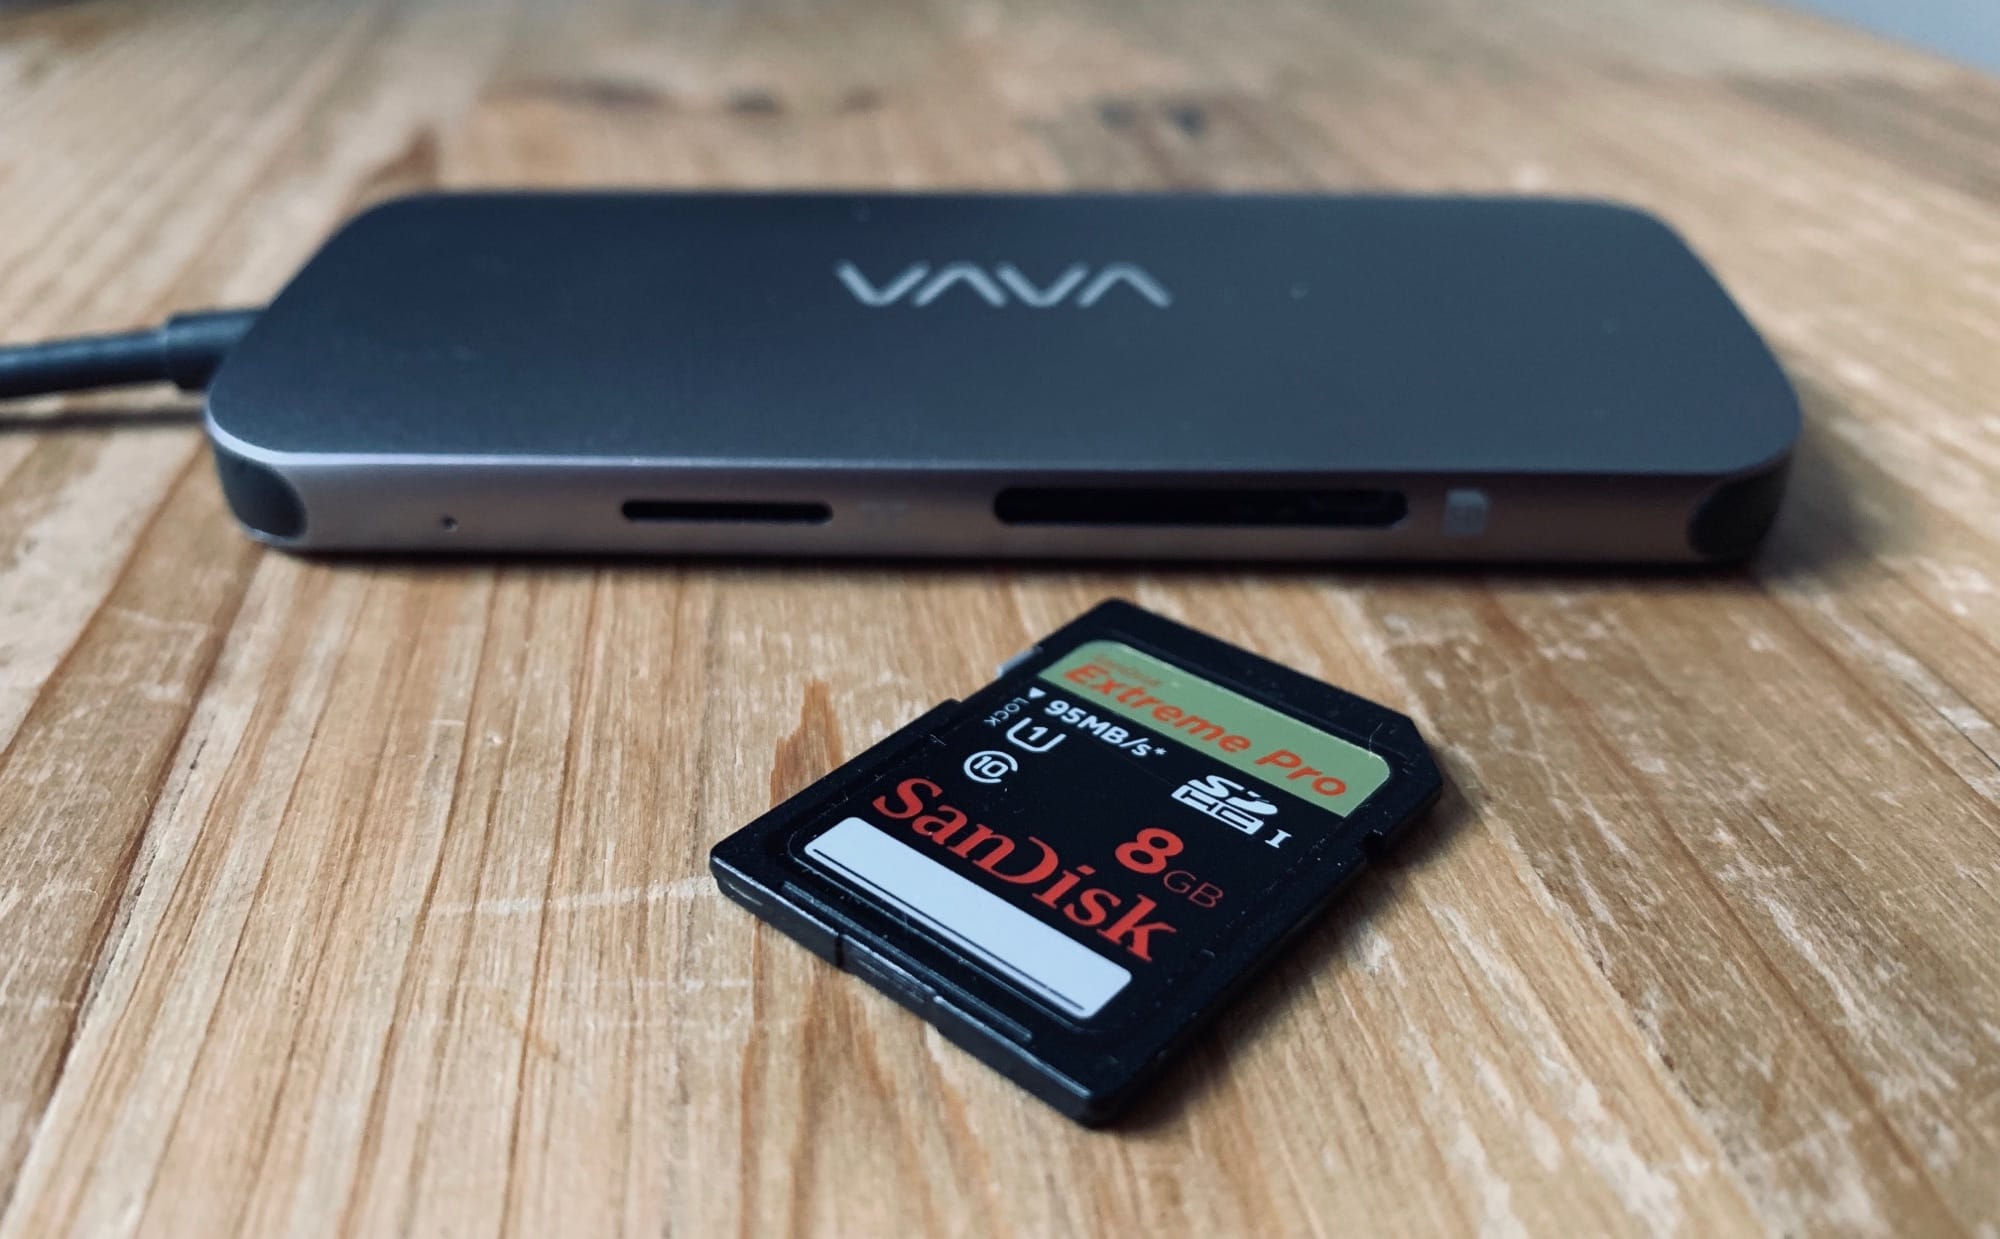
To import your photos from a camera into your iPad Pro, you need two things: the SD card from your camera, and a compatible SD card reader. You could buy Apple’s USB-C card reader, or you could use a hub with an SD slot, or you could use a regular USB-C hub, and plug a card reader into one of its USB-A holes. Any of those will work.
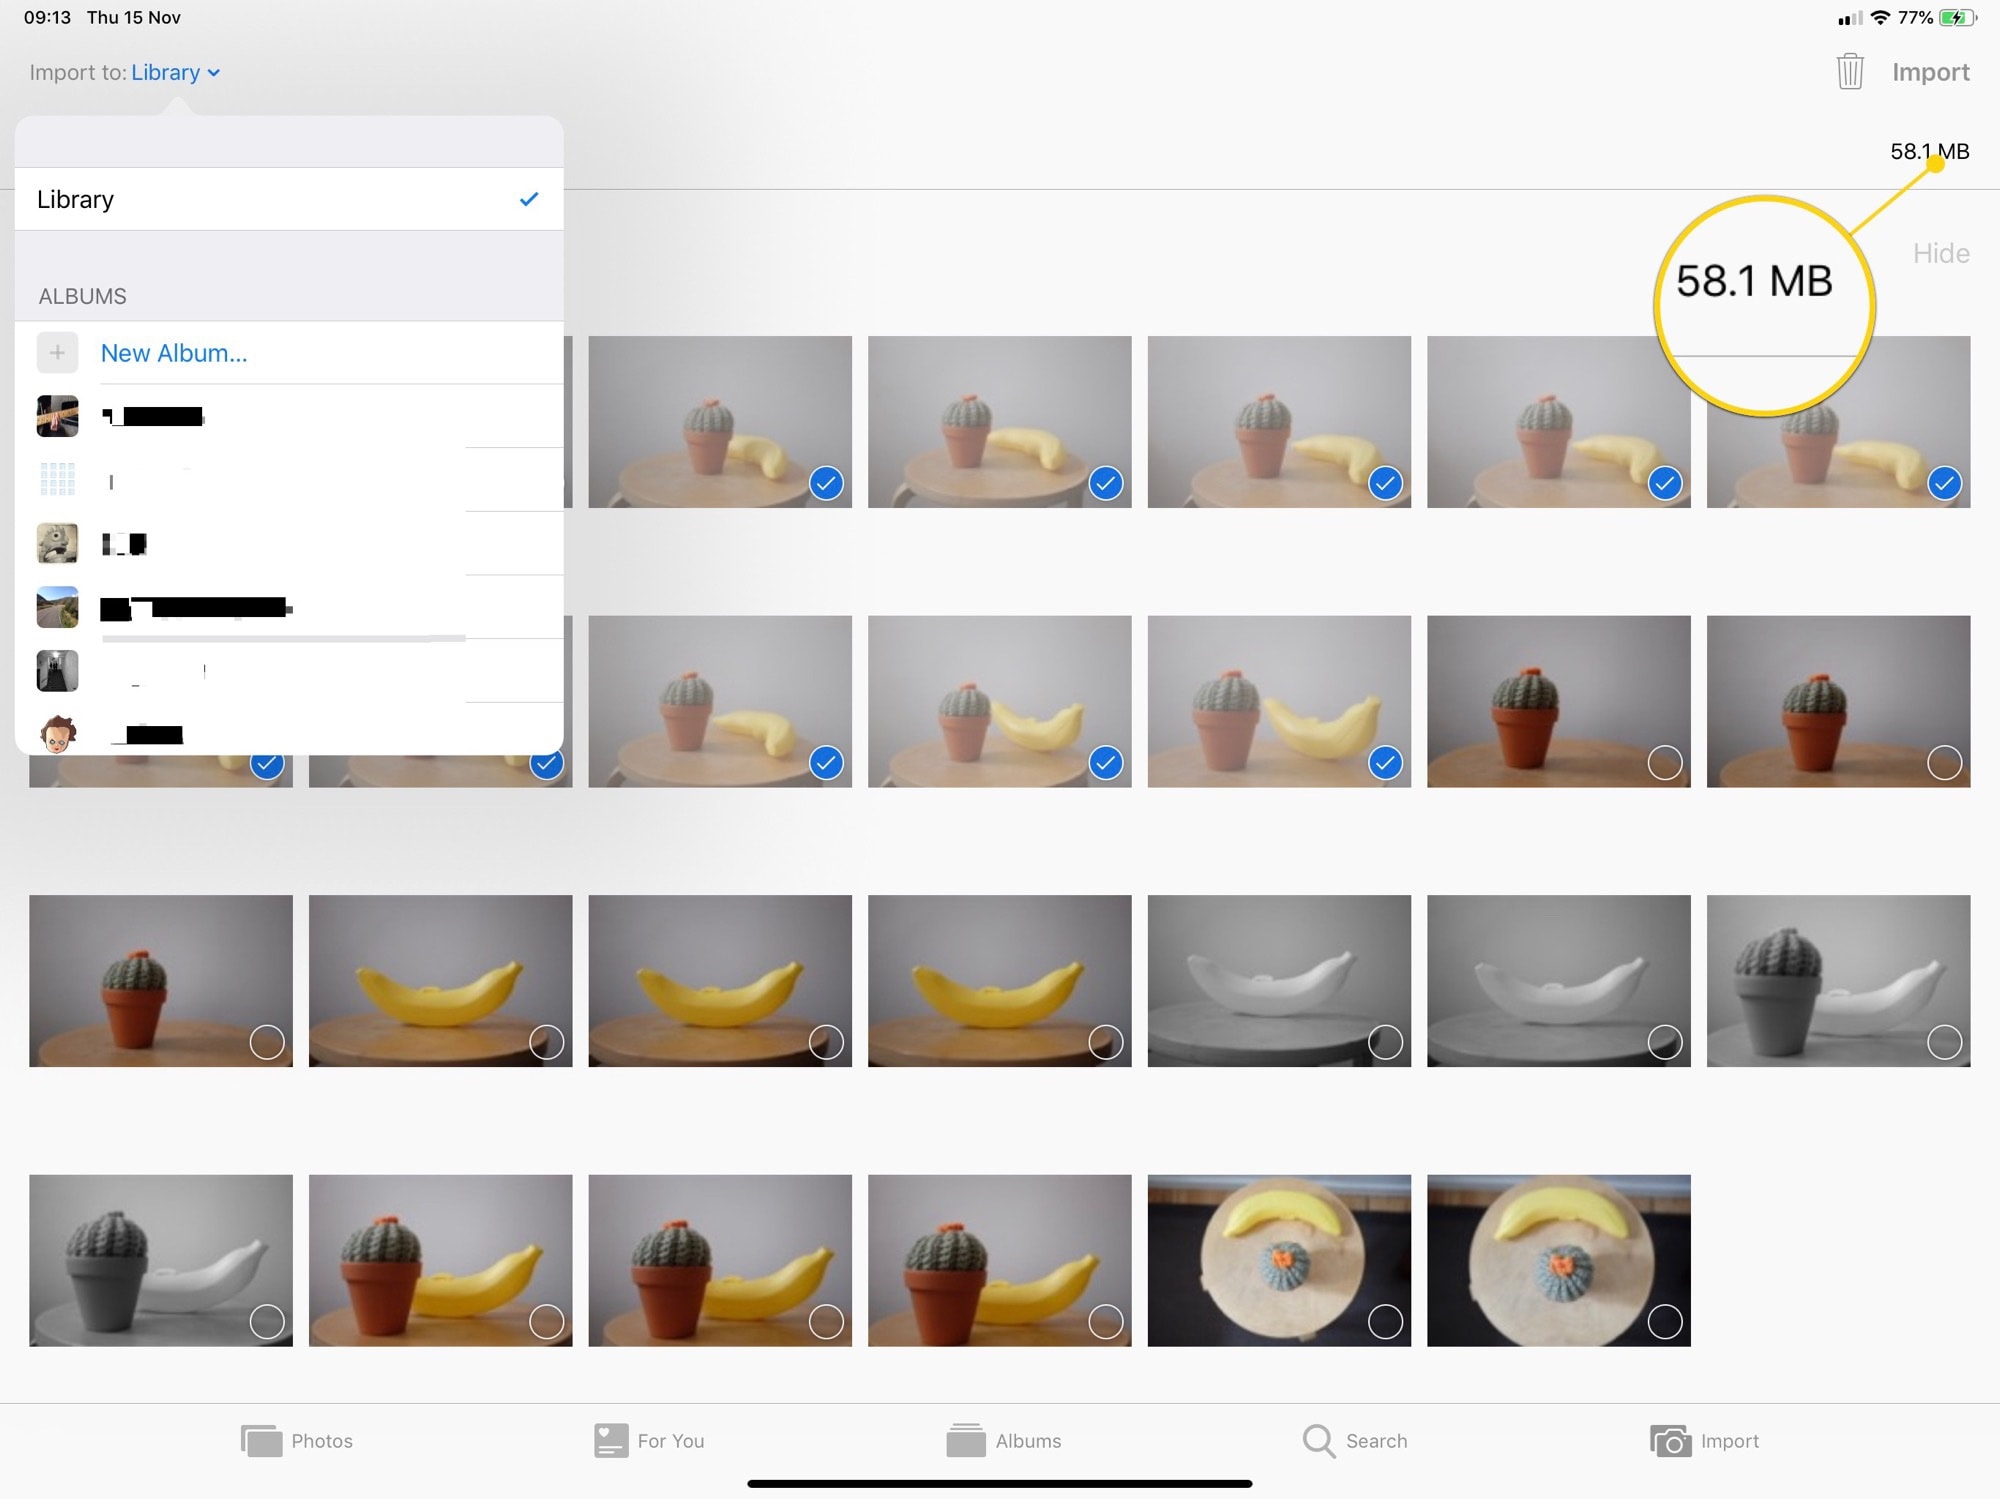
When you hook this up, the Photos app will launch, and you’ll see a new tab — Imports — which will be automatically opened. And, thanks to the super speed of USB-C, thumbnails of the photos on the card will show up pretty much instantly.

Photo: Cult of Mac
Take a look at the screenshot above. I’ve highlighted a few things. Top left is the option to pick an album into which to import your photos. The default is to just dump them into your camera roll, but you can also pick an existing album, or create a new one.
Import tools
Next, over on the top right, you’ll see the size of the currently selected photos, added together. It’s a great guide.
Then, notice the Import and Delete buttons. Tap import to do just that. If you have selected some of the images first, you’ll be asked if you want to import just that selection, or all the photos on the card (previously-imported images are ignored). Then, when the import is complete, you will see another prompt. This will ask you whether you want to delete the photos from the card, or leave them be.
Delete
Finally, you can delete photos directly, without the import, by selecting them and tapping delete.
Selecting photos is just the same as selecting anything else on iOS. Just tap individual photos, or swipe across several to bulk-select (or bulk-deselect).
Zoom thumbnails in preview

Photo: Cult of Mac
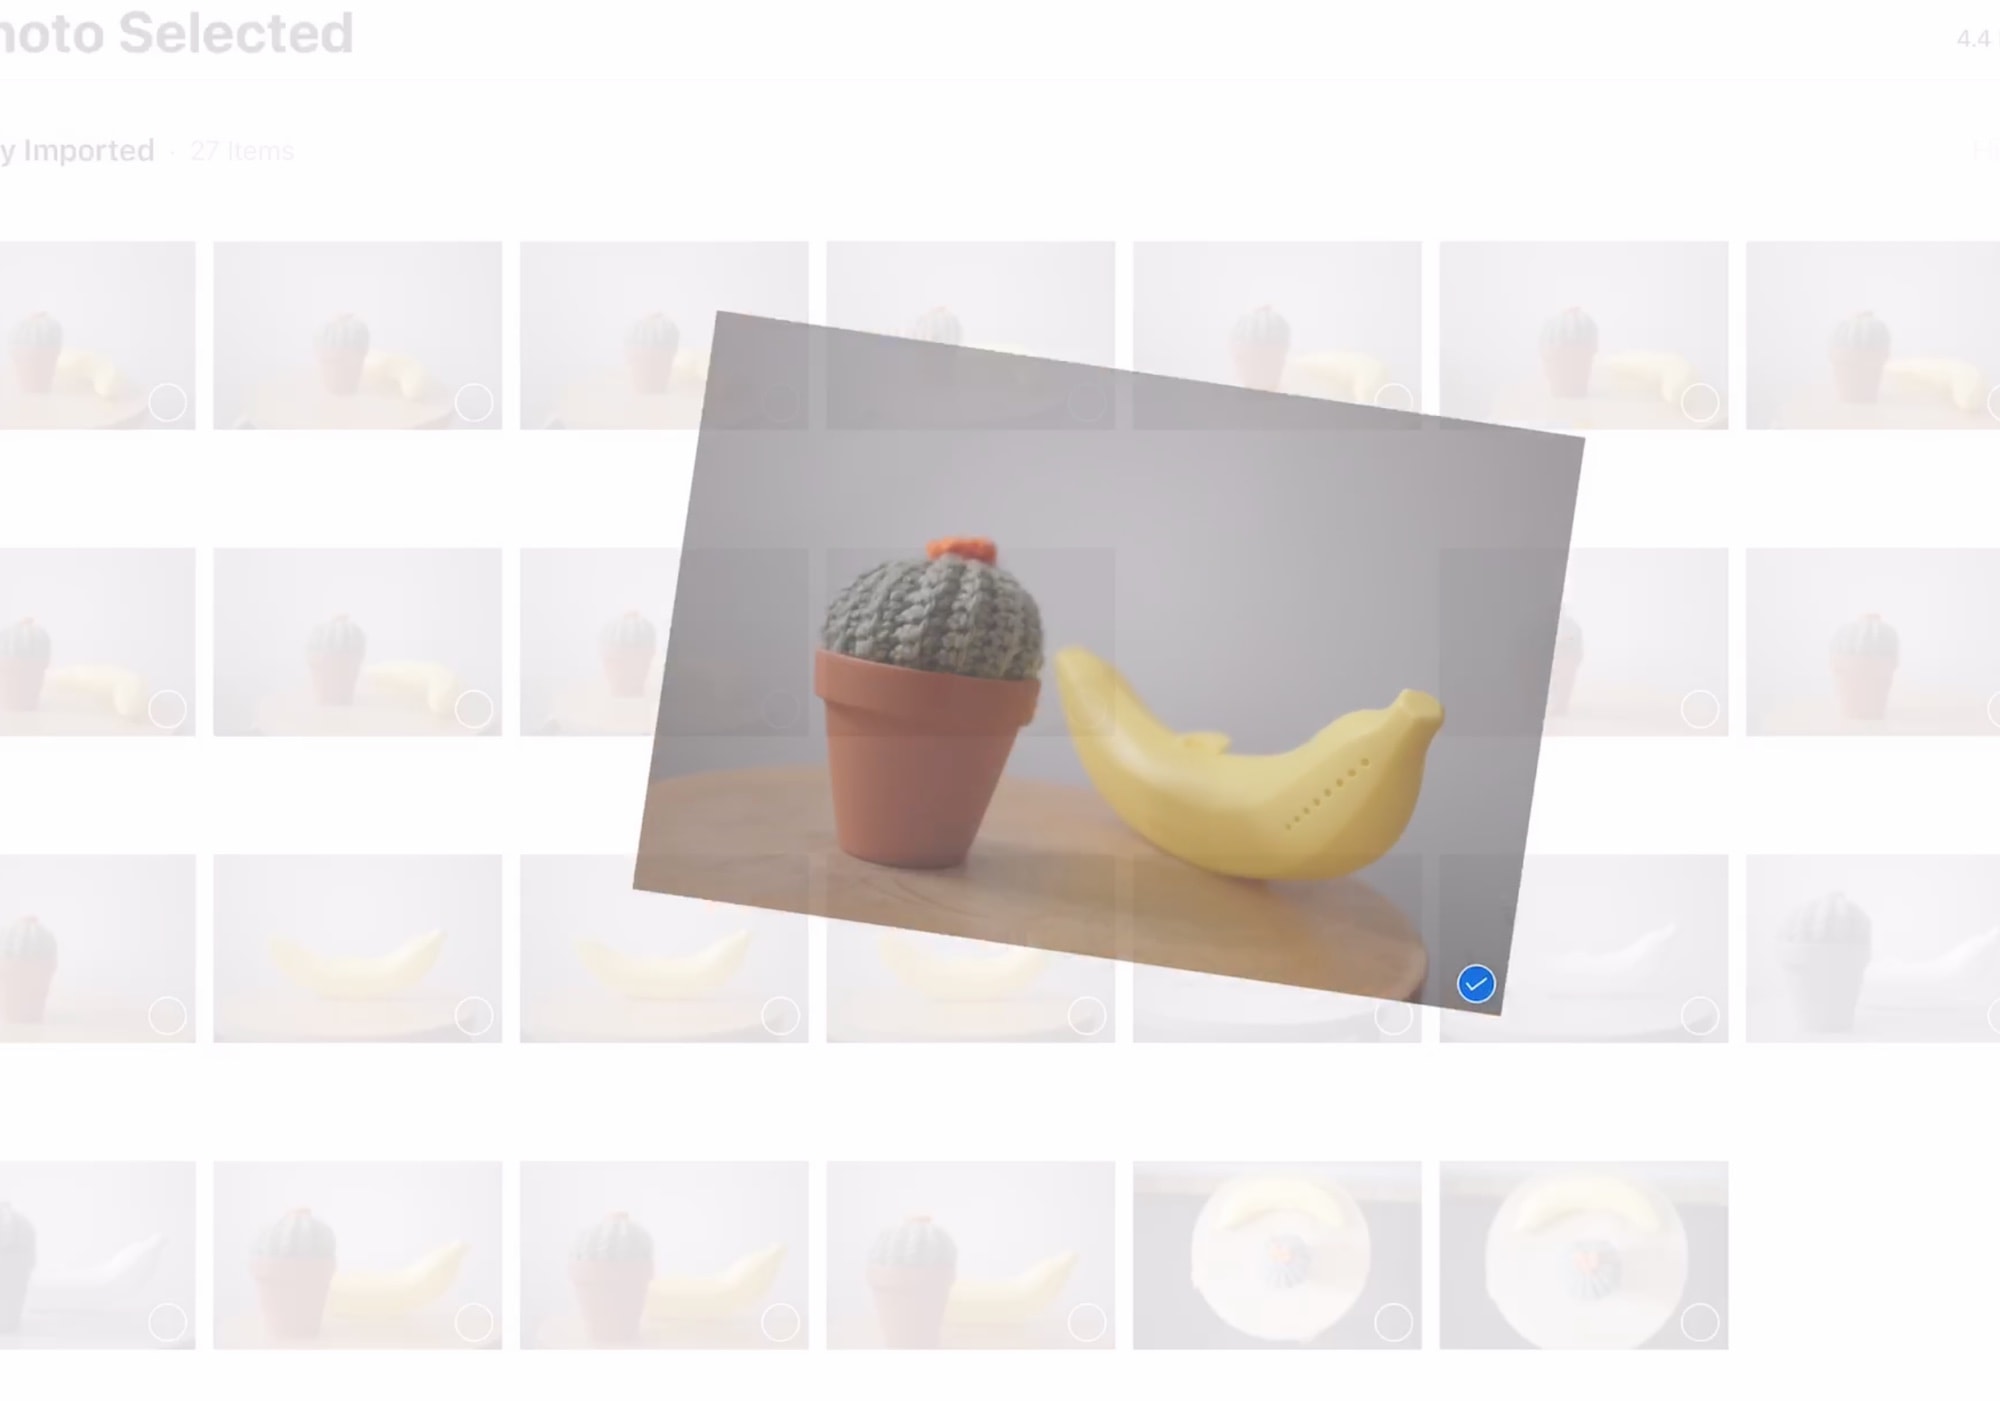
Another neat trick is previewing thumbnails right off the card. If you don’t want to import many versions of the same photo, for example, you can quickly pinch to zoom and see full-screen previews of the photos while they’re still on the card. Swipe to move between photos, and pinch again to zoom out. I really like this feature.
Importing photos into your iPad is easy, quick, and pretty much bulletproof. But there is one big limitation: you have to import to the iPad’s Photos app. There’s no way around this. Perhaps when/if Apple adds support for mounting USB volumes in the Files app, you’ll be able to send them directly to Photoshop or Lightroom, but until then you’re forced to clutter up your Photo Library.
Other than that, the process is pretty great. I prefer it to importing pictures to my Mac, which is old and slow.


