For most photos, the iPhone camera proves perfectly adequate. You just hold up your phone, point it, and shoot. The exposure and focus are almost always correct, or at least correct enough. But on occasion, you need to take control.
For instance, maybe that beautiful dark blue sky keeps getting washed out because the iPhone insists on correctly exposing the face of the human in the foreground, when you’d prefer to see the person in silhouette. (Or vice versa.) Or perhaps the iPhone insists on focusing on that tree in the foreground, instead of the person half-hidden behind it?
Both of these can be fixed using the manual controls built right into the iPhone’s own Camera app. They’re pretty well-hidden, so you might never have even noticed them. But rest assured, they are there — and they are very easy to use!
iPhone camera manual focus — kinda
The iPhone’s stock Camera app can’t actually focus manually. There are no controls to move the focus point around the frame. But accurate focus is rarely the problem with he iPhone. The problem is that it locks onto the wrong subject. The remedy to that is focus lock.
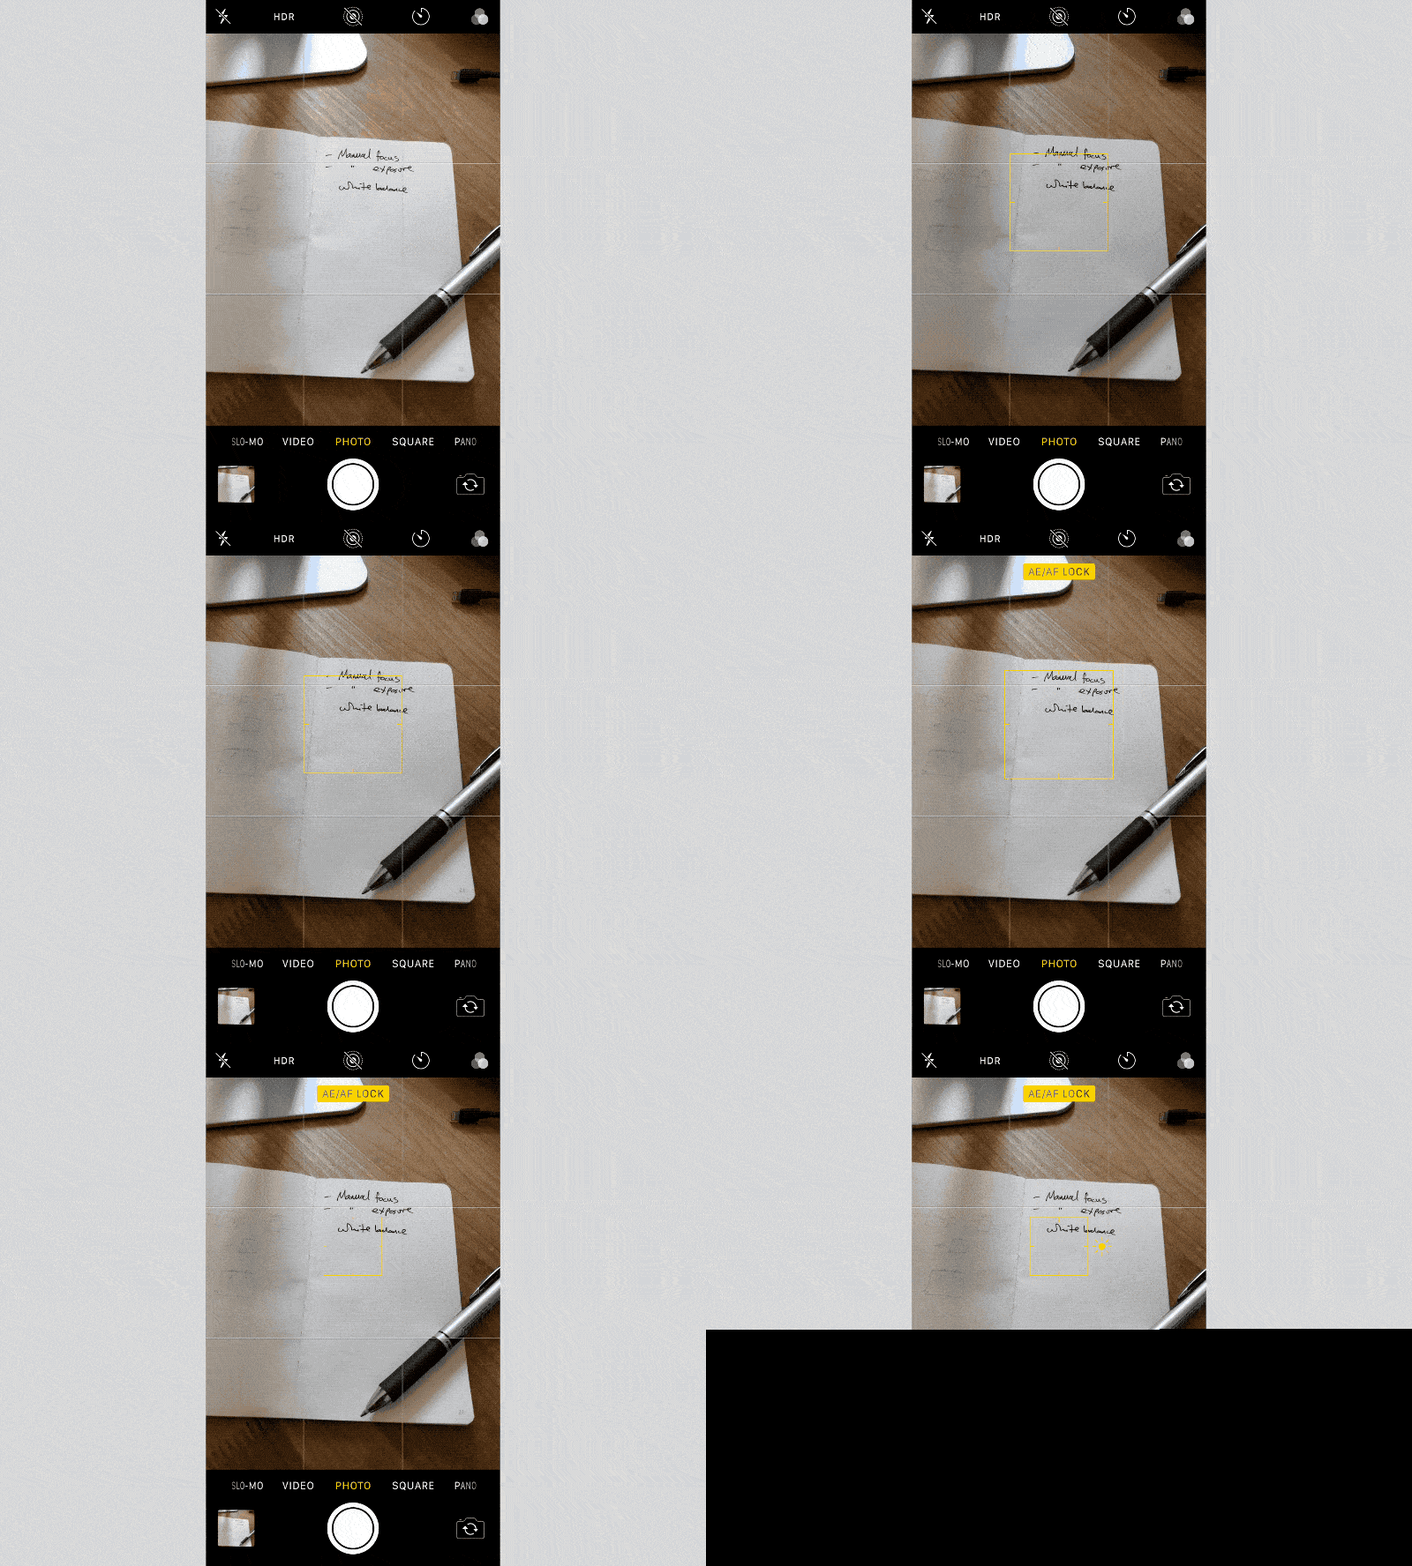
You know how you can tap to focus on anything in the frame? Well, try long-tapping on that same thing. After a short moment, the little focus square will pulse twice. This indicates a focus lock. Whatever you told the camera to focus on will stay in focus whatever you do. You can reframe the picture, putting that sharp subject at the very edge of the frame if you like, and it will stay in focus (unless you or that subject moves).
This is pretty powerful, because just by pressing a moment longer than usual when focusing, you can tell the iPhone exactly what you want it to look at. To exit the focus lock, just tap anywhere also on the screen.
iPhone manual exposure
When you lock focus in this way, the iPhone also locks the exposure. And that might not be the right exposure for the shot you’re taking. Say you focused on someone in a shadow, or with dark skin, or in black clothes. They will likely be exposed perfectly, while the scene behind them looks washed out, with weak colors and far too bright in general.
But fret not, because when you engage the iPhone focus lock, you also can enter manual exposure mode.
To manually change the exposure, just swipe up and down on the screen. Going up lightens the image; going down darkens it. This isn’t true manual control, which would let you actually choose the values for the camera lens aperture and the shutter speed. It is more correctly called “exposure compensation.” You tell the camera to go darker or lighter, and it tweaks the individual settings to match your wishes.
Adjust iPhone camera white balance

Photo: Charlie Sorrel/Cult of Mac

Photo: Charlie Sorrel/Cult of Mac
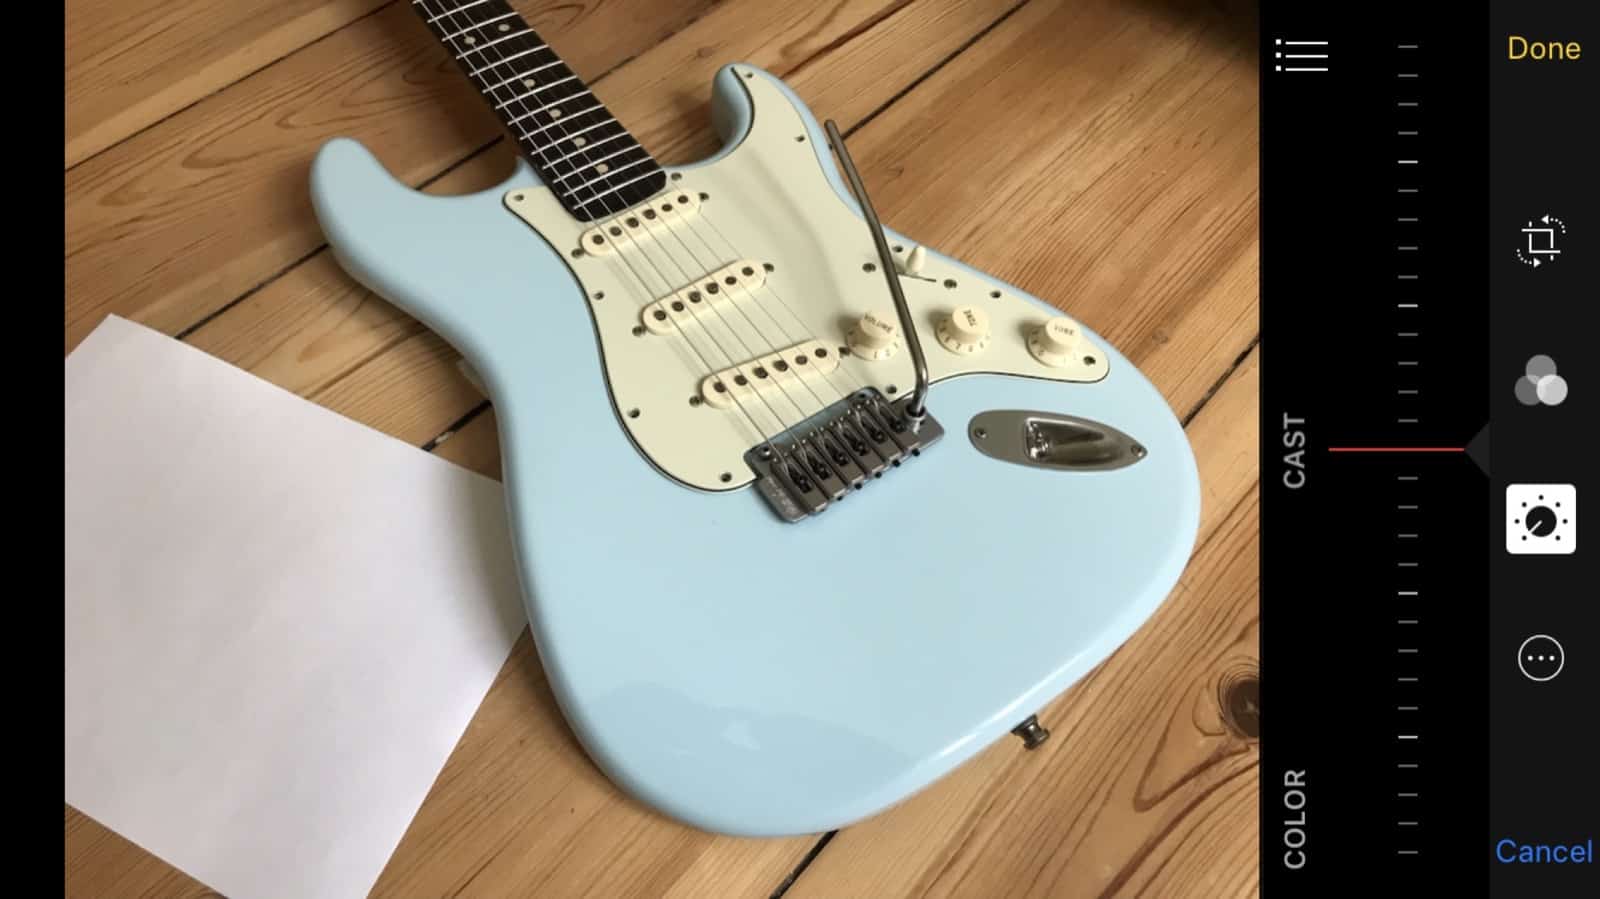
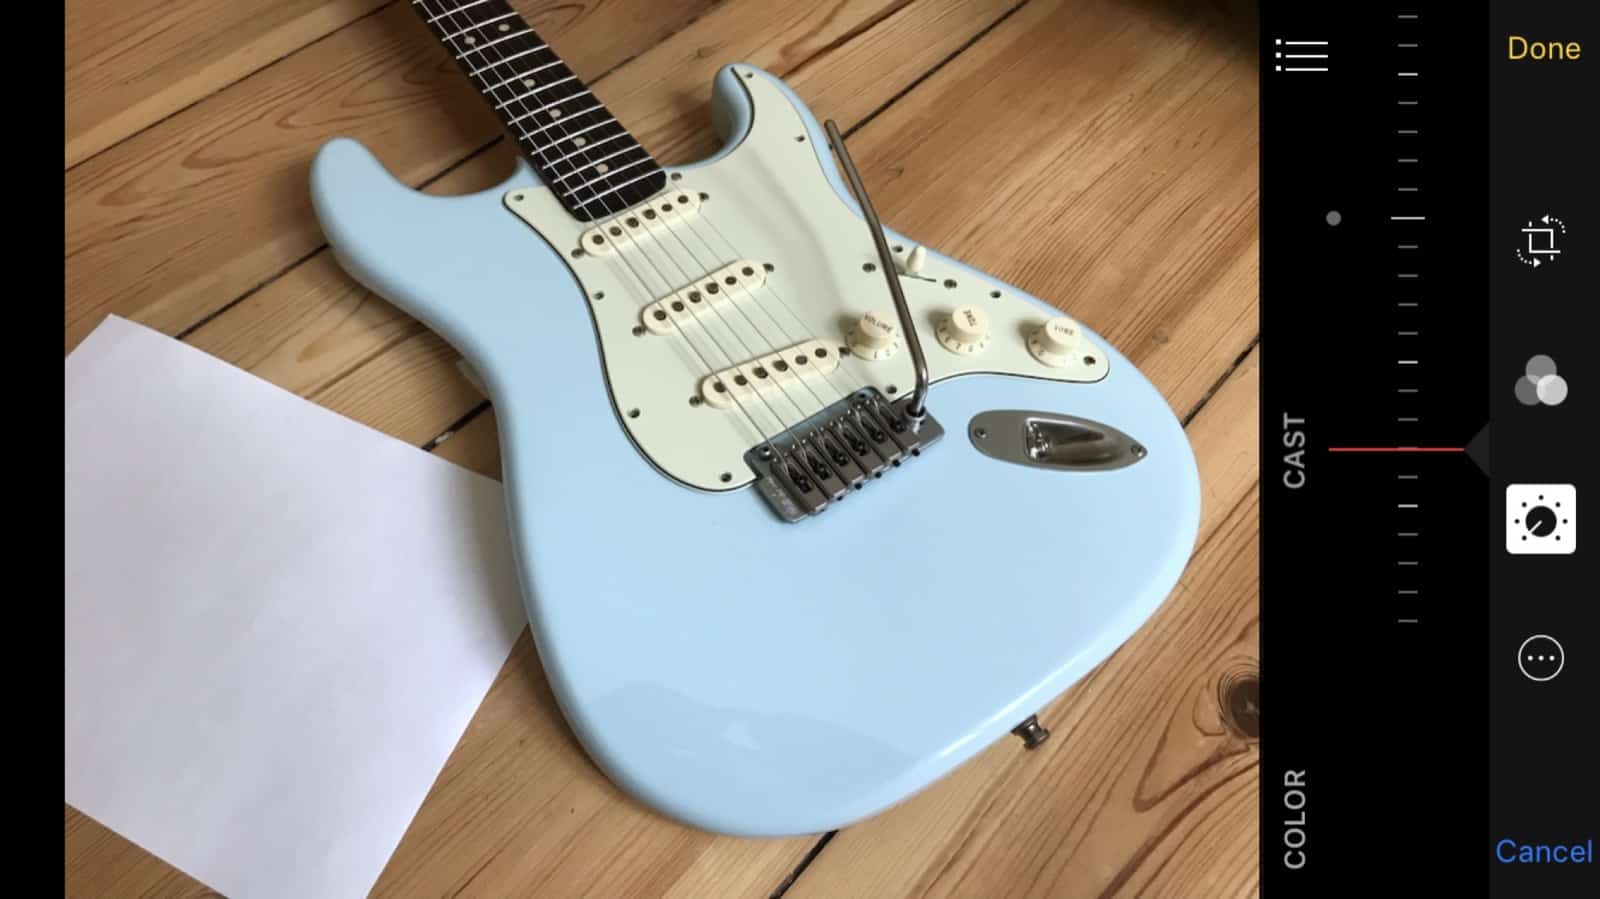
Adjusting the white balance is tweaking the overall color cast of an image to make the whites appear white, and therefore making all other colors accurate.
Light changes color depending on its source. For instance, when you take a walk after sundown, you can easily see the difference between the cool, bluish outdoor light, and the warm, yellowish glow of the room lights in house windows.
Our eyes correct for this automatically, but a camera is more easily confused. The iPhone is smart. It realizes that you’re taking photos in a forest, for example, and so it doesn’t freak out that there’s so much green around. But in other cases, perhaps where walls are colored, or a person is dressed in one color, or when what you’re photographing is close enough to white that the iPhone thinks that it is white, things can go awry.
The answer is to find something white (or a neutral, non-colored gray) in the scene, then use that to set white balance manually. Then, all subsequent photos will not only reproduce accurate colors, but they will all match. (One of the other problems with automatic white balance is that colors in photos of the same subject can vary.)
The iPhone’s own Camera app can’t do this alone, so you’ll need a third-party app. I like Manual and Halide for this. Neither photo app offers a true manual white-balance feature, but both let you pick a preset that should fit your current lighting conditions.
The best camera etc.
The iPhone’s Camera app is good for almost all of your shooting needs. Its best feature is its speed. You can swipe into the camera from the lock screen, and be snapping in a second (this gets even faster in iOS 12).
And with manual control of exposure and focus, you can cover even more ground. You might like to keep a try a manual camera app for those occasions when you need a little more control, but as you can see, the stock Camera app is pretty amazing already.


