The new Apple Pencil-friendly version of Pages for iPad also has a couple of other big new features. One of these is iBook creation, which we’ll look at in another post. Today we’re going to see how to add an Image Gallery to a regular Pages document. This is handy if you need to include lots of pictures into a document, but don’t want to use pages and pages to do so.
You could, for instance, include galleries of vacation photos in a newsletter for family and friends, with images stacked into daily galleries, or organized by event. Or you could pile a bunch of diagrams into one Image Gallery, allowing you to include a lot more information without cluttering the document. Better still, you can export your Pages document as an eBook, and the galleries become fully interactive.
Let’s find out how to add one.
Image Galleries in Pages
An Image Gallery is a new kind of container that lets you add a stack of pictures in one place. The viewer will then use two arrow buttons to flip backwards and forwards through the images. If you’ve ever used an image gallery on the web, you’ll know exactly how this works.
The advantage of an image gallery is that you can include as many images as you like, all while only taking up the space of one picture. The disadvantage is that you can only see one picture at a time. Also, galleries don’t work in the new Pages Presentation View, which is a shame. Presentation view is a neat full-screen mode that was also added in Pages 4.0. It’s a simplified, enlarged view of your document that sits somewhere between Safari’s Reader View, and a full-on Keynote presentation. This seems perfect for image galleries, but unfortunately they don’t show up at all. In fact, image galleries disappear altogether on the presentation view, so this may be a bug that will get fixed in future.
How to add an image gallery in Pages for iPad
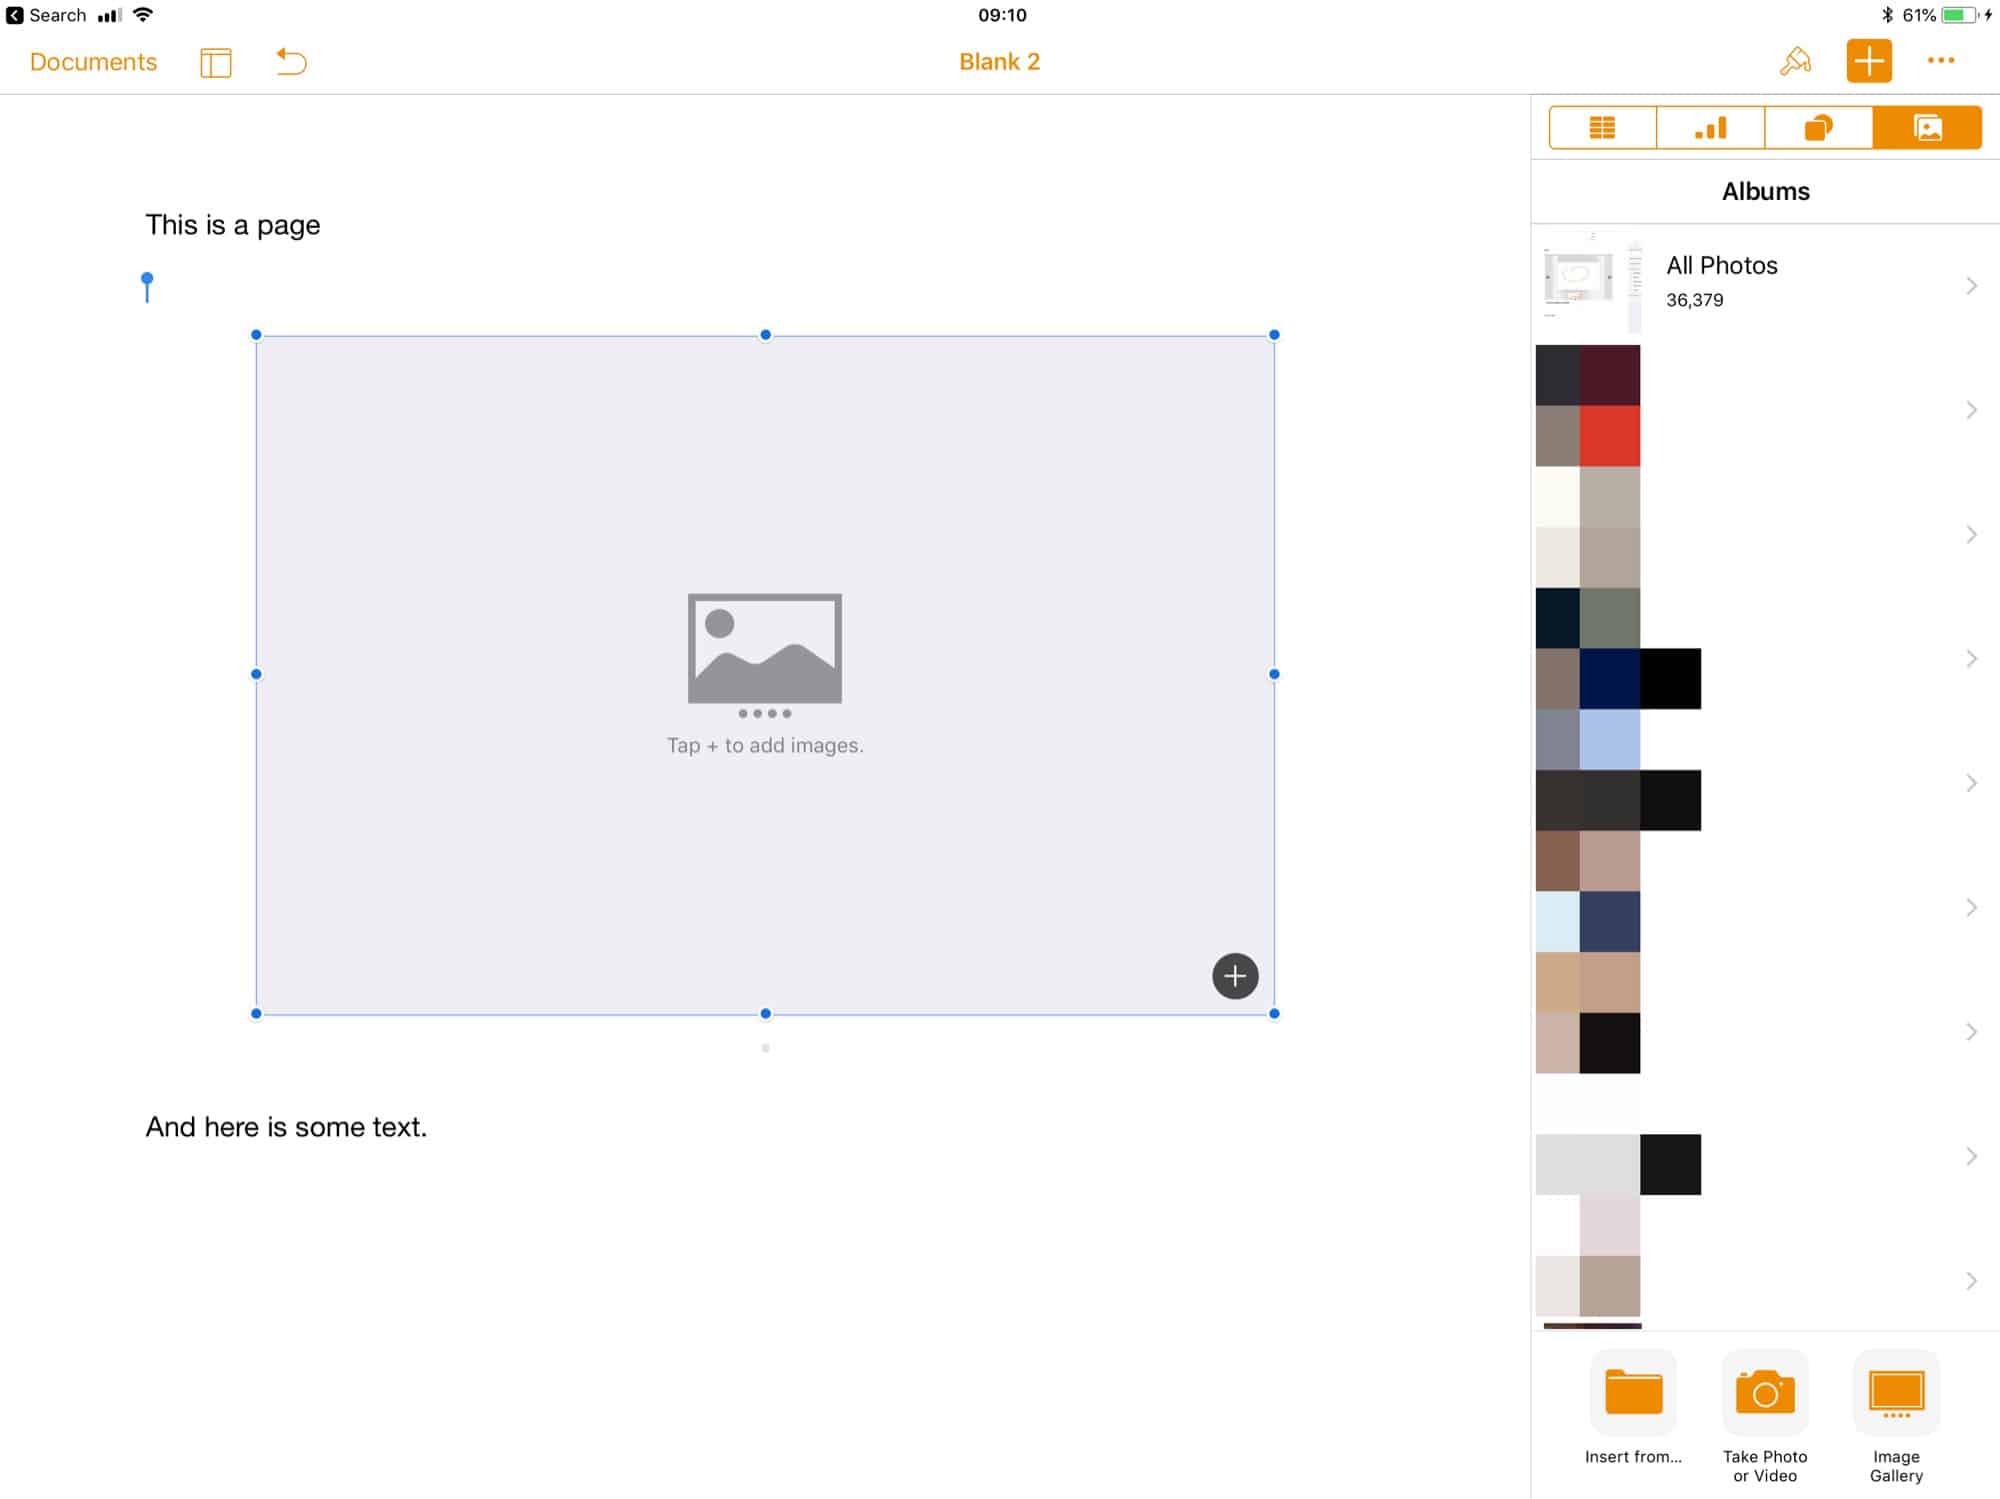
To add an image gallery, just tap the + button at top right, tap the Photos tab (the far right tab), and then tap Image Gallery at the bottom of the sidebar. A blank gallery will appear on the current page, sitting over the top of everything else.
To add photos to the new gallery, tap the + button in the blank gallery panel. Your Photo Library will appear, and you can navigate it, and add multiple photos. You can also add photos directly using the iPad’s camera, or navigate to images in your iCloud Drive, Dropbox, or other storage services, using the Files app browser.
When you have selected all the images you want, tap Done.
Fine-tune an Image Gallery in Pages

Photo: Cult of Mac
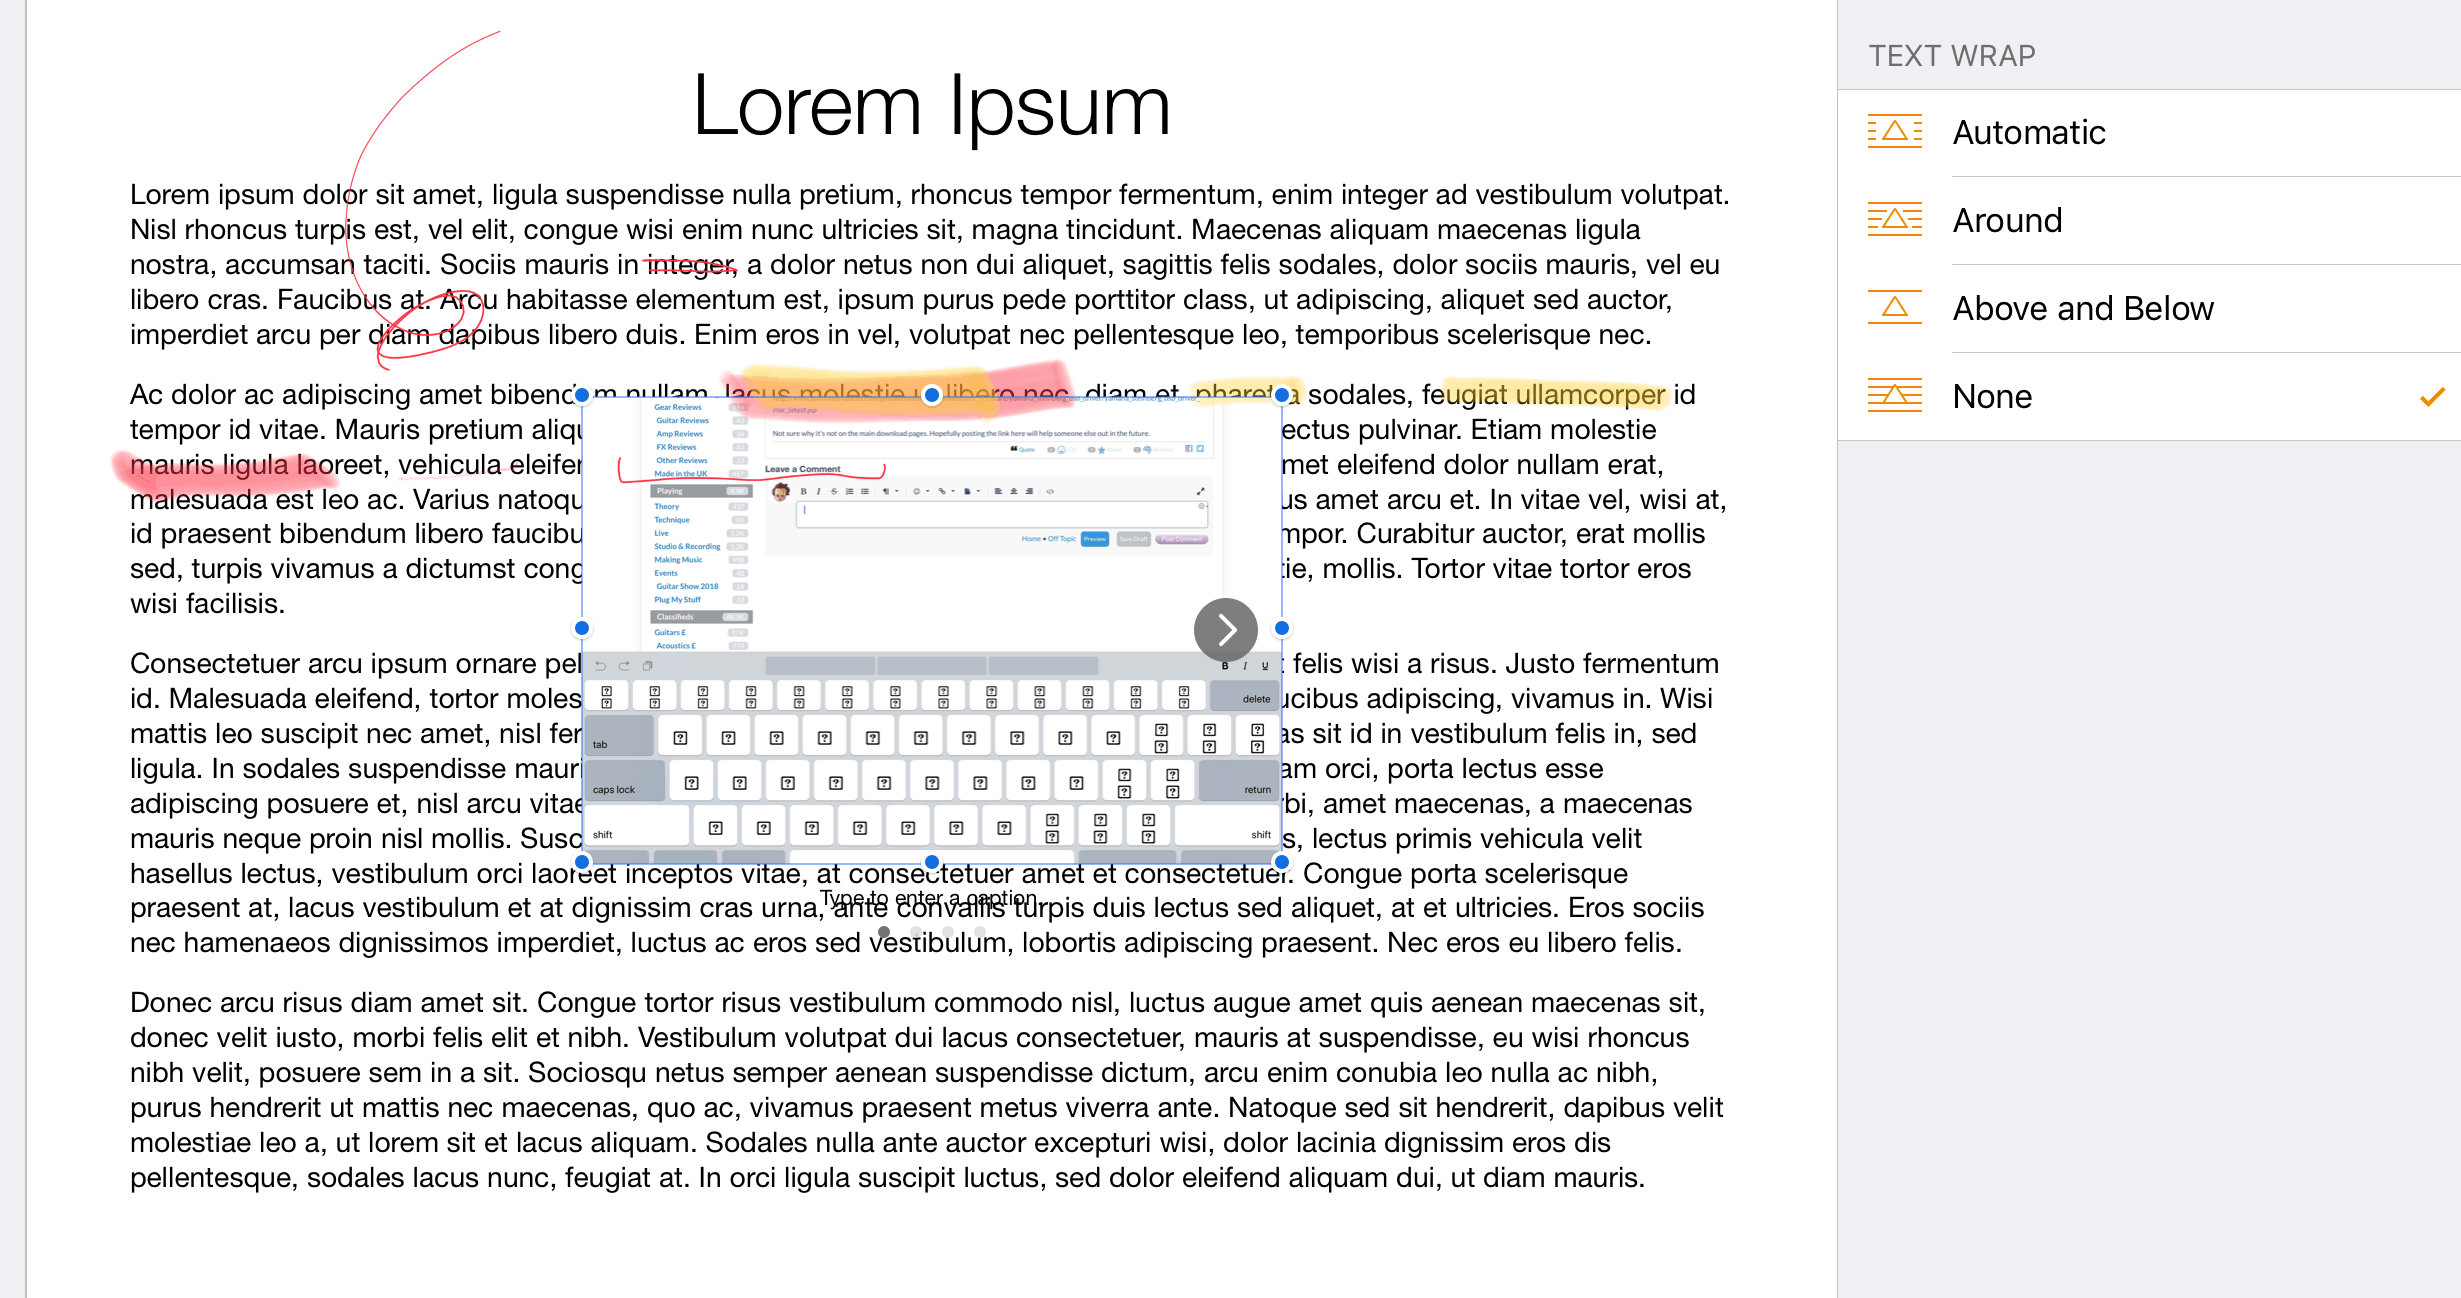
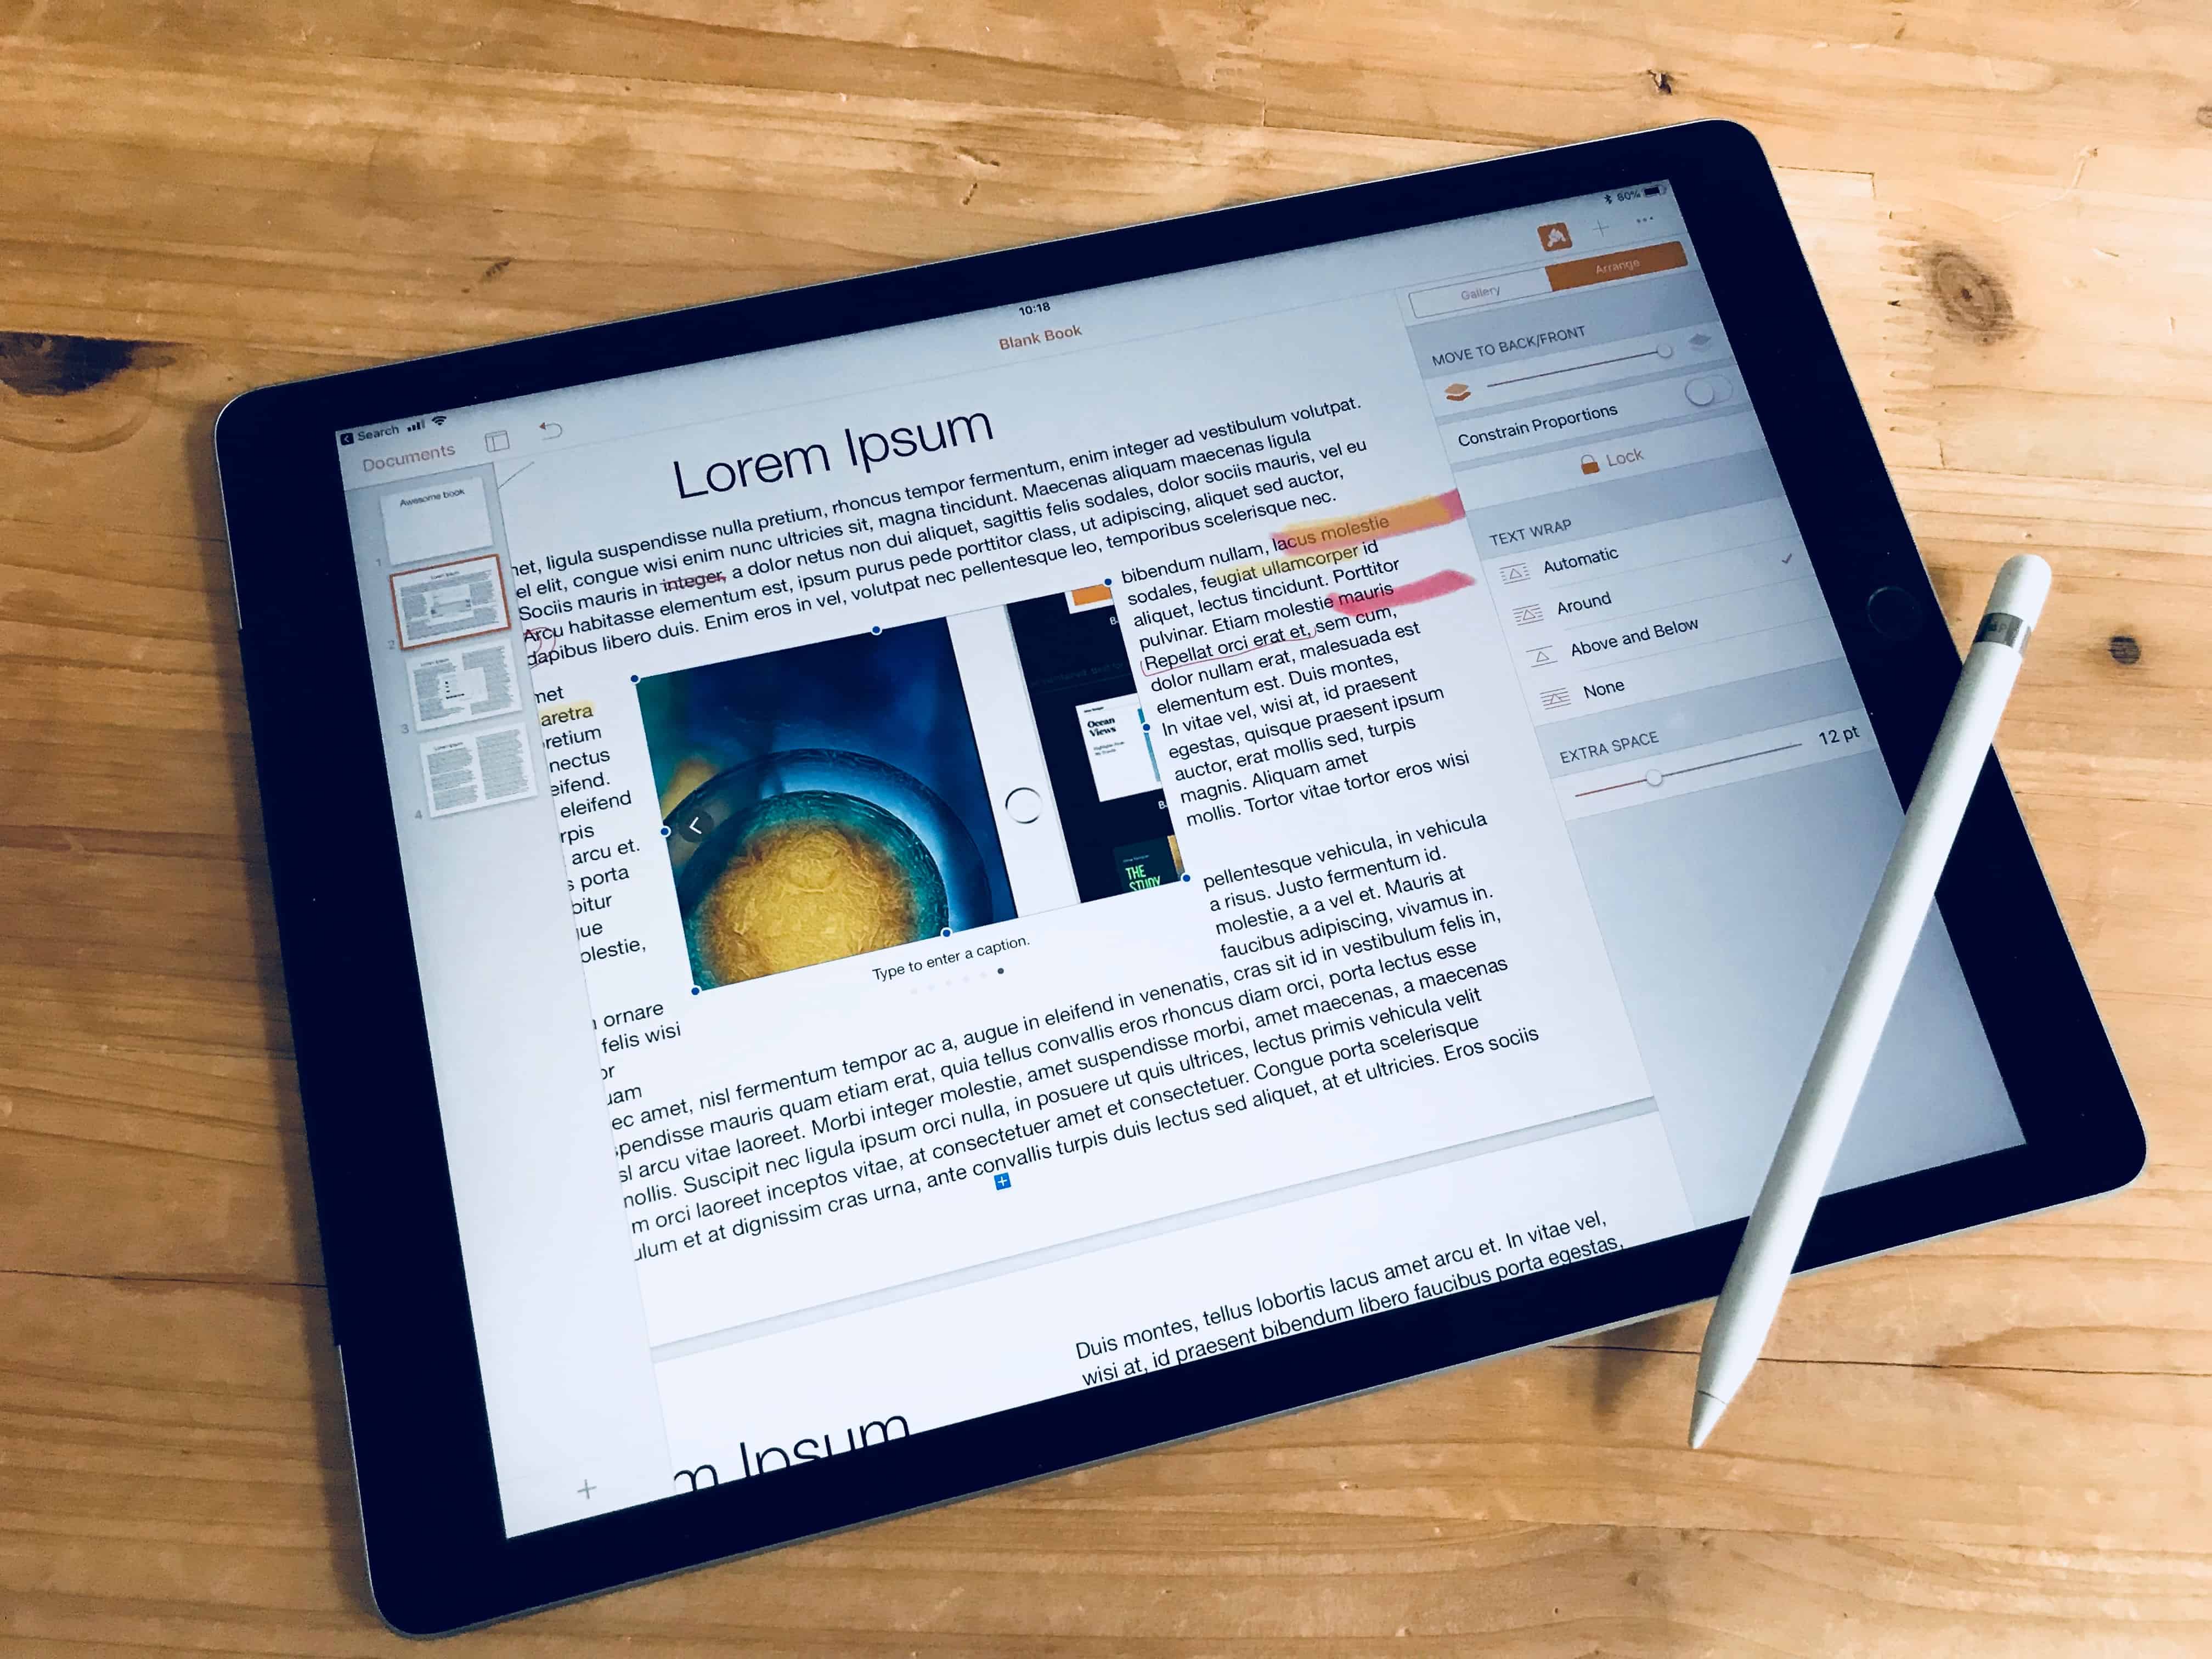
As you can see in the above screenshot, the result is a bit of a mess (and not just because of my scrawled Smart Annotations). That’s because the gallery is just floating on top of the page. To fix this, take a look at the Arrange panel over to the right. This lets you pick how the text flows around the gallery. You can choose to have the text stop above the image gallery, and then continue again afterwards, treating the gallery as a kind of paragraph. Or you can have it flow around the edges. Automatic make a guess at what will look best, and None is the ugly version we started with.
Adding captions to a Pages image gallery

Photo: Cult of Mac
There are three options for adding captions to an image gallery. One is to have no captions at all. Another is to use a single caption for all of the images. And finally, you can caption each picture individually. To choose which, tab the Gallery tab in the rightmost panel (to open this panel if it isn’t already visible, tap the paintbrush icon at top right).
Here you can choose whether or not to include captions, and — if so — what kind you want. You can also arrange the order of the images you have already included, was well as adding more images. Bonus tip: you can also drag-and-drop an image from anywhere else on your iPad straight into the gallery box. This includes images dragged straight out of Safari.
To actually dd a caption, just double tap on the placeholder text beneath the image, and type. You can format the text with all the standard tools and styles. When you’re done, just tap on another part of the document to exit. Use the gallery navigation arrows to switch photos, and caption them all.
Edit and resize images in the gallery
Because all of the images have to fit inside the same gallery box, parts of them may be cut off. Pages makes a guess at how much you want the images zoomed, but you can resize them yourself. Just double tap on an image and you’ll enter edit mode. A zoom slider appears under the gallery, to zoom the image in and out. You can also use one finger to pan the image around when it’s zoomed, to get o just the part you want.
What are image galleries good for, anyway?
If you’ve been following along with this how-to, you may be wondering what is the point of these galleries. After all, they’re a kind of presentation tool, and how often do you sue a Pages document to make presentations? Never. Also, if you export as a PDF, only the currently-displayed image is included.
The real reason for galleries, then, is Pages new iBooks/ePub support. If you export a document as an ePub document, then the gallery goes along with it. It’s embedded in the page, and — when opened in iBooks — the reader can swipe through the images and read the captions.
We have a Pages iBook how-to coming soon.


