With macOS Sierra, Apple Pay finally comes to Macs so you can use the mobile payment service to buy stuff online. The feature works best on the new MacBook Pro with Touch Bar, but don’t worry Pad if you own an older Apple computer: You can still use Apple Pay if you’ve got a 2012 or newer Mac, as long as you have the latest software and an iPhone or Apple Watch with Apple Pay enabled.
To get started, just follow our handy guide on how to use Apple Pay on Mac. You’ll be spending money online in no time!
Set up Apple Pay on MacBook Pro with Touch Bar

Photo: Ste Smith/Cult of Mac
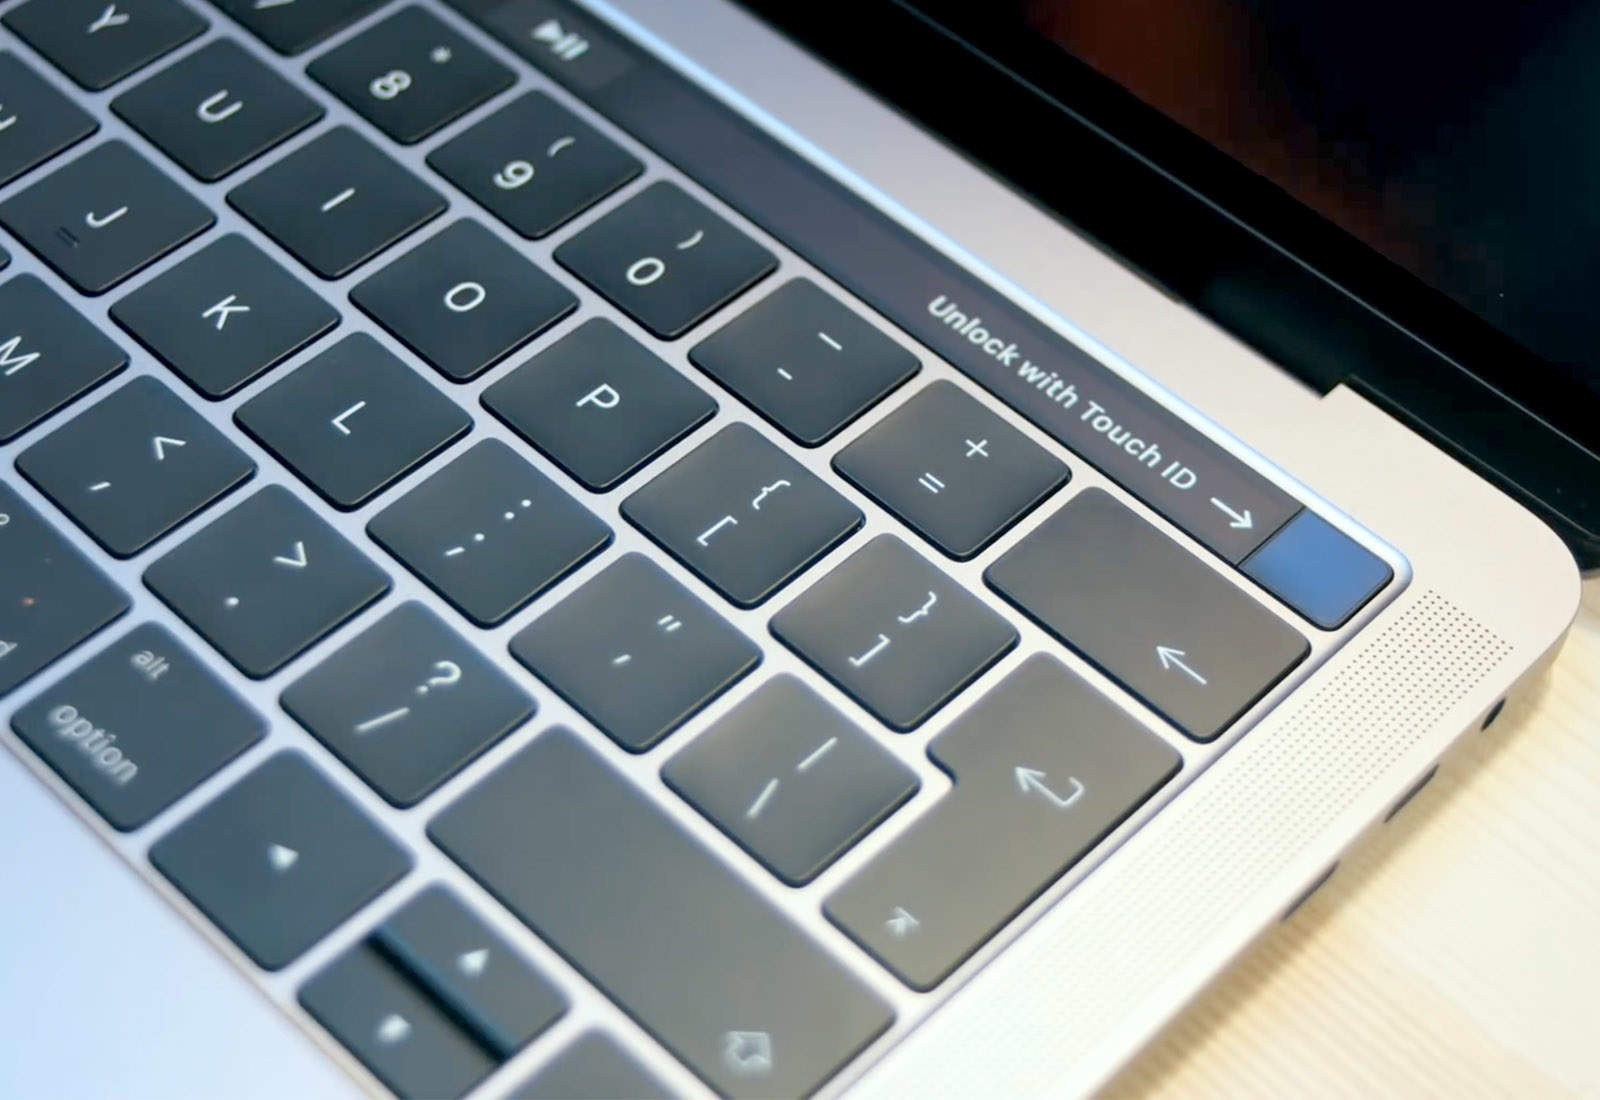
As noted, the easiest way to use Apple Pay on your Mac is with the fancy new MacBook Pro with Touch Bar. If you’ve got one of the high-end laptops, you won’t need to use an iPhone or Apple Watch to authenticate your identity when you buy items using Apple Pay.
Instead, just go to System Preferences. Then click Wallet & Apple Pay.
Next, click Add Card and follow the steps to add your credit or debit card (Apple Pay works with most major U.S. card issuers, as well as many international financial institutions). If your Mac gives you the option to add the card you use with iTunes, you can simply enter its security code.
Click Next. Next your bank will verify your information. If everything works out, you will receive a notification that your card has been added to Apple Pay. (Your bank might ask for more information and you might need to go back to System Preferences > Wallet & Apple Pay to confirm.)
Once you’re square with your bank, click Next and you’re ready to use Apple Pay on your MacBook Pro with Touch Bar.
Set up Apple Pay on an older Mac

Photo: Ste Smith/Cult of Mac
If you don’t have a Touch Bar on your MacBook Pro, you’ll need to use an iPhone or Apple Watch in conjunction with your Mac.
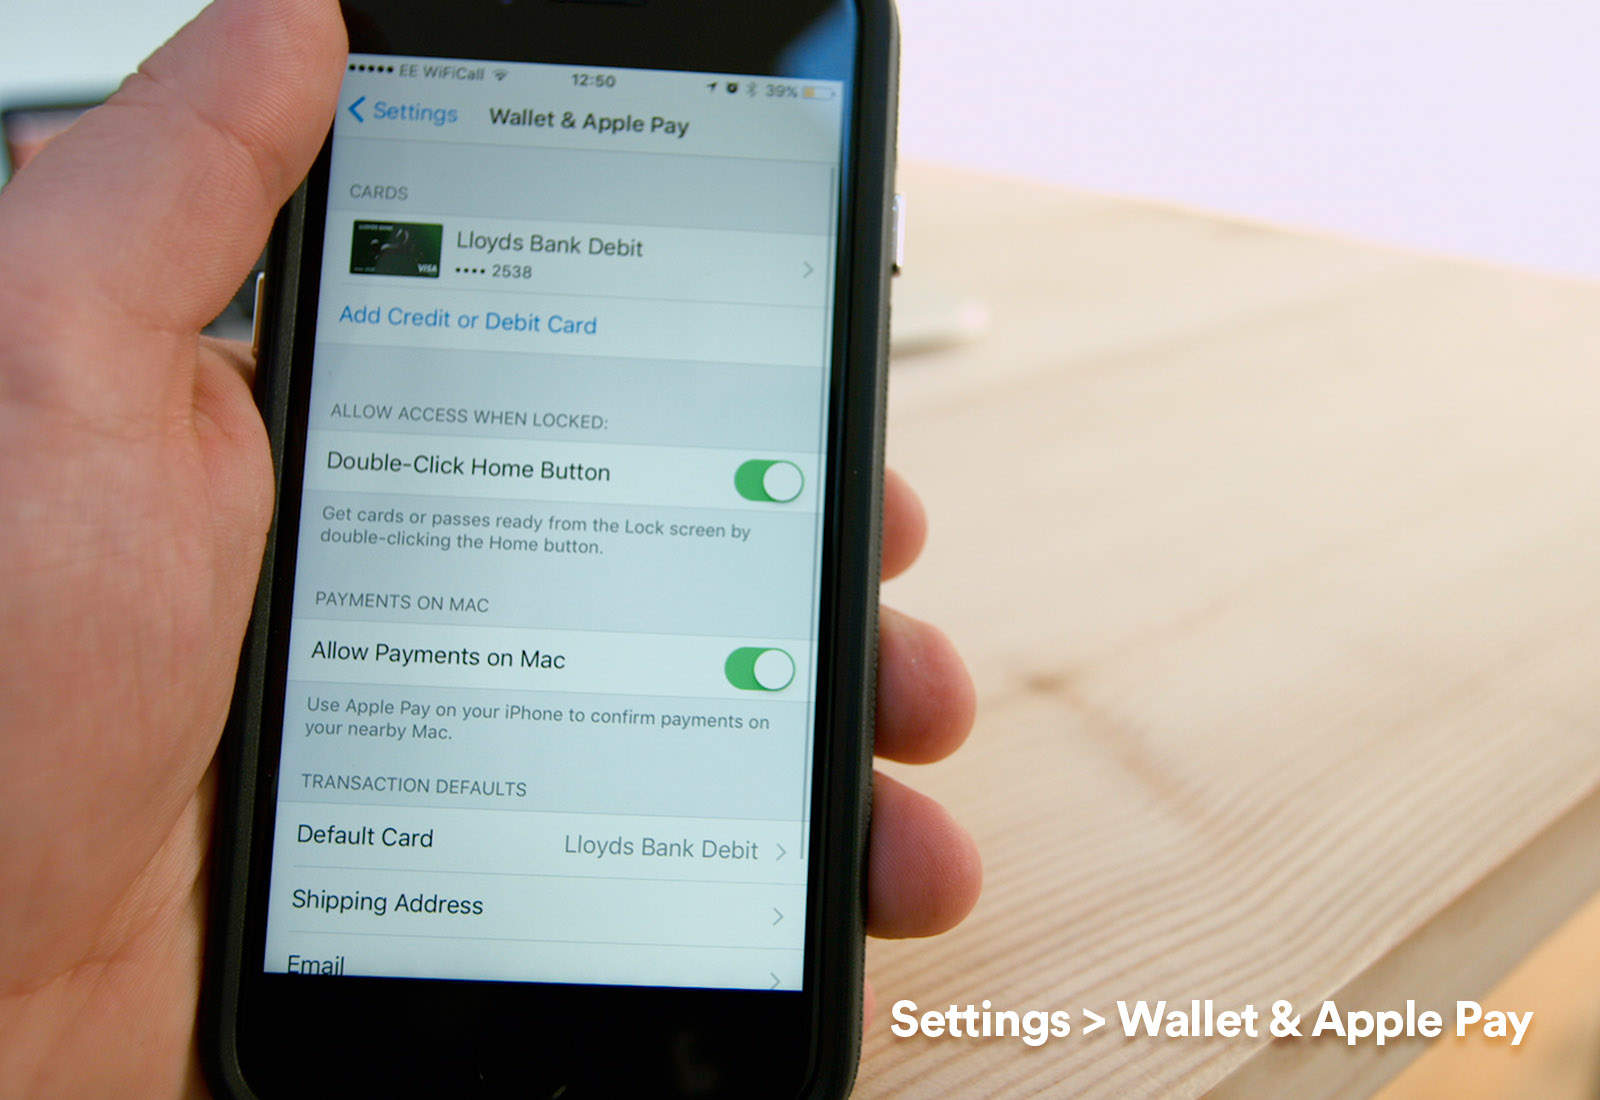
For starters, you’ll need to activate Apple Pay using your Touch ID-equipped iPhone. To do this, go to that device and tap on Settings and Wallet & Apple Pay. Next, make sure the Allow Payments on Mac option is switched to the green “on” position.
(Note: For this to work, both your Mac and iOS device must be using the same iCloud account. You also have to make sure you’ve got Bluetooth switched on.)

Photo: Ste Smith/Cult of Mac
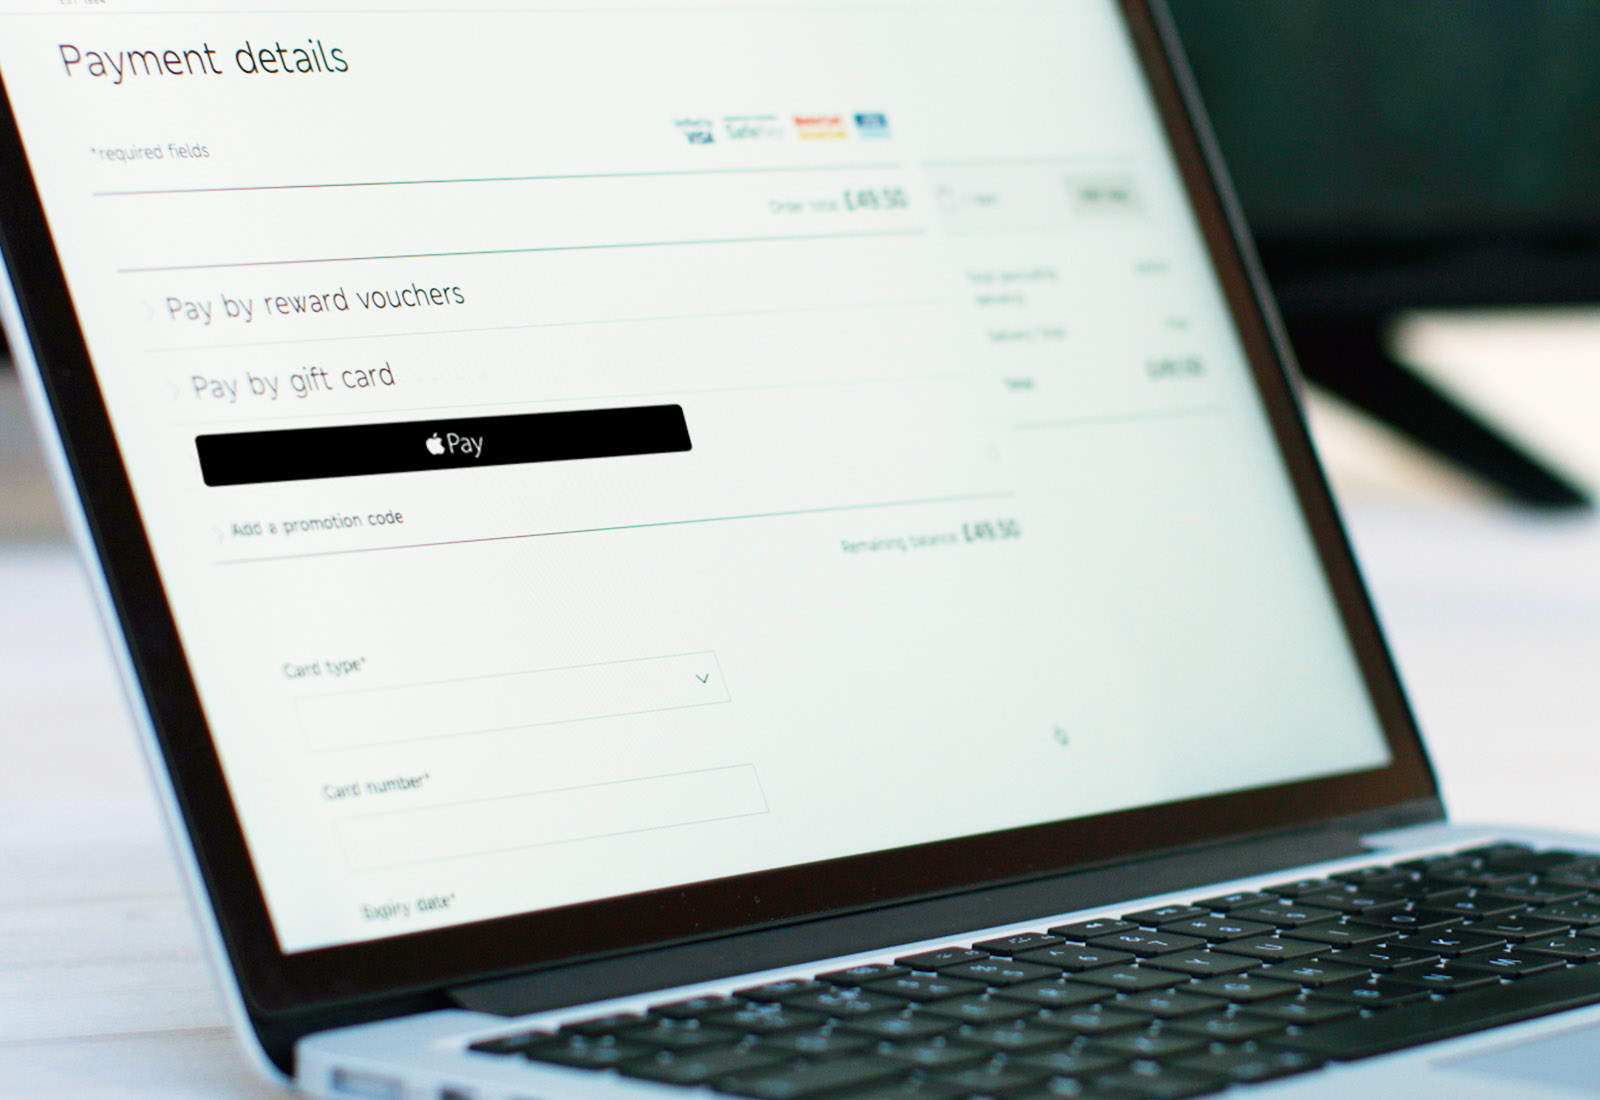
The final stage is to switch back to your MacBook Pro and start shopping. Apple Pay is only available on participating websites. But with upward of 200,000 sites accepting it, you shouldn’t struggle too much to find a website selling the product you want with Apple Pay as a payment option. Also, Apple Pay only works on Safari.
After adding items to your shopping cart as usual, select Pay with Apple Pay during checkout. If you’re not using the MacBook Pro with Touch Bar, you’ll need to authenticate the payment with your iPhone or Apple Watch — so keep it close!
As you near the end of the payment process, you’ll be prompted to verify your Apple Pay purchase by using Touch ID on your iPhone or tapping the side button on your Apple Watch.
(Note: If you’re a Google Chrome user, you must temporarily revert to Apple’s browser to use Apple Pay.)
Got it?
Simple, right? If you have any questions, check out our video below, which will demonstrate how to use Apple Pay on Mac.
Source: Apple


