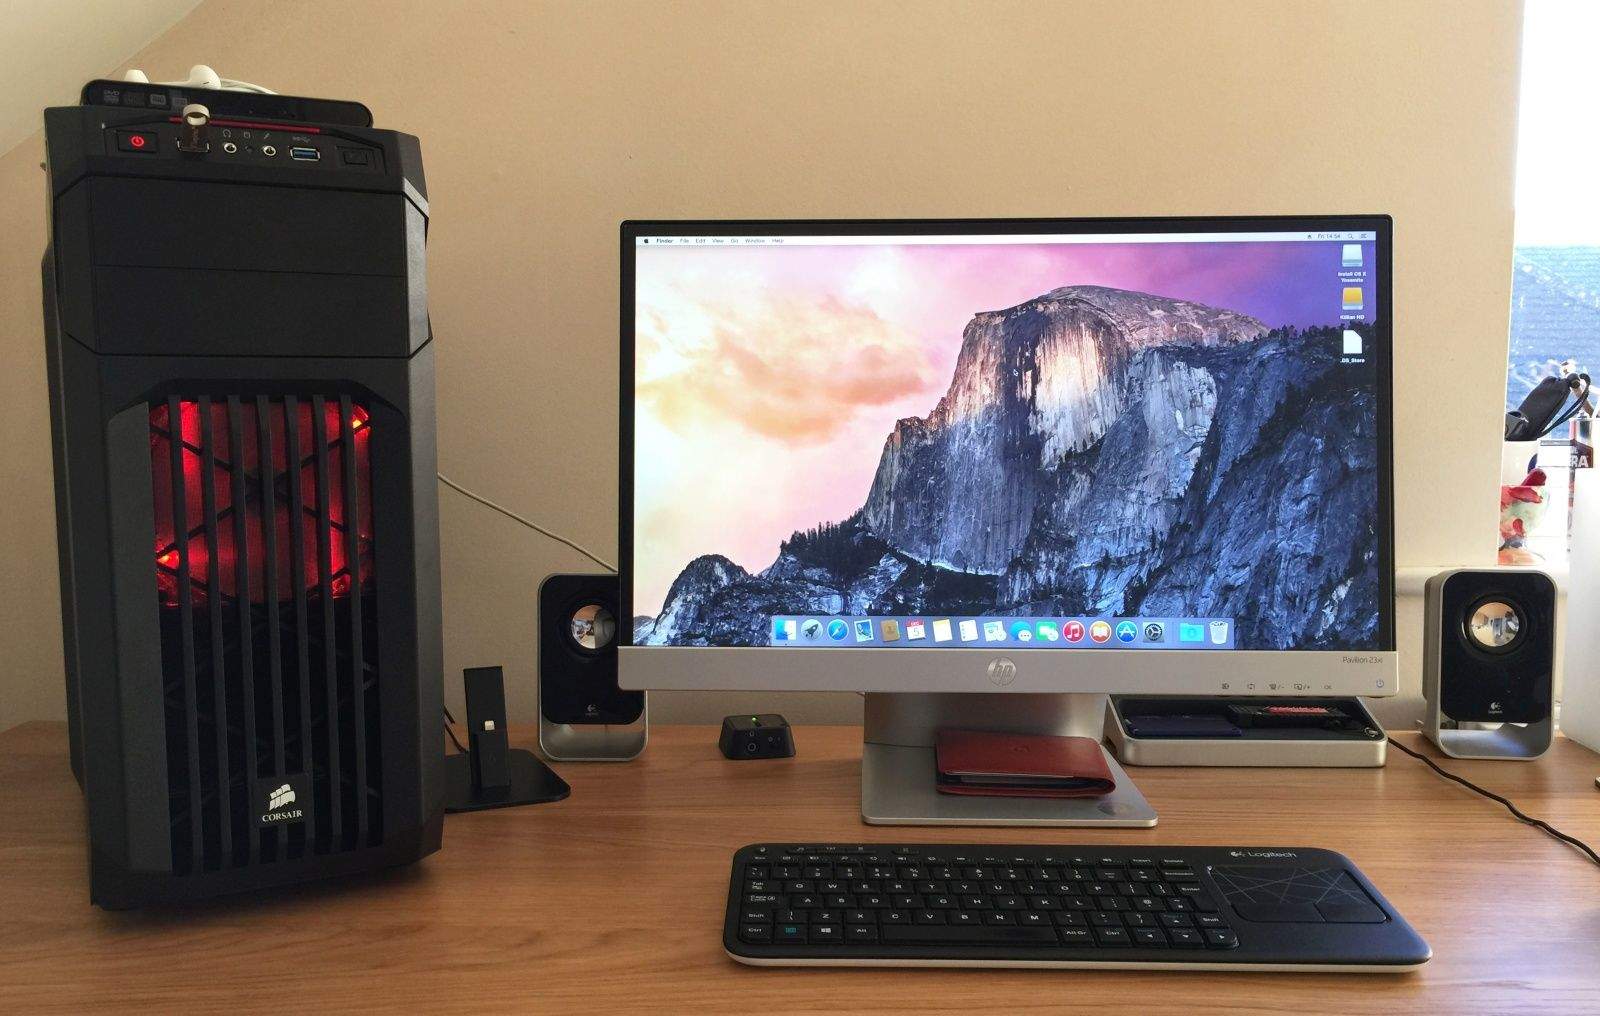
I recently decided it was time to get a proper desktop computer. I needed it predominantly for work, but I wanted it to be powerful enough to play the latest games in 1080p without worrying about stuttering or terrible frame rates.
The new Mac lineup didn’t offer a perfect fit — the Retina 5K iMac was too expensive, and the new Mac mini simply wasn’t powerful enough — so I set myself a goal: To build a gaming machine with a dedicated video card, capable of running OS X, for around the price of a Mac mini.
I set a budget of $650 for my build. That’s $150 more than the base model Mac mini, but $50 less than the midrange model. In this piece, I’ll take you through the components I purchased and why I chose them, and how I put them all together. Next week, I’ll show you how I installed OS X to turn my DIY gaming rig into a Hackintosh.
This post contains affiliate links. Cult of Mac may earn a commission when you use our links to buy items.
Best gaming Hackintosh hardware
Intel Core i3-4330 — $134.99
On paper, the Mac mini boasts a better chip than the Intel Core i3-4330 I chose because the Apple machine is rocking an Intel Core i5. But you shouldn’t trust the paper. Here’s the big difference: The Mac mini uses a notebook or “mobile” processor, whereas the one I’ve chosen for my build is a proper desktop CPU.
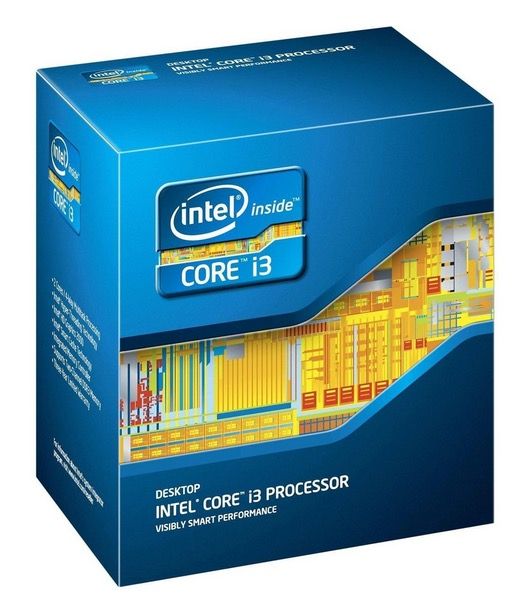
As a result, the Core i3-4330 supports more RAM (32GB versus 16GB), has better integrated graphics (not that I’ll be using those) and a bigger cache (5MB versus 3MB), and more importantly, it’s faster. Both chips are built using the same 22-nanometer manufacturing process, but as you would expect for a desktop CPU, the Core i3 requires more power.
This chip is ideal for my system because it provides more than enough power for writing posts for Cult of Mac, and it’ll handle games like Far Cry 3, Battlefield 4, Call of Duty: Advanced Warfare and just about anything else I can throw at it. It’s also fine for resource-intensive apps like Photoshop and Pixelmator, though if you’re into editing HD videos, you may want to look at something a little more expensive.
I was planning to pick up the slightly cheaper Core i3-4130, but it was out of stock on Amazon, so I went for this one instead. Both are just fine for this build, so if you want to save a bit of cash, you can go for the 4130 instead.
Corsair Vengeance 8GB — $75.99
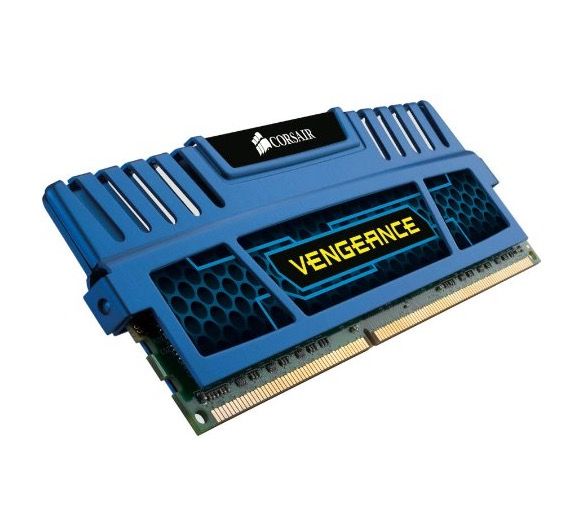
Corsair’s excellent Vengeance series of DDR3 RAM is clocked at 1,600MHz, and it’s ideal for what I’ll be using it for. I went with 8GB (2x4GB) for my system because it’s enough for me, and it keeps me within my budget. If you can afford 16GB or even 32GB, get as much as you can.
You will find cheaper RAM on Amazon, but I chose Corsair’s because it’s a reliable brand and I know it’s going to serve me well.
As is always the case when buying computer components, you want the biggest bang for your buck while avoiding cheap and unreliable parts. Sure, you might save $20 by choosing a low-cost brand you’ve never heard of, but if your RAM gives up during the first three months of use, your whole build is useless until you replace it, and you’ll likely end up spending more in the long run.
Western Digital Blue 1TB HDD — $49.99
Because I’m on a tight budget, I’ve opted for quantity over speed when it comes to storage. Those with more cash to spend will be far better off choosing a solid-state drive for their build, but they can be very costly — particularly if you need plenty of space.
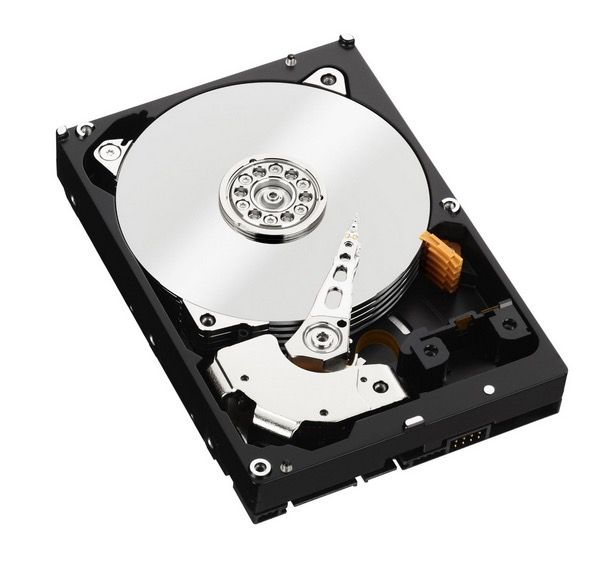
A 1TB, 7,400 rpm Western Digital Blue drive costs just $49.99, and it provides enough room for stacks of digital content. I’ve partitioned mine so that around 700GB is afforded to Windows — which is what I’ll use to play games — and the rest is for OS X.
If you want to, you can add a second drive to the mix so each platform has its own, assuming you’ll want to run Windows and OS X like I am. Or, as I mentioned above, you could get an SSD instead and install your operating system on that. This makes for super-speedy boot times and a much faster system overall, and you can combine it with a cheaper HDD for storing larger stuff, like your iTunes library and your Steam installs.
MSI Z97 PC Mate Motherboard — $99.79
I did a lot of research before choosing this motherboard, and I challenge you to find a better option that’s this affordable. The PC Mate gives me everything I need and more — including 12 USB ports (eight USB 2.0 and four USB 3.0); Ethernet, HDMI, VGA and DVI ports; two PCI-Express slots and two PCI slots.
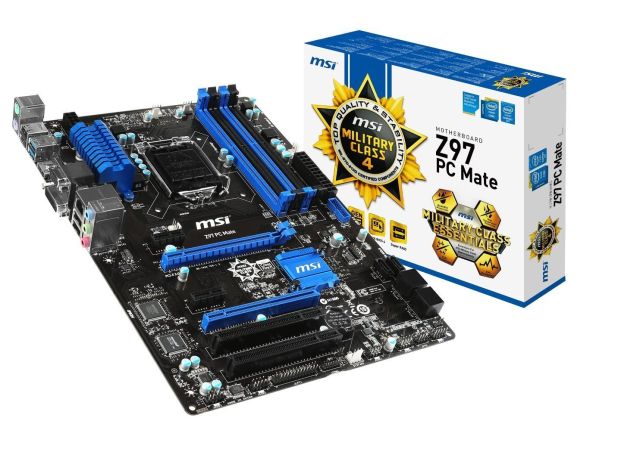
It also boasts six SATA III connections, support for up to 32GB of DDR3 RAM over four slots, support for 4K Ultra HD monitors, and AMD CrossFire compatibility — so if you want to, you can combine two AMD video cards for an even greater gaming experience.
In addition, this board uses the latest LGA 1150 socket for Intel’s fourth- and fifth-generation processors, and it supports overclocking, so if you’re into pushing your CPU to its limits, it will let you do so. More importantly — for me, at least — it’s also compatible with OS X.
What more could you want? And all this comes from a board that costs less than $100.
Corsair CX430 Power Supply — $42.99
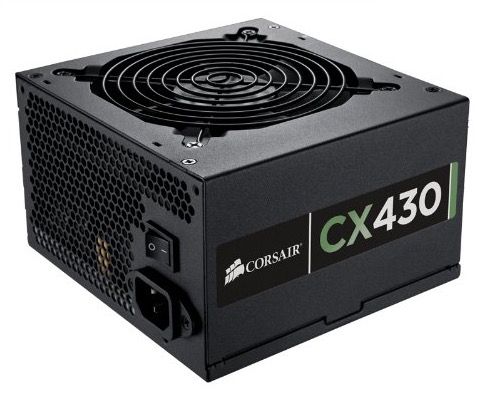
I’ve chosen Corsair again for the power supply because I’ve read terrific things about the company’s PSU lineup. The CX430 is definitely an entry-level option — hence its tiny price tag — but it is bronze-certified for power efficiency, and it provides enough juice for all of the components I’ll be using.
Before choosing your PSU, use a service like PCPartPicker to work out how much power you’re going to need for your machine. If you have a high-end graphics card, an extra-powerful processor or multiple storage drives and optical bays, you’re going to need more than me — and the last thing you want to do is end up with a custom computer that won’t work properly because it isn’t getting enough power.
Sapphire Dual-X Radeon R9 270X OC — $168.99
The graphics card is one of the most important parts of my system, and also one of the most expensive components on my list. Since I’ll be using my machine for gaming, I wanted a card that would let me play the latest titles in 1080p on high settings — and I didn’t want to have to worry about lag or stuttering.
The Radeon R9 270X has been an excellent choice so far.
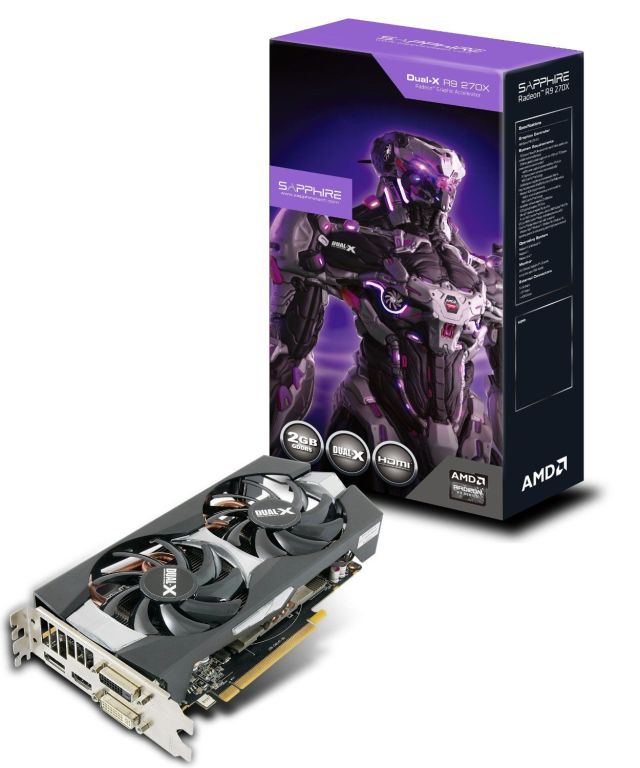
In Far Cry 3, I’m able to play on “ultra” and get at least 50 frames per second. In Call of Duty: Advanced Warfare, I have almost everything set to high and anti-aliasing enabled, and the game rarely drops below 70fps. Older games like Grand Theft Auto IV will give you even more, while a title like Counter-Strike: Source will deliver up to 300fps.
I’ve been putting the 270X through its paces for more than two weeks now, and it’s never disappointed me. You can definitely get better cards if you’re willing to spend more, but right now the 270X provides a great gaming experience, and it costs less than $170.
Like everything else in this build, the 270X is also compatible with OS X, which is essential if you’re building a Hackintosh. In fact, it’s pretty much on par with the AMD Radeon R9 M295X graphics chip used in the high-end Retina 5K iMac, with the 270X edging it ever so slightly in GPUBoss benchmark scores.

If you’re not going to be gaming or performing other video-intensive tasks, you could leave the graphics card out of your build to significantly reduce the cost. The Core i3 processor I’ve chosen — like most modern Intel chips — has integrated graphics, so a dedicated GPU isn’t necessary if you won’t use it.
TP-Link TL-WN851ND Wi-Fi Card — $21.95
I need Wi-Fi in my machine so I’ve chosen to add a Wi-Fi card. However, this is completely optional. If you’re going to be sticking with Ethernet, it’s an unnecessary expense.
You can also buy Wi-Fi adapters that’ll plug into your USB slot, but in an effort to keep my machine looking relatively tidy, I’ve chosen an internal PCI adapter instead.
Corsair SPEC-01 Case — $49.99
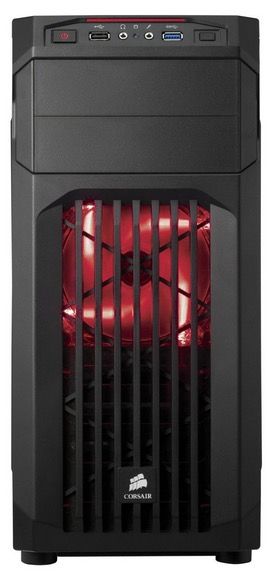
All these components need to go into something, and I’ve chosen the Corsair SPEC-01 as my case. It looks fantastic, with a window on its side that lets you peer into your machine. It has plenty of space for additional fans and drives, and offers two USB ports and audio in and out connectors on its front.
Most importantly, the SPEC-01 is big enough to house the motherboard I’ve chosen, and that’s something you need to check when buying your case. It’s no good buying a pretty little mini ATX case if your motherboard and graphics card won’t fit into it.
Other than that, choosing a case is all about personal preference. I think the SPEC-01 looks good, but if you don’t, simply pick another.
Total cost: $644.68
Using these components, I’m $5.32 under budget, and I have a machine that makes the $699 Mac mini look like a toy. Not only will it tackle everyday tasks with ease, but thanks to its powerful graphics card, it’ll let me play the latest games in high-definition as well.
Note: These prices were accurate at the time of writing, but component prices fluctuate all the time. Some may cost more, others may cost less when you go to buy them.
Optional extras and alternatives
The components I’ve listed above — with the exception of the Wi-Fi adapter — are essential if you’re building a gaming Hackintosh. You may choose variants of all these items depending on your own needs and budget, but you’re going to need some form of all of them.
However, there are some alternatives you might prefer, and some optional extras you may wish to add if you have the money. I’ve listed some below.
Solid-state drive — $60+
Adding a solid-state drive (SSD) to your build is one of the simplest ways to improve its speed. As I’ve already noted, however, SSD drives aren’t cheap. There is a workaround if you have a bit of spare cash, however.
You can pick up a 120GB SSD like the Kingston Digital for $59.99 and combine it with a 1TB HDD. You can then install your operating system and the files you’ll use most frequently on the SSD — bringing faster boot times and a snappy computing experience overall — and then put all your movies, music, photos and games on the HDD.
If you have plenty of cash to spare, you can buy a larger SSD like the 500GB Samsung 840 EVO for $239 and put everything on it.
Corsair Air Series AF120 Twin Fan Pack — $20.99
Your system can’t be too cool, but it can be too hot. If you’re only using the components I’ve listed above, you should be fine with the single 120mm fan that comes included with the SPEC-01 case — after all, the processor, video card and power supply all have fans of their own.
However, if you add additional components and want better airflow, this Corsair Air Series twin pack is a cheap upgrade at just $20.99. These fans match the one that came with the case, so they look terrific once installed.
LG Internal Blu-ray Optical Drive — $44.89
Want to watch Blu-rays on your machine or burn DVDs? This internal drive from LG gives you the ability to do that for less than $45. Bear in mind, however, that this drive will read Blu-ray discs but not burn them. If you want the ability to do that, you’ll need to spend around $10 more on the LG WH16NS40 Blu-ray Rewriter.
Corsair CX750M — $89.24
If you’re going to add extra storage drives, optical bays, fans and other parts to your build, you’re likely going to need more power. The Corsair CX750M is bronze-certified, just like the power supply I’ve chosen for my build, and it’s modular, so you can use only the wires you require and keep your machine looking tidy.
Windows 8.1 (64-bit) — $101.11
If you want to install Windows on your machine as well as OS X, you’re going to need a copy of it. I recommend going for the latest version — Windows 8.1 — but if you’d prefer, you can pick up Windows 7 instead and save yourself around $10.
Putting it all together
Once you have all of your components, it’s time to open them up and put them all together. We’ll take you through that process in the second installment of this series.
