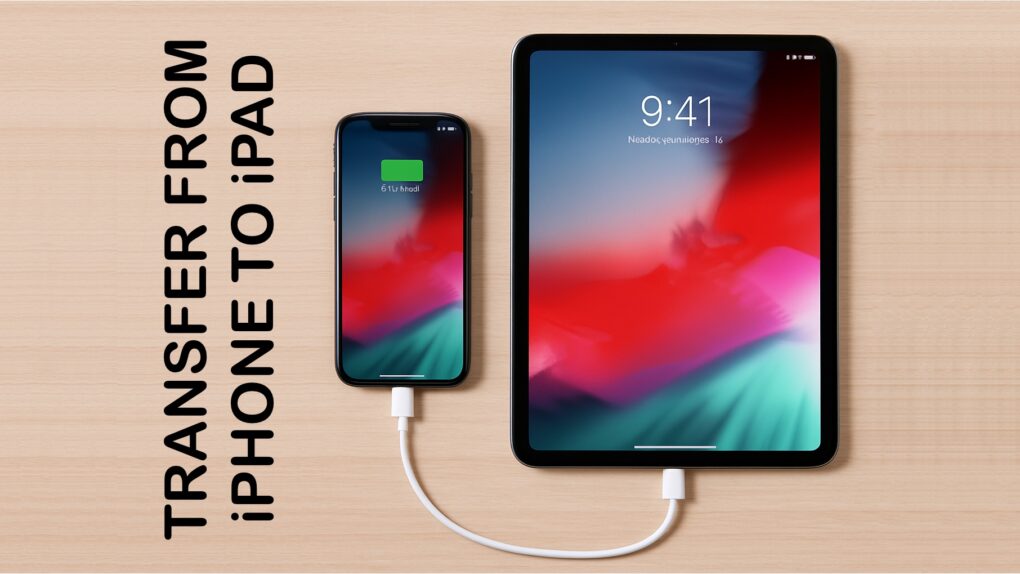
Now that both iPhone and iPad have USB-C ports, transferring video and images between them can be easily done by connecting them with a cable, without mucking about with wireless transfers.
It’s easy, and brings some advantages over AirDrop. Most notably, iPhone Pro 15/16 users get a big speed boost.
Here’s what to do.
Moving video and images between Apple devices without AirDrop
An iPhone makes a brilliant camera, but iPad offers far better video and image editing apps. The obvious strategy is to take the pictures or record the video on the handset, then move them to the tablet.
You can use AirDrop to wirelessly transfer files between your devices, even without a Wi-fi hotspot. But now that both iPad and iPhone have USB-C ports, it’s a snap to connect them via cable to move these files. Especially as you can use the charging cable you already carry around.
This possibility obviously occurred to Apple too, so the Photos app has a built-in function to allow for the easy transfer pictures and video from iPhone to iPad.
AirDrop vs. cable
Your transfer choices come down to “send” or “pull”. With AirDrop, you wirelessly send a file from one device to another. Or, when transferring via a cable, the tablet pulls the file off the handset. To put it another way, either you can be on your iPhone choosing which files to send, or you can be on your iPad deciding which files to pull over. That’s one of the major differences between the two, so you can choose which you prefer.
If I’m sending one single file, AirDrop is usually the better option. But if I’m selecting multiple files, picking some and skipping others, I prefer to make a wired connection so I can easily see what’s on the iPhone on the iPad’s large display before I make the transfer by pulling the files over.
Those using an iPhone Pro or Pro Max to move files via the USB-C port can expect a speed advantage over AirDrop. These devices transfer files with USB 3.2 Gen 2, so data moves over cables at up to 10Gbps. But non-Pro models are limited to USB 2.0 speeds: up to just 0.48Gbps.
To test a transfer of video from iPhone to iPad, I used a standard iPhone 16 — without the Pro speed boost— so moving a 1.2 GB video file took 32 seconds. That’s almost the exact same speed as transferring the test file over AirDrop. The wireless system uses a direct Wi-Fi connection between the Apple devices, so it’s fairly quick. Pro users can expect such transfers to go more quickly.
How to transfer video from iPhone to iPad over USB-C cable
The first step in moving images and video from iPhone to iPad over a cable is (shocker!) connecting the two devices with a cable. You can use the one that came with your iPhone, but it’s designed for charging rather than data. It’ll work, but you probably won‘t get 10Gbps. Use a better quality cable that’s rated to handle USB 3.2 Gen 2.

Photo: Ed Hardy/Cult of Mac
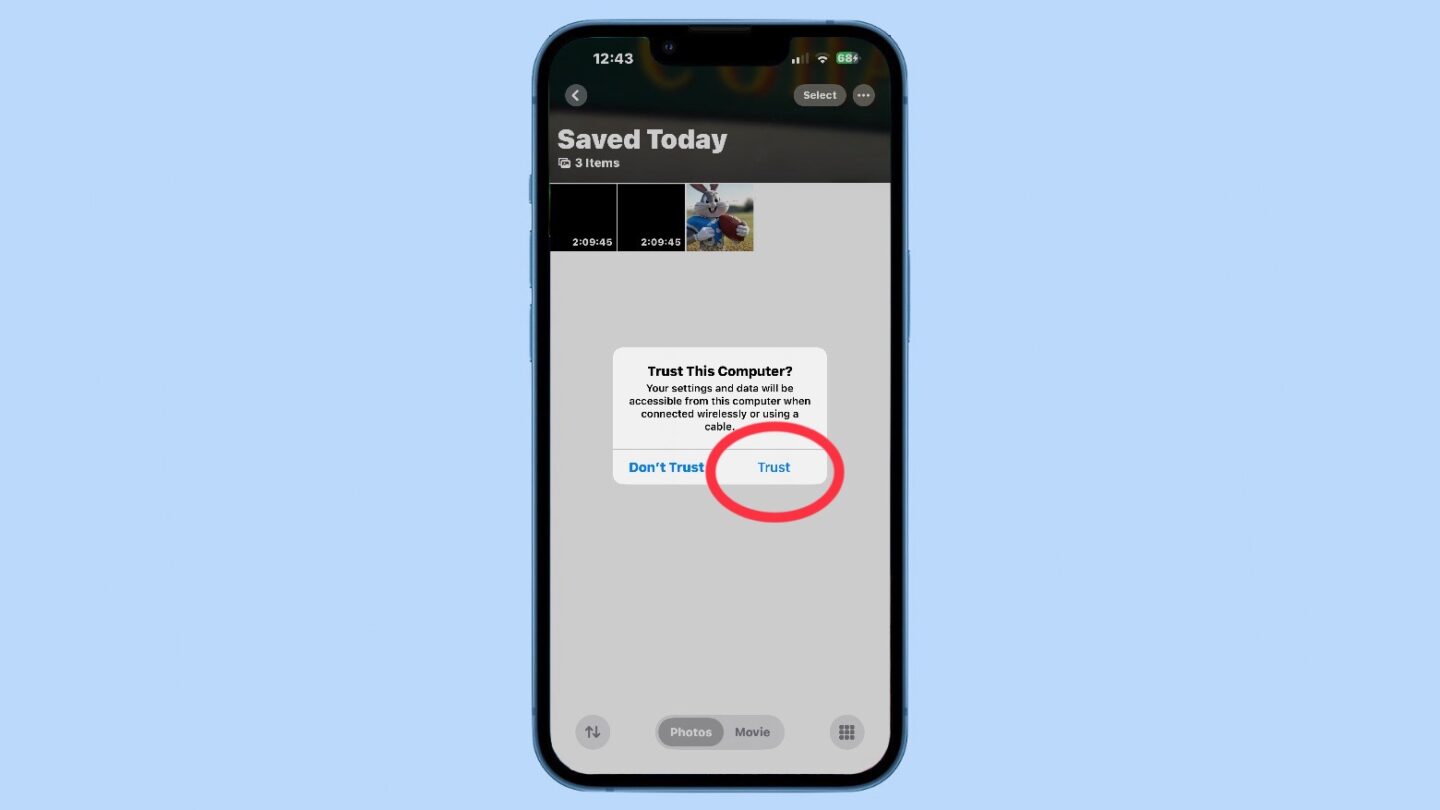
Once you connect the devices, wait a moment until a pop-up appears on the iPhone asking if you Trust This Computer. Tap on Trust. You’ll then be asked to type in the passcode for the iPhone to make sure you’re not trying to steal data off a handset you don’t own.

Photo: Ed Hardy/Cult of Mac
Next, open the Photos app on the iPad. A new section will have appeared labeled Devices, and your iPhone’s name will appear there. Tap on it. A screen showing all the images and videos in the iPhone appears, ready for you to transfer them to your iPad.

Photo: Ed Hardy/Cult of Mac
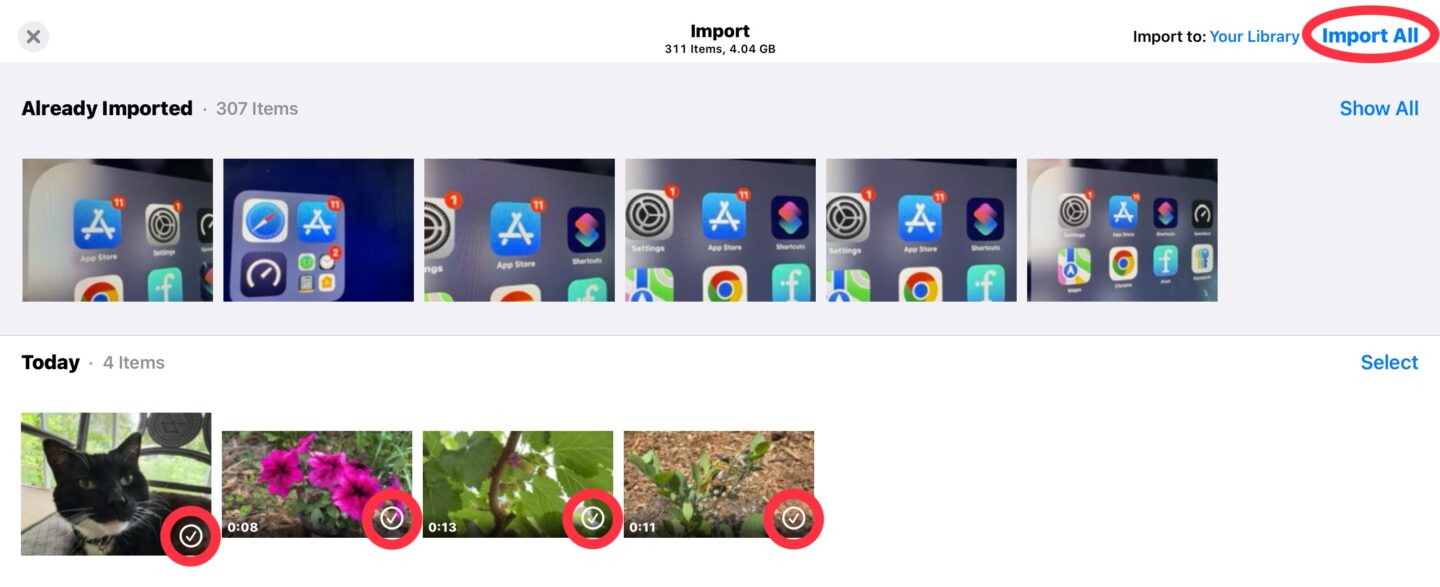
You can select any of these you want by tapping them to add a check mark, then hit the Import button in the upper-right corner of the screen. Your options from there are Import All or Import Selected. And that’s all it takes.
As a bonus, while the file transfers are going on, your iPad is recharging your iPhone.


