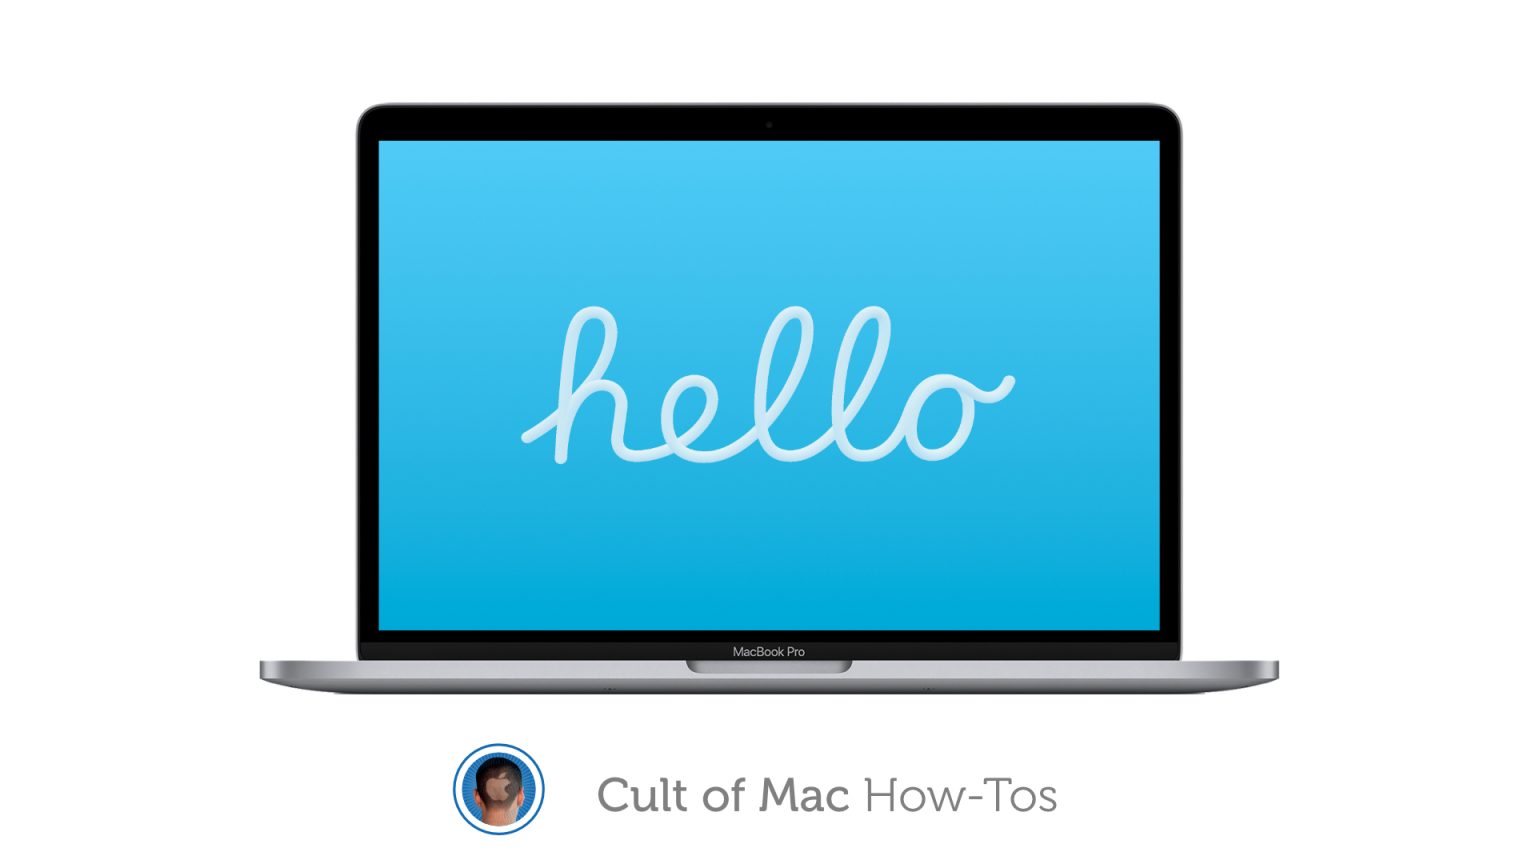
Apple’s latest macOS update ships with a brand-new “Hello” screen saver, inspired by the very first Macintosh, for M1 Macs. Enabling it isn’t quite as simple as just selecting a new screen saver in System Preferences, however.
We’ll show you how to manually install the new Mac screen saver on an M1 Mac ASAP.
The new screen saver displays the word “hello,” as it was written on the original Macintosh during its unveiling in late 1983. The text is animated, slowing bouncing around the screen atop a colorful backdrop.
To use the Hello screen saver, you must be running the newest macOS 11.3 update. It’s available now as a release candidate (near-final version), although we recommend waiting for its official release next week.
You also must be using a Mac powered by an Apple M1 chip (not Intel). These include the late-2020 MacBook Air and MacBook Pro (13-inch), the late-2020 Mac mini, and the upcoming 2021 iMac (24-inch).
It’s always possible Apple will make this screen saver easier to install, and make it available to non-M1 Macs, in the final release version of macOS 11.3. However, if you just can’t want to slap that “Hello” screen saver on your M1 Mac, here’s how to do it right now.
How to enable Mac’s new ‘Hello’ screen saver
If you have an M1 Mac and it’s running macOS 11.3, you can follow these steps to locate and install the Hello screen saver:
- Click Finder in your Dock, then click Go in your Mac’s menu bar.
- Click Go to Folder…
- Enter /System/Library then click Go.
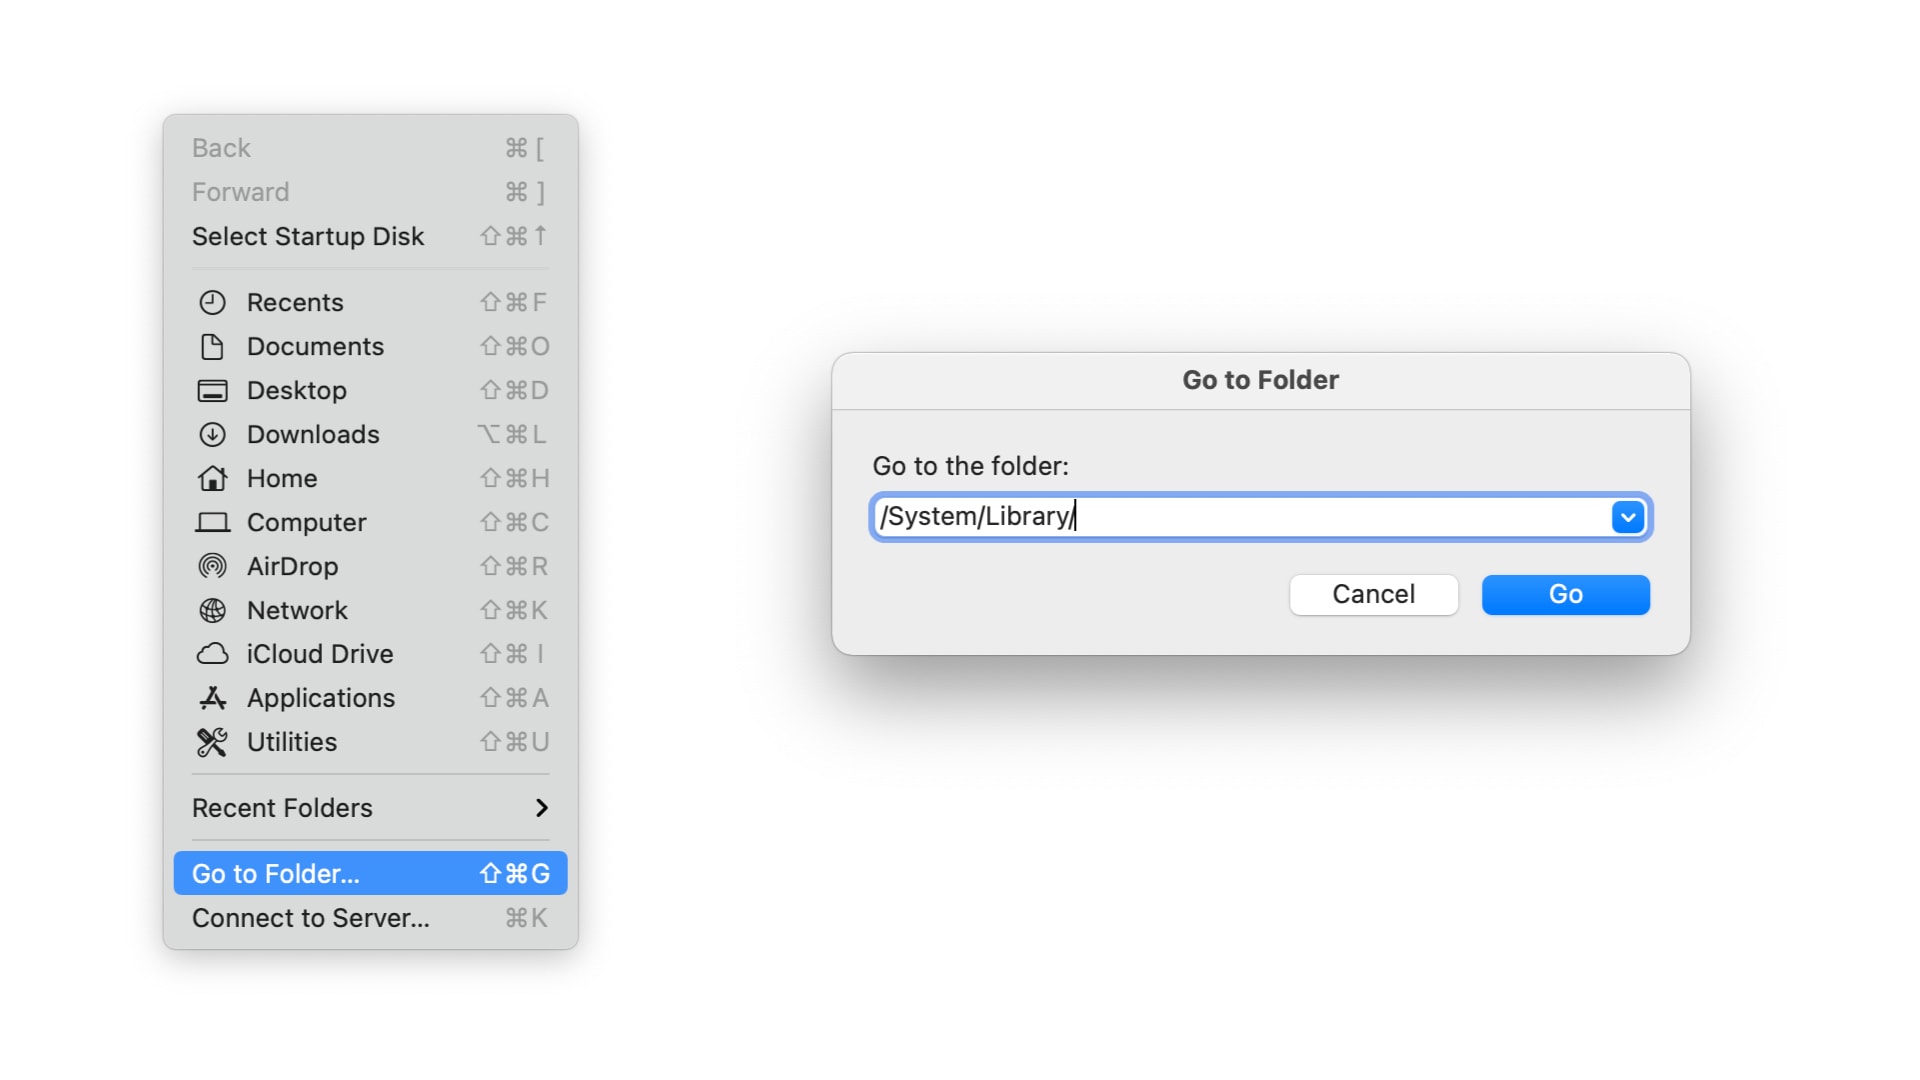
- Find and open the Screen Savers folder.
- Copy the Hello.screen file to your Mac’s desktop.
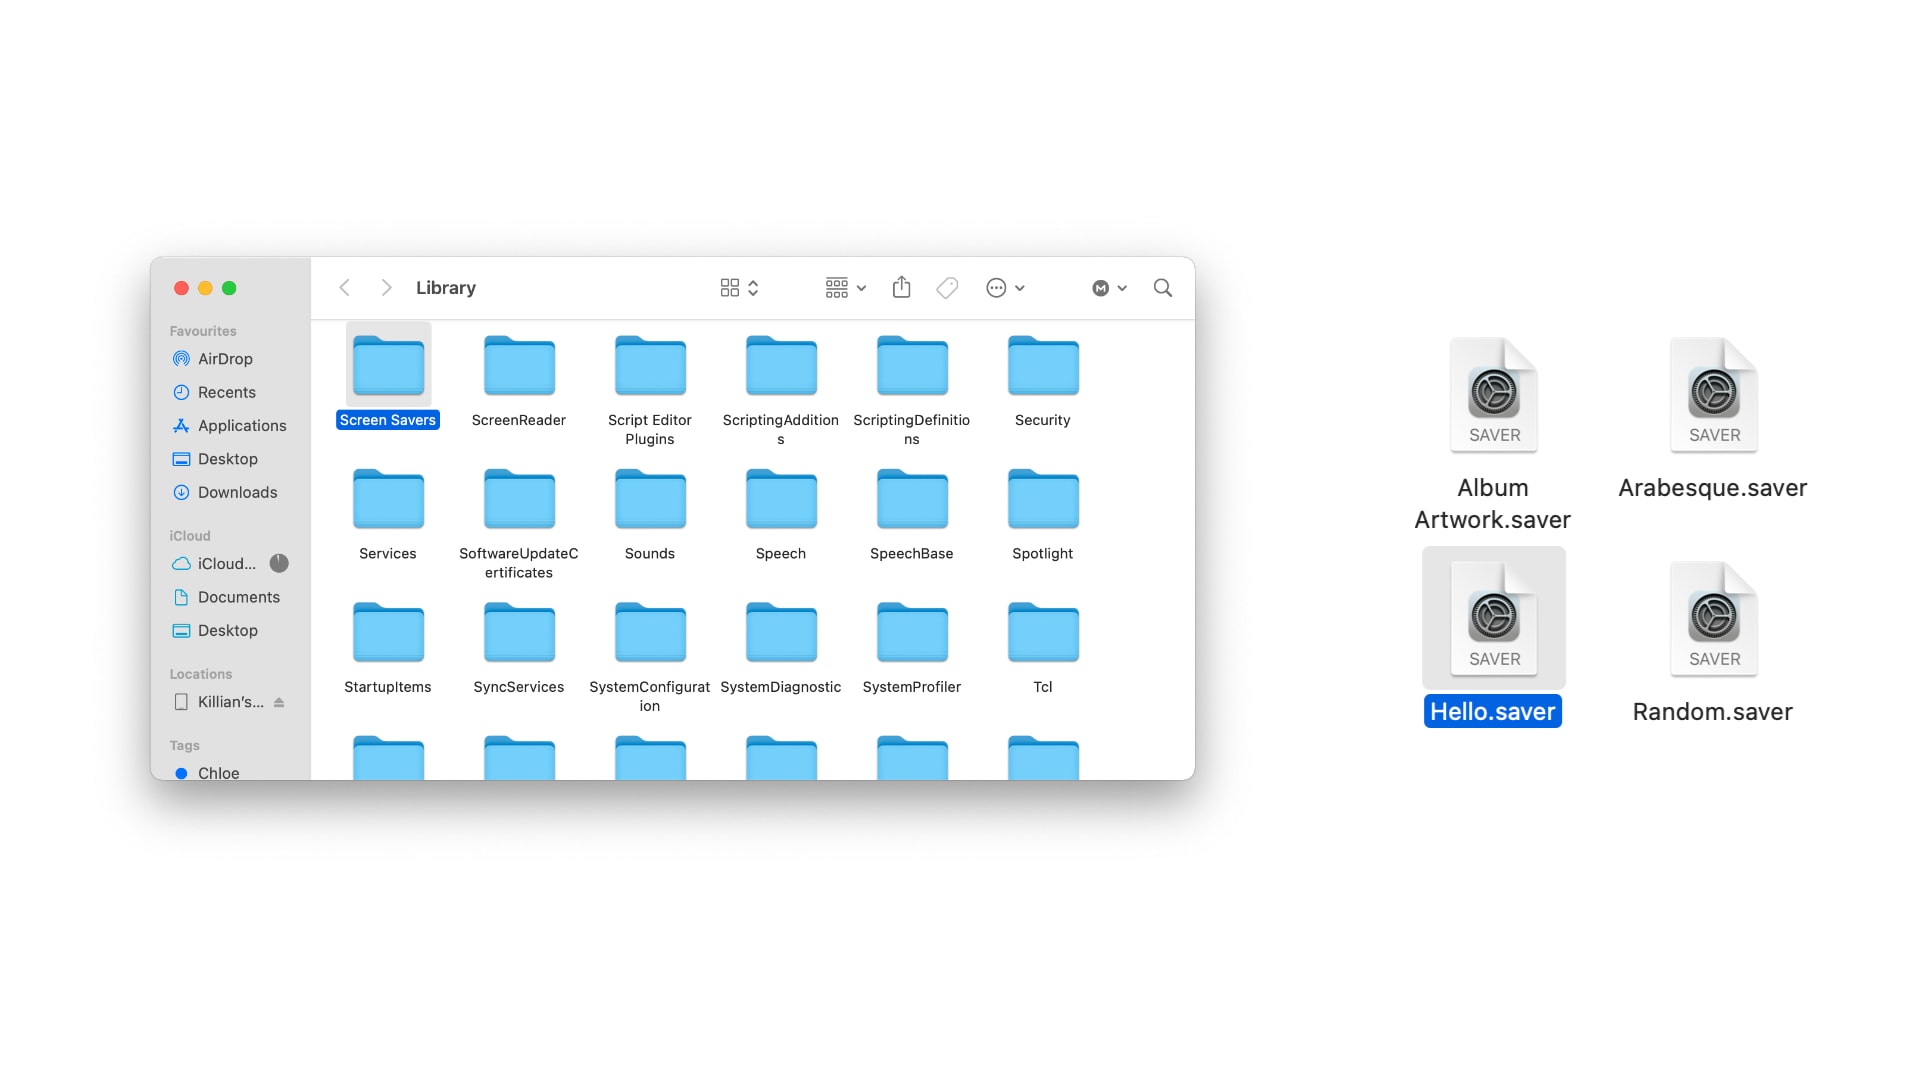
- Return to your desktop and rename the file Hellocopy.saver.
- Double-click the screen saver to install it.
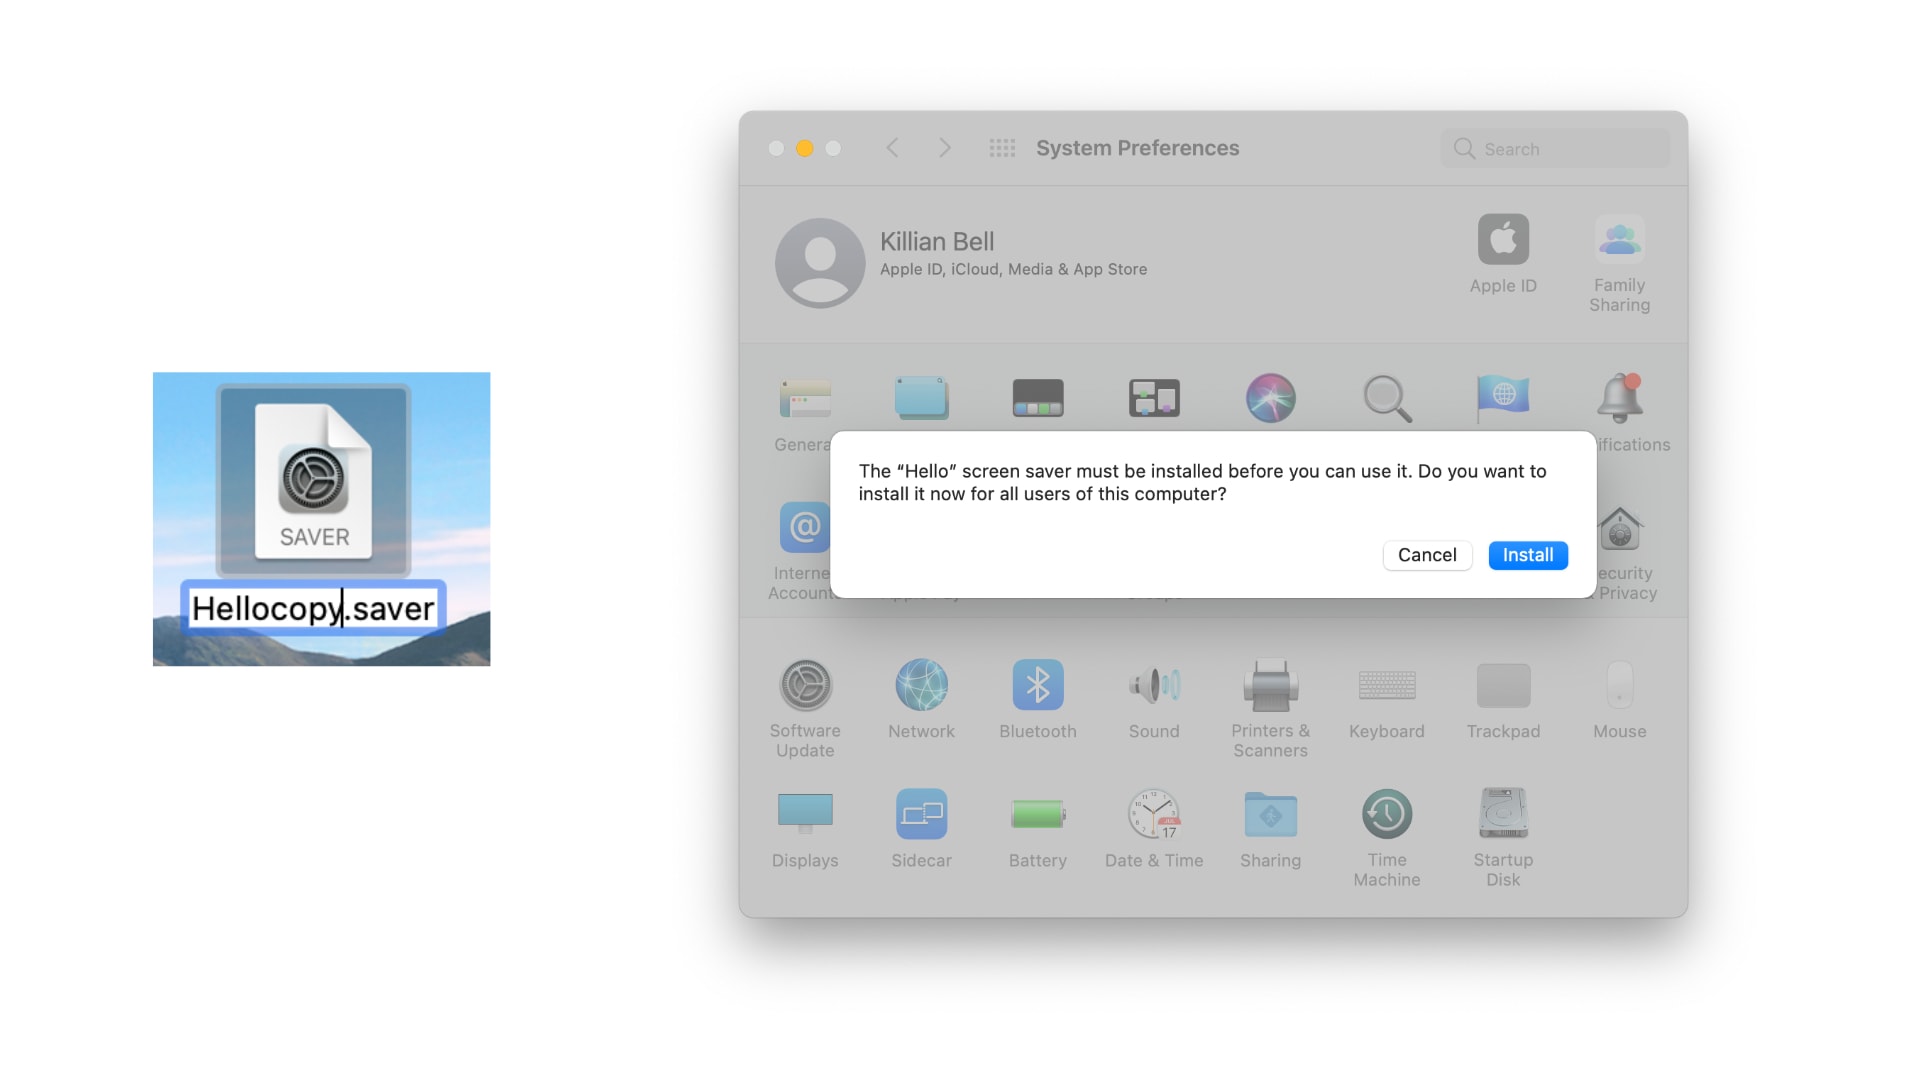
- Confirm by clicking Install and entering your Mac’s password.
Now that the Hello screen saver is installed, you can follow these steps to enable it:
- Open System Preferences on your Mac.
- Click Desktop & Screen Saver.
- Click the Screen Saver tab, then select the Hello screen saver.
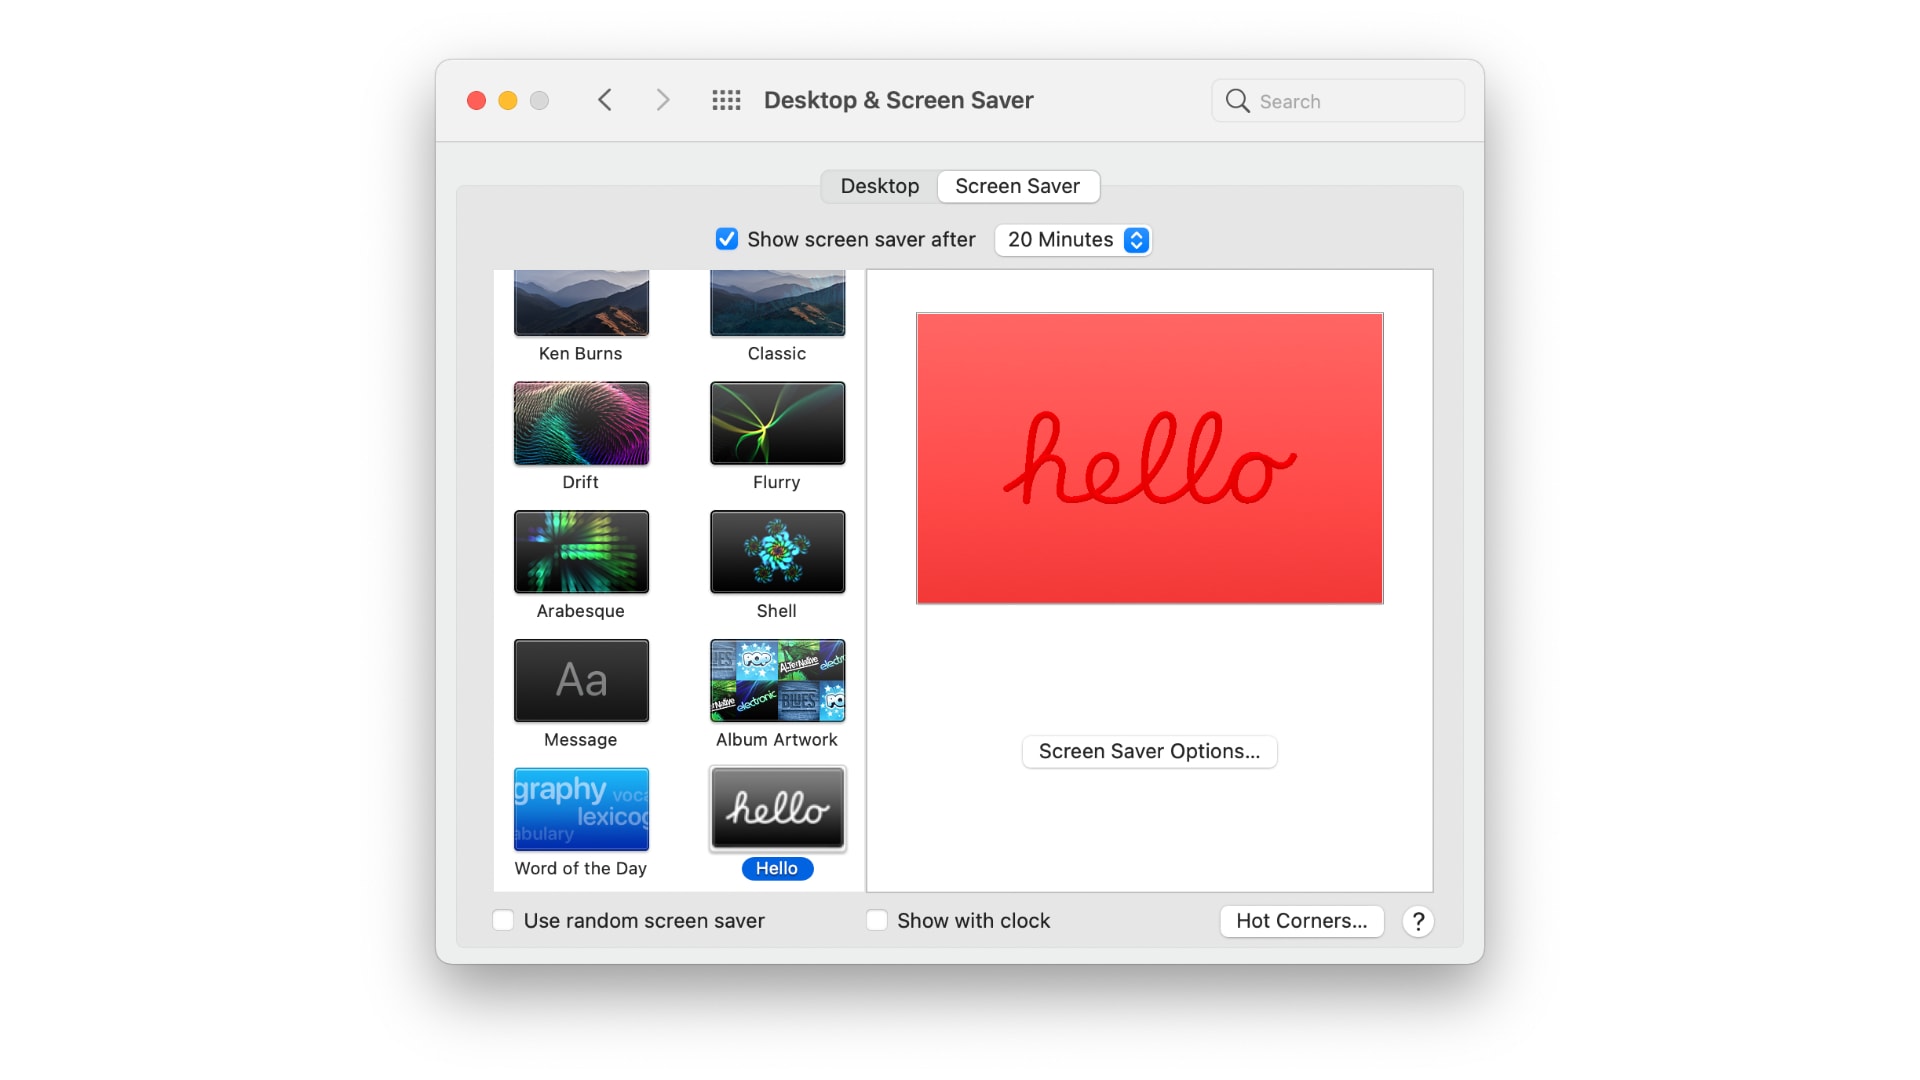
Customize the Hello screen saver
By default, the Hello screen saver will display “hello” in different languages, and match your system’s theme (light or dark mode). However, Apple lets you disable these settings, and provides a number of different themes.
You can customize the Hello screen saver by clicking the Screen Saver Options… button in System Preferences after the screen saver has been selected. You can also choose to display it with a clock.
Via: 9to5Mac
