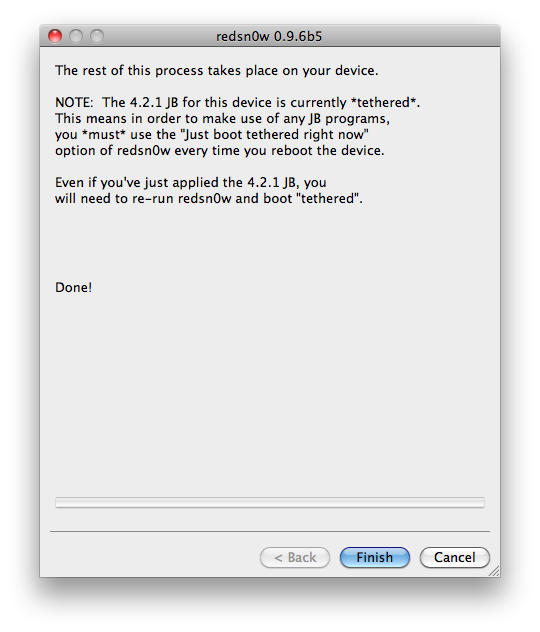
Redsn0w by DevTeam allows you to jailbreak your iPhone 3G/3GS device, to get complete control over it (see why you should jailbreak here). Currently, redsn0w version 0.9.6b5 allows you to perform a tethered jailbreak to your device that has already been upgraded to firmware 4.2.1, which means you need to use redsn0w every time you boot the device, otherwise all your jailbreak data gets wiped.
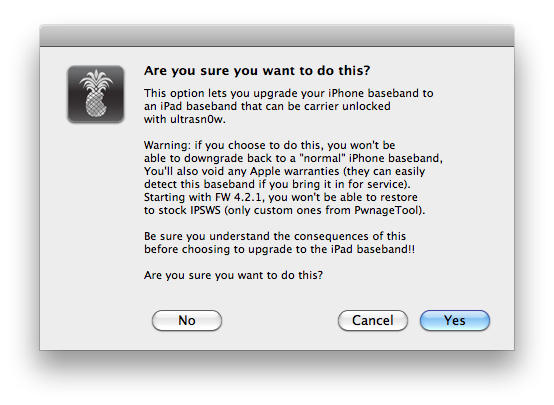
In order to unlock, you must upgrade to an earlier iPad baseband, which would mean that you can update/restore using a custom firmware file only and not a stock firmware file, otherwise, the restore will simply fail. Also, it’s not reversible and by doing this, you will be voiding the device’ warranty.
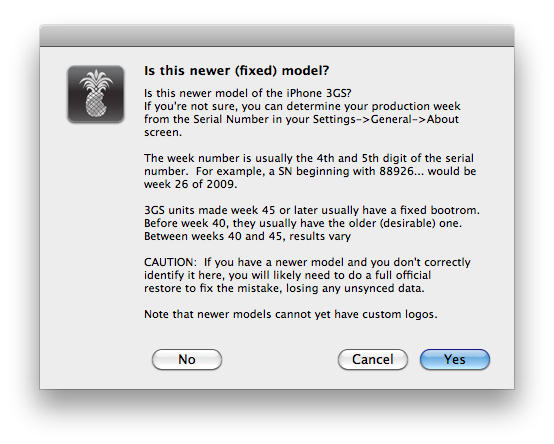
Please note that this tool will NOT work if you older iPhone 3GS, unless you use the unofficial Pwnage bundle first. (On the older iPhone 3GS, serial number, fourth and fifth digit should be either 40 or less.)
Ingredients:
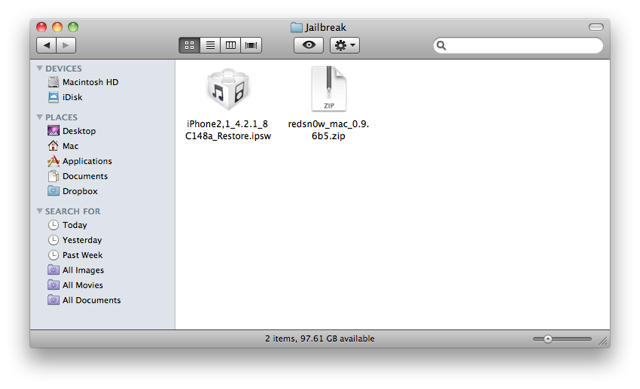
- An iPhone 3G/3GS updated to firmware 4.2.1, which meets the above requirements.
- Firmware version 4.2.1 for iPhone 3G/3GS
- iTunes 10.1 or later
- redsn0w 0.9.6b5 for Mac.
Please backup all your information using iTunes before following this tutorial.
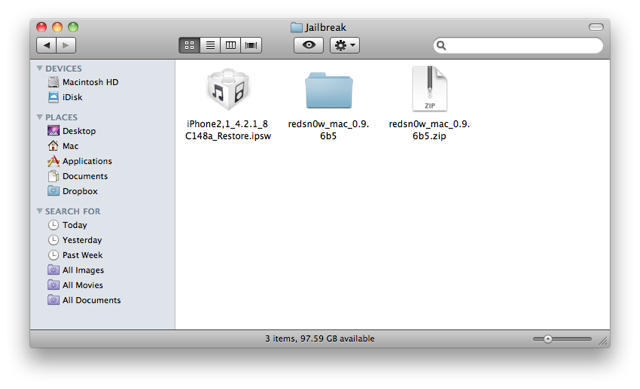
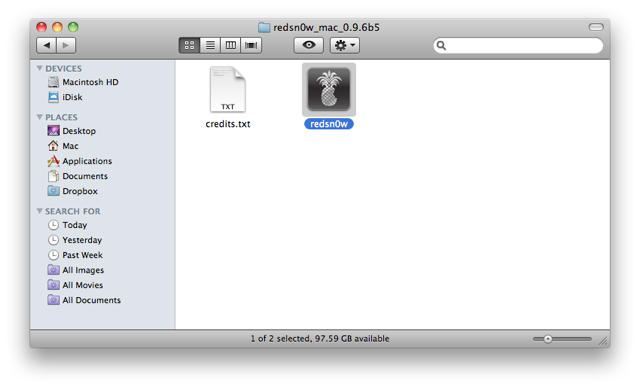
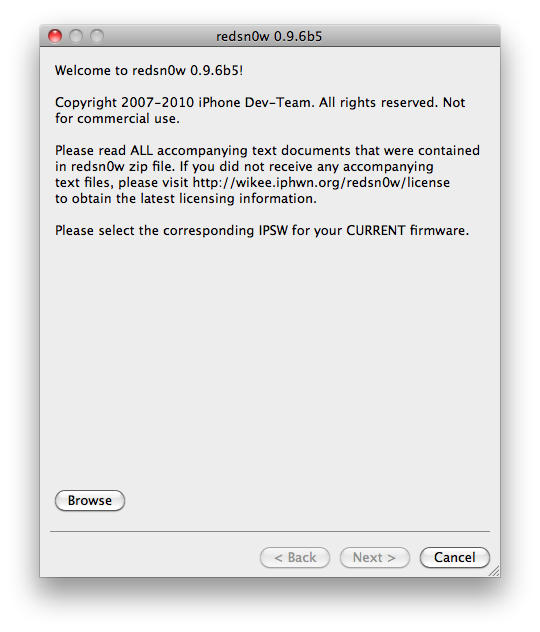
1. Download redsn0w and extract the ZIP. Double-click to open redsn0w application.
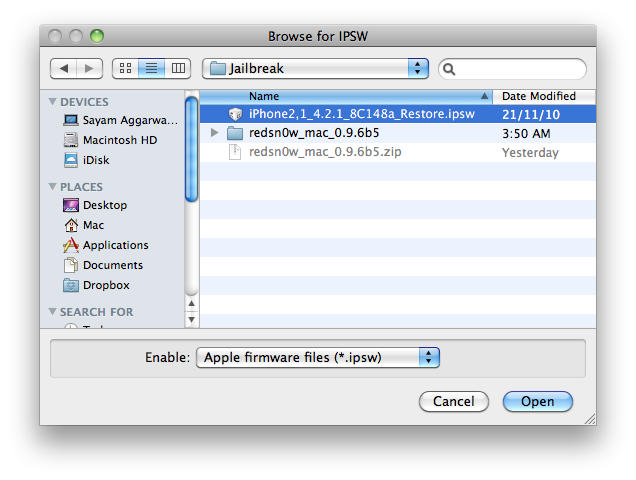
2. Click the ‘Browse’ button below the text, it will ask you to locate a firmware file, choose the 4.2.1 firmware for your device and click ‘Open’.
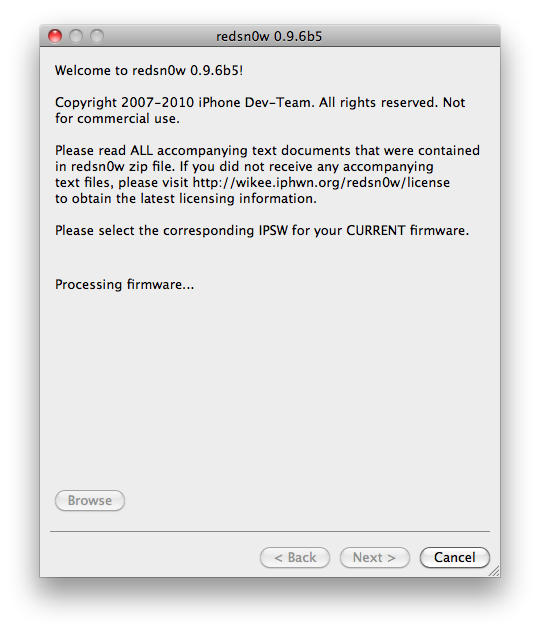
3. It will then process the firmware file and ask you if this is the newer iPhone 3GS, click ‘Yes’. However, if you are using an older one that’s gone through the ‘Unofficial Pwnage bundle’ as mentioned above, click ‘No’.
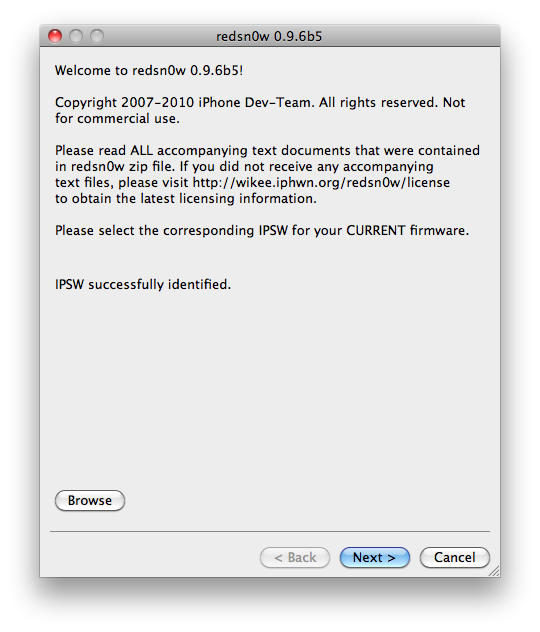
4. After it says ‘IPSW successfully identified’, click the ‘Next’ button located near the bottom-right and it will download some jailbreak data from the server.
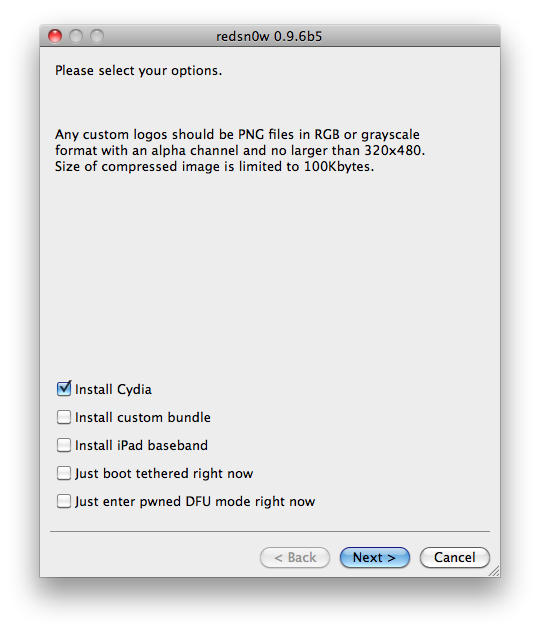
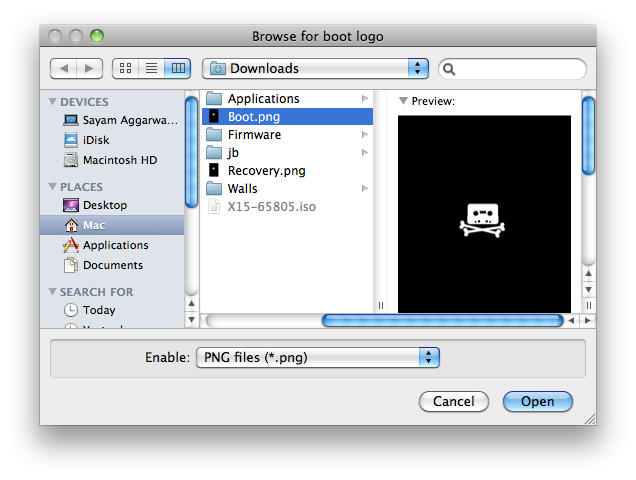
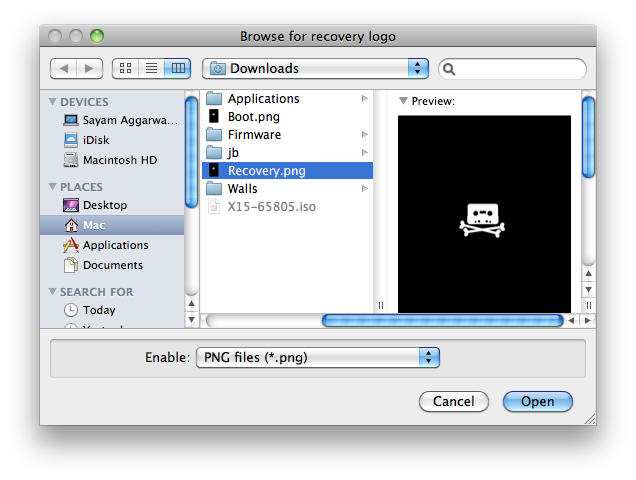
5. Then, choose if you want to install cydia or boot in verbose mode (for developers) It also allows you to enable multitasking, homsescreen wallpaper and/or battery percentage on 3G but at the cost of performance. If you want to install custom boot logos and/or recovery logos, choose the options and locate the particular image files, when prompted and click ‘Open’, make sure the logo files are as per the guidelines listed above.
6. Optional – If you read the warning above and still want to unlock your iPhone 3G or newer iPhone 3GS, choose ‘Install iPad Baseband’. It will again ask if you really want to use the iPad baseband, click ‘Yes’ and click the ‘Next’ button again.
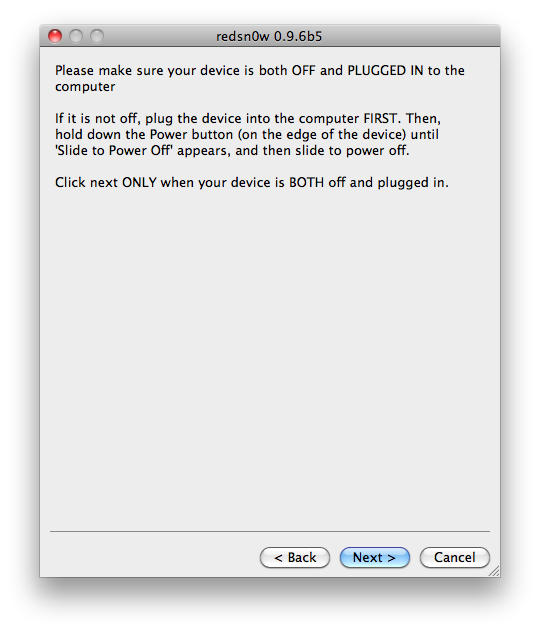
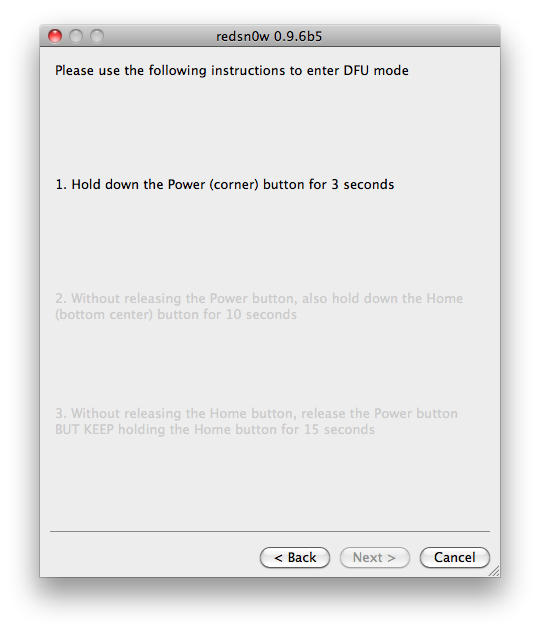
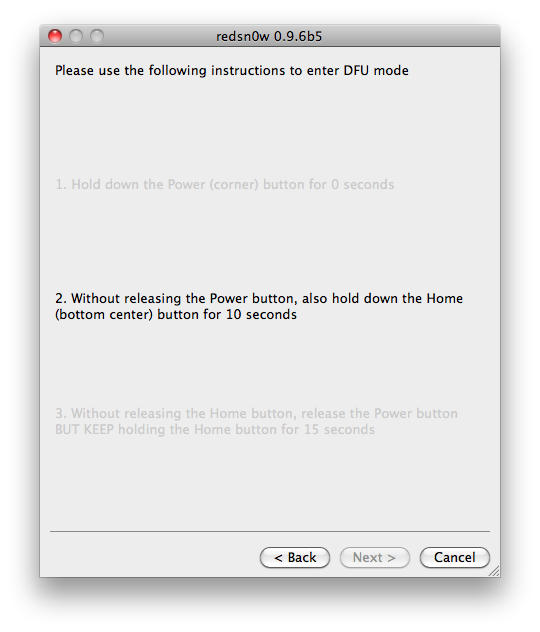
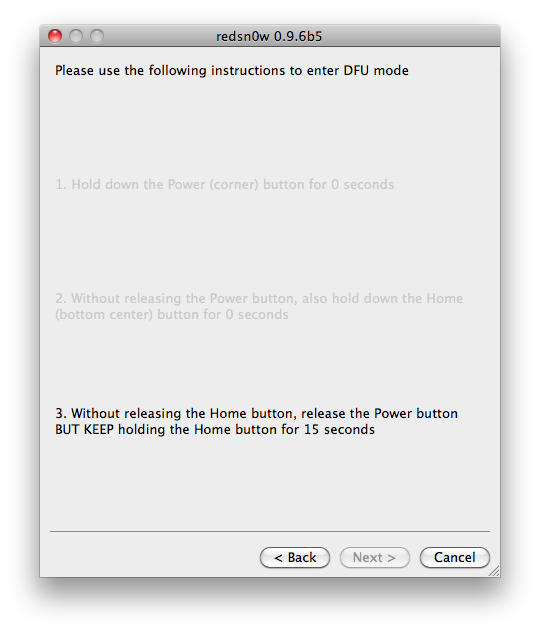
7. Now, it will ask you to connect the device to your Mac/PC and then turn it off, do so and click ‘Next’. Now follow the on-screen instructions to proceed.
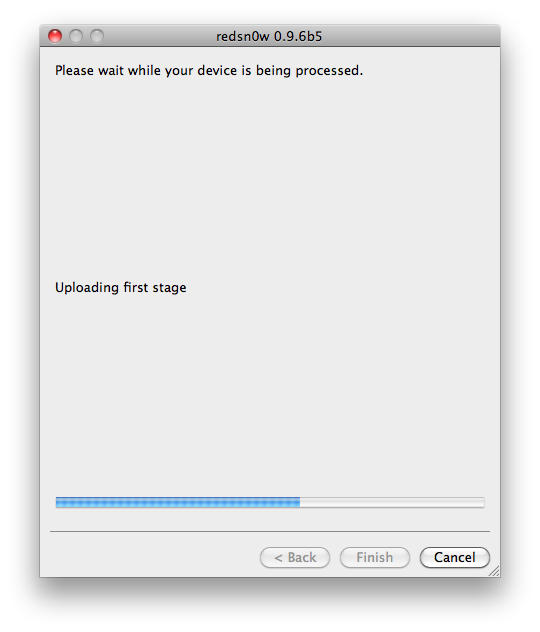
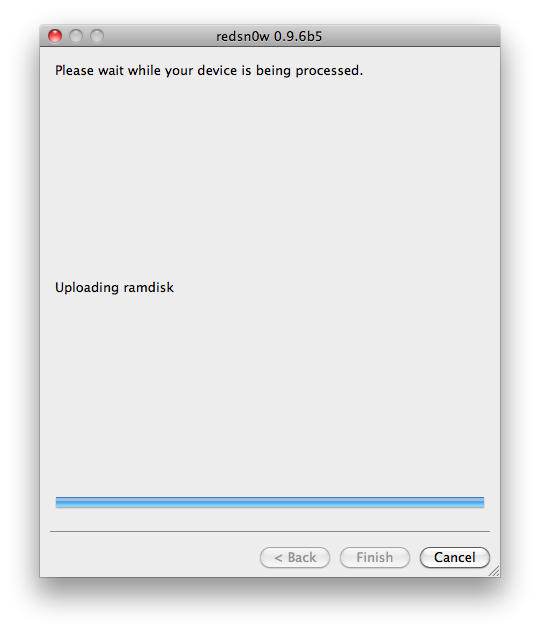
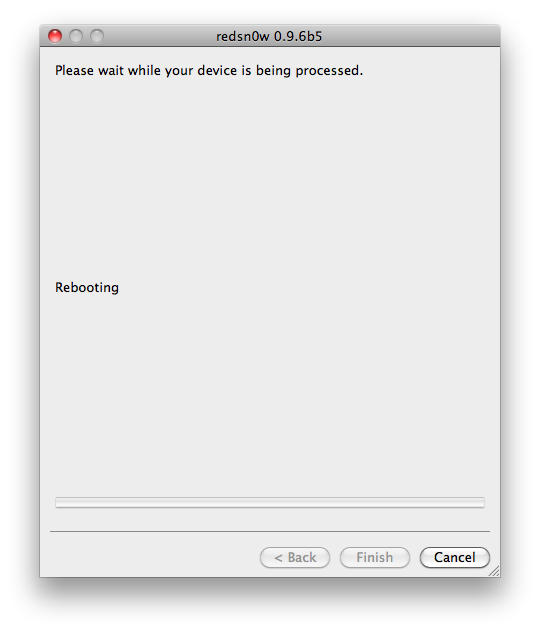
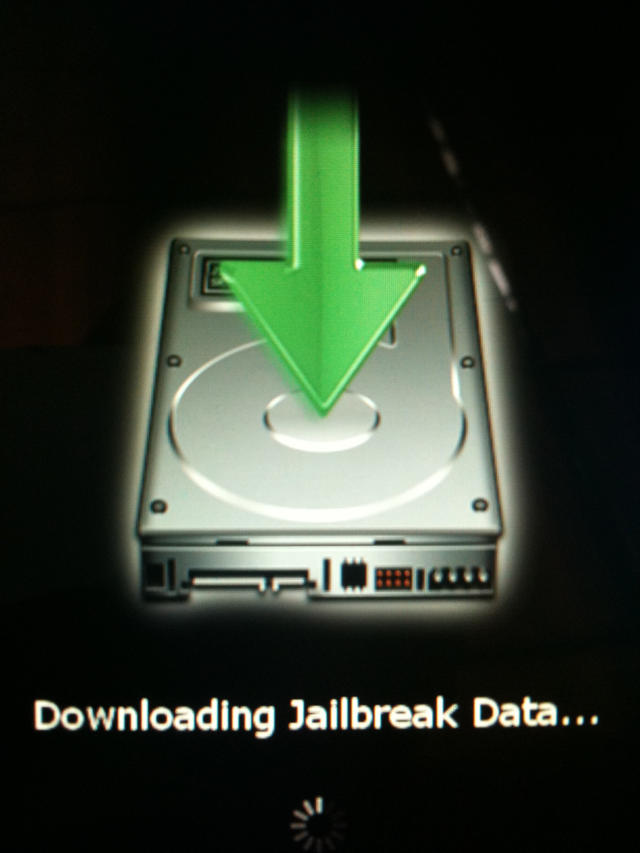
9. The device will reboot a couple of times showing ‘Downloading Jailbreak Data’ logo on the device’s screen, while redsn0w sends modified files to the device. When redsn0w is done, click the ‘Finish’ button and let the rest of process continue on the device, please be patient.
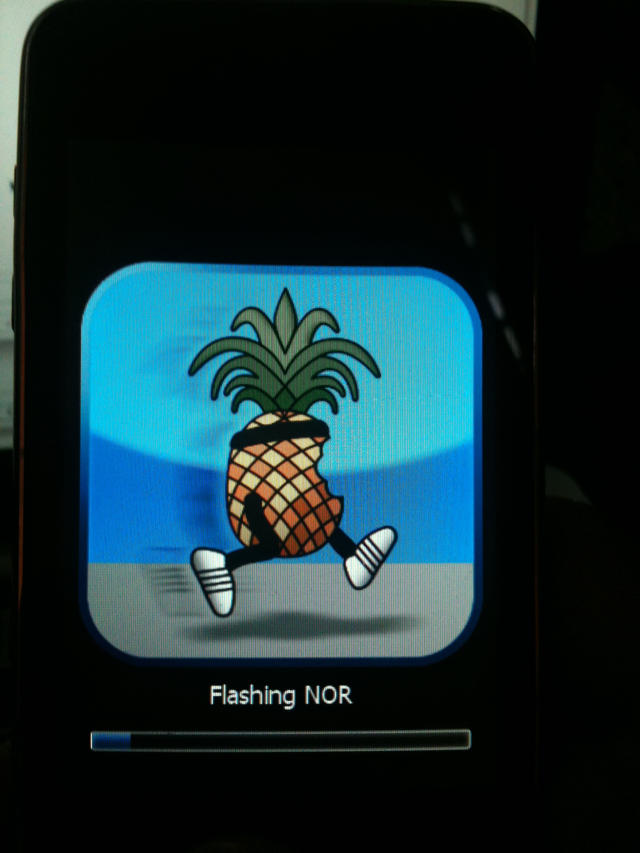
NOTE: If you chose to install the iPad baseband, it will take quite some time to download the necessary files from Apple’s servers depending upon your internet speed and other factors, so please be patient.
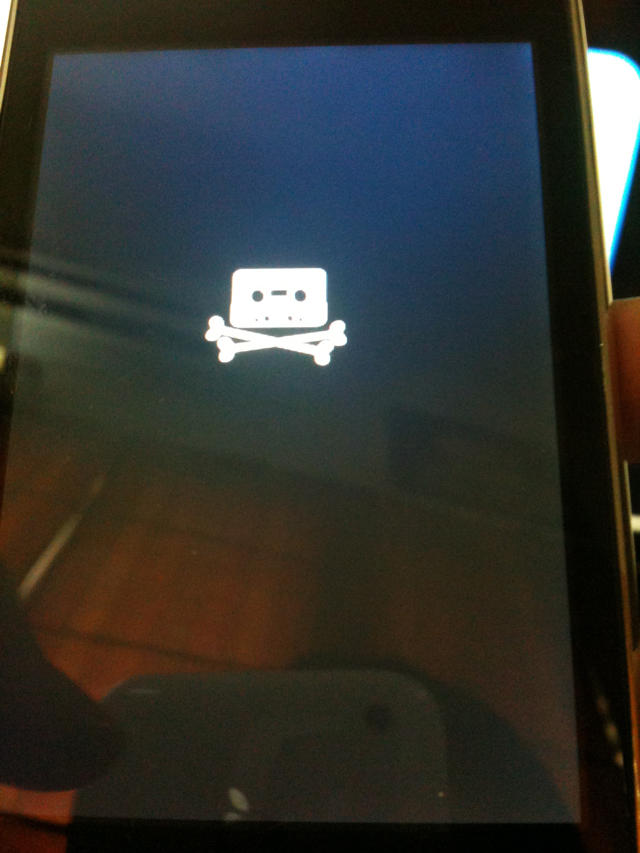
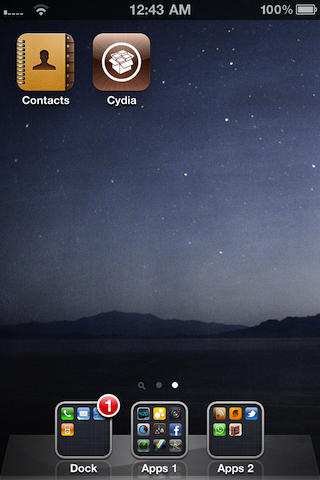
10. After the device reboots, it might just go into the recovery mode. At this point, press and hold both home and power button till the screen goes off and now just press the power button to power it on. When it boots up, your device should now be jailbroken with Cydia on the homescreen.
11. If you chose to Install iPad firmware, follow our ultrasn0w guide here.
All credit for the great tool goes to the DevTeam.
![How To Jailbreak And Unlock iPhone 3G/3GS Using Redsn0w [Jailbreak Superguide] redsnow-3.0](https://www.cultofmac.com/wp-content/uploads/2010/02/redsnow-3.0.jpg)
