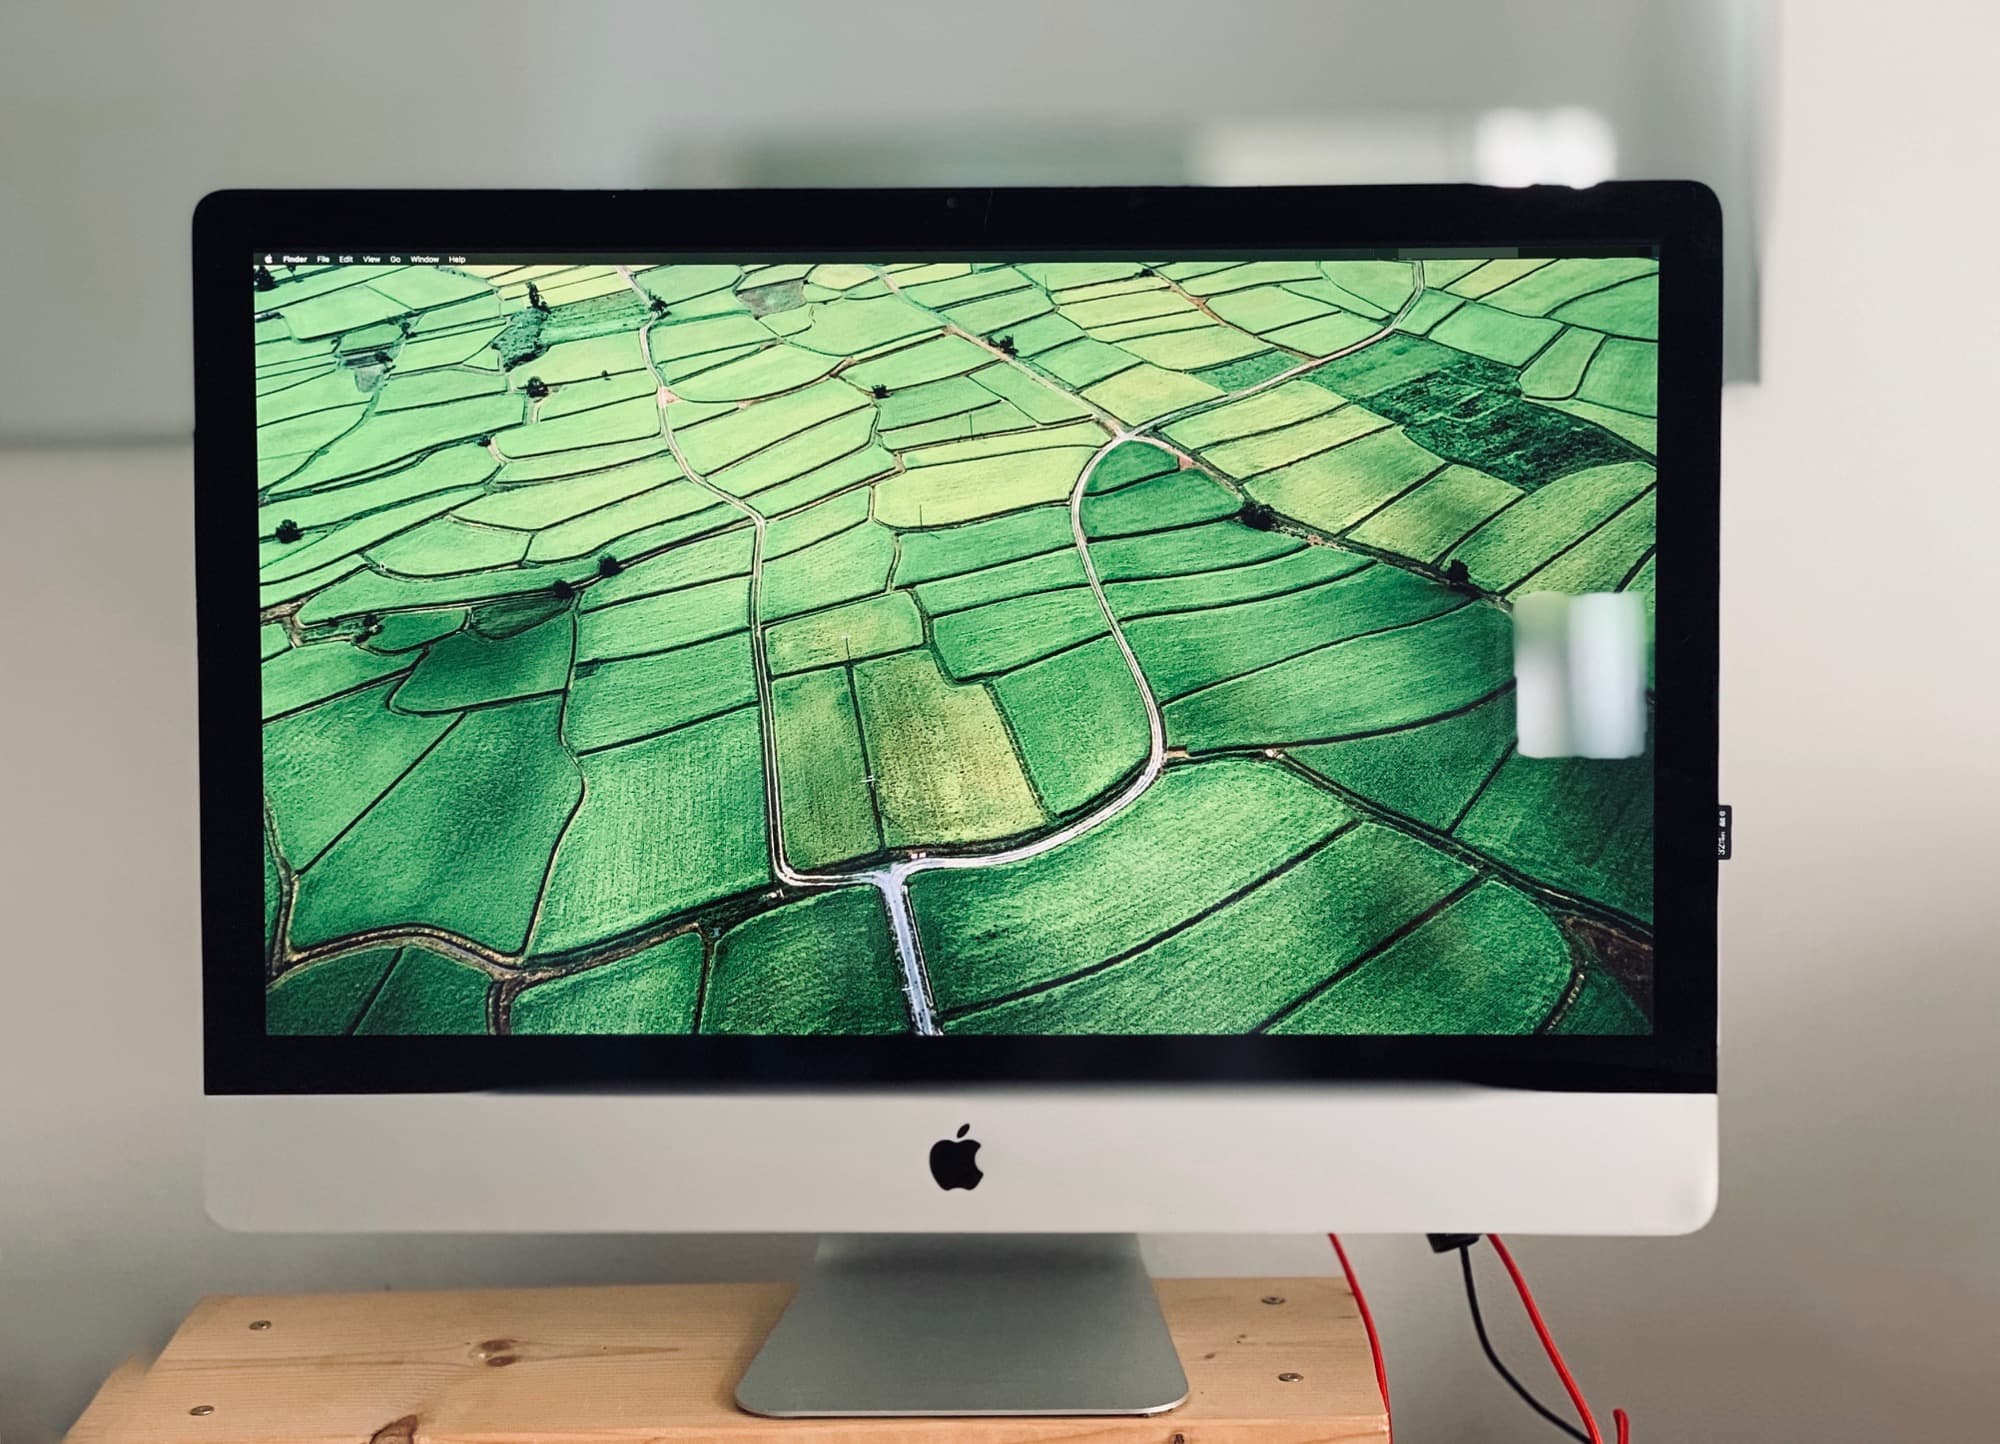
Owners of recent MacBooks Pro and Air can enjoy True Tone, a great technology that uses an ambient light sensor to match the color of the Mac’s display to its surroundings. True Tone mimics a white sheet of paper, which reflects the ambient light. The goal is to avoid a cold-blue screen when you’re in a nice, warmly lit room.
True Tone is a wonderful feature, and really makes everything look better. But it’s only available on new Macs. Today we’ll see how you can fake it on older computers.
What Apple’s True Tone does
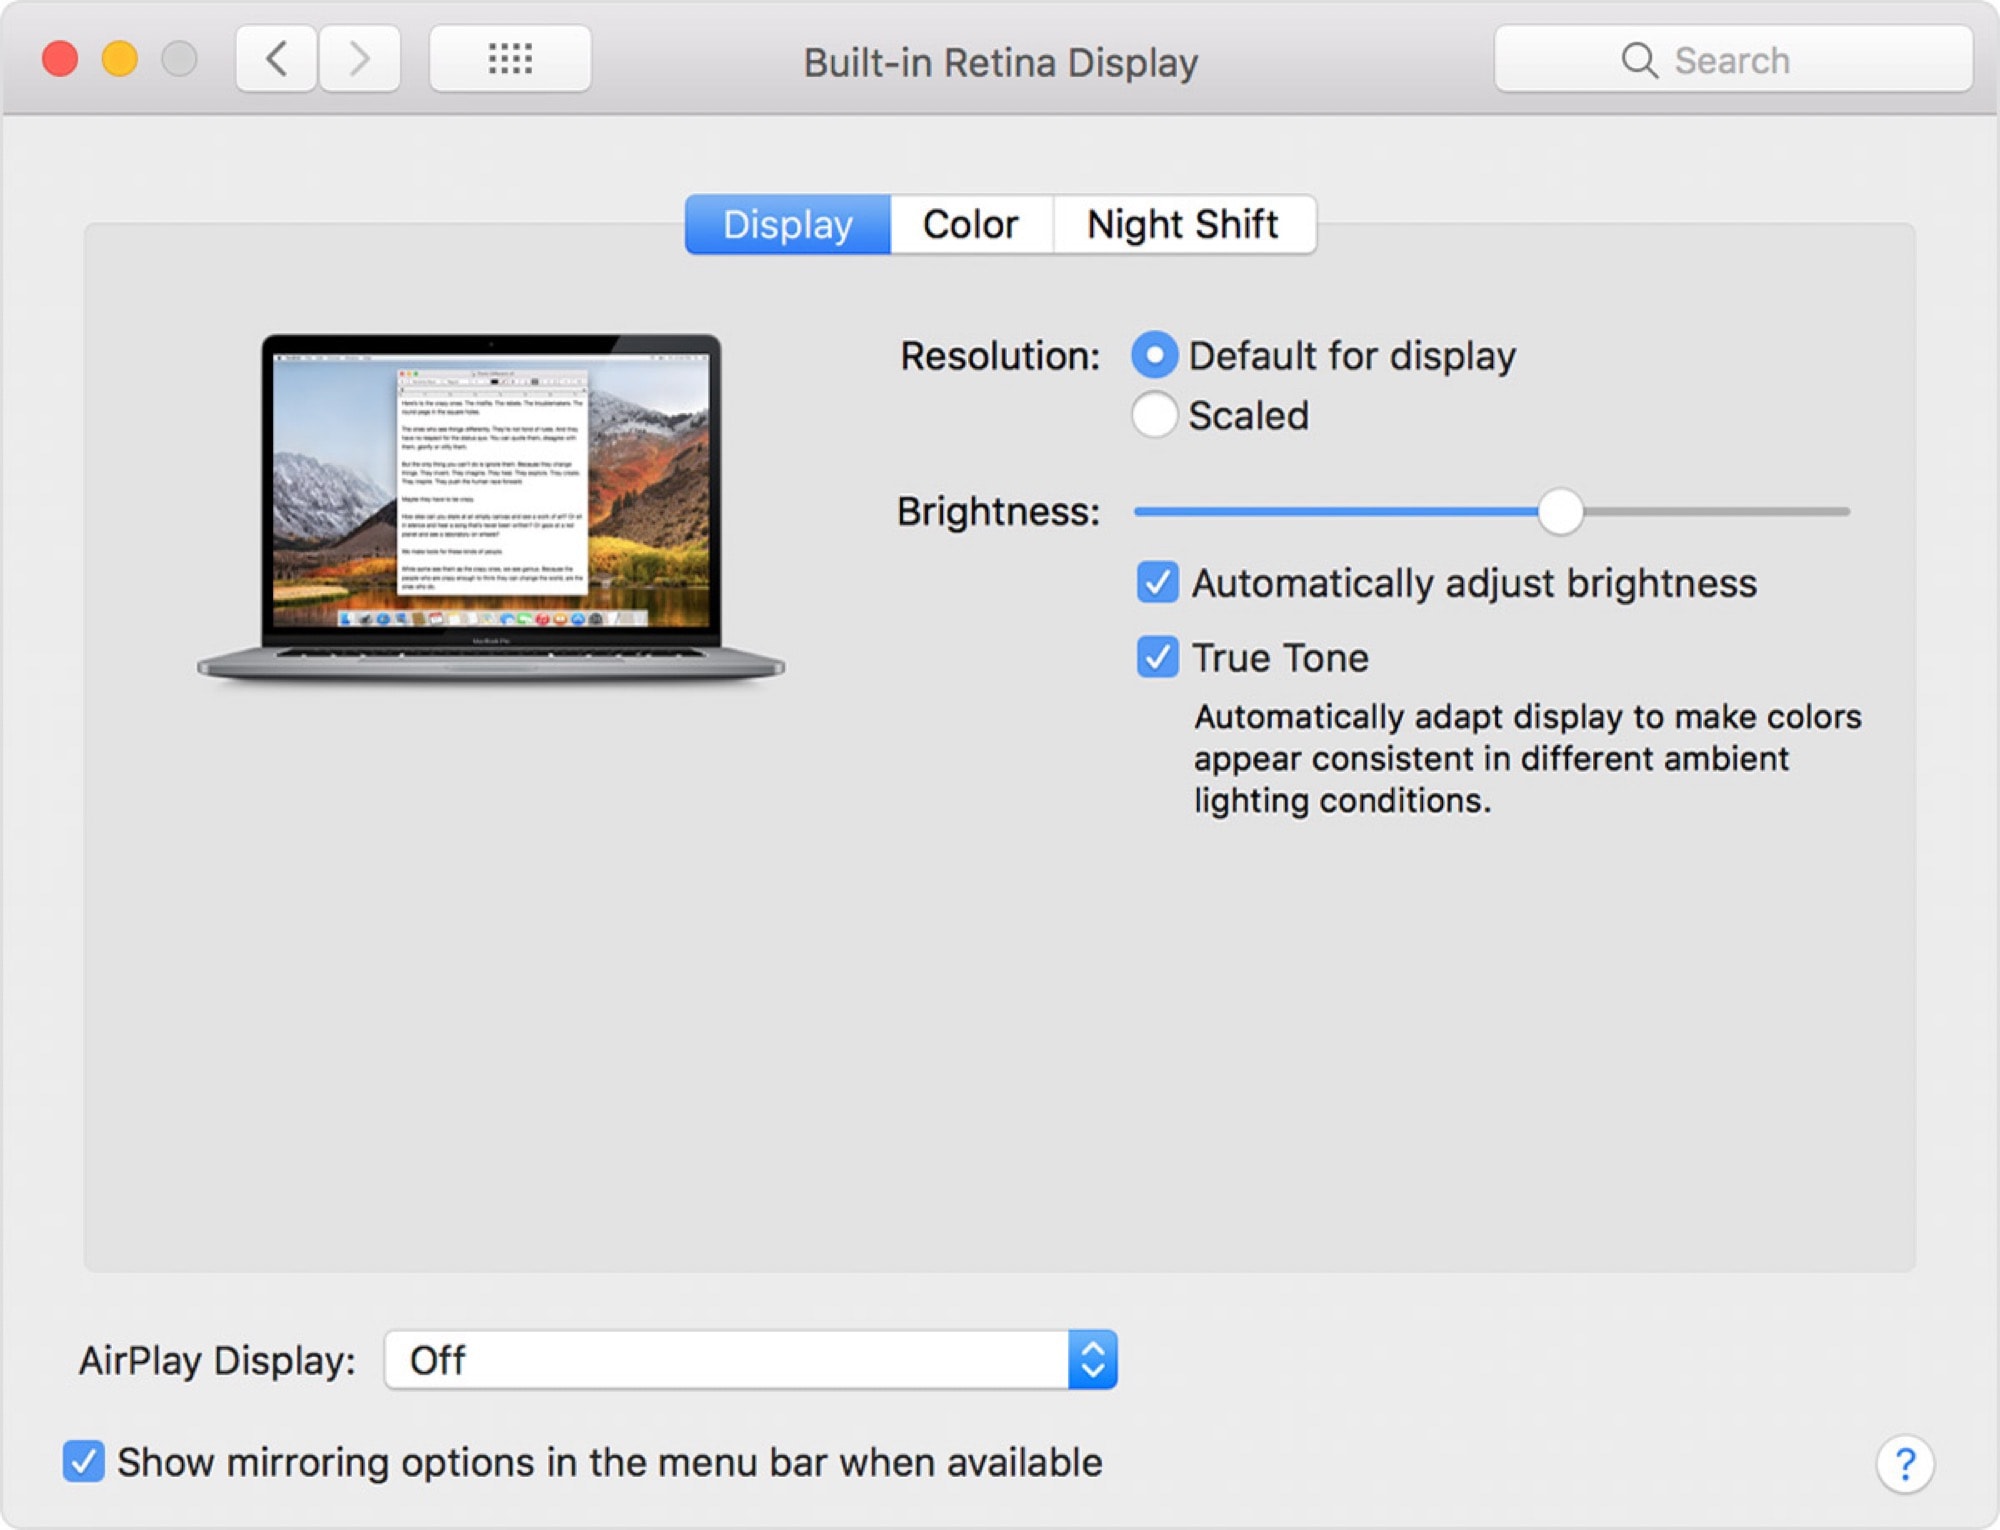
Photo: Apple
True Tone operates in the same space as Apple’s Night Shift feature, but brings some subtle differences.
Night Shift shifts the color of the light depending on the time of day. During the day, the screen is balanced toward the blue end of the color spectrum to match the cold blue light of day. After sundown, the screen color gets warmer, or redder, to match the warmer lights in your home.
True Tone goes one better. It uses a sensor on your Mac, iPhone or iPad to sample the color of the light around you, then matches the screen’s color to that. If you have a True Tone-capable iPhone, take a look around you next time you ride the subway/metro/tube. Non True-Tone displays will look awfully cold and blue, whereas yours just looks white.
3 ways to fake True Tone on older Macs
Older Macs can’t sample the surrounding light, but that doesn’t mean you can’t fake it. Today we’ll see three ways to change the color balance of old Macs to better match their surroundings.
1) Use Night Shift
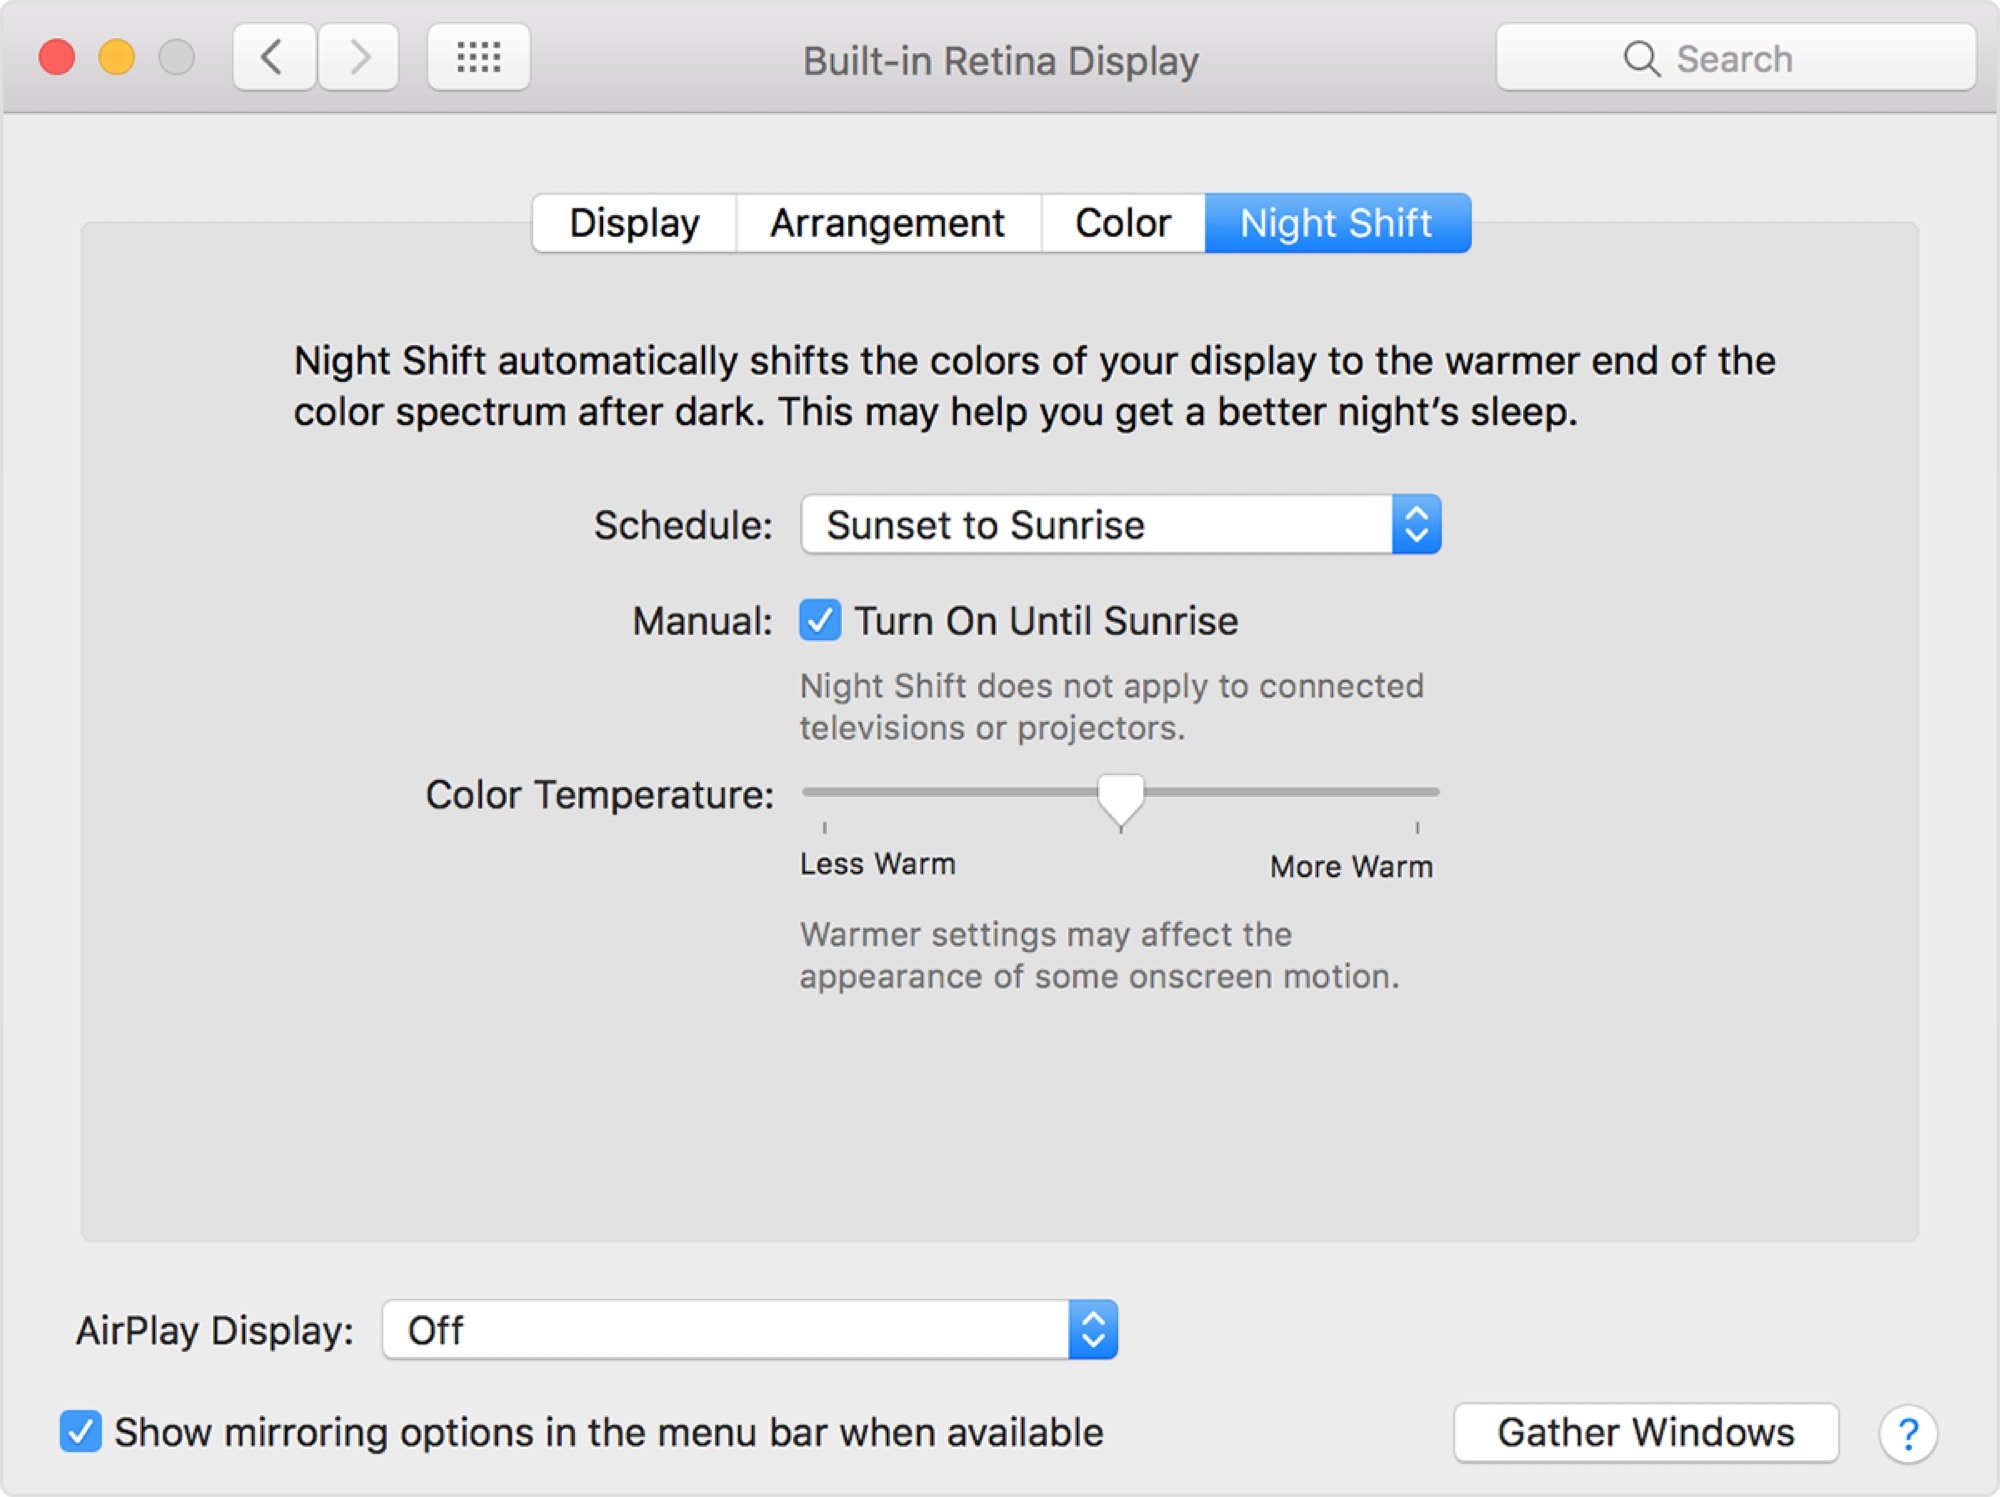
Photo: Apple
Apple’s Night Shift can do a decent job of making your Mac’s screen more comfortable to look at, especially if you’re using it at night. It requires one of the following Macs, and it should be running macOS 10.12.4 Sierra or newer.
- MacBook models from early 2015 or later
- MacBook Air models from mid 2012 or later
- MacBook Pro models from mid 2012 or later
- Mac mini models from late 2012 or later
- iMac models from late 2012 or later
- Mac Pro models from late 2013 or later
- Apple LED Cinema Display
- Apple Thunderbolt Display
- LG UltraFine 5K Display
- LG UltraFine 4K Display
To use Night Shift, open System Preferences > Displays, and click the rightmost tab, labeled Night Shift. The easiest option is to set it to a sunrise/sunset schedule, which automatically shifts the colors when most needed. But you can also manually tweak the underlying color temperature, using the more warm/less warm slider. This, combined with manual scheduling controls that let you leave Night Shift on all day, lets you fine-tune your Mac’s monitor to make your eyes more comfortable.
2) Use Apple Display Calibrator Assistant
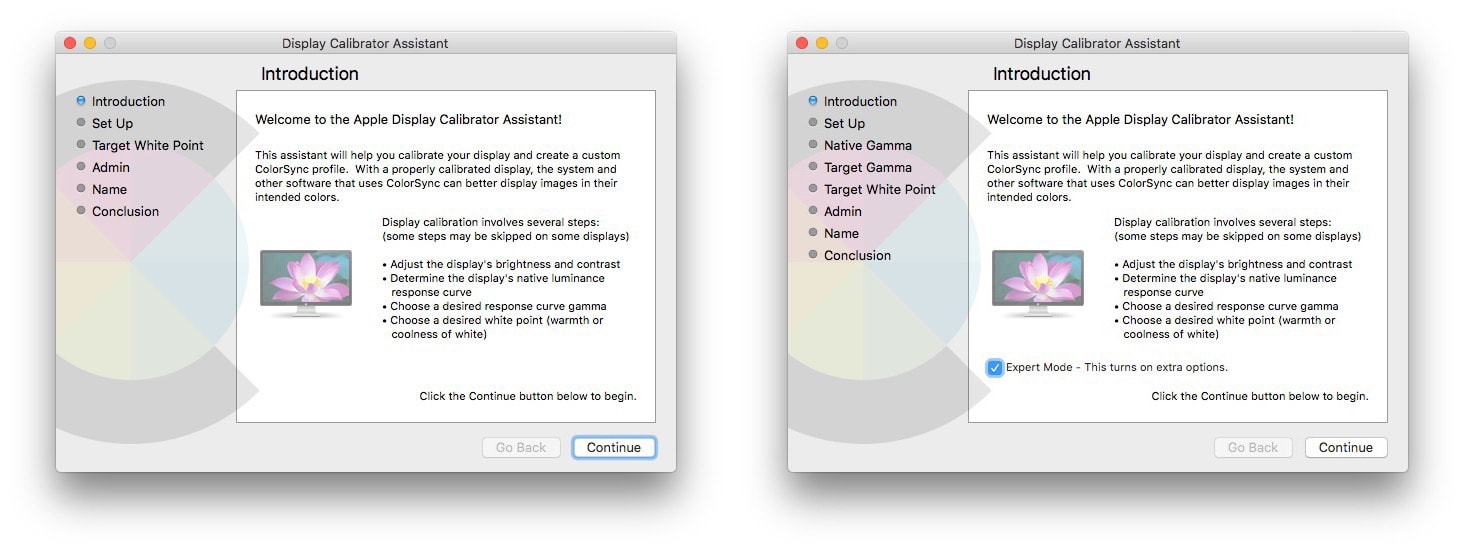
Photo: Cult of Mac
If your Mac doesn’t offer Night Shift, or if you want more control, then fire up the Apple Display Calibrator Assistant. You can find this from the same Displays preference panel as Night Shift, under the Color tab. Just press Calibrate… and the assistant will walk you through the process, step by step. I won’t go into the whole process here, as it’s easy (and fun) to follow along. But I do have a couple of tips.

Photo: Cult of Mac
The first is to enable the Expert Mode. Take a look at the screenshots above to see the extra options you get in Expert Mode. To switch it on, just hold down the ⌥ key when you click the Calibrate… button in the Color tab of the Displays preference pane. Expert mode lets you adjust your screen’s gamma (color contrast) using a combination of squinting and sliding. You can probably get away with using regular mode most of the time, especially just for tweaking the display’s white point.
The next tip is to try running the assistant at different times of day. Depending on the ambient light color, you may prefer different screen colors. In fact, that’s the whole point of this post. Which brings me to the final tip. Don’t be afraid to go off-road in the calibration assistant.
Weigh accuracy vs. comfort during calibration
Apple designed its Display Calibrator Assistant to help you get the most accurate color out of your monitor, not the most comfortable color. So, experiment with the White Point slider at the end of the calibration process to get a pleasing color balance. And don’t be afraid to be extreme. When you first slide the white-point slider to the left (warmer), it will look too orangey. So, try holding a white piece of paper up to the screen for comparison.
When done, save the calibration, and give it a useful name. I put the time of day into the name. Obviously this works best for an immobile computer like the iMac, as the lighting conditions will be more consistent. But you can make several profiles for your most-used locations on a MacBook, too.
3) Try f.lux

Photo: Cult of Mac
f.lux is a third-party answer to Night Shift that dates back to long before Apple added Night Shift. Like Night Shift, it changes the color of the display as the sun moves through the sky, and you can get pretty extreme with its settings.
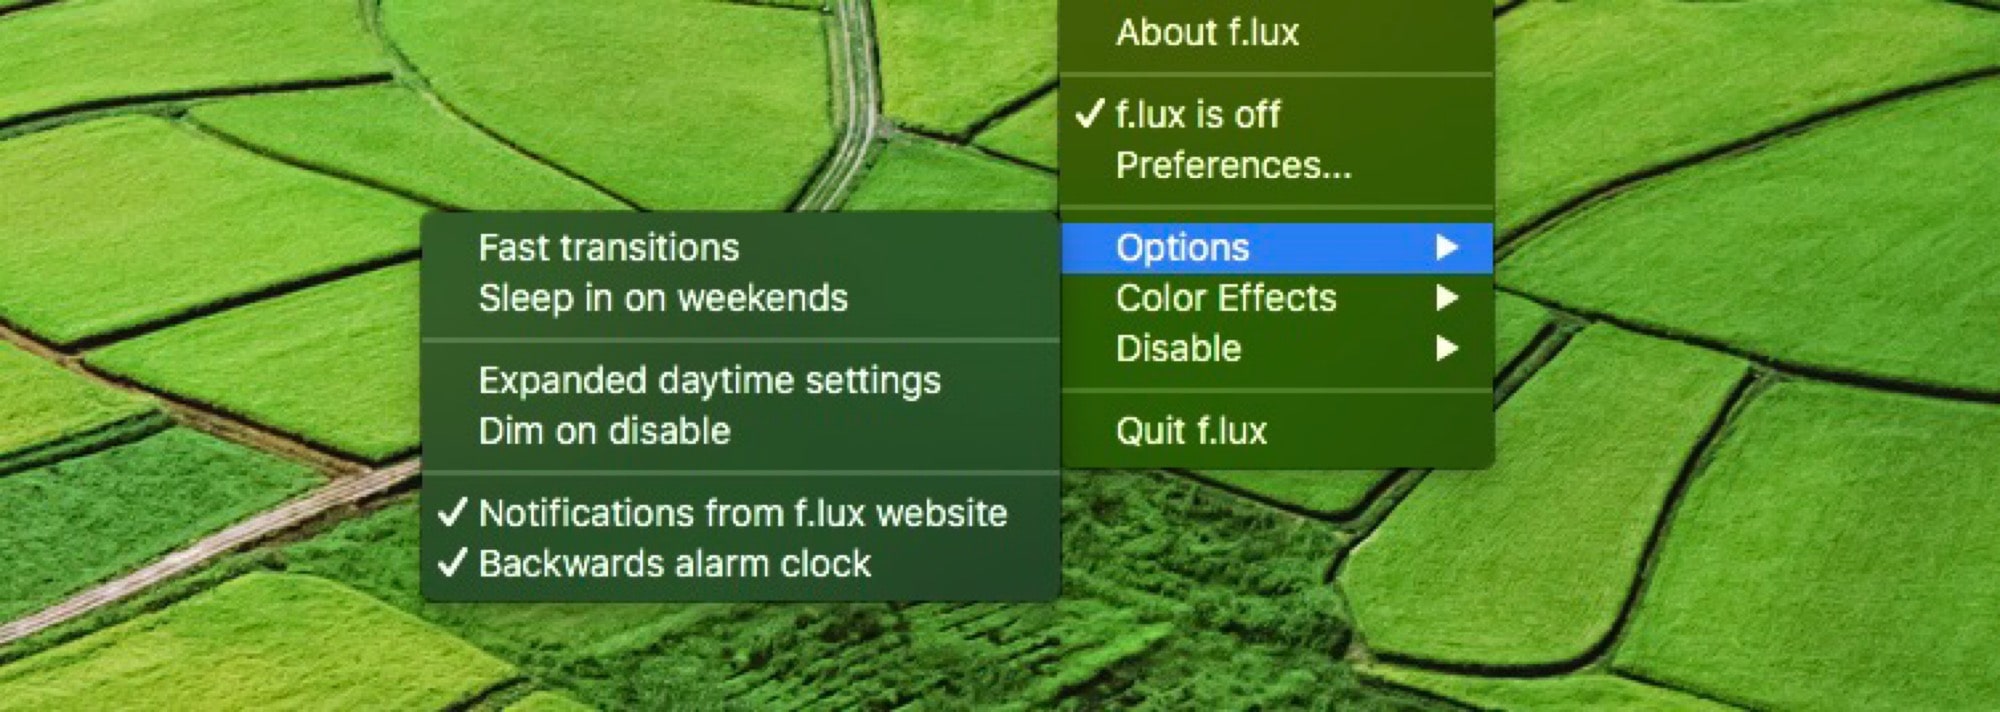
Photo: Cult of Mac
The app also includes some neat tricks. For instance, you can set it to automatically disable itself when running certain apps. If you use the VLC app to watch movies, you can have f.lux switch off while VLC is active.
Night Shift, f.lux, True Tone, display calibration? Which should you use?
Which of these options is best? I use a combination. My Mac is too old for Night Shift or True Tone, so I manually calibrate the display, and use f.lux to warm things up at night. If you have all options available, then use both Night Shift and True Tone for maximum comfort.
Photographers, video editors and other folks who require super-accurate screen colors probably won’t want to do any of this, but that’s fine. They already know all about color calibration. For the rest of us, play around, and see if you find something you like.
