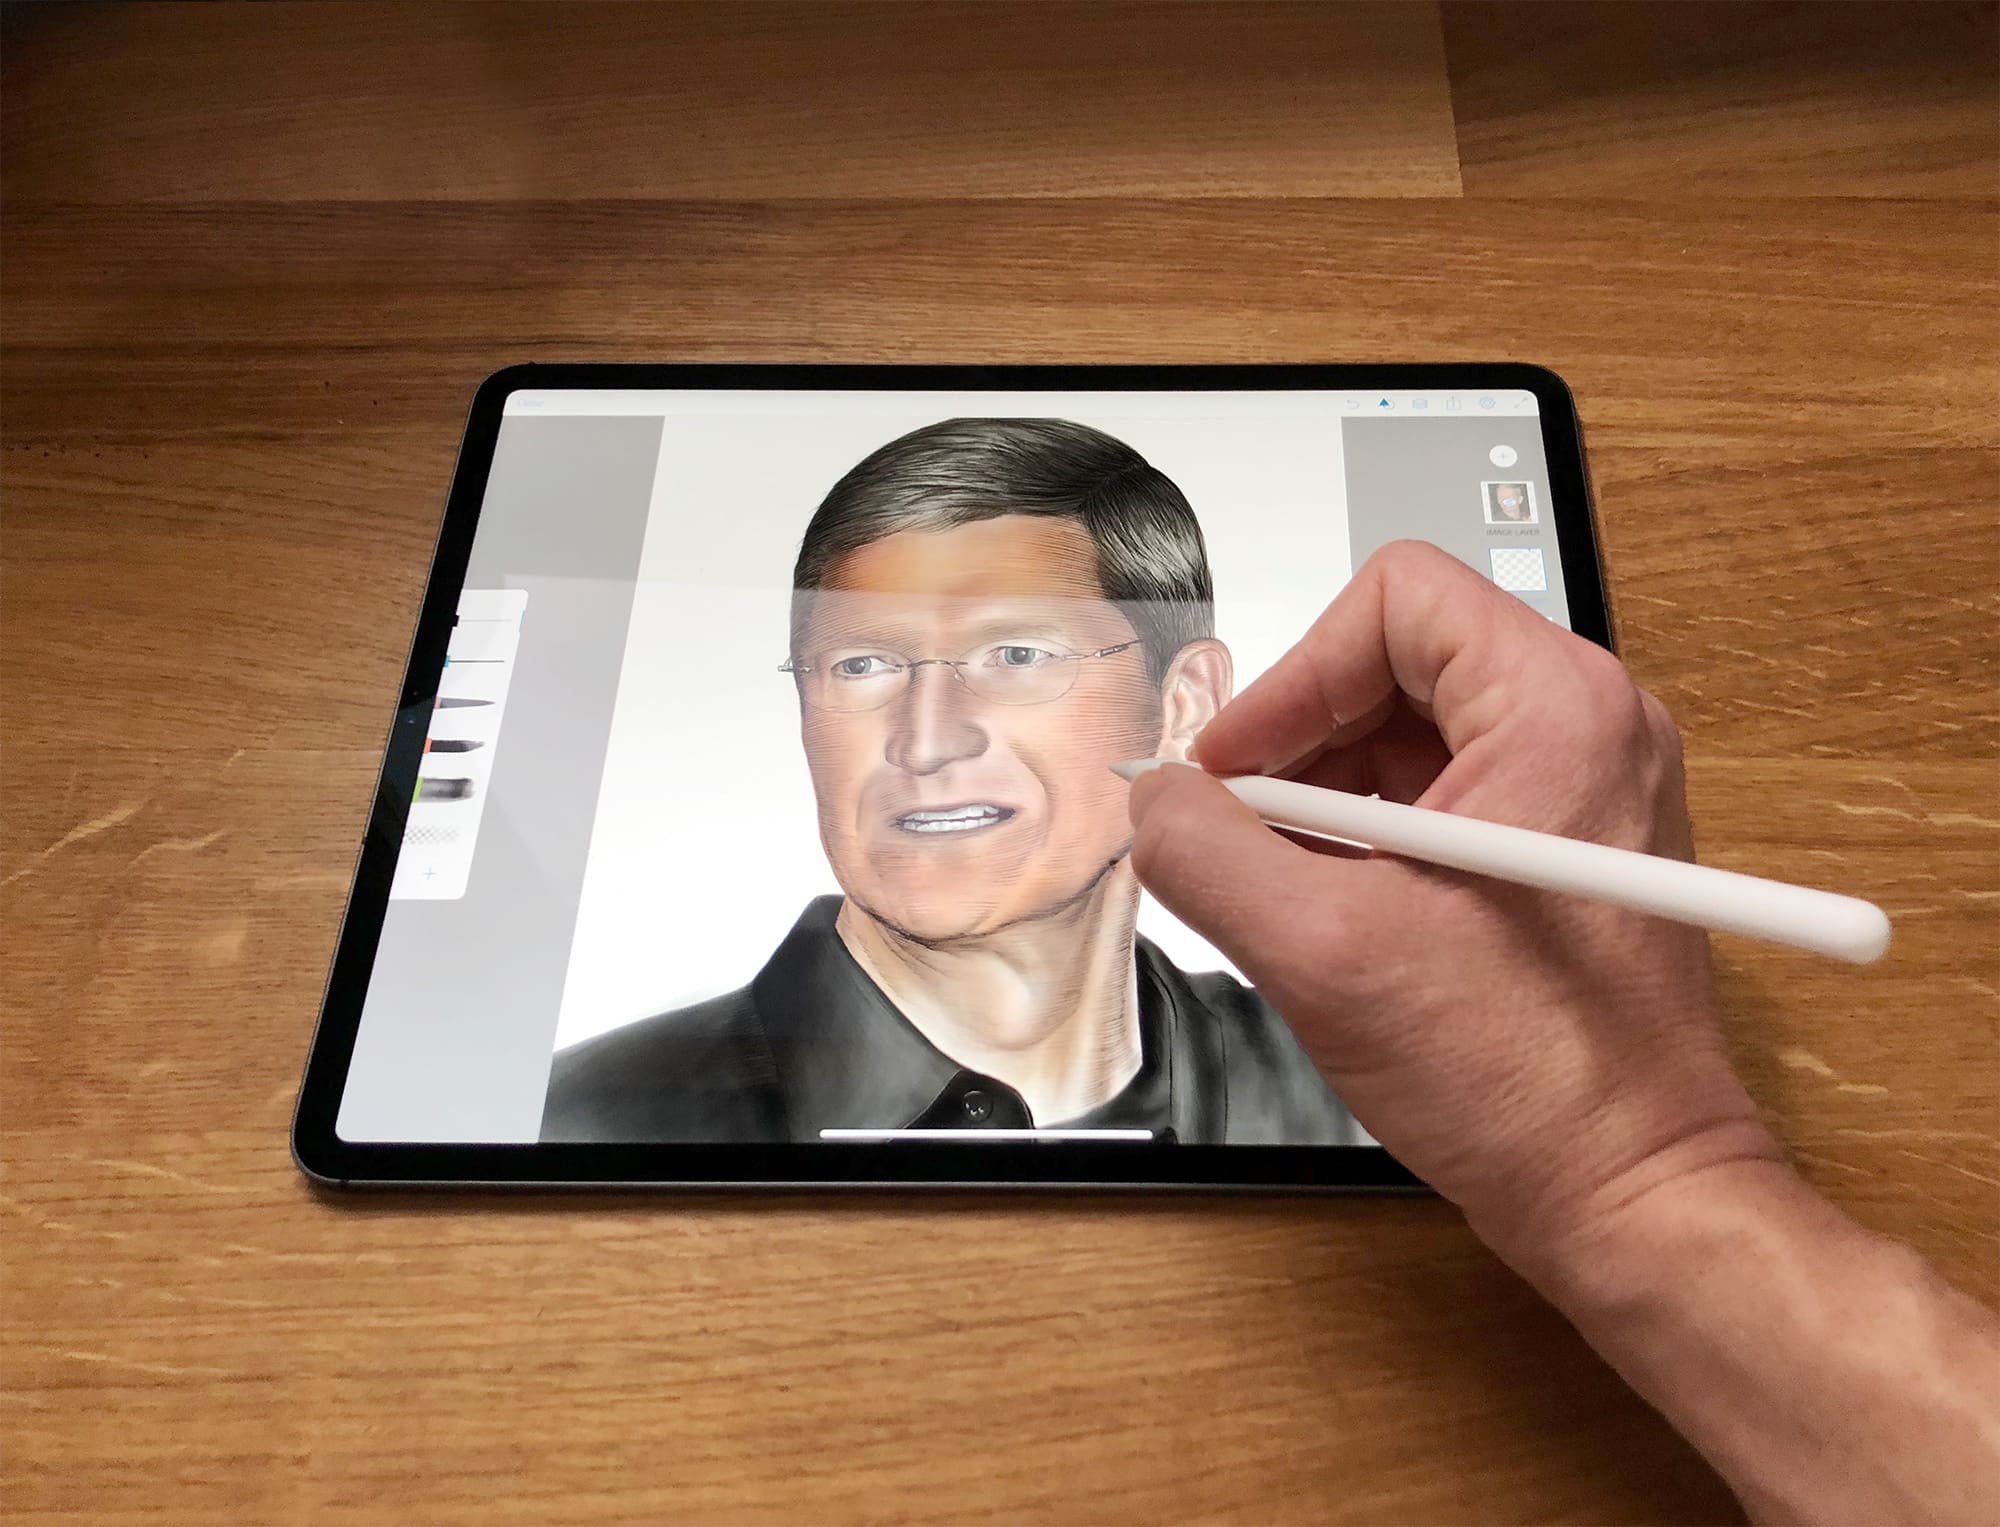
Got a new Apple Pencil? Once the initial novelty wears off, you might find that it spends most of its time magnetically clipped to the side of your iPad Pro or, worse, stuck in the back of a drawer. After all, there are only so many PDFs to annotate and screenshots to mark up.
Which is a great shame, because what your Apple Pencil really wants to do is create art. You only appreciate the true joy of owning one when you draw with it. So, why not follow this handy how-to guide and start sketching lifelike portraits of friends and family? It’s a really fun hobby.
As Kate Winslet once said in Titantic, “Draw me like one of your French girls.”
First, you’ll need an app to create your portrait. There are loads of Apple Pencil sketching apps on the market, ranging from cheap and basic to complex and expensive.
Adobe Photoshop Sketch is all you need
Personally, I like Adobe Photoshop Sketch, because it is so simple, it takes absolutely no effort to learn how to use it. You can just start drawing. It may not offer as many features as some other apps, but that’s what makes it so great. It is simple and intuitive because it just focuses on the tools you need for drawing.
You can download Adobe Photoshop Sketch for free from the App Store. You’ll need to register with Adobe to use it (also free). If you become a prolific artist and run out of storage on Adobe’s cloud, there’s an in-app purchase to upgrade to a roomy 20GB of space.
Making beautiful marks with Apple Pencil
The purpose of a drawing is not to look 100 percent realistic. That’s what photos are for. A drawing should be artistic. Part of the pleasure of looking at a drawing is to see the marks on the page. Like handwriting, the marks an artist makes are a distinctive and recognizable form of self-expression.
So, the marks you make with your Apple Pencil should be beautiful and unique to you. This takes some practice.
Generally speaking, you should make bold, swift, expressive strokes, moving from your shoulder and elbow, not just your wrist. Using your whole arm in this way gives you far more control and range of motion, making your marks looks smoother and more pleasing on your iPad’s screen.
If you are right-handed, diagonal strokes from bottom-left to top-right are usually easiest to draw smoothly. So don’t be afraid to rotate your iPad to get the drawing at the best angle to smoothly draw the stroke you need. Alternatively, use two fingers to pinch and rotate the image within Photoshop Sketch.
Be aware of the pressure of the Apple Pencil on the screen as you make a mark. It should start heavy and then slowly become light again. Try writing an exclamation mark to practice this. Start your exclamation mark from the top and move downward, so the wide area of the stroke is at the top and the thin area is at the bottom.
Use Image Layers for a trace of genius
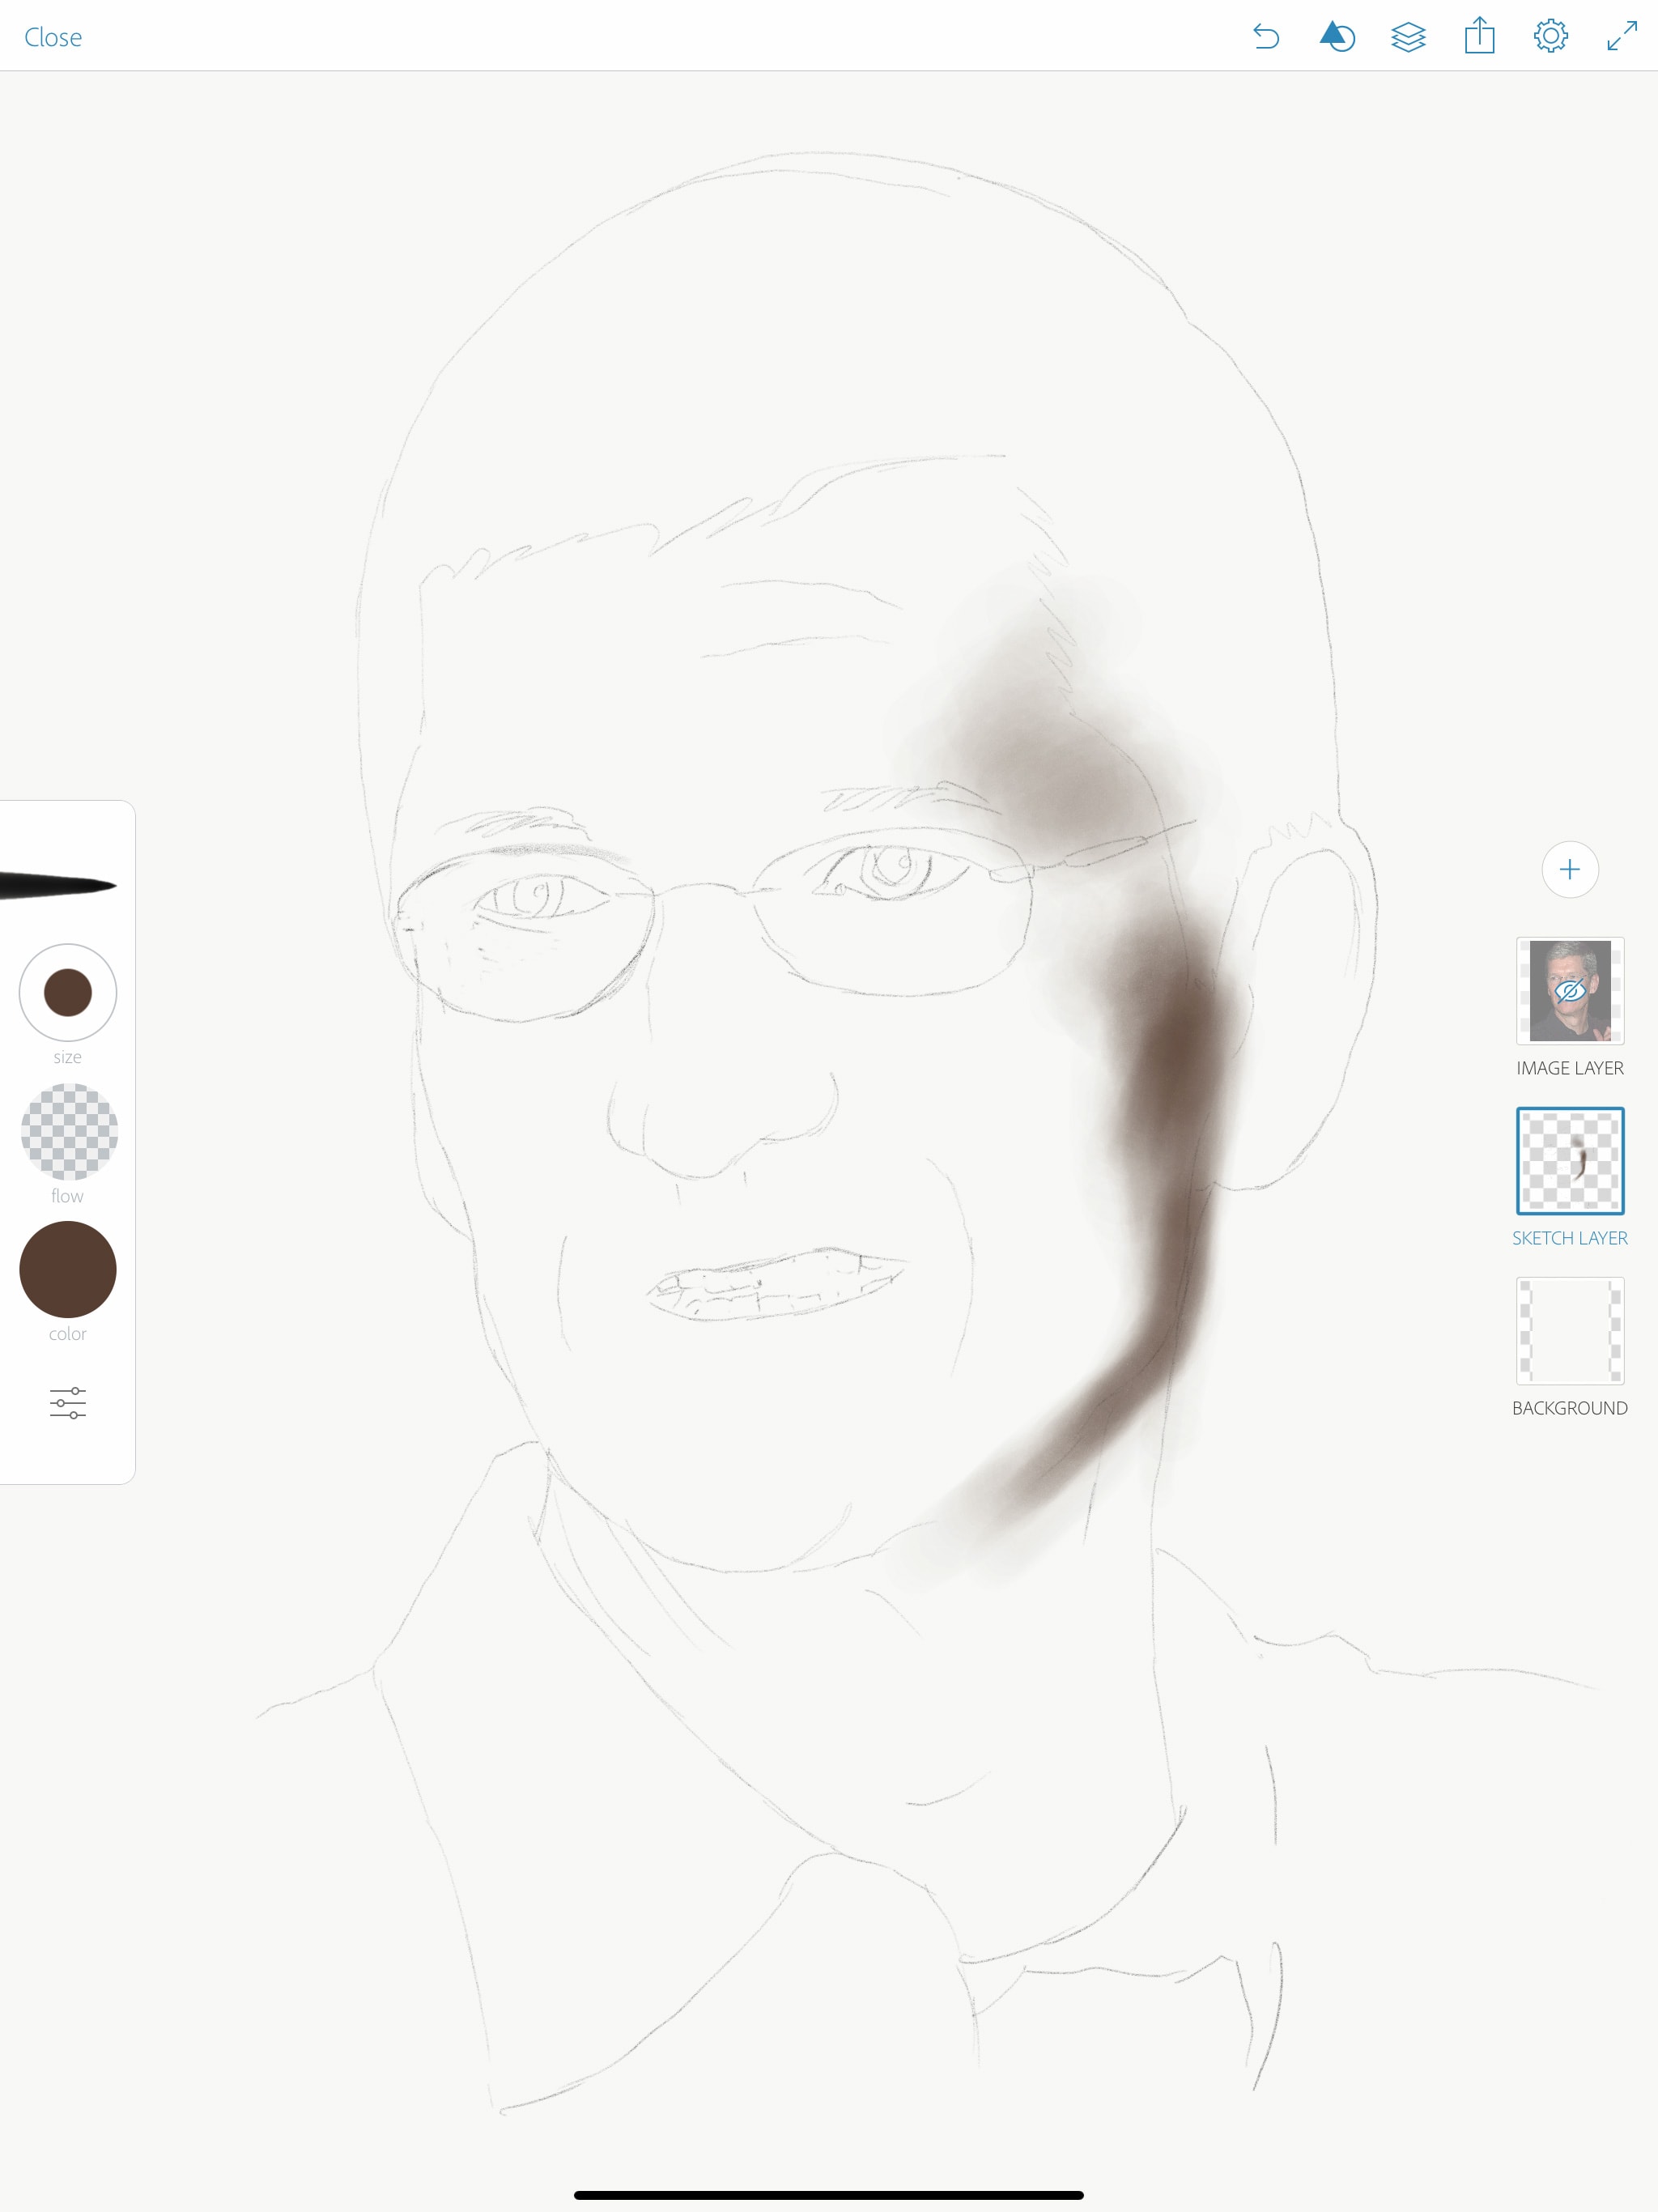
Photo: Graham Bower/Cult of Mac
Drawing from life can be tricky. Especially if you are new to it. So it’s a great idea to start your drawing by tracing.
Tracing is a great way to learn how to draw. It allows you to focus on your mark-making technique without worrying about getting your subject’s proportions right. Also, tracing faces and bodies improves your knowledge of human anatomy. That will make you better at drawing people from memory.
Tracing with Apple Pencil
Fortunately, Photoshop Sketch is ideal for tracing. Just tap the Plus (+) button and select Add Image Layer. You can then select an image from your photo library. Now tap Plus again and add a Sketch Layer to draw on in front of the Image Layer.
Use the Pencil tool to sketch an outline with light strokes. If you find it hard to see your pencil marks because the photo is too dark, tap on the image layer and slide down the Opacity to make it fainter.
When you’ve finish drawing the outline, hide the image layer (with a double-tap) to check your handiwork.
Start with big, soft-edge brushes and low Flow
As a general principle, when drawing, you should always start with the big picture and then slowly work your way down to the smaller details.
Think of it like this: Your drawing starts out of focus, then slowly comes into focus as you add more detail. Use big brush strokes to block in large shapes, and work downward to smaller brush sizes (or select a pencil rather than a brush) to add the details.
Creating shadow and highlight
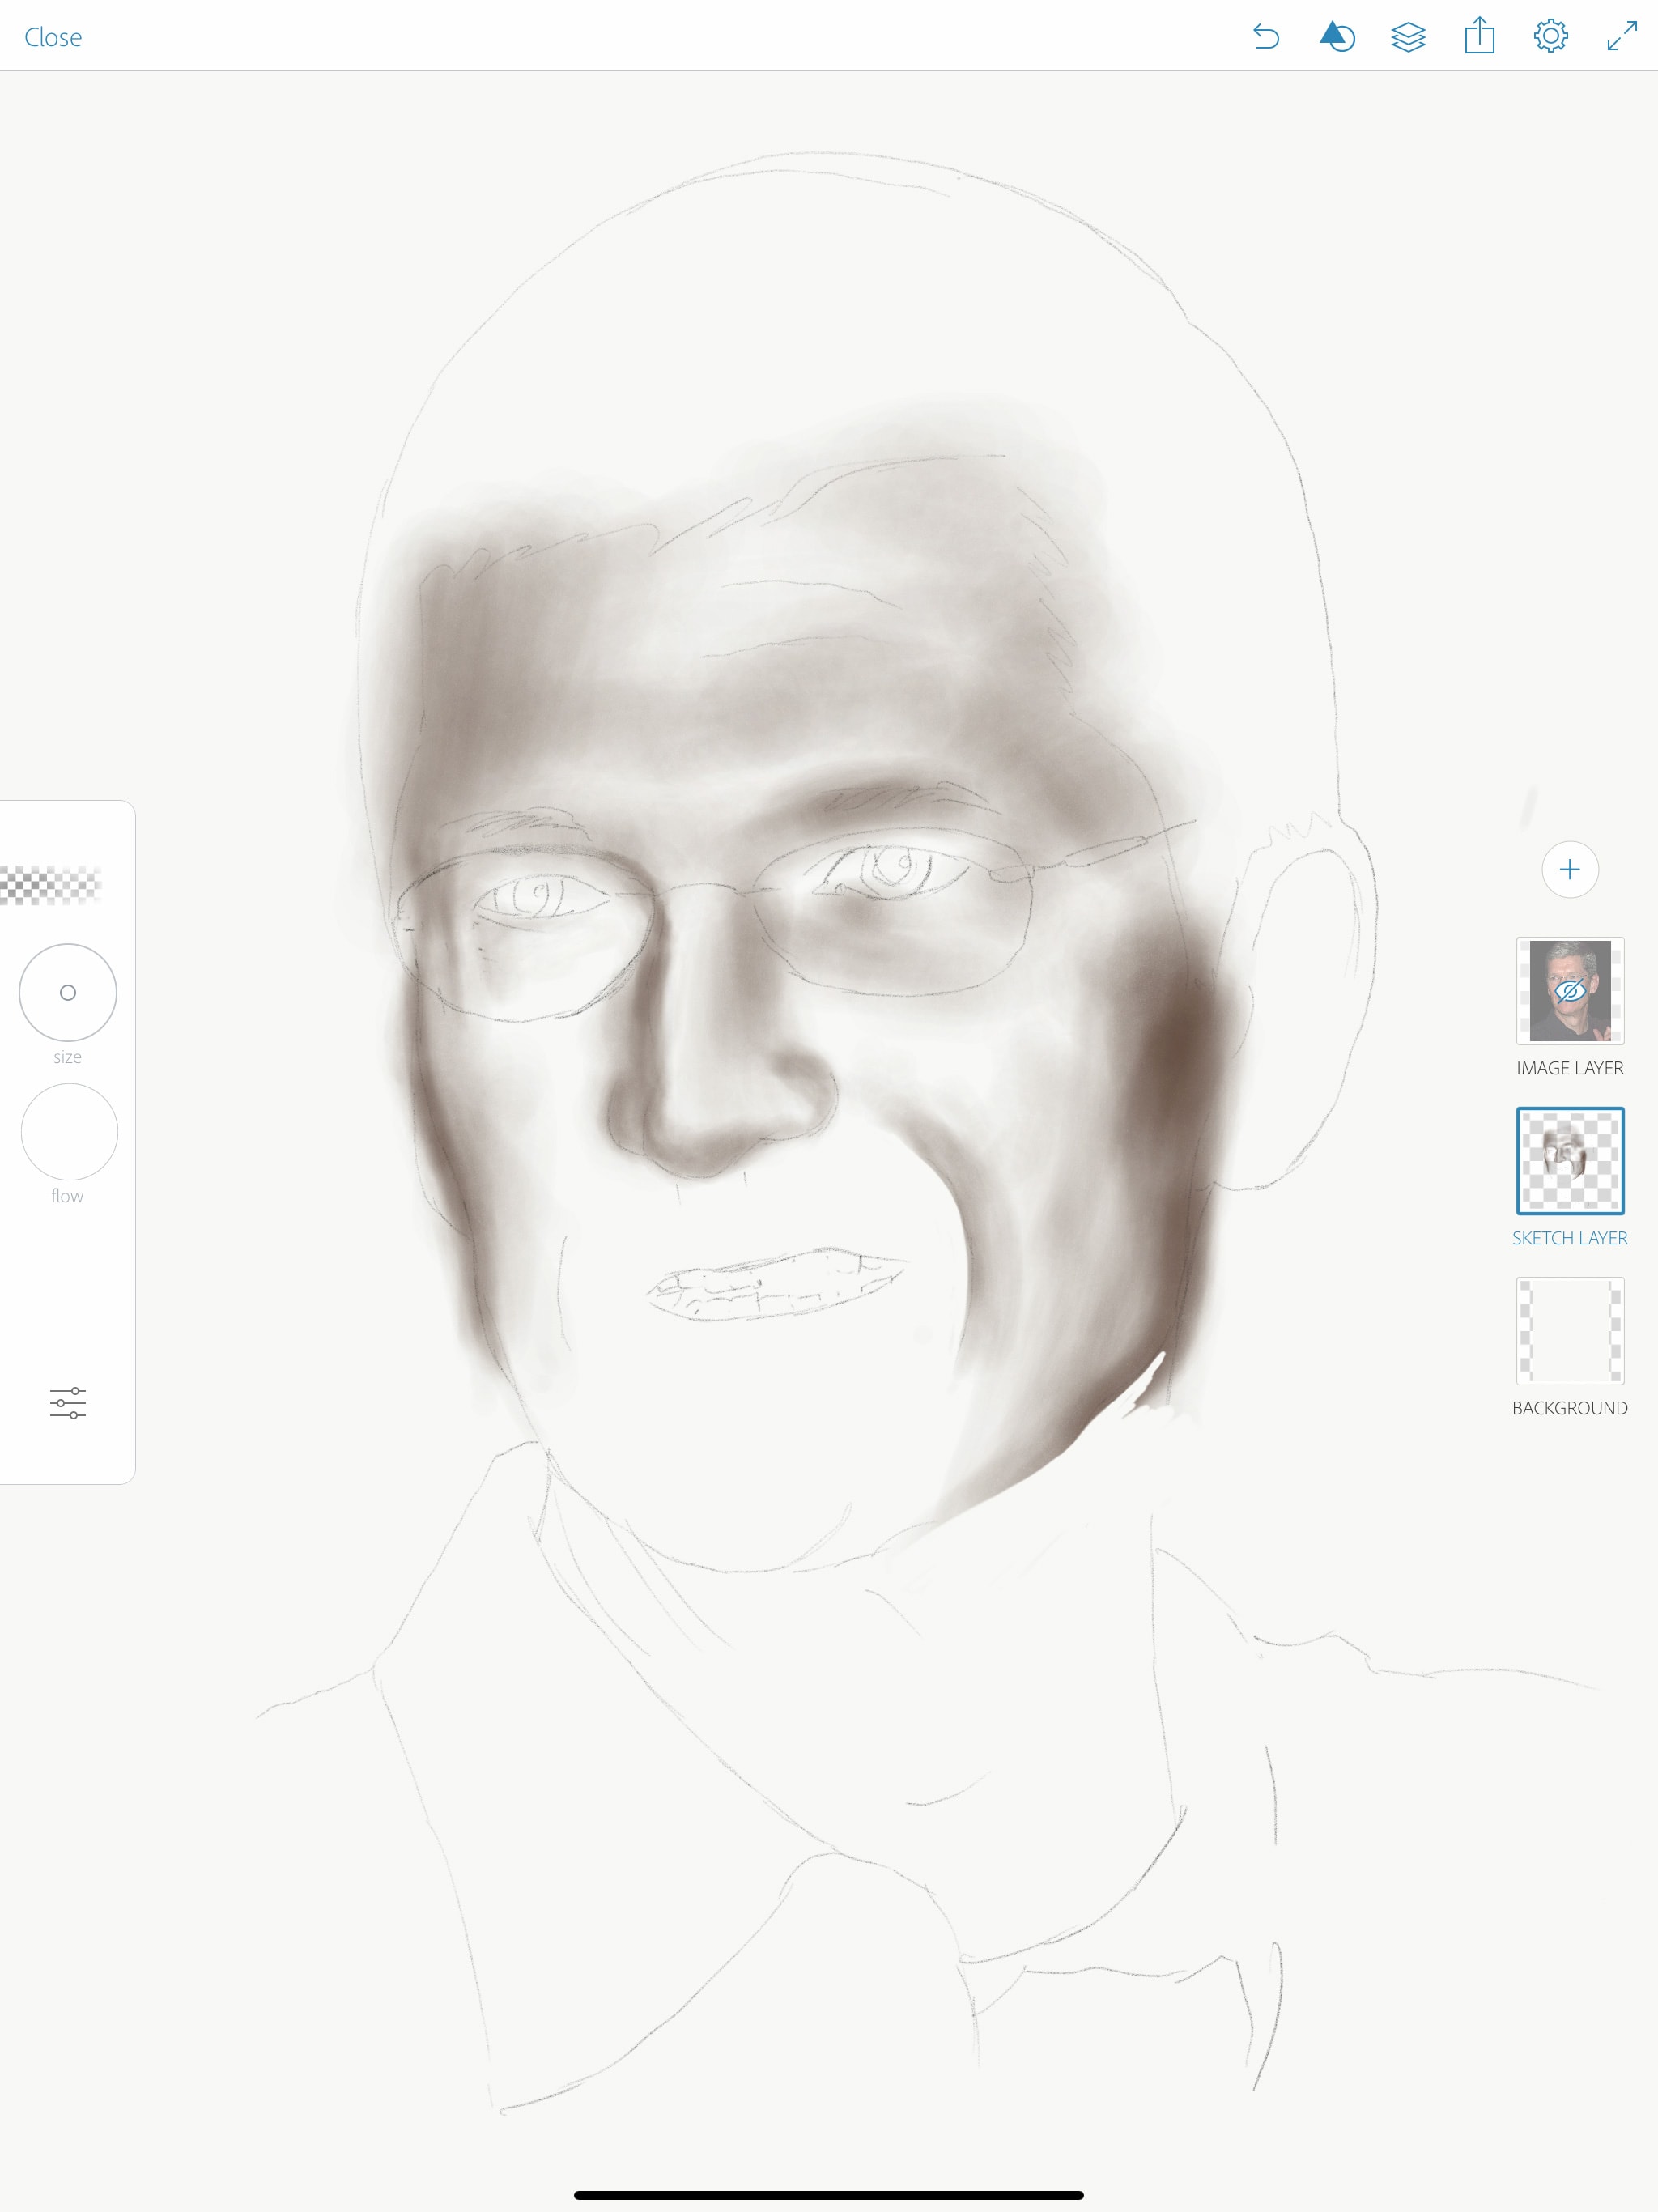
Photo: Graham Bower/Cult of Mac
To fill in your outline sketch with shadows and highlights, I recommend using the Marker Brush, which by default is the third brush down on the left.
Pick a dark color that matches the shadows in your photo (usually black, gray dark blue or brown). Then set the Flow to the minimum 1 percent. Set the brush size to very large.
It is hard to see what you are doing when the Image Layer is turned on. So for this stage, I recommend setting it to 100 percent opacity again, dragging it up with your finger to make it the top layer, and then toggling it on and off with a double-tap. Turn it on when you need to take a look. Then turn it off when you are ready to draw. Do this regularly to remind yourself of how it should look.
Using light strokes, gently begin sketching, starting with the darkest areas. The marks will initially look too faint, but you can make them darker by repeatedly drawing on top of the same layer. Using this layering technique, you can gradually build up soft and subtle tonal variations.
Where you need to create hard edges, you can use the Eraser tool (at the bottom of the tool palette), set to 100 percent Flow with a small brush size, to strip away some of the shadow.
You can also use the Eraser tool with a larger brush size and lower Flow to add highlights.
Add some color
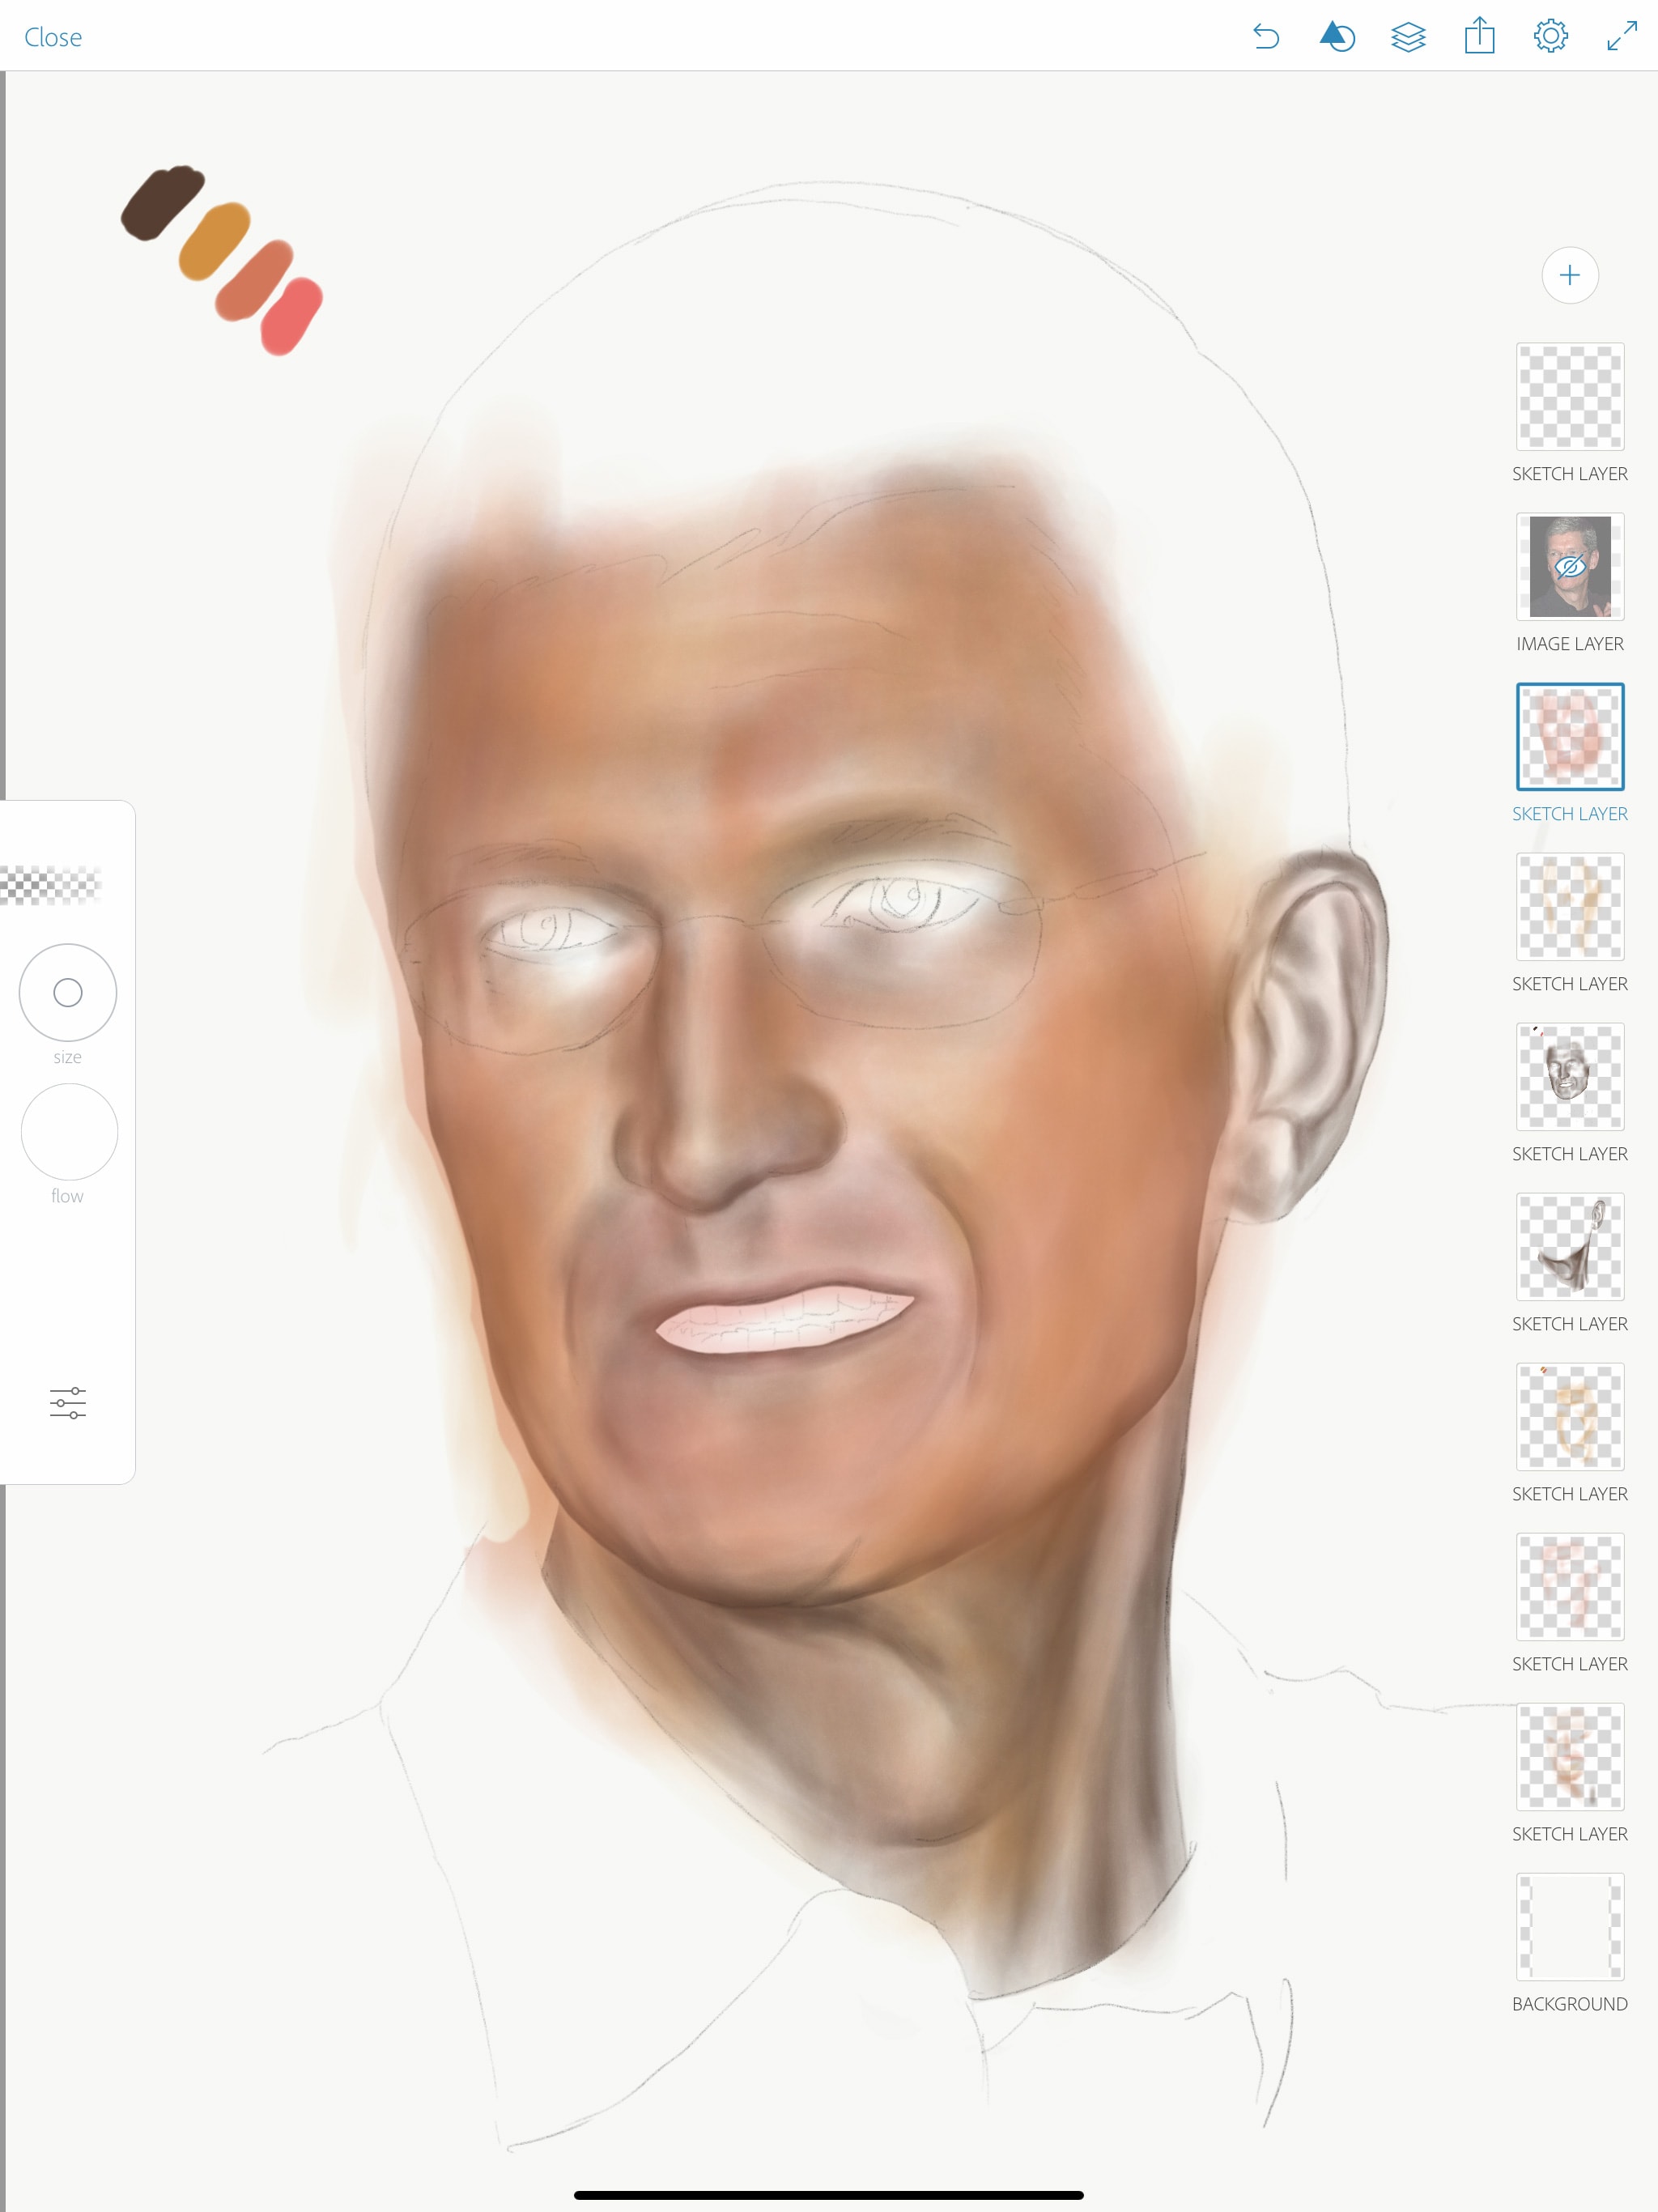
Photo: Graham Bower/Cult of Mac
Once you are happy with your shadows and highlights, it’s time to add some color. This can be tricky, because our preconceptions often make us get color wrong. We often assume that the sky is blue and that leaves are green. But in reality, color is far more subtle and complex than that.
For example, a person’s skin tone varies over the different parts of their face and body. Around the eyes, it often appears more pale (or more gray). Cheeks and lips may be warmer colors. Lighting also has a massive impact. Fluorescent strips and LED lights, for example, often make skin tones look less pink or brown and more blue or green.
Pick the perfect colors
Photoshop Sketch can help you to pick the right colors. Make sure your Image Layer is visible, and then tap and hold the Color button. Now, without removing your finger from the screen, drag it across to the photo. You will see a Color Picker that selects the color of the image from the place where your finger is.
I find that selecting colors this way is useful to get the general hue, but they are often a bit darker than I want. Tap on the Color button again and use the Color Wheel to make adjustments as necessary. Definitely experiment to see what works best.
Also, remember to work from observation. Keep referring back to the photo, and look closely at how the color of the skin changes in different places.
I recommend using a different layer for each color you add. This makes it easier to correct mistakes later on, or to adjust the color balance by increasing or decreasing the opacity of the layers.
To do this, before you start a new color, tap the Plus (+) icon and add a Sketch Layer.
Time to sweat the details
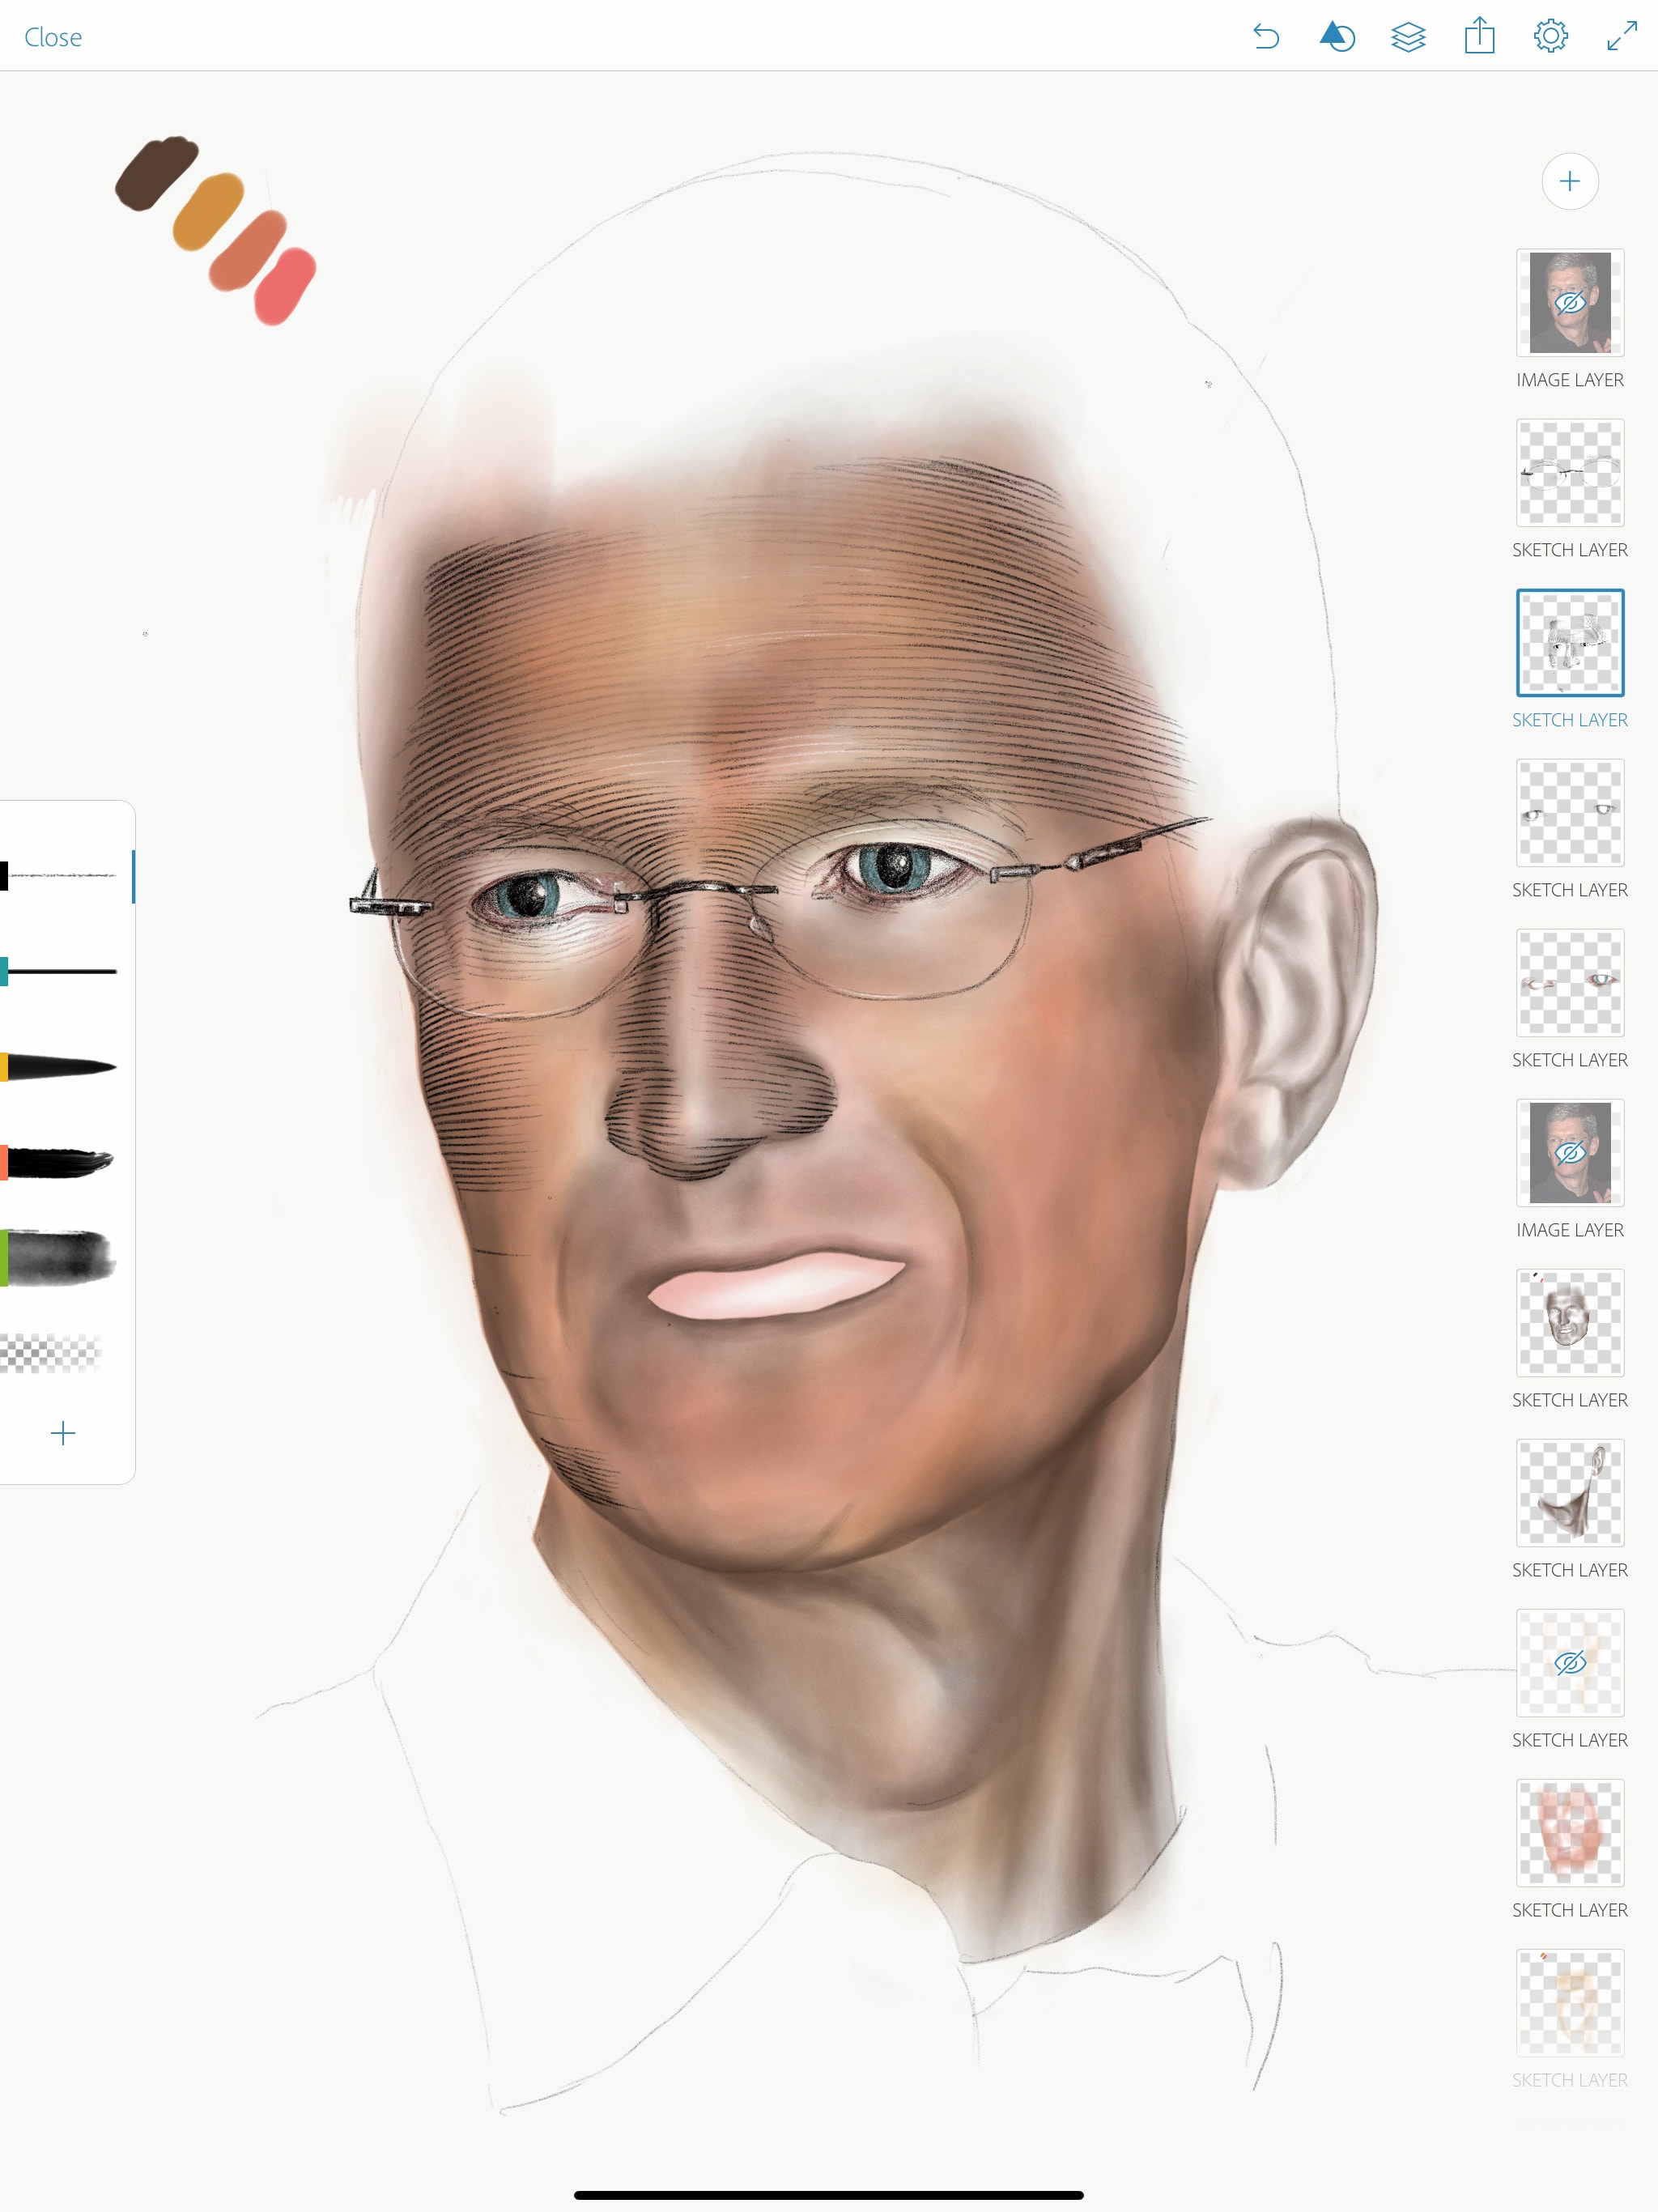
Photo: Graham Bower/Cult of Mac
Once you’ve add the shadows, highlights and color, your portrait should be starting to take shape, but it still will look a little out of focus. That means it’s time to begin adding the details.
Personally, I like to use the pencil tool for this, although you could use any brush style you like. Just make the size smaller, so you can draw the details accurately.
Make sure you create a new Sketch Layer to draw the details on. That way, it is easy to erase any mistakes without ruining all the hard work you did on the shadows and color.
You might find it easiest to add the details by tracing from the photo again, in which case be sure to set your Image Layer to visible. Drag it up, so that it sits below your detail layer, but above your color and shadow layers. Toggle the image layer on and off to see how all the layers look together.
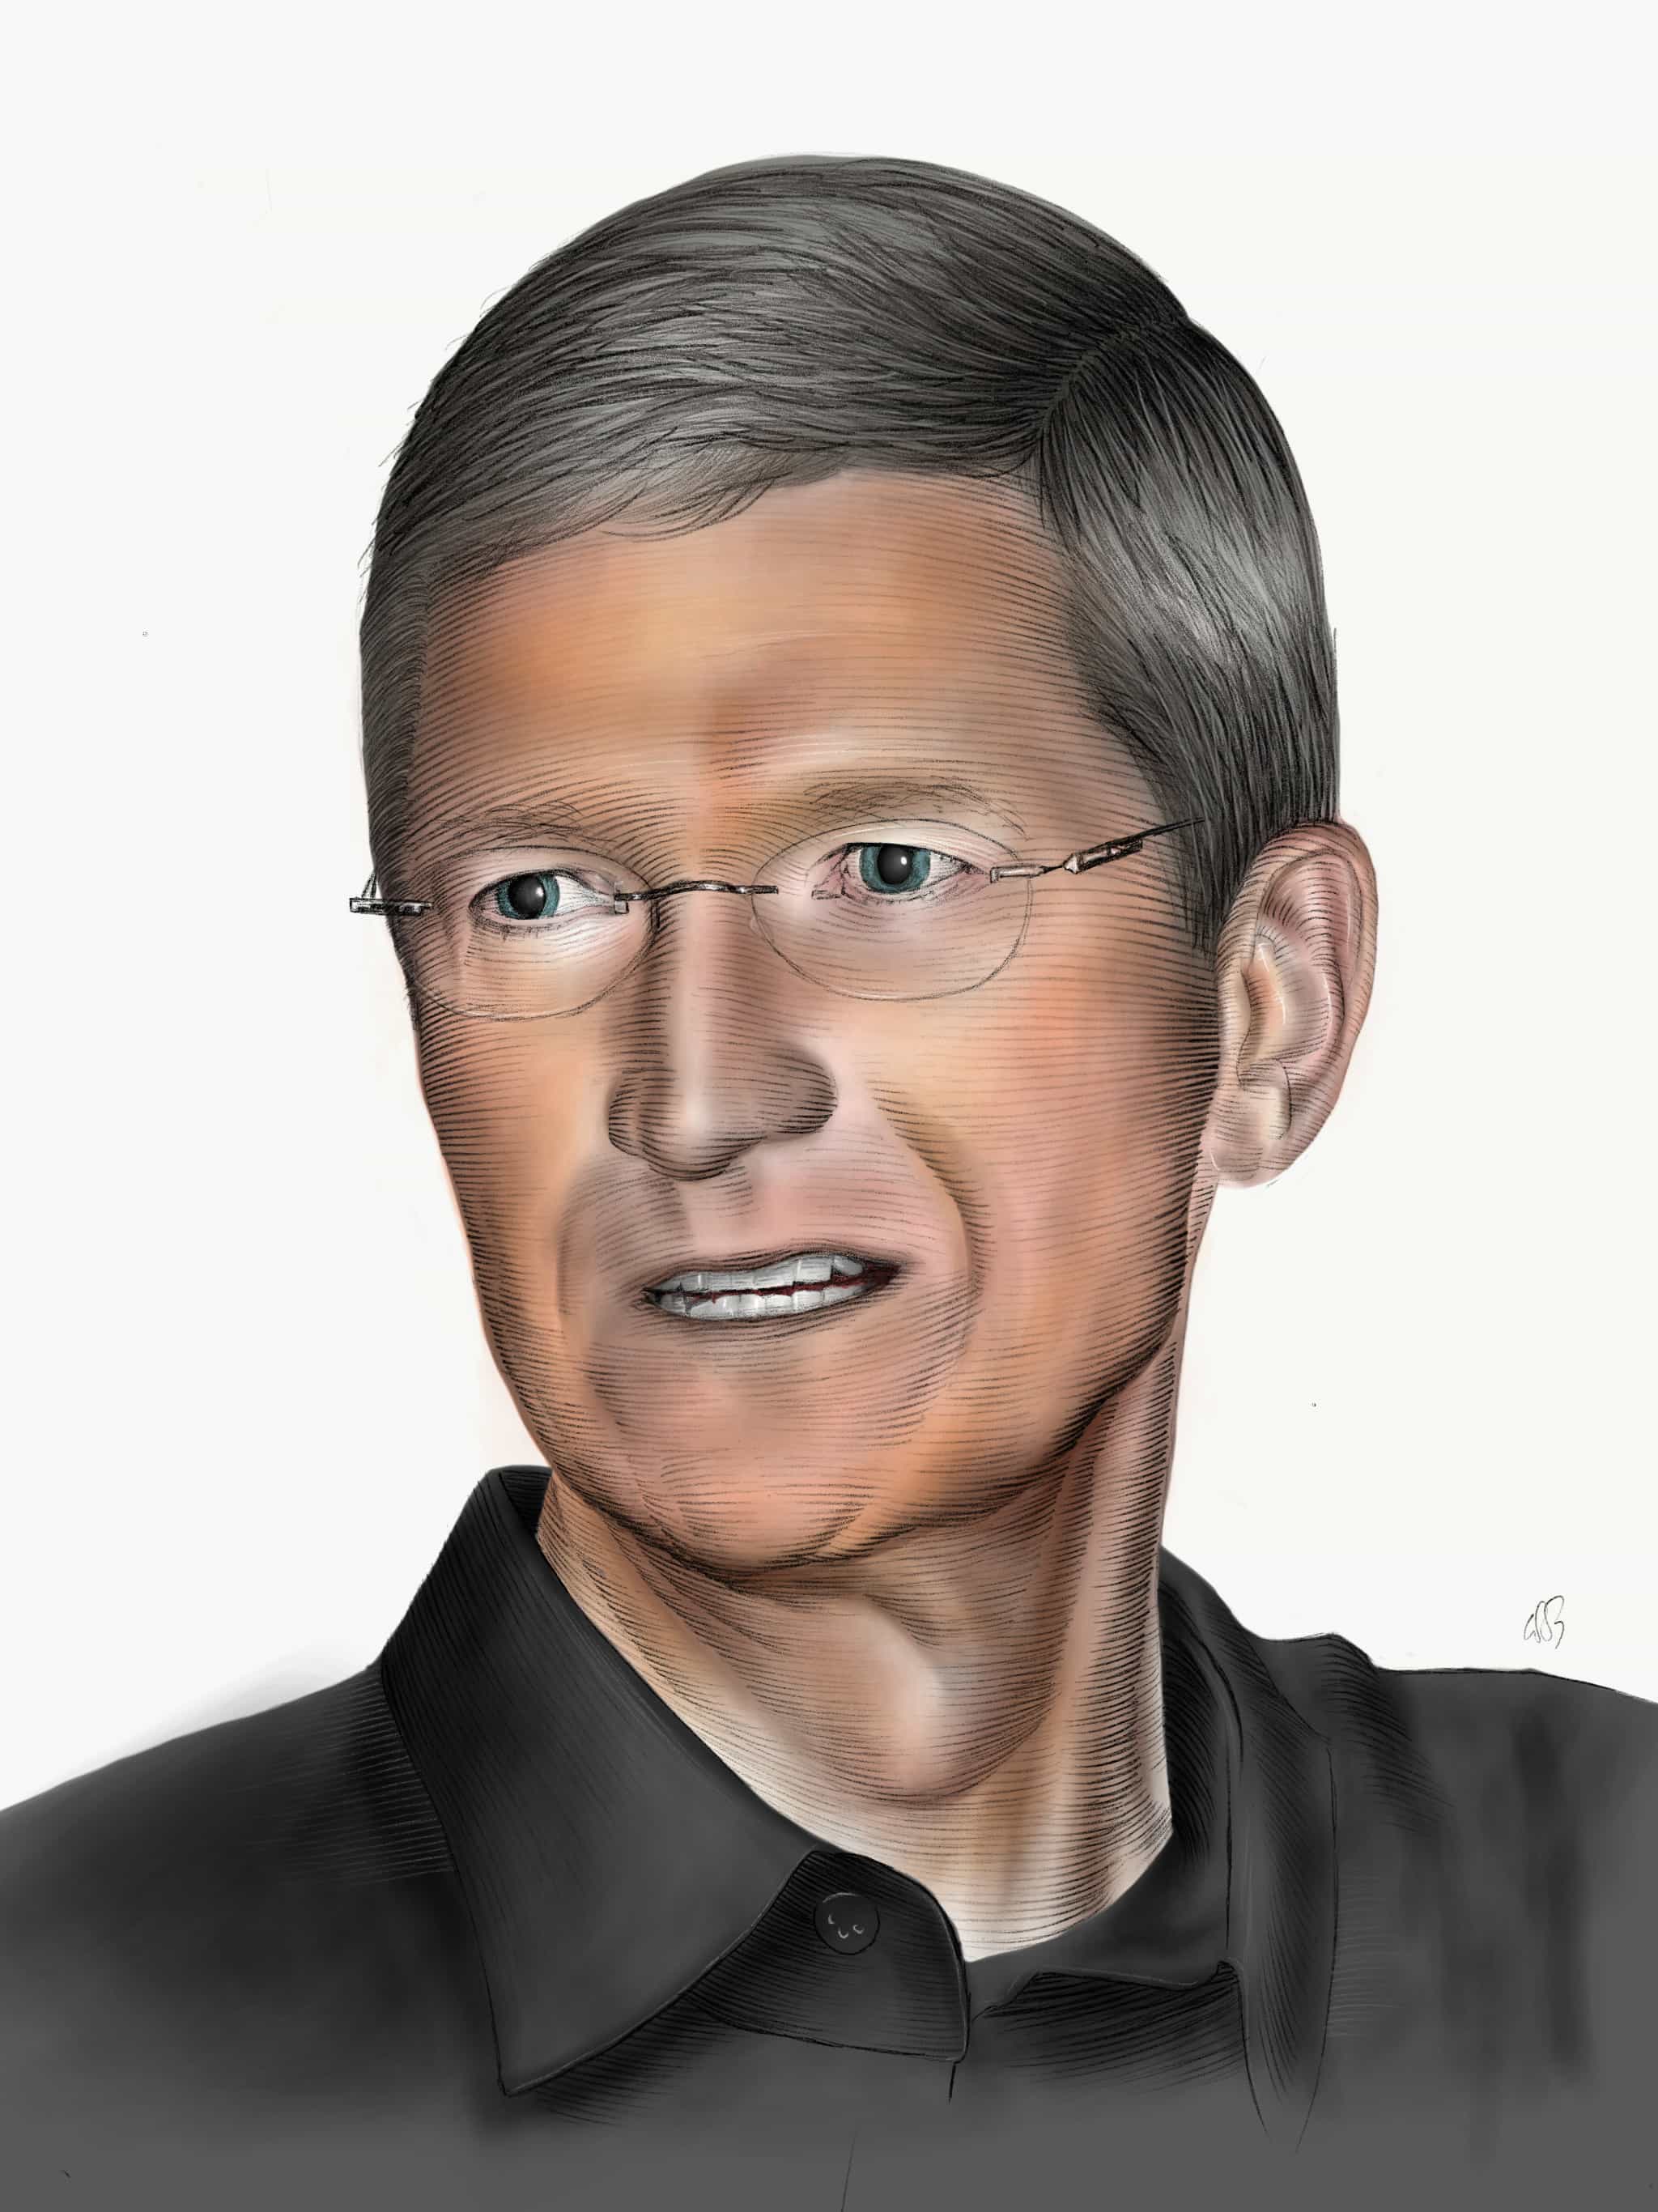
Photo: Graham Bower/Cult of Mac
It’s easy to undo your mistakes
One of the great things about drawing with Apple Pencil, instead of a real pencil, is that you can easily erase or undo your mistakes. If something on your drawing doesn’t look right, just double-tap the side of your Apple Pencil 2 to bring up the eraser.
If you’re not sure about something, I find it often helps to leave it for a day and then come back to it with a fresh pair of eyes. After taking a break, you’ll probably find you can see exactly what you need to change. If you want to experiment with amendments without losing the original version, try duplicating the file and making your changes on the copy.
If you decide to do a portrait with your Apple Pencil, let us know how you get on in the comments below.
This drawing is based on a Creative Commons photo from Wikipedia: Tim_Cook_2009.jpg: Kindly granted by Valery Marchive (LeMagIT) derivative work: RanZag
