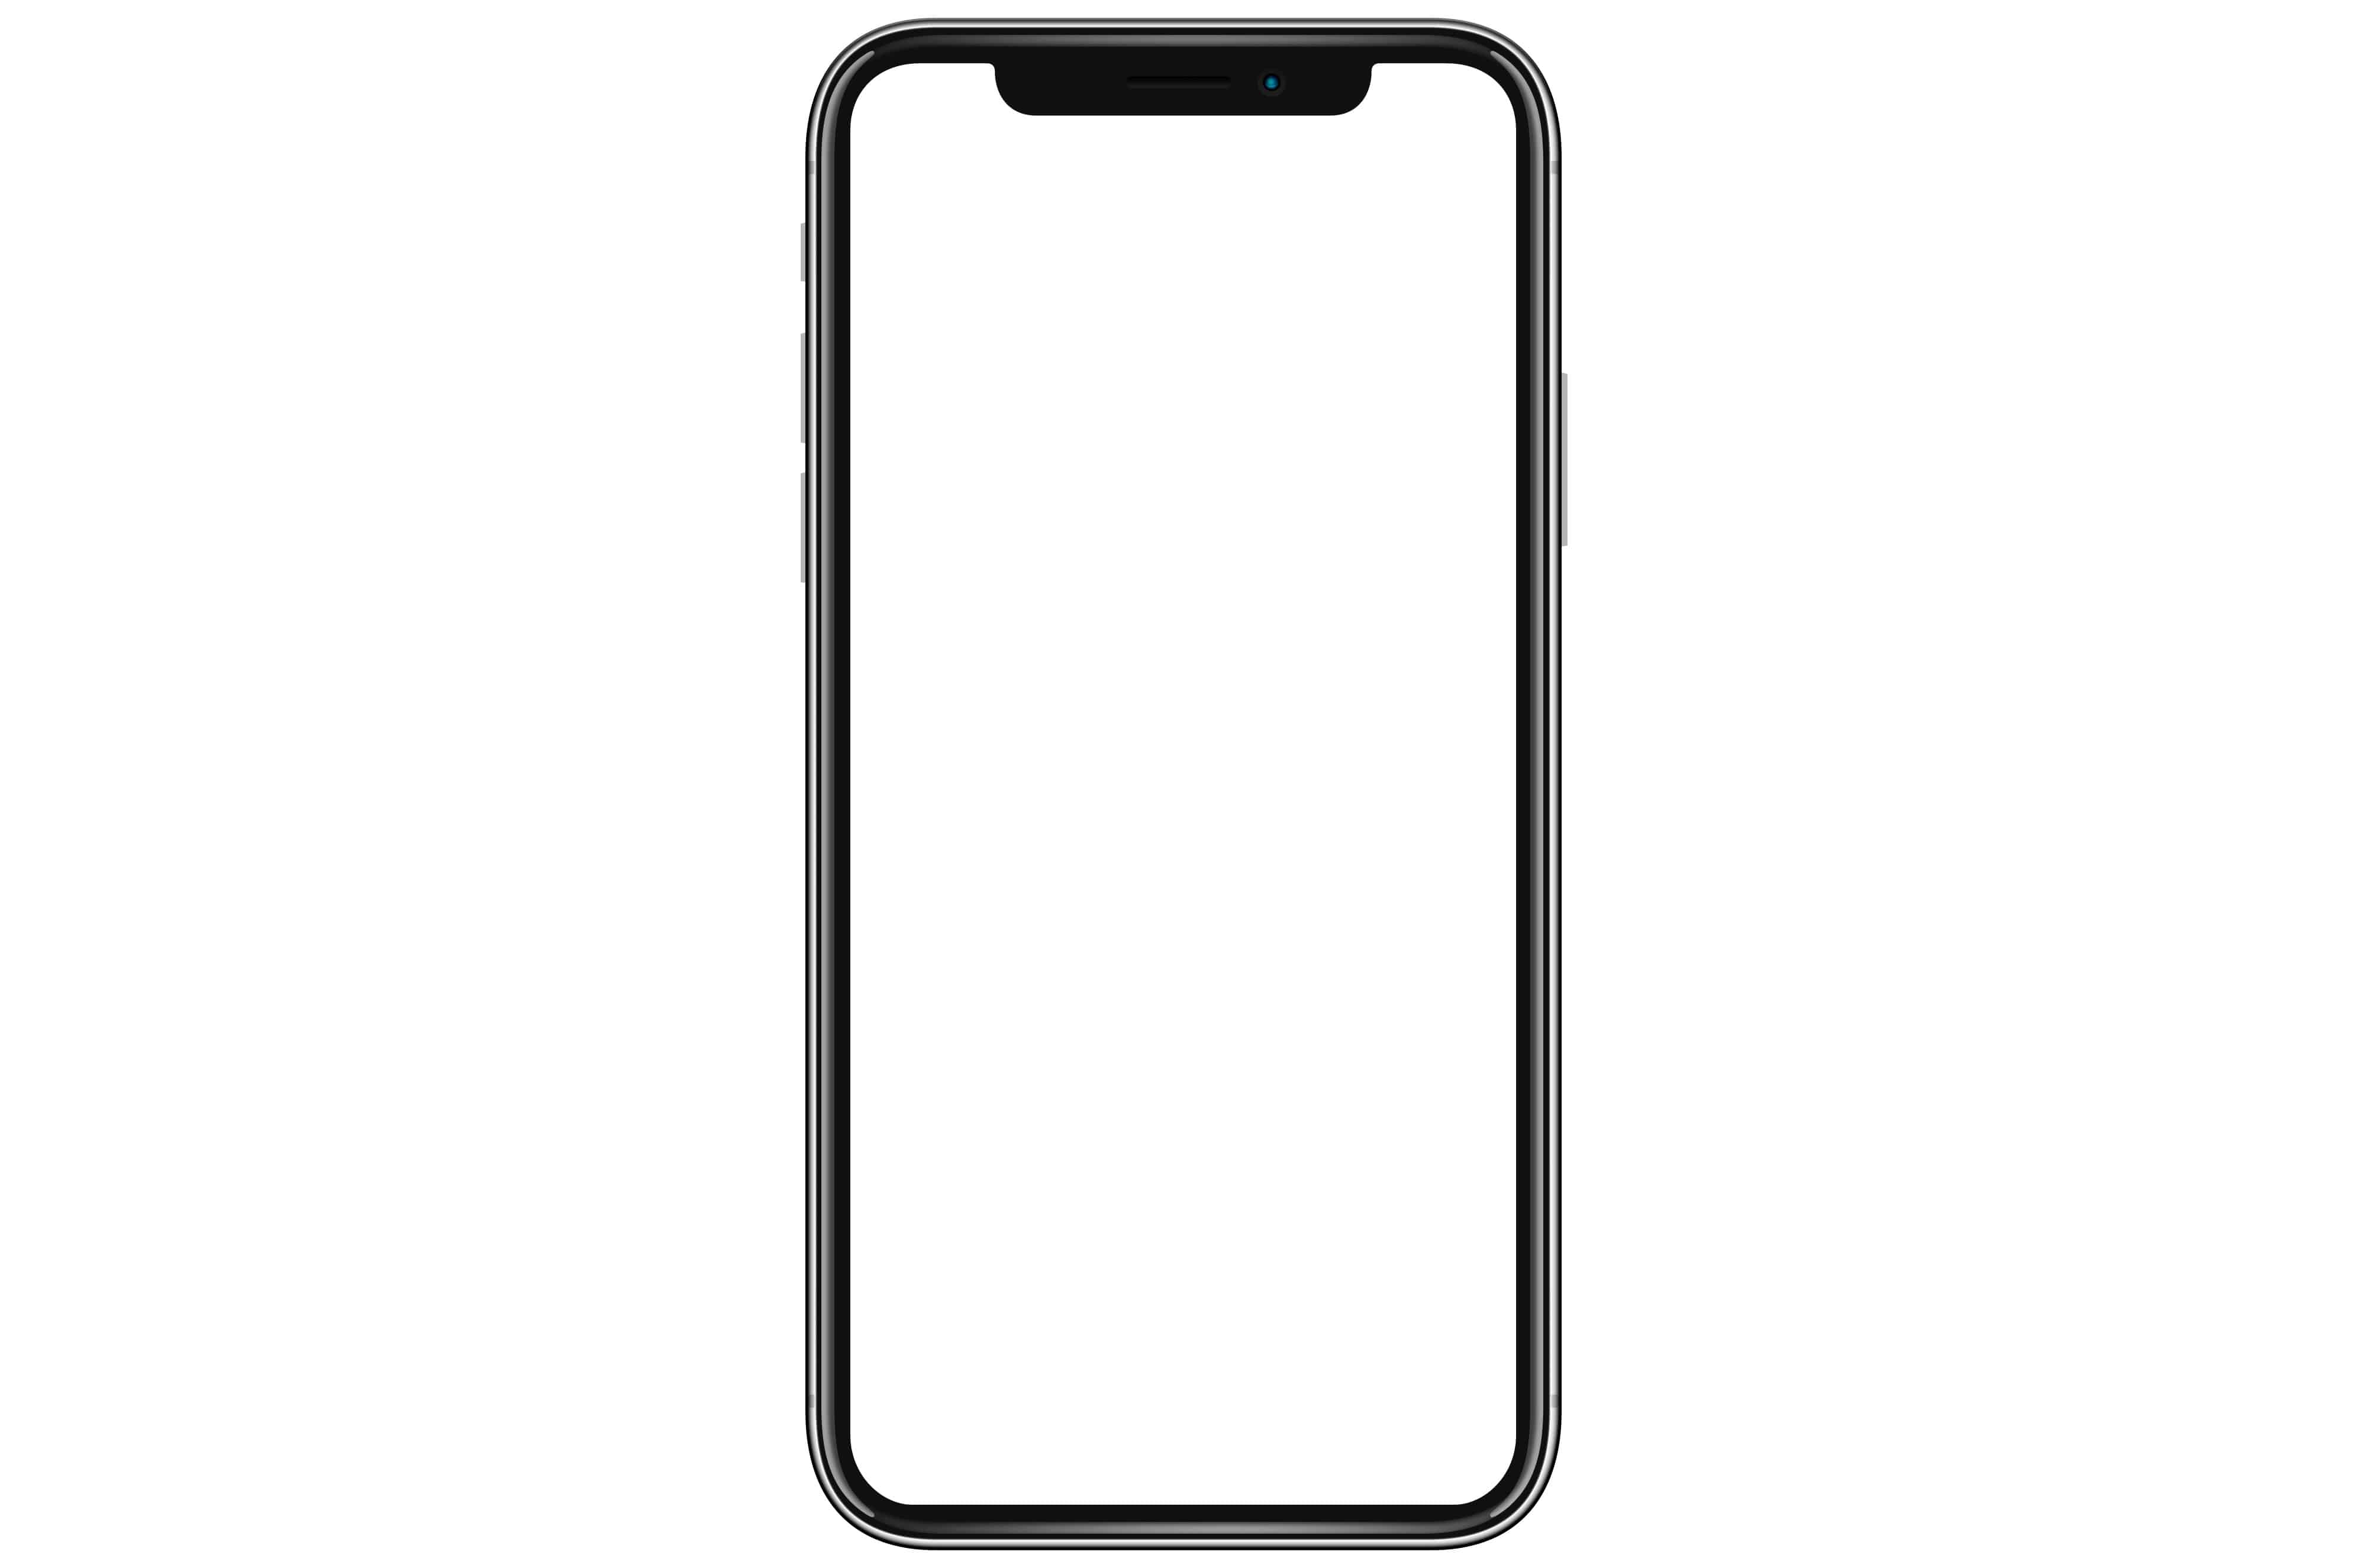
Today we’re going to make an iPhone frame shortcut that takes your most-recent iPhone screenshot, and wraps it in a device beautiful frame. The frame will be the body of the iPhone, so it’ll look just like the iPhone pictures Apple uses on its site. This shortcut requires a little bit of setup (you have to copy some images into a folder in iCloud Drive), but after that it runs with a single tap.
Update: troubleshooting and iPhone XS Max
Note added 10/08/18: This shortcut only works on iPhone X and XS-sized screenshots. Lots of folks have asked on Twitter for an iPhone XS Max version, which requires a new screenshot frame image (see below), and a new image mask. This is a great exercise for you if you haven’t built a workflow before. One technical tip — the mask should be black and white. Not transparent and black.
Also, some people have had trouble with the shortcut failing to load the images. I still can’t figure out why. Just double-check that the images are in the correct folder, and that the names all match up, and that the images are actually downloaded into in the iCloud folder on your iPhone. Good luck!
Other versions of the iPhone frame shortcut
Some of you may have seen a similar shortcut from Macstories’ Federico Viticci. However, the way these shortcuts work is quite different. Federico’s encodes his frame pictures into the shortcut itself, converting them to text strings. This means that that shortcut can fail on the iPhone, because shortcuts operate under strict memory limits in some situations — when run from the Today Screen widget, for example. This makes Federico’s shortcut easier to install, but impedes its usage forever after.
My shortcut is simpler. It grabs the frame images from an iCloud Drive folder, so memory is usually never a problem. It also only works with a vertical portrait screenshot. I have a version for iPad that detects landscape or portrait orientation, but as I never use horizontal screenshots in my iPhone, how tos, I kept this one simpler. Also, note that this shortcut is built to work with screenshots from the iPhones X and XS.
How does this shortcut work?
My shortcut is pretty straightforward. When run, it:
- Grabs the most recent screenshot from your camera roll.
- Applies a mask to the image.
- Overlays the screenshot onto a pre-made device frame.
- Resizes the whole thing to 2,000 pixels wide.
- Sets the name of the file to the current date and time.
- Saves the result to iCloud Drive.
- Also copies the result to the clipboard.
Here’s a really long image, annotated to show the steps.

Photo: Cult of Mac
How to install the iPhone XS device frame shortcut
The easiest way is to just download my device frame shortcut. You can run it from the Today View widget. You’ll need to copy two images to your iCloud Drive. These are named iphone-x-mask.png, and iphone-x-frame.png. You can download them right here:
Save these in your iCloud Drive. Inside the Shortcuts folder, create a folder called frames (lower case). Put those two PNG files in there. You should also create a folder named FramedShots. This is where the shortcut saves the result.
That’s it. Now, whenever you take a screenshot you want to frame, just swipe to the Today Screen, and tap this workflow in the Shortcuts widget. You can also run it from inside Shortcuts app if you like.
If you have any problems, hit me up on Twitter. The shortcut should be fine, but something may go wrong with the image downloads Good luck!


