White balance is one of the most important settings on any camera. It can make the difference between vibrant, accurate colors, and a muddy, flat mess. It is also the setting least likely to be tweaked manually by casual photographers. There’s not even a good way to adjust white balance in the iPhone’s own Photos app.
But don’t despair. Today we’ll learn everything you need to now about how white balance works, and what to do with it.
What is white balance?
White balance exists for one reason — not all light is white. We all know that evening sunlight is golden, and that old-fashioned incandescent bulbs give out a warm, orangey glow. Midday sunlight is blue, fluorescent tubes are green, and so on. The human eye compensates for these, mostly, but film and camera sensors need to be told how to interpret the light falling on them.
Because white balance applies to the entire image, failure to set the correct white balance will result in “color casts.” At best, this may leave an image looking warmer or cooler than you’d prefer. At worst, a pale-colored element in the photo will come out white, while the rest of the image will be completely off.
In the good old days before digital cameras, you had to buy film that was balanced to the light you were shooting under. Almost all film was daylight-balanced, which is why indoor photos taken at night always came out with a deep orange color cast. You could compensate by adding a filter over the lens to add back blues, but this cut out even more light, which was a problem with the low-sensitivity films used by most people.
White balance and digital cameras
In digital cameras like the iPhone, white balance is set automatically, on a per-image basis. Usually the camera’s brain does a good job of this, but often the color balance will drift across several photos of the same scene, introducing inconsistency.
Setting white balance before you shoot
Some cameras let you set white balance manually. To do this, you find something white, or a neutral, non-tinted gray, and fill the frame with that, then hit the button to manually set the white balance. If everything goes to plan, subsequent photos will have perfect colors. Just remember to switch back to auto after you’re done shooting in that location, or after the light changes.
RAW and white balance
You can also set the white balance after taking a photo. If your camera saves JPEG images, this means you will have to open and resave the image whenever you adjust its white balance, with a potential loss in quality. Unfortunately, cameras and apps that only shoot JPEG are also the least likely to have a manual white-balance setting, which means you’ll be forced to do it this way.
The other alternative is to use a camera that captures RAW data. I described RAW capture in this article about the awesome Lightroom camera:
RAW capture is essentially a dump of the information from the camera’s sensor. When the camera (or in this case, the iPhone’s brain) builds a picture from this mass of data, it makes some choices about how to interpret that data. It makes a guess at the color of the light, for example, and sets the white balance accordingly. Or it may sacrifice some detail in the highlights and bring out detail in the shadows. It then renders these decisions as a nice, perky JPEG.
In regards to white balance, RAW lets you choose after you take the photo, with no penalties. The RAW file is just a soup of data, the raw numbers captured by the sensor. By telling it the white balance setting, you’re just telling the editing app how to interpret this data, before it even turns it into a JPEG.
How to edit white balance on the iPhone
As I said, the iPhone’s camera usually makes a good stab at setting the correct white balance. However, sometime it’s off, or you need to tweak a series of images so they match. The Photos app offers color-editing tools, but no good one for correcting white balance. Instead, you’re stuck using the Cast slider. The name tells you that it’s meant to correct color casts, but it’s not so hot on white balance problems. For instance:

Photo: Charlie Sorrel/Cult of Mac
This was shot under what looks like a sodium-vapor street lamp. This is a very difficult situation for any camera. As you can see, the Photos app on iPad failed to stop everything from looking orange and lifeless. Even hitting the Auto button in Edit mode doesn’t help.
Photos on the Mac
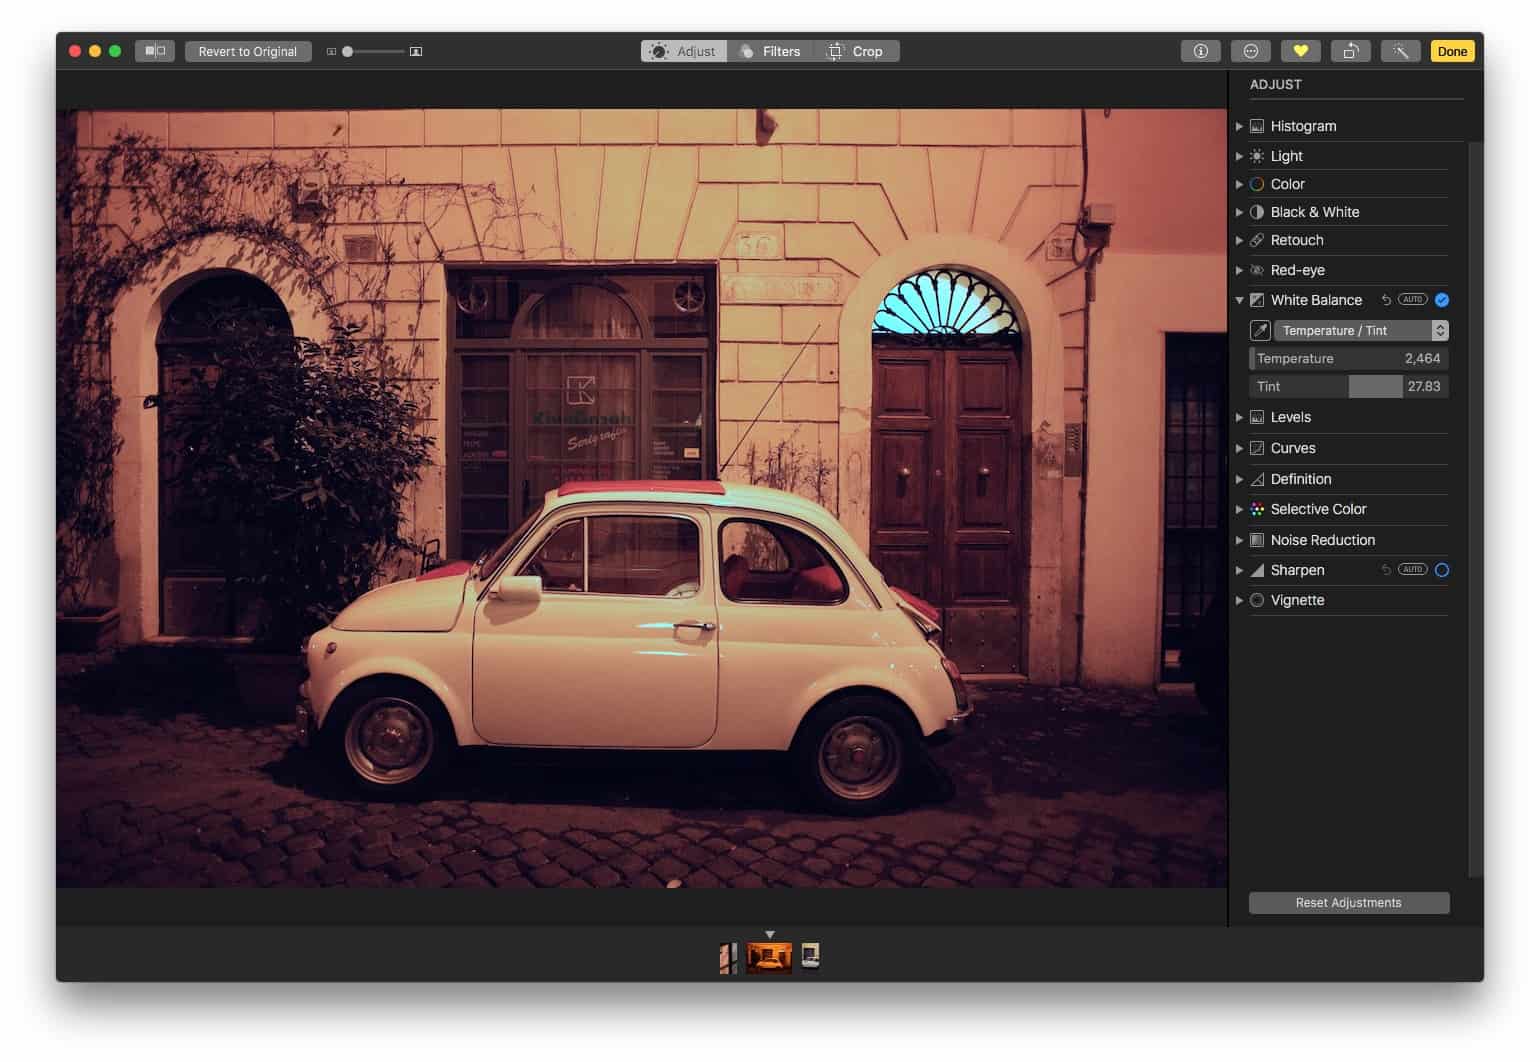
The Mac version of Photos comes with more-powerful editing tools, including a white balance section. You can adjust the temperature (yellow to blue) or the tint (magenta to green) of the image. Or you can use my favorite tool, the white balance color picker. This little eye-dropper lets you click on a part of the photo that was white, or neutral gray, and then uses this to reset the white balance. Let’s see how Mac Photos fares:

Photo: Charlie Sorrel/Cult of Mac
Not bad! That’s definitely better, but still not perfect. The image now has a bit of color, and looks more like it would have to the photographer when he (me) saw the screen with his (my) human eyes. The problem is, the app is still working with the JPEG image. Still, lets have another try with Adobe Lightroom for iOS.
Adobe Lightroom JPEG
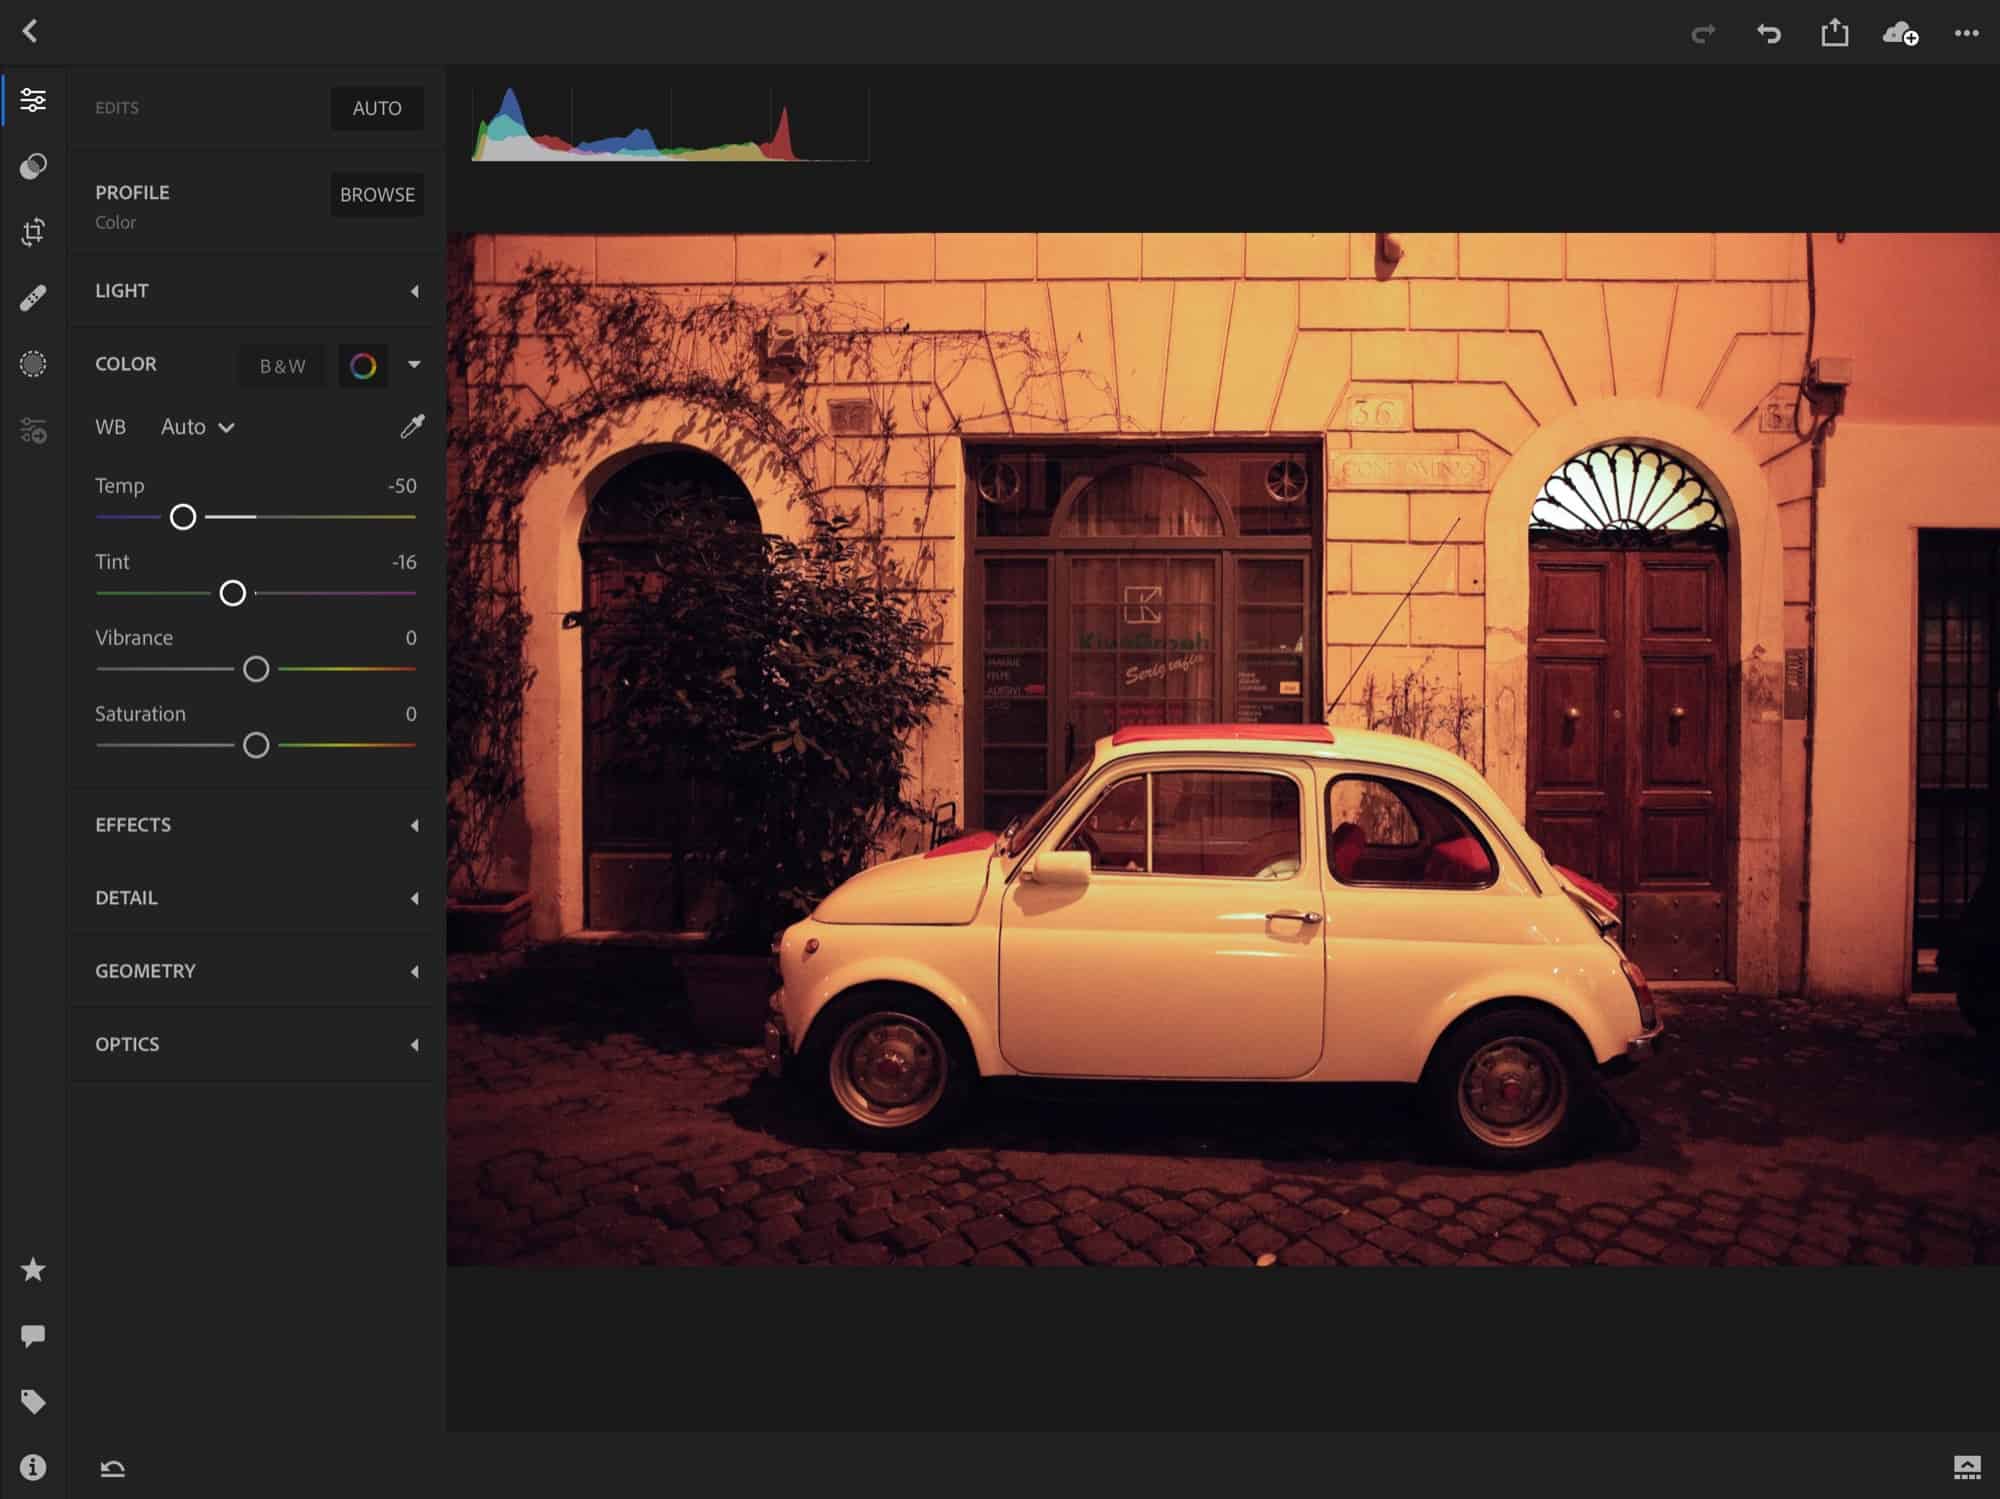
Lightroom brings one big advantage over the Photos app here. When you move the eye-dropper tool over the image, it updates in real time, so you can keep moving it until you get the result you want. In Photos, you have to click and see, click and see, over and over.
Still, Lightroom can’t do much with this JPEG. Because the entire image has a dead, orange cast, it’s hard to pull out the original colors.

Photo: Charlie Sorrel/Cult of Mac
Lightroom RAW
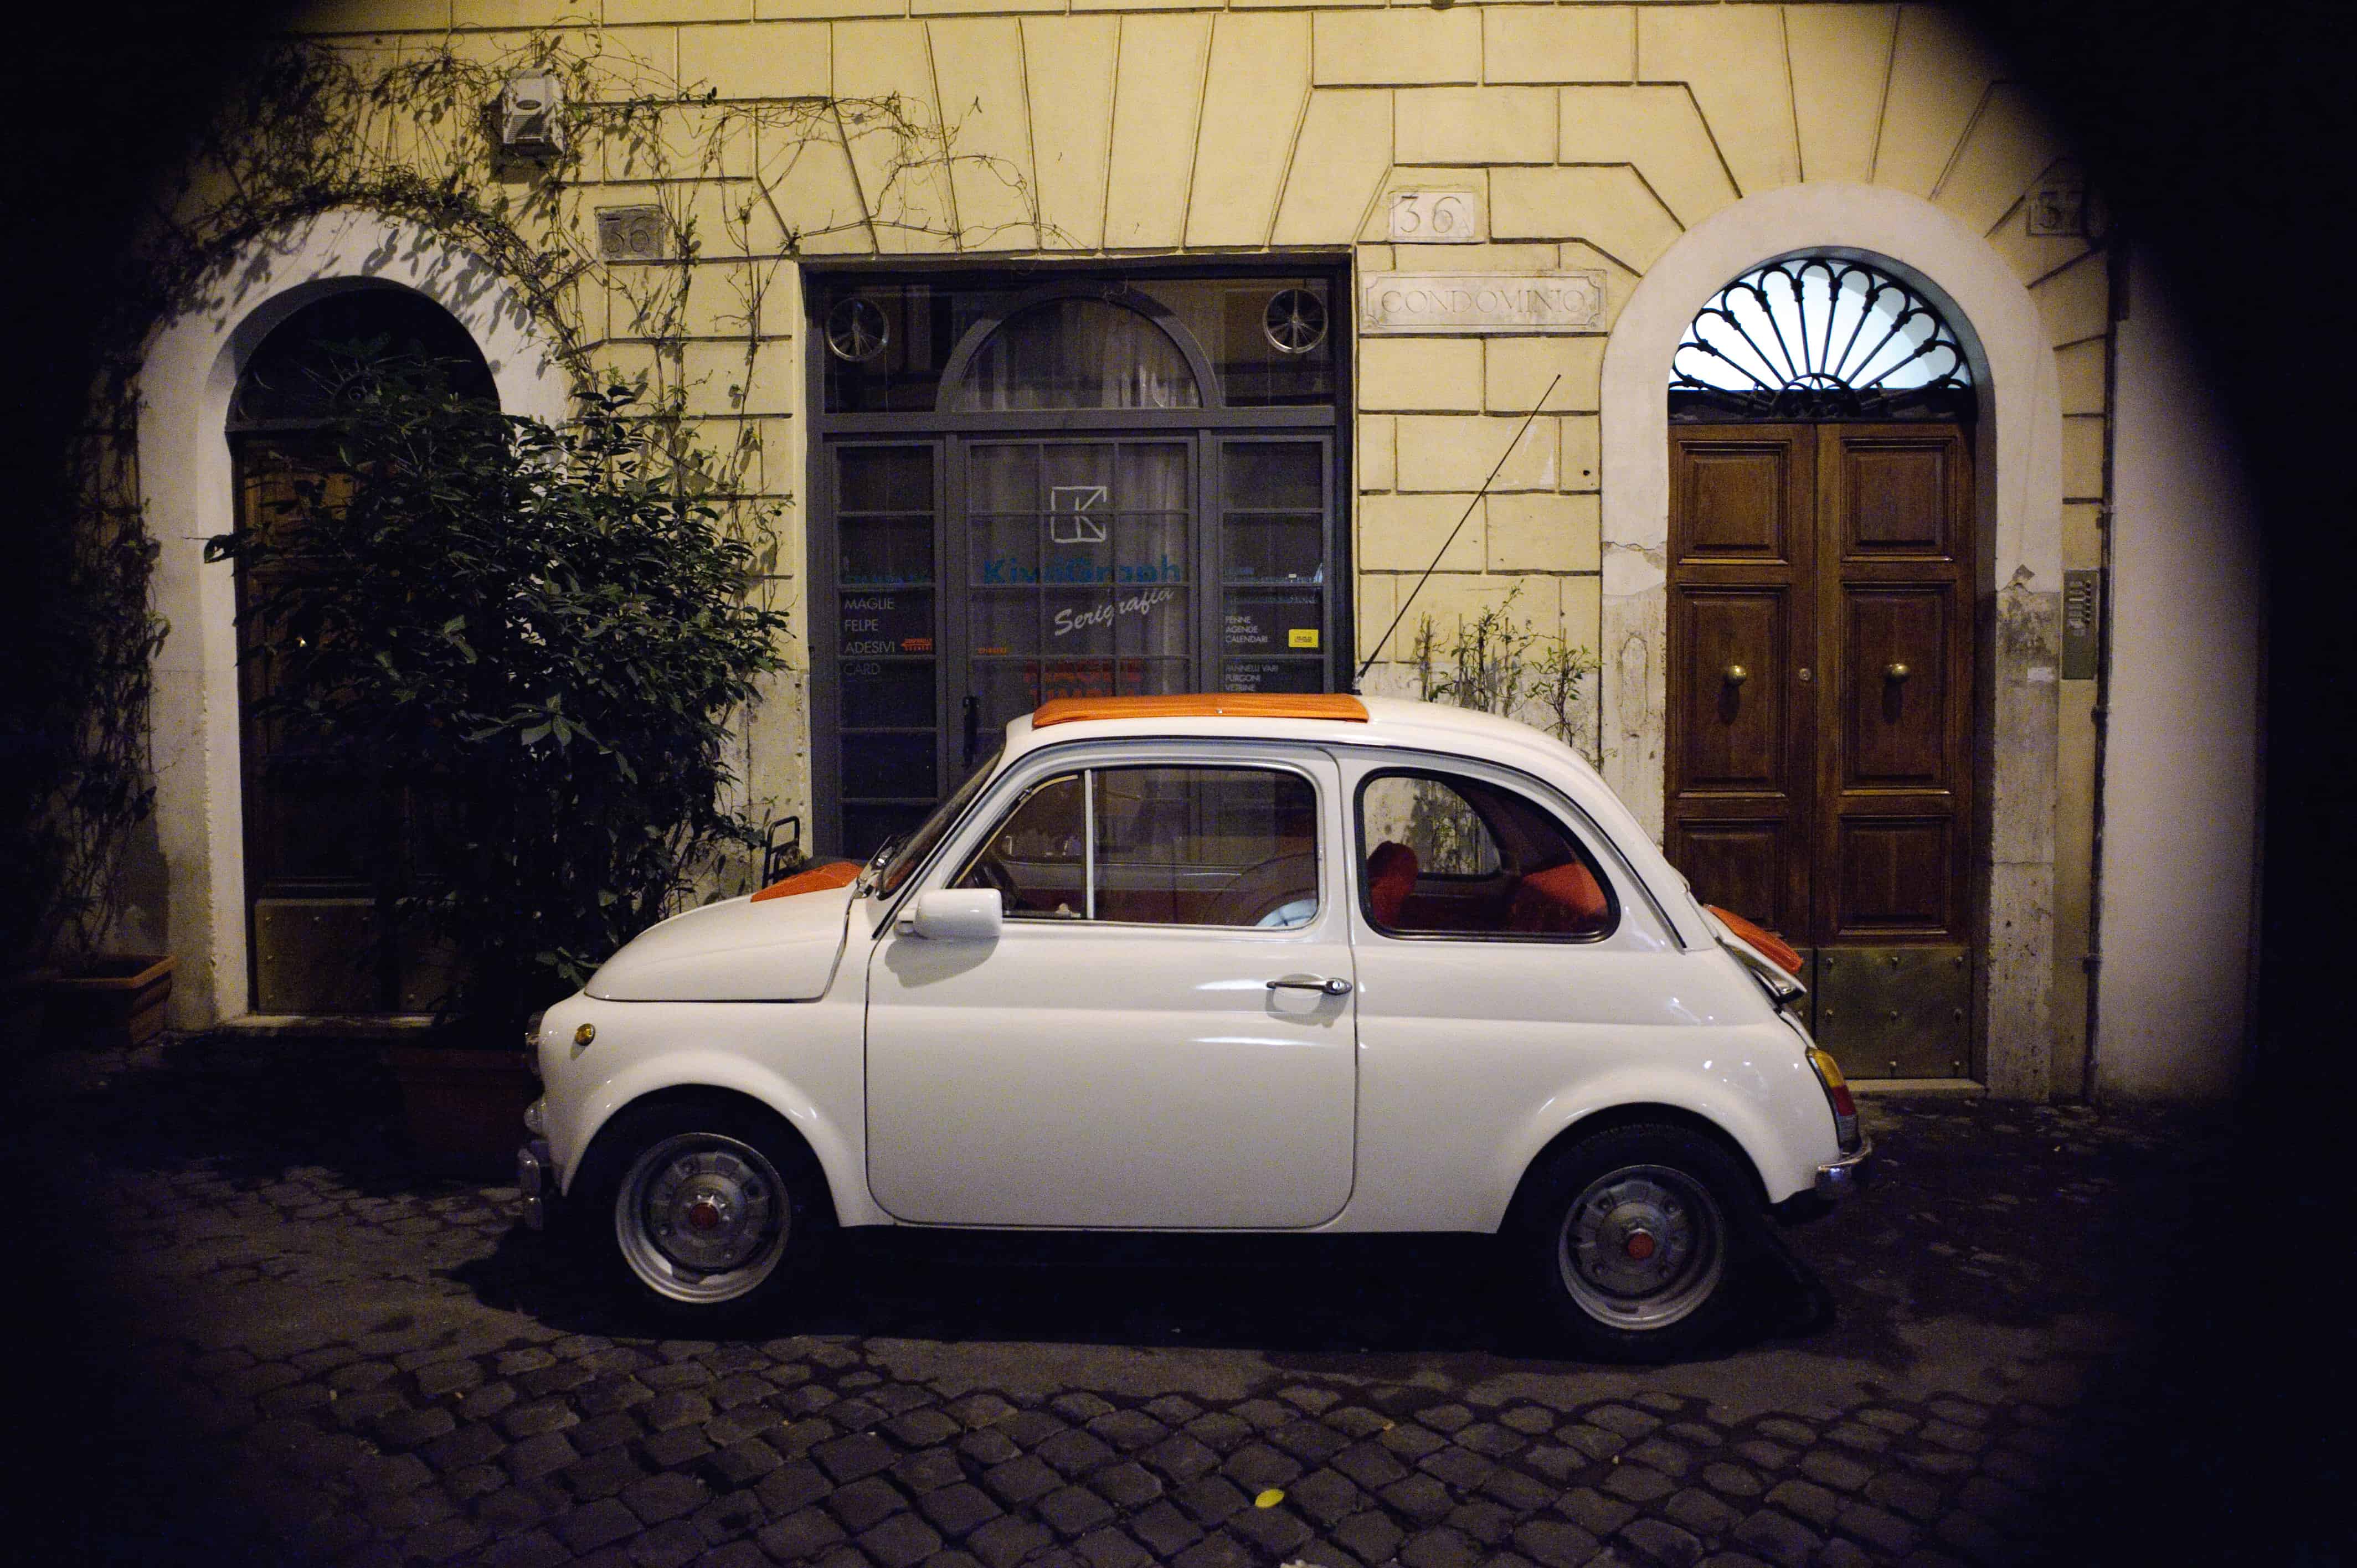
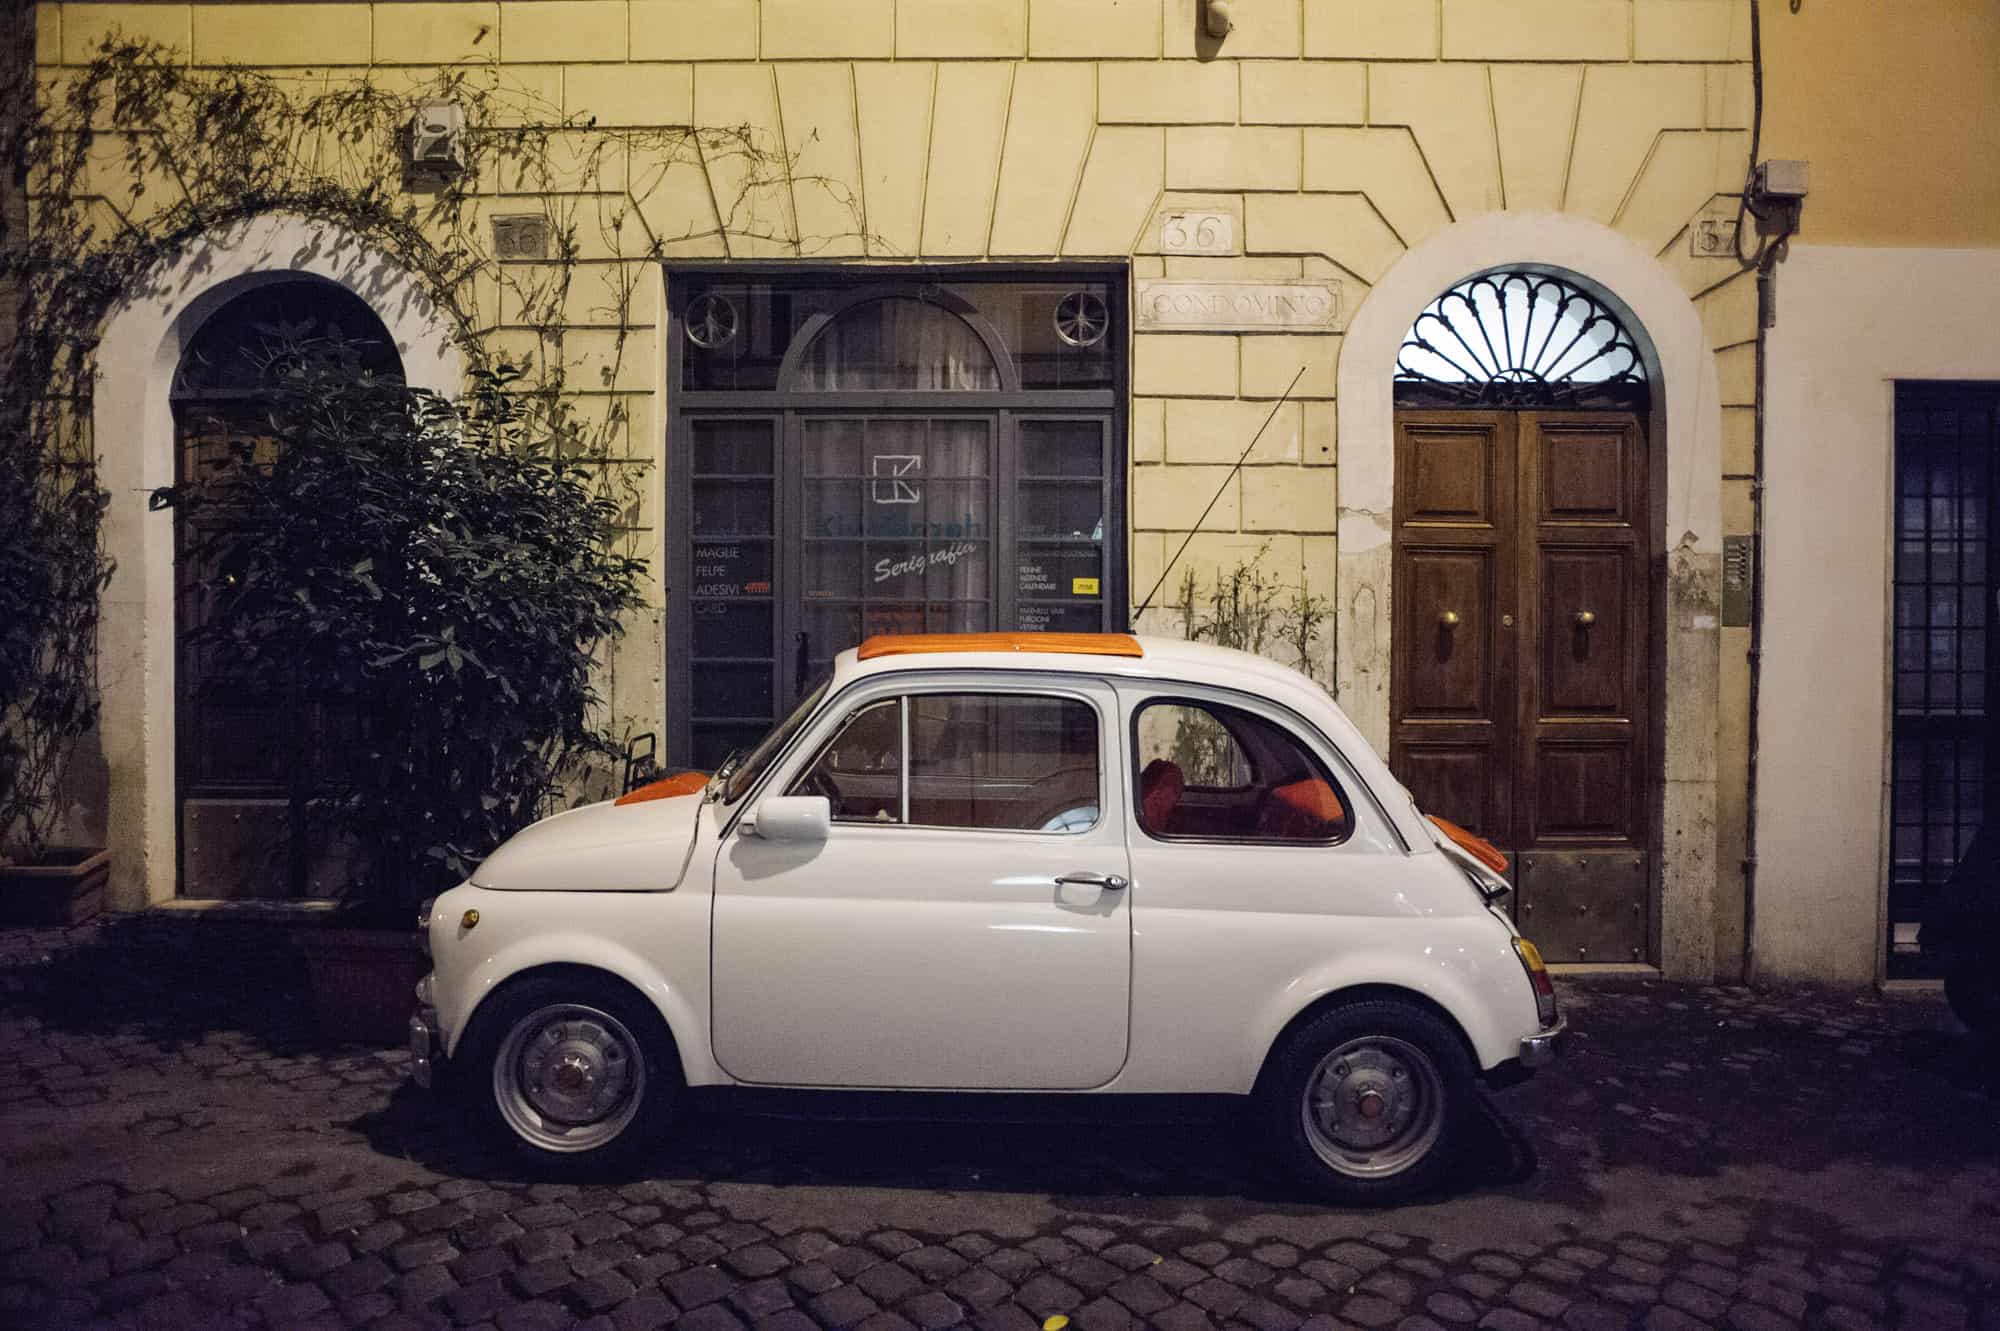
The gold standard of digital photography is to use RAW capture. This is every bit as good as getting it right in the camera at the moment of capture. Well, almost. The results are identical, but if you get it right where you shoot, you don’t have the extra work of editing. Here’s a version of the same scene shot in RAW and edited in Lightroom. Forgive the awful vignette — this is actually a JPEG I saved after RAW editing, back in 2009. Maybe I thought the vignette looked cool.

Photo: Charlie Sorrel/Cult of Mac
Much better, right? Like, night and day different. The car is white, its roof is roof orange, and the cobblestones have all their subtle shades of gray. It looks great. Apart from the stupid vignette. (Beware photo-editing fashion, folks. Especially all you people using VSCO to make the black in your photo turn gray. That won’t age well, I promise.)
RAW in iOS?
The iPhone’s built-in Camera app is good for most situations, but if things get complicated, then you can always switch to a RAW camera app. I like Lightroom, as I mentioned before, because it not only has a fantastic camera app built-in, but it uses Adobe’s brilliant image-processing software to give great images.
If you shoot in RAW, you can tweak the lighting later. I also find that Lightroom’s RAW renders are a lot more film-like than the iOS-native photos, especially in low light. In Photos, the noise in a low-light image is blurred away. In Lightroom, it is rendered as film-like grain.


