There’s an awful lot of coverage of iOS 12 out there at the moment, including early reviews, lists of all the new features, and tutorials that show you how to install the update. But what if you’re already running iOS 12 and you deeply regret upgrading early? How do you downgrade to back to iOS 11.4?
New updates can sometimes be buggy. We think it’s pretty stable but if it’s messing with your iPhone or iPad in a big way there’s still a way to go back to iOS 11.4. That’s exactly what we’re going to show you how to do in our latest video. Check it out below.
Back up!

Photo: Ste Smith/Cult of Mac
For this you’re going to need a computer running the latest version of iTunes. Unfortunately, there is no way to do this just on your iOS device itself as we’ll be using an IPSW file to roll back to iOS 11.4.
Also, if you didn’t backup your device before installing iOS 12, there is a chance that you will lose all of your data. iOS 12 backups won’t restore to your device once it’s running iOS 11. If you downgrade without a backup, be prepared to start from scratch.
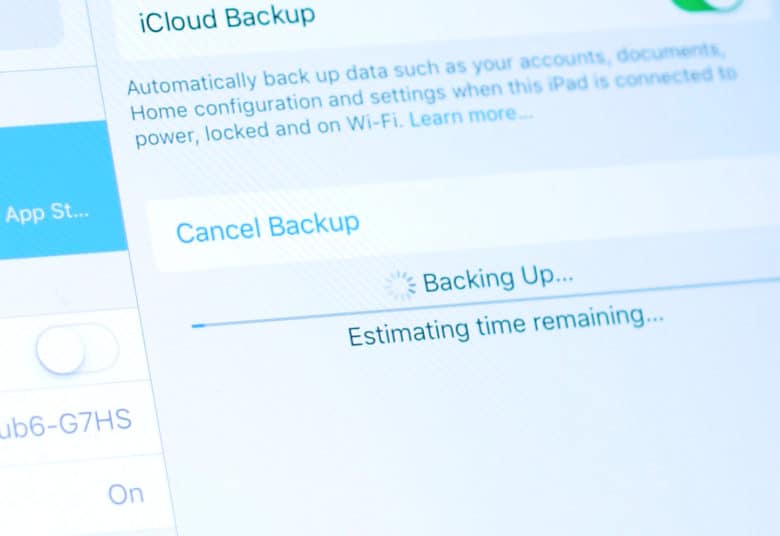
To get started with the downgrade, backup your iOS device to either iTunes or iCloud. Either works fine; just choose whichever you prefer — but make sure you archive your iOS 11 backups beforehand to save overwriting them.
Now, on your Mac or PC, you need to download the IPSW file that corresponds with your iOS device. Find it in the list below and click the link to download.
- iPhone X
- iPhone 8
- iPhone 8 Plus
- iPhone 7
- iPhone 7 Plus
- iPhone 6s
- iPhone 6s Plus
- iPhone 6
- iPhone 6 Plus
- iPhone SE
- iPhone 5s
- iPad Pro 9.7‑inch model
- iPad Pro 10.5-inch model
- iPad Pro 12.9-inch model 1st generation
- iPad Pro 12.9-inch model 2nd generation
- iPad 5 9.7-inch model 2017
- iPad 6 9.7-inch model 2018 (Apple Pencil support model)
- iPad Air 2
- iPad Air 1
- iPad mini 4
- iPad mini 3
- iPad mini 2
- iPod touch 6th generation
Open up iTunes and connect your iOS 12 device using a USB cable. Once your computer has recognized your device, you’ll see a little icon appear next to the categories drop-down menu — click this to reveal the summary section for your iPhone or iPad.
Next, we need to install the IPSW file. Hold down the option key on your keyboard and click on the Update button on your Mac — or hold shift and click if you’re using a PC. You’ll see a pop-up window which will allow you to select the IPSW file to restore from.
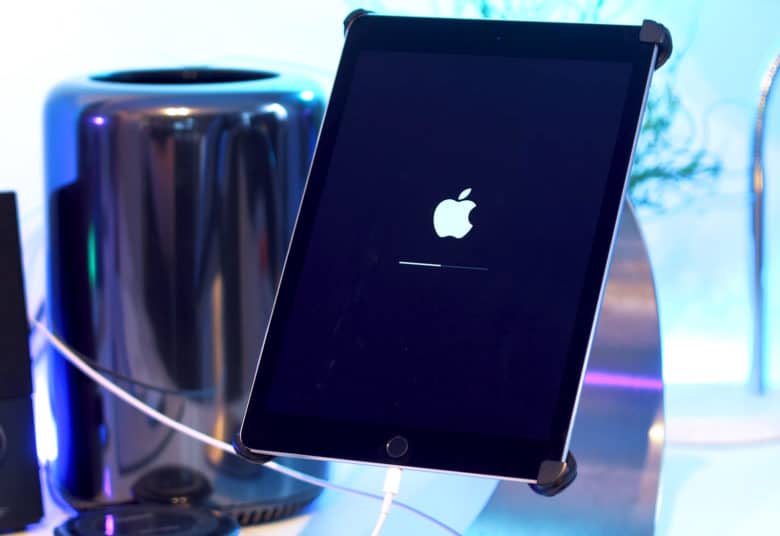
You’ll need to wait while the restore file installs and the iOS device will reboot a few times. Don’t panic if you see a flashing Apple logo or it restarts over and over — just be patient.

Photo: Ste Smith/Cult of Mac
Once complete, your phone will restart and you’ll see the usual Get Started page.
Didn’t work? There’s one other way…
If, for any reason, this fails — and it can fail — you’ll need to put the iPhone or iPad into recovery mode to continue to downgrading. But please remember that doing this will wipe your device, so you’ll have to have a previous iOS 11 backup or be happy to start from scratch.
To do this, the first step is to put your iPhone or iPad into recovery mode.
The process for this depends on what device you’re using, but with the iPhone 8 and newer press and release the volume up button, then press and release the volume down button, and then hold the power button until you see the USB cable and iTunes icon.
For the iPhone 7 and 7 Plus, press and hold the power and volume down buttons at the same time until you see the recovery screen.
And for iPads and older iPhones, press and hold the power button and the home button until it enters recovery mode.
Then, within iTunes, click on the restore button to begin installing a fresh install of iOS 11.4.
For more videos like this, make sure to subscribe to the Cult of Mac YouTube page and click the bell icon to be notified as soon as a video drops.


