The iOS Mail app gets overlooked by power users, but it’s still the default for most people, unless they’re using Gmail in the browser. And that’s not a bad thing, because Apple’s Mail app has gotten pretty great in recent years, from smart mailboxes, to swipe gestures, to iOS 11’s drag-and-drop. Today we’re going to take a look at a feature so hidden you may never have seen it before. It’s a filter than can be applied to any folder, letting you see just mail with attachments, mail addressed directly to you, VIP mails, and more.
What is the mail filter view?
The Mail filter view lets you quickly slice and dice a mailbox to only show certain types of mail. This means that you can tap a button and only see messages with attachments, unread messages, and so on. Here’s a list of the available filters:
- Unread
- Flagged
- Addressed to you
- CC addressed to you
- Mails with attachments
- VIP messages
How to use Mail’s filter view
To filter your messages, you only need to tap the little filter icon, which is three horizontal lines arranged to make a triangle. Tapping that icon toggles the filter on and off. By default, the filter shows unread messages. In fact, you may already use this trick to quickly hide read messages, and focus on the new.
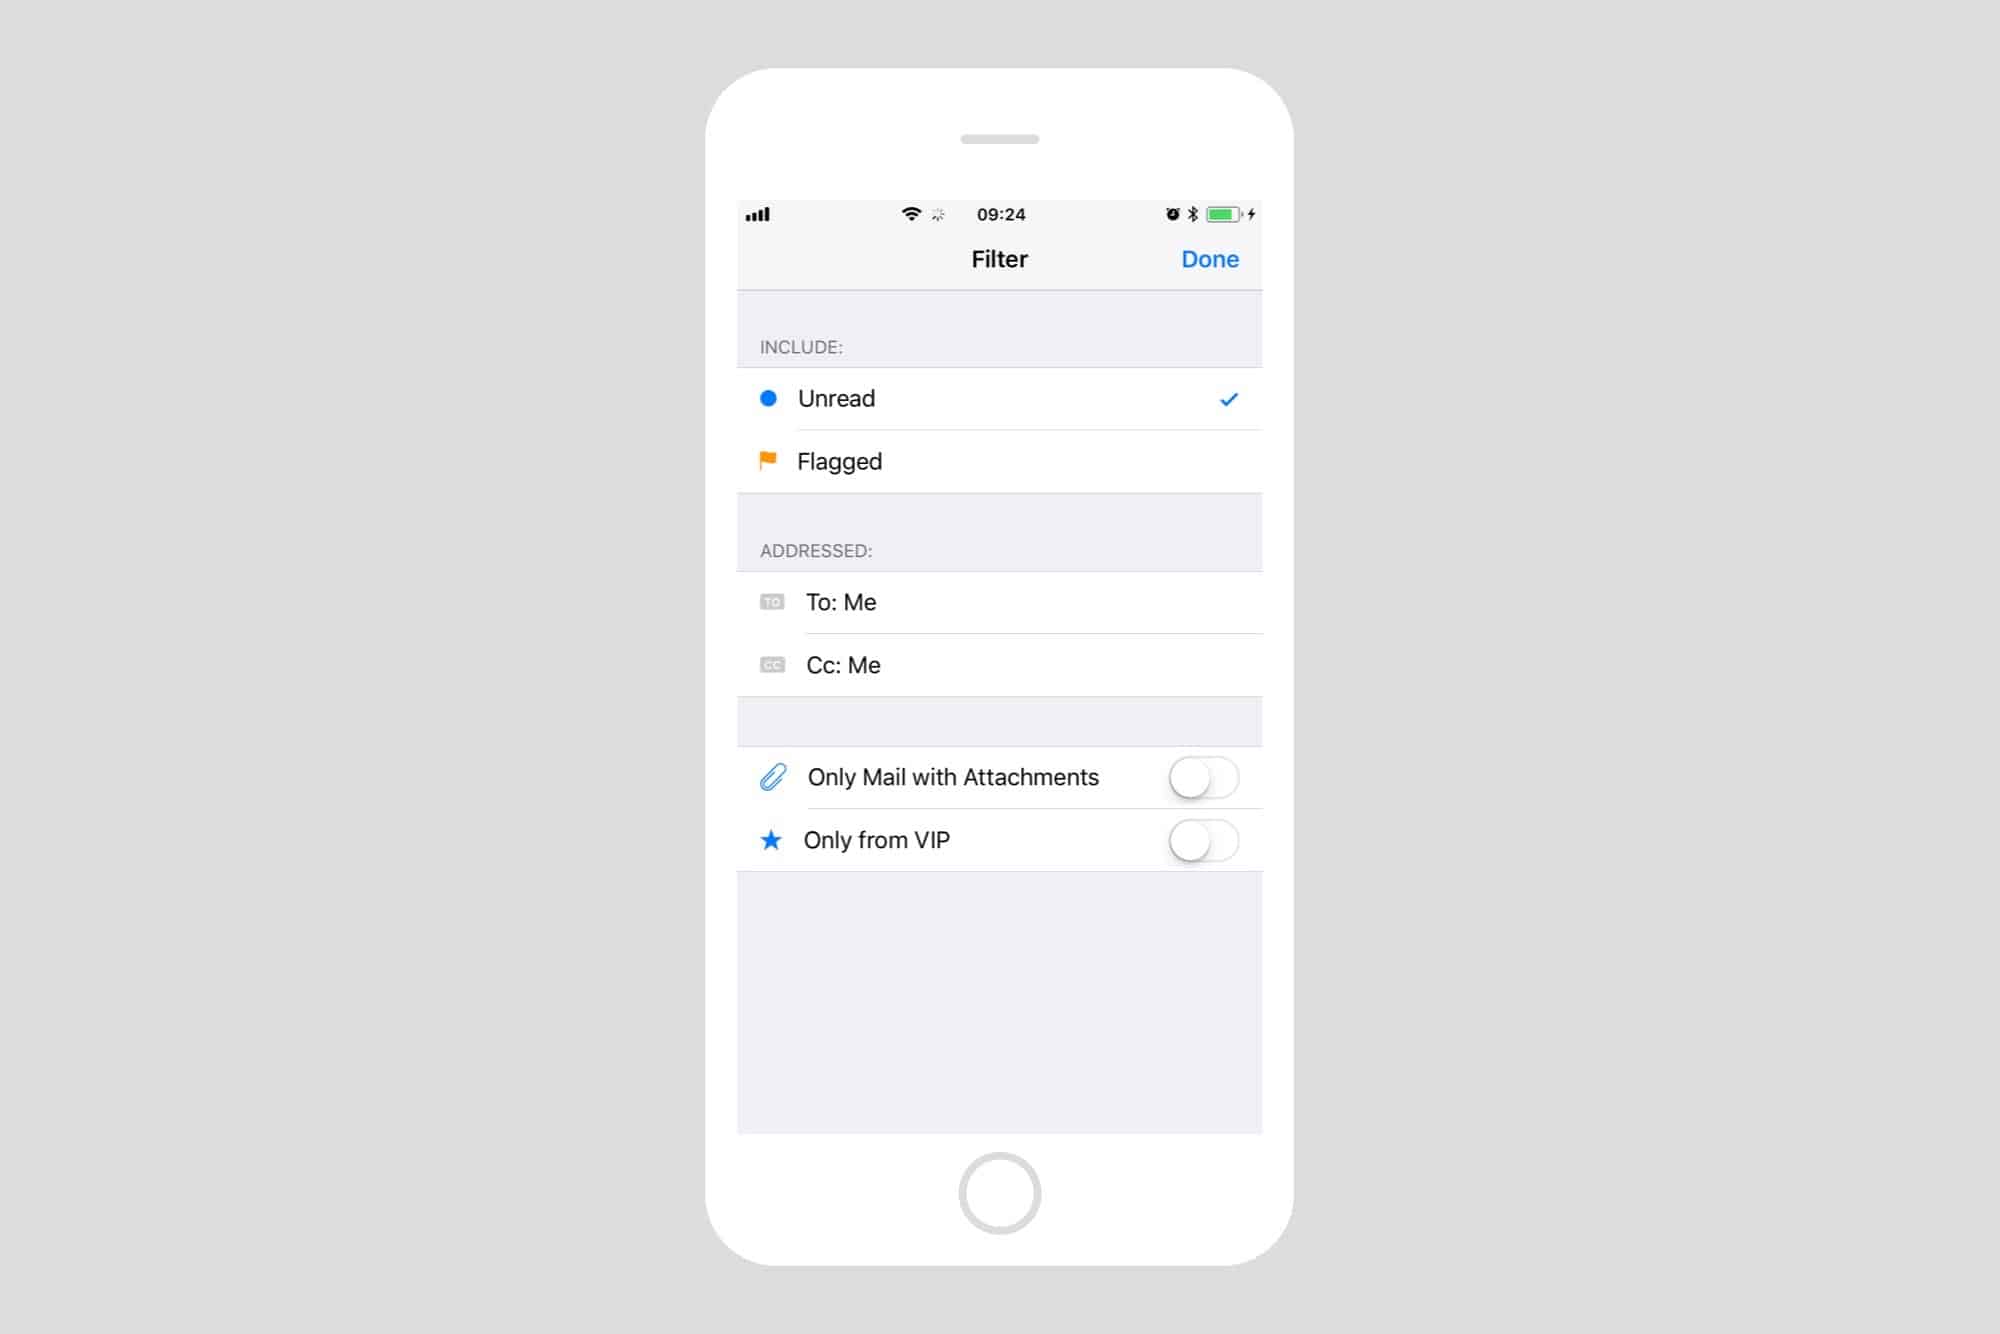
But the real power comes when you customize the filters. Do this by tapping on the label Filtered by: Unread. This opens up the filter’s settings. On the iPhone, it looks like this:

Photo: Cult of Mac
You can toggle any and all of these parameters to get precisely the view you want. And these filters are saved per mailbox, so they can be different for every folder you use. For instance, you could have a quick Unread filter for your inbox, but put a To:Me and an Attachment filter on a mailbox for a project, so you only see mails with attachments that have been addressed directly to you. Or you could have a to-do list mailbox and quickly toggle Flagged items.
This last feature — letting you save a different filter for each mail folder — is the secret sauce that makes filters so powerful. And because configuring the filters is so fast and easy, you might find yourself doing it all the time.
iOS Mail’s special filter views
Eagle-eyed readers may have noticed that these filters correspond to Mail app’s built-in smart mailboxes. Here’s a picture to show you what I mean:

Photo: Cult of Mac
To get to this view, you tap the Edit button above the Mailbox label. With the exception of Today (which shows today’s messages), these views are all based on the same mailbox filters seen above. The upside is that these smart mailboxes give you one-tap access to specific filters. The downside is that they only apply to the inbox. One neat tip is that you can apply a filter to any of these smart mail folders, just like we did with regular mail folders, above.
Bonus tip: It works on the Mac, too

Photo: Cult of Mac
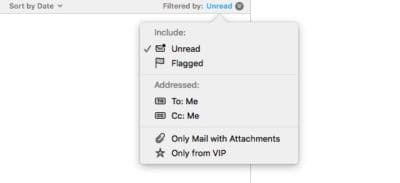
The macOS Mail app can also do the exact same trick. To use it, either click the same icon at the top of the mail list; hit ⌘L; or go to View>Enable Message Filter in the menubar. Other than that, all the same rules apply. Literally.
It’s powerful stuff, and like anything that introduces lots of new features at once, you might be best off starting slowly. Filter your inbox by unread mails, for example, or set up a custom folder with a custom view. iOS Mail doesn’t allow you to automatically process incoming mails into folders, but if you use something like Gmail, then you can have it file mails before you see them, and then view them with these new views. For example, you could have Gmail automatically label all mails from your family, and then have Mail filer that label (shown as a folder on iOS) for attachments. That’s a great way to see all the family photos in one place.


