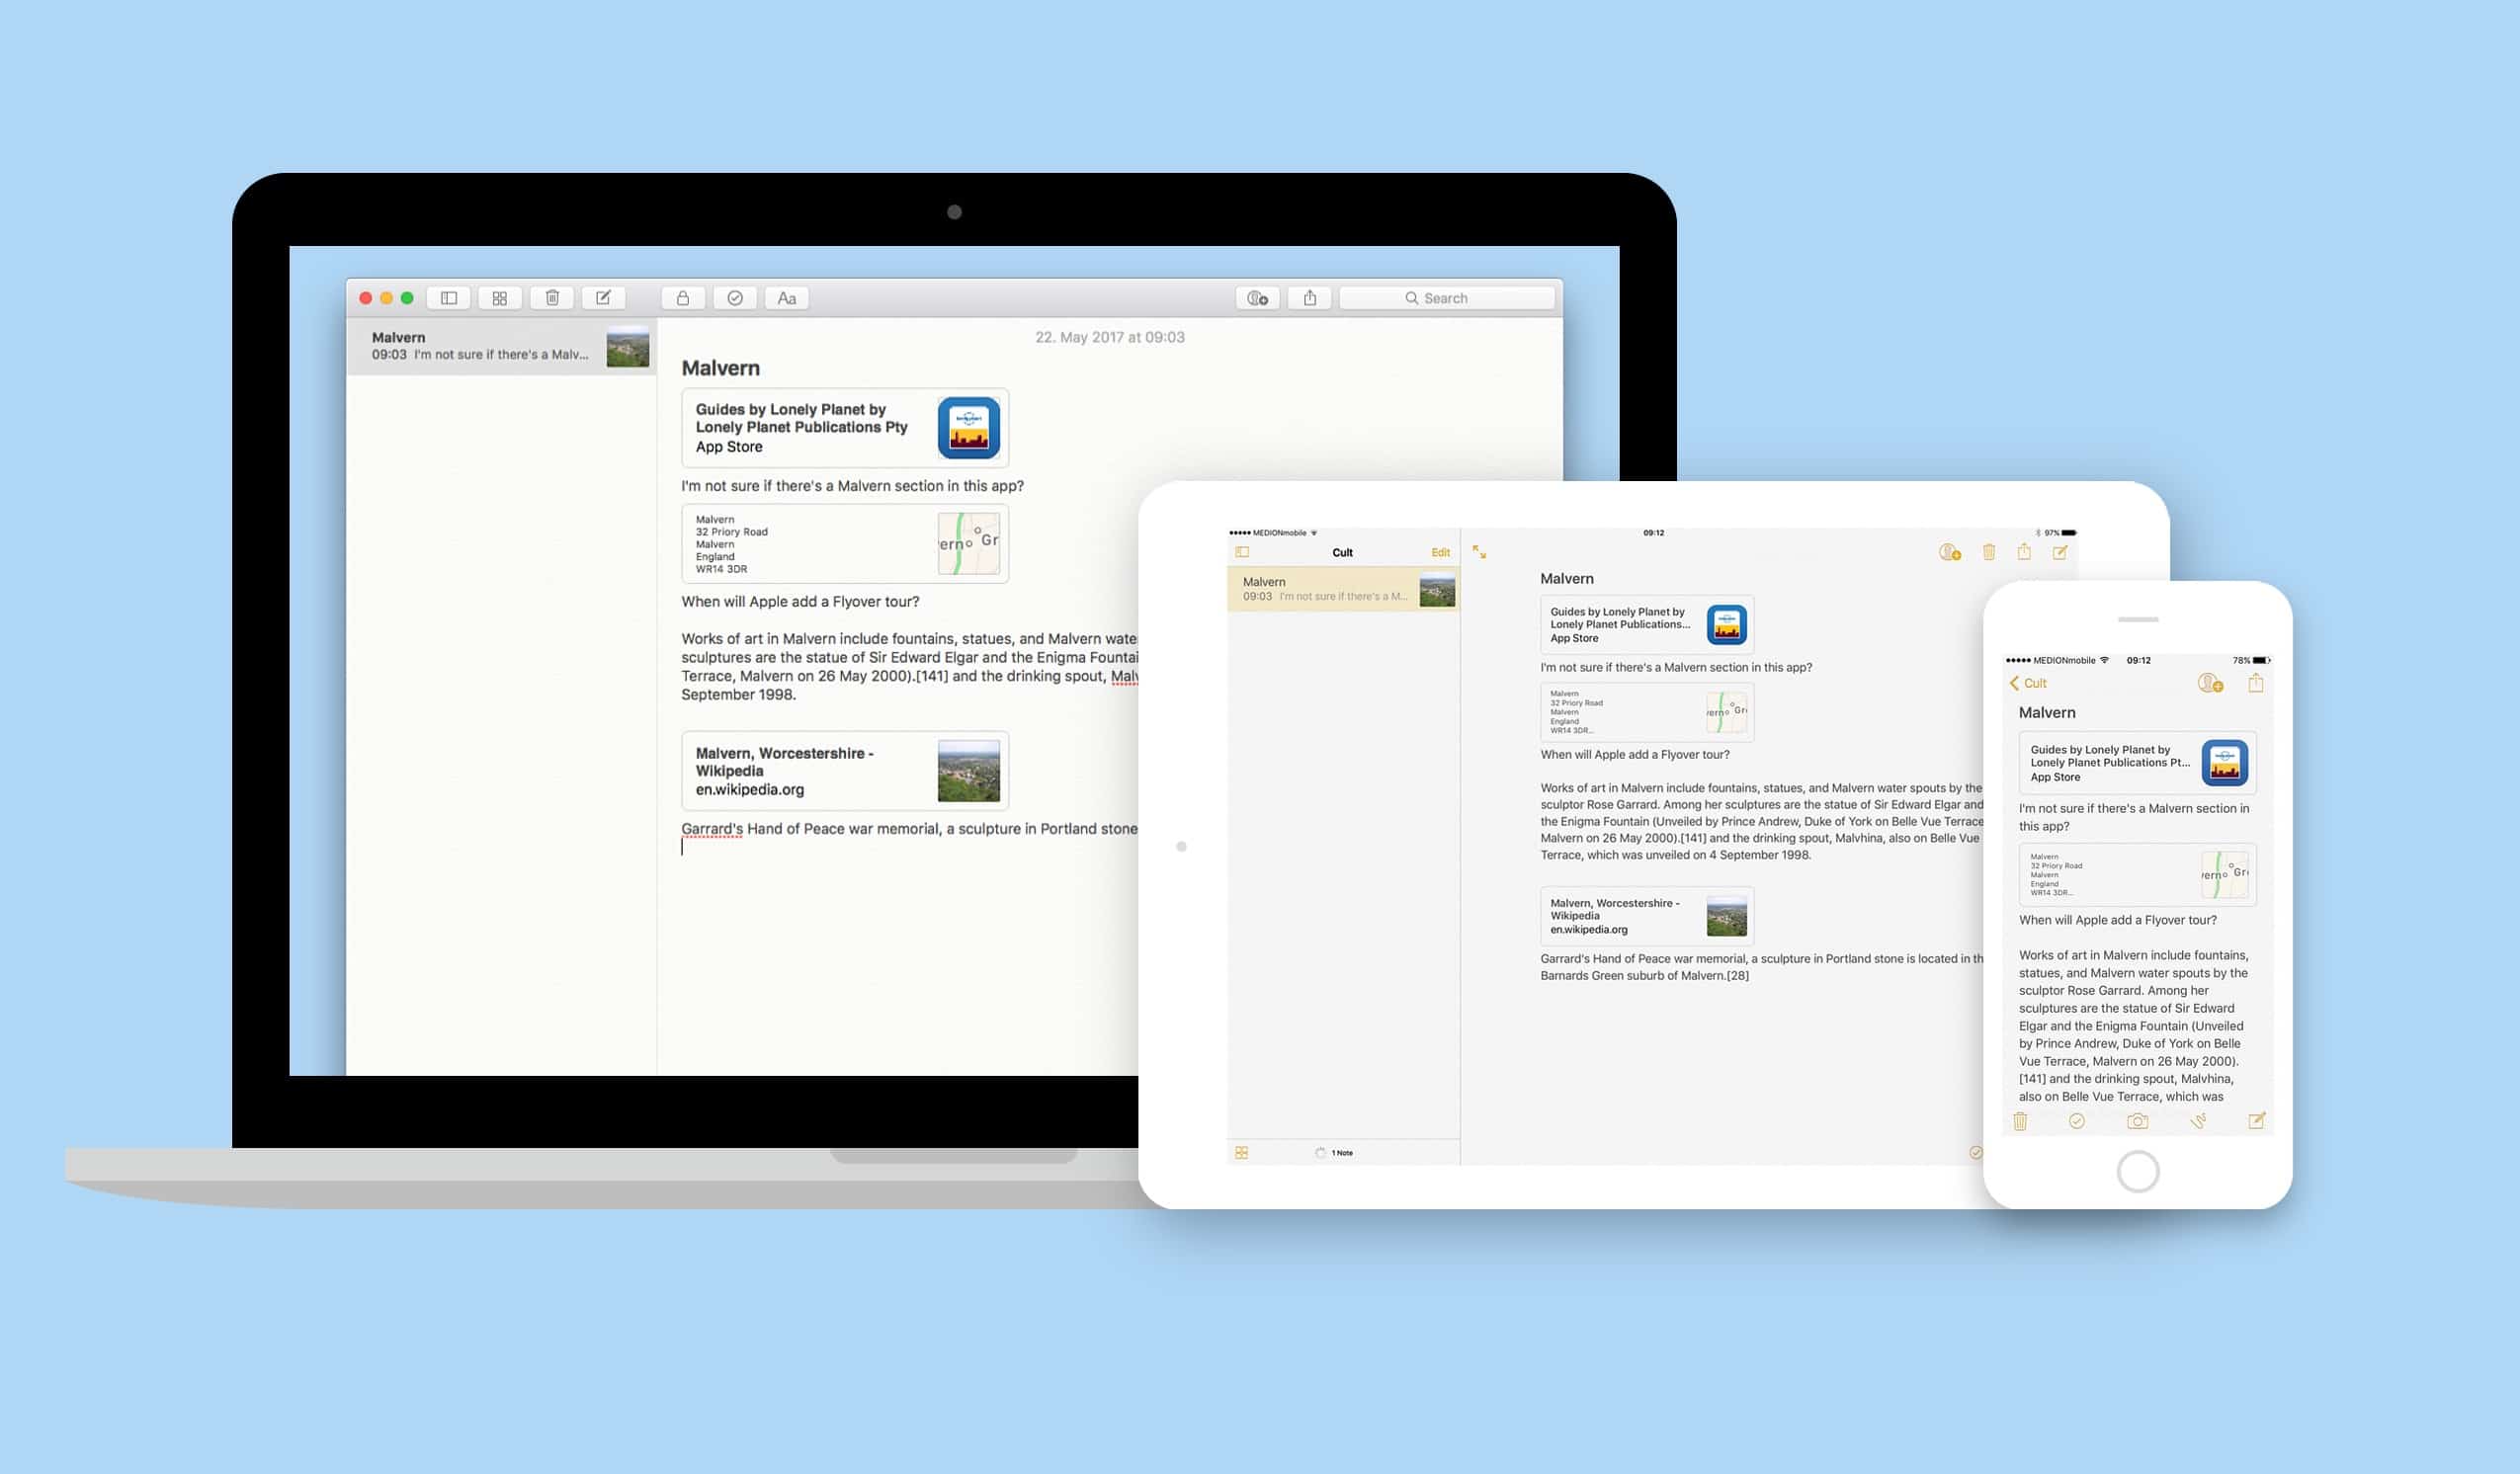
Here’s the worst way to organize any task: email. You can’t put everything in one place, and even if you could, you could never find it. Apple’s built-in Notes app, on the other hand, is the perfect place to store all those snippets of info you accumulate when planning something like a vacation. You can collect web pages, add checklists and photos, and even sketch maps, or add other media like PDFs or apps. And then you can share that note with any number of people and all read and update it.
Let’s see how it all works.
Create and sharing a note
By default, Notes create a new note every time you clip something using the iOS (or Mac) sharing arrow, and it uses the name of whatever you’re clipping to create a title for the note. For a little more control, we’ll create a new, blank note.
To create a new note, open the Notes app, then tap on the little pencil icon (top or bottom right, depending on your device). Then type in a name for your note. Depending on your Notes app settings, this first line will be automatically formatted into Title, Heading, or Body text. Choose which in the Settings app, Settings>Notes>New Notes Start With. I have mine set to title. It’s called Malvern, a sleepy little hole in England.
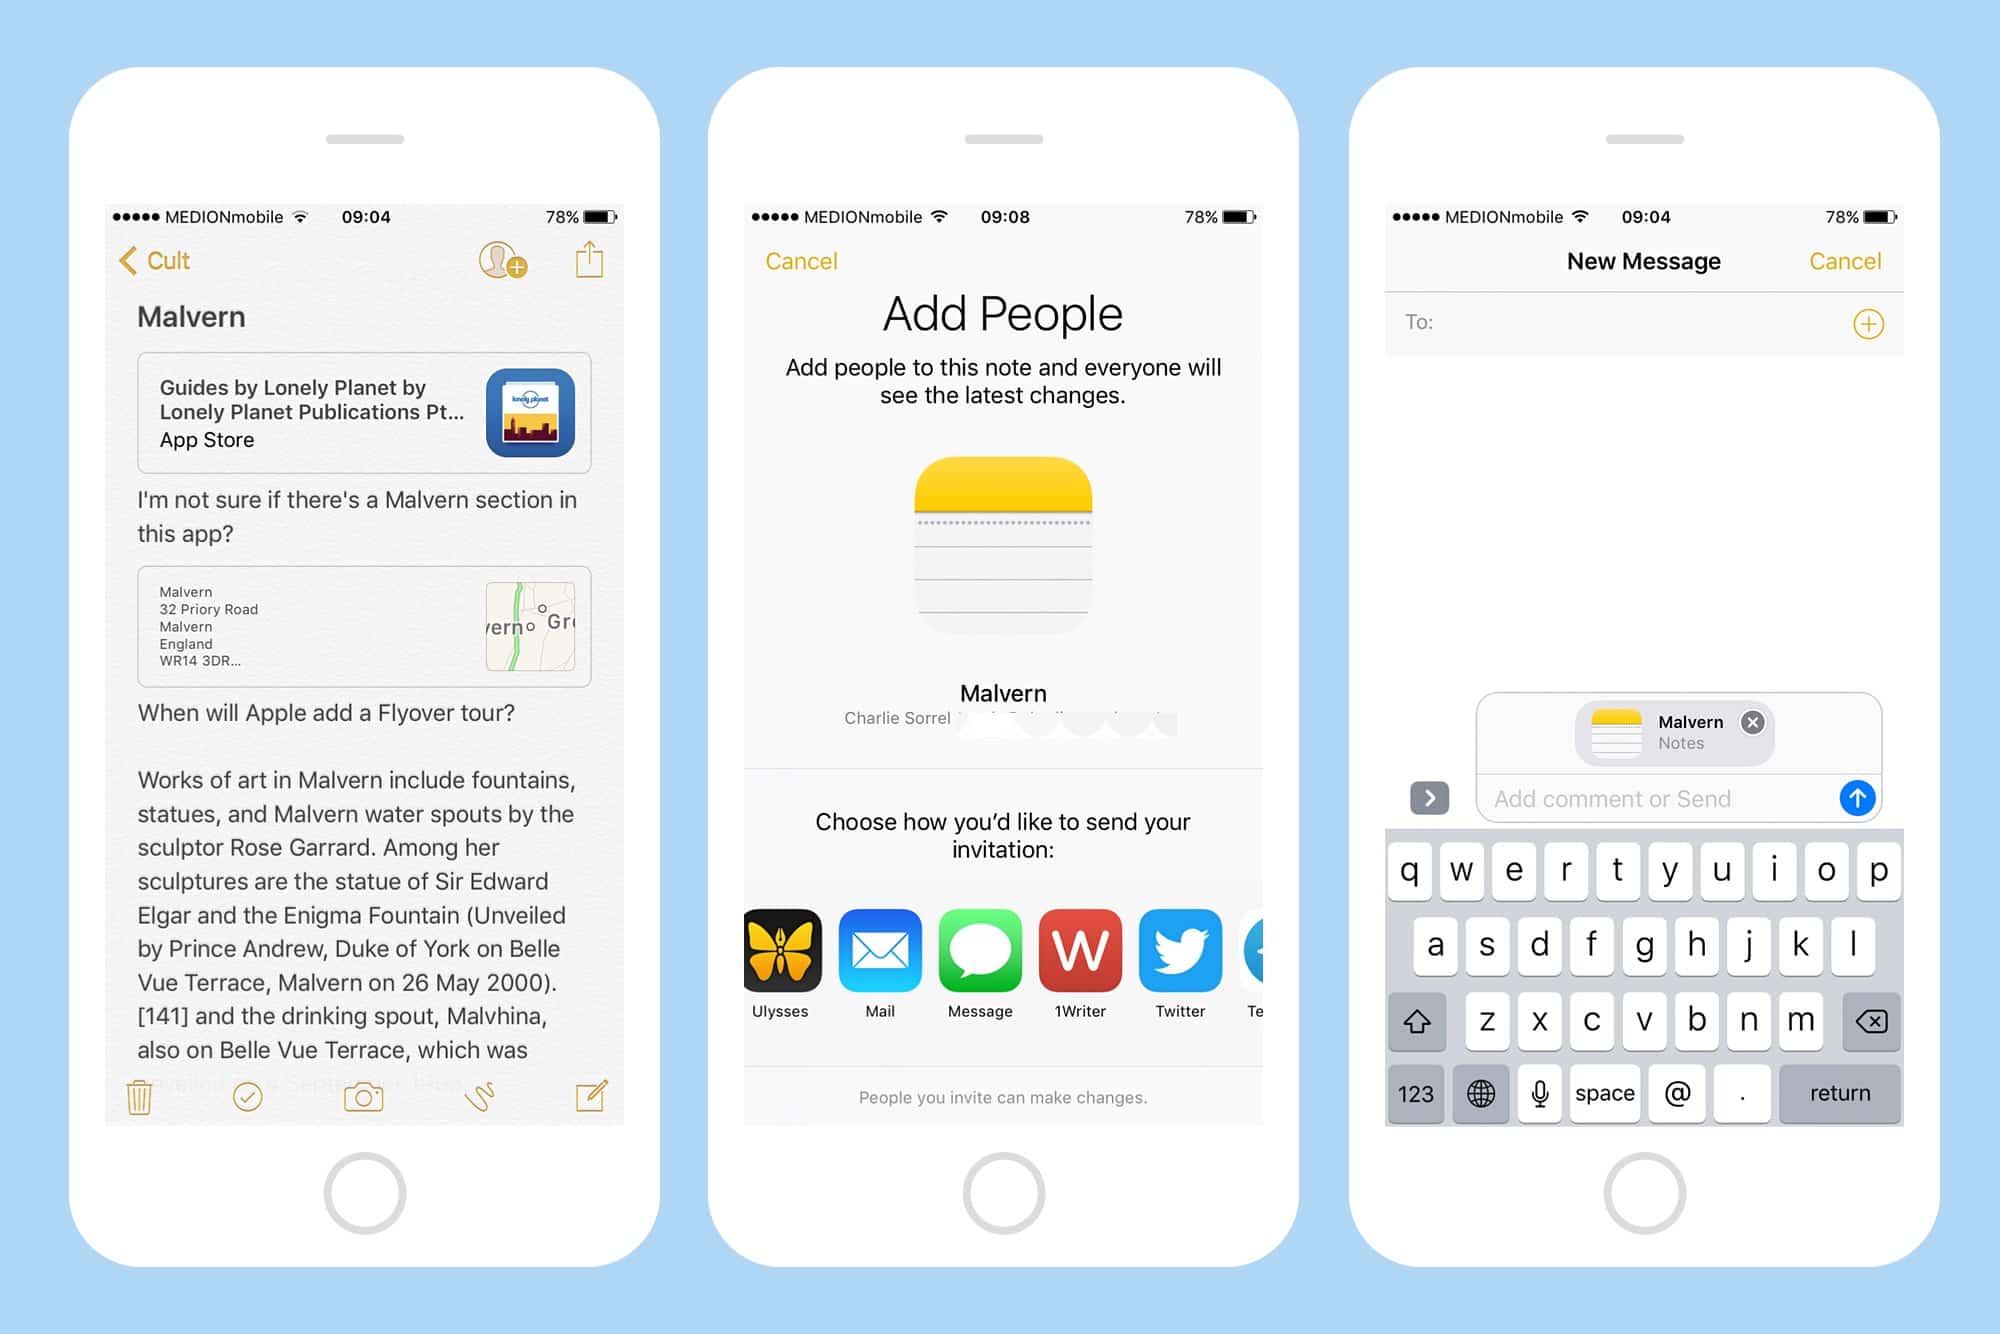
Photo: Cult of Mac
Now we share the note. To do this tap the little person-and-plus icon, and follow along. You can send the invitation via mail iMessage, or anything else that appears in the resulting list. If the person you’re sharing with already has an iCloud account associated with the email address (or phone number) you use for them, then they will receive an invite notification right from their notes app. If they don’t have an iCloud ID, then they’ll have to create one, but that’s unlikely if they have an Apple device. Once the note has been shared, any changes you or anyone else makes will be synced pretty much instantly.
Adding snippets to you action notes
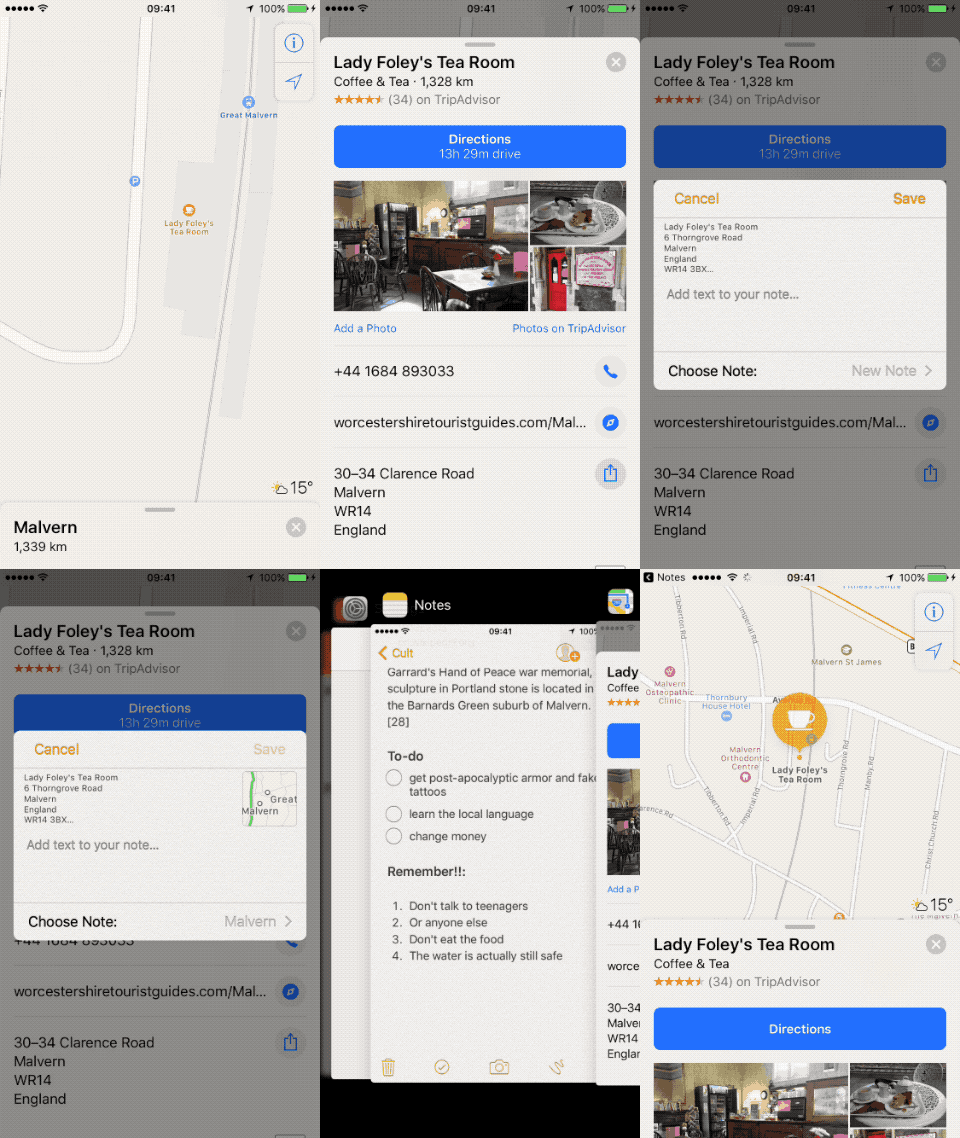
Photo: Cult of Mac
You can add snippets to your note from anywhere. Possibilities for vacation planning include adding locations from the Maps app, adding web page URLS, as well as snippets of text from the web. You can also link to applications (like the Lonely Planet guide), for other people sharing the note to download. PDFs are also great, because they can be viewed right there in the Notes app, and if you tap the little briefcase icon, you can even mark up the PDF.
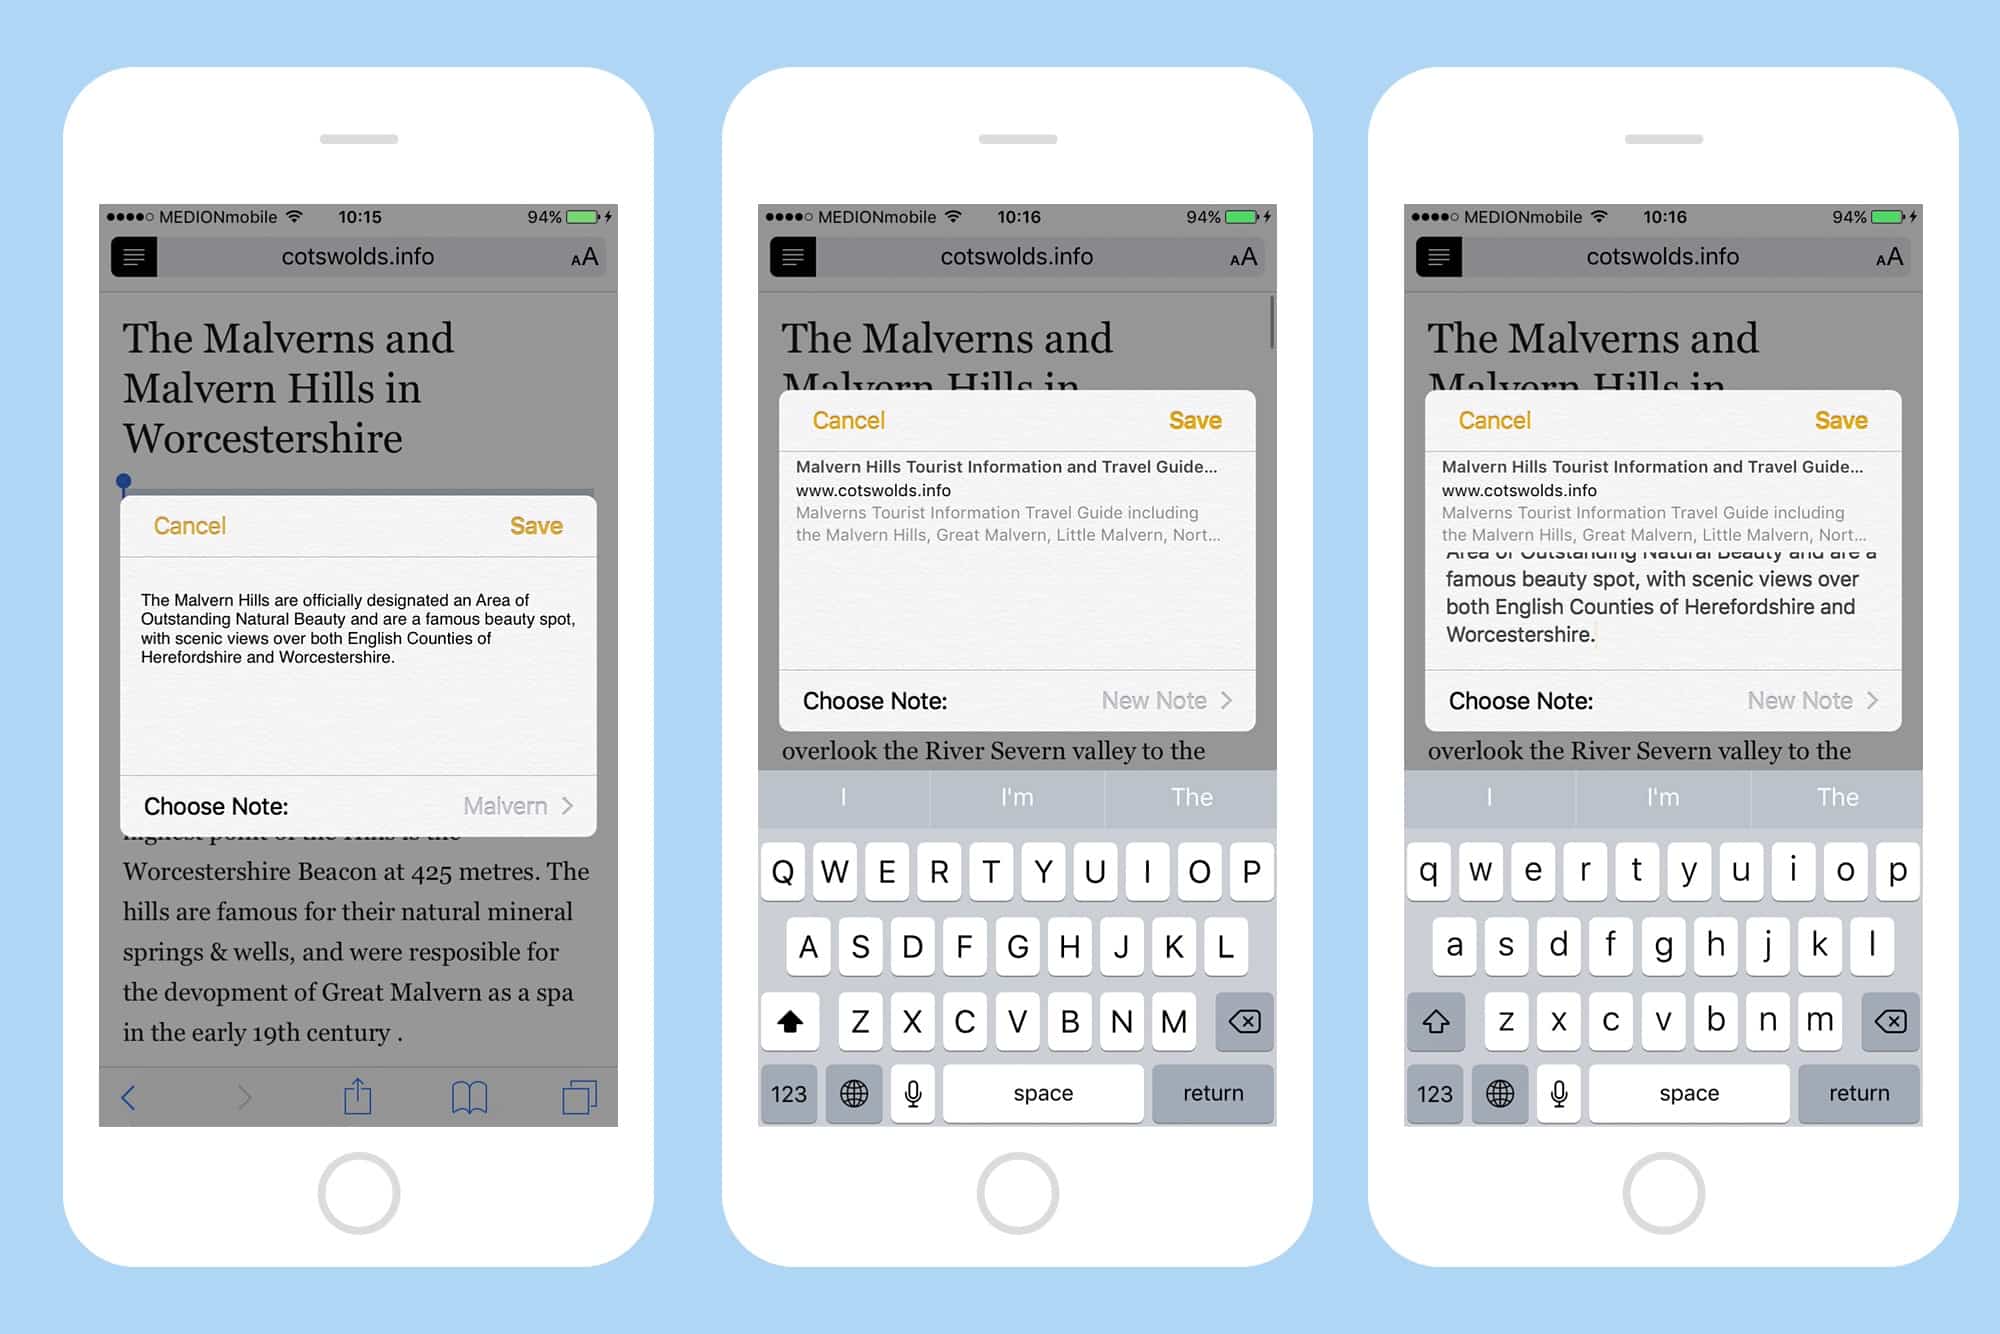
You can add something to a note form anywhere that has a share arrow. Just tap the arrow, select the Notes ass from the list, and then — this is important — tap New Note and select your previously-created note. Failing to do this will just create a new note. If you want to append the clipping to an existing note, must pick it in this list. You do get a little help here, though: if you’re adding a lot of snippets in a short time, then the Notes clipper remembers this and keeps your most-recently-used note selected for you.
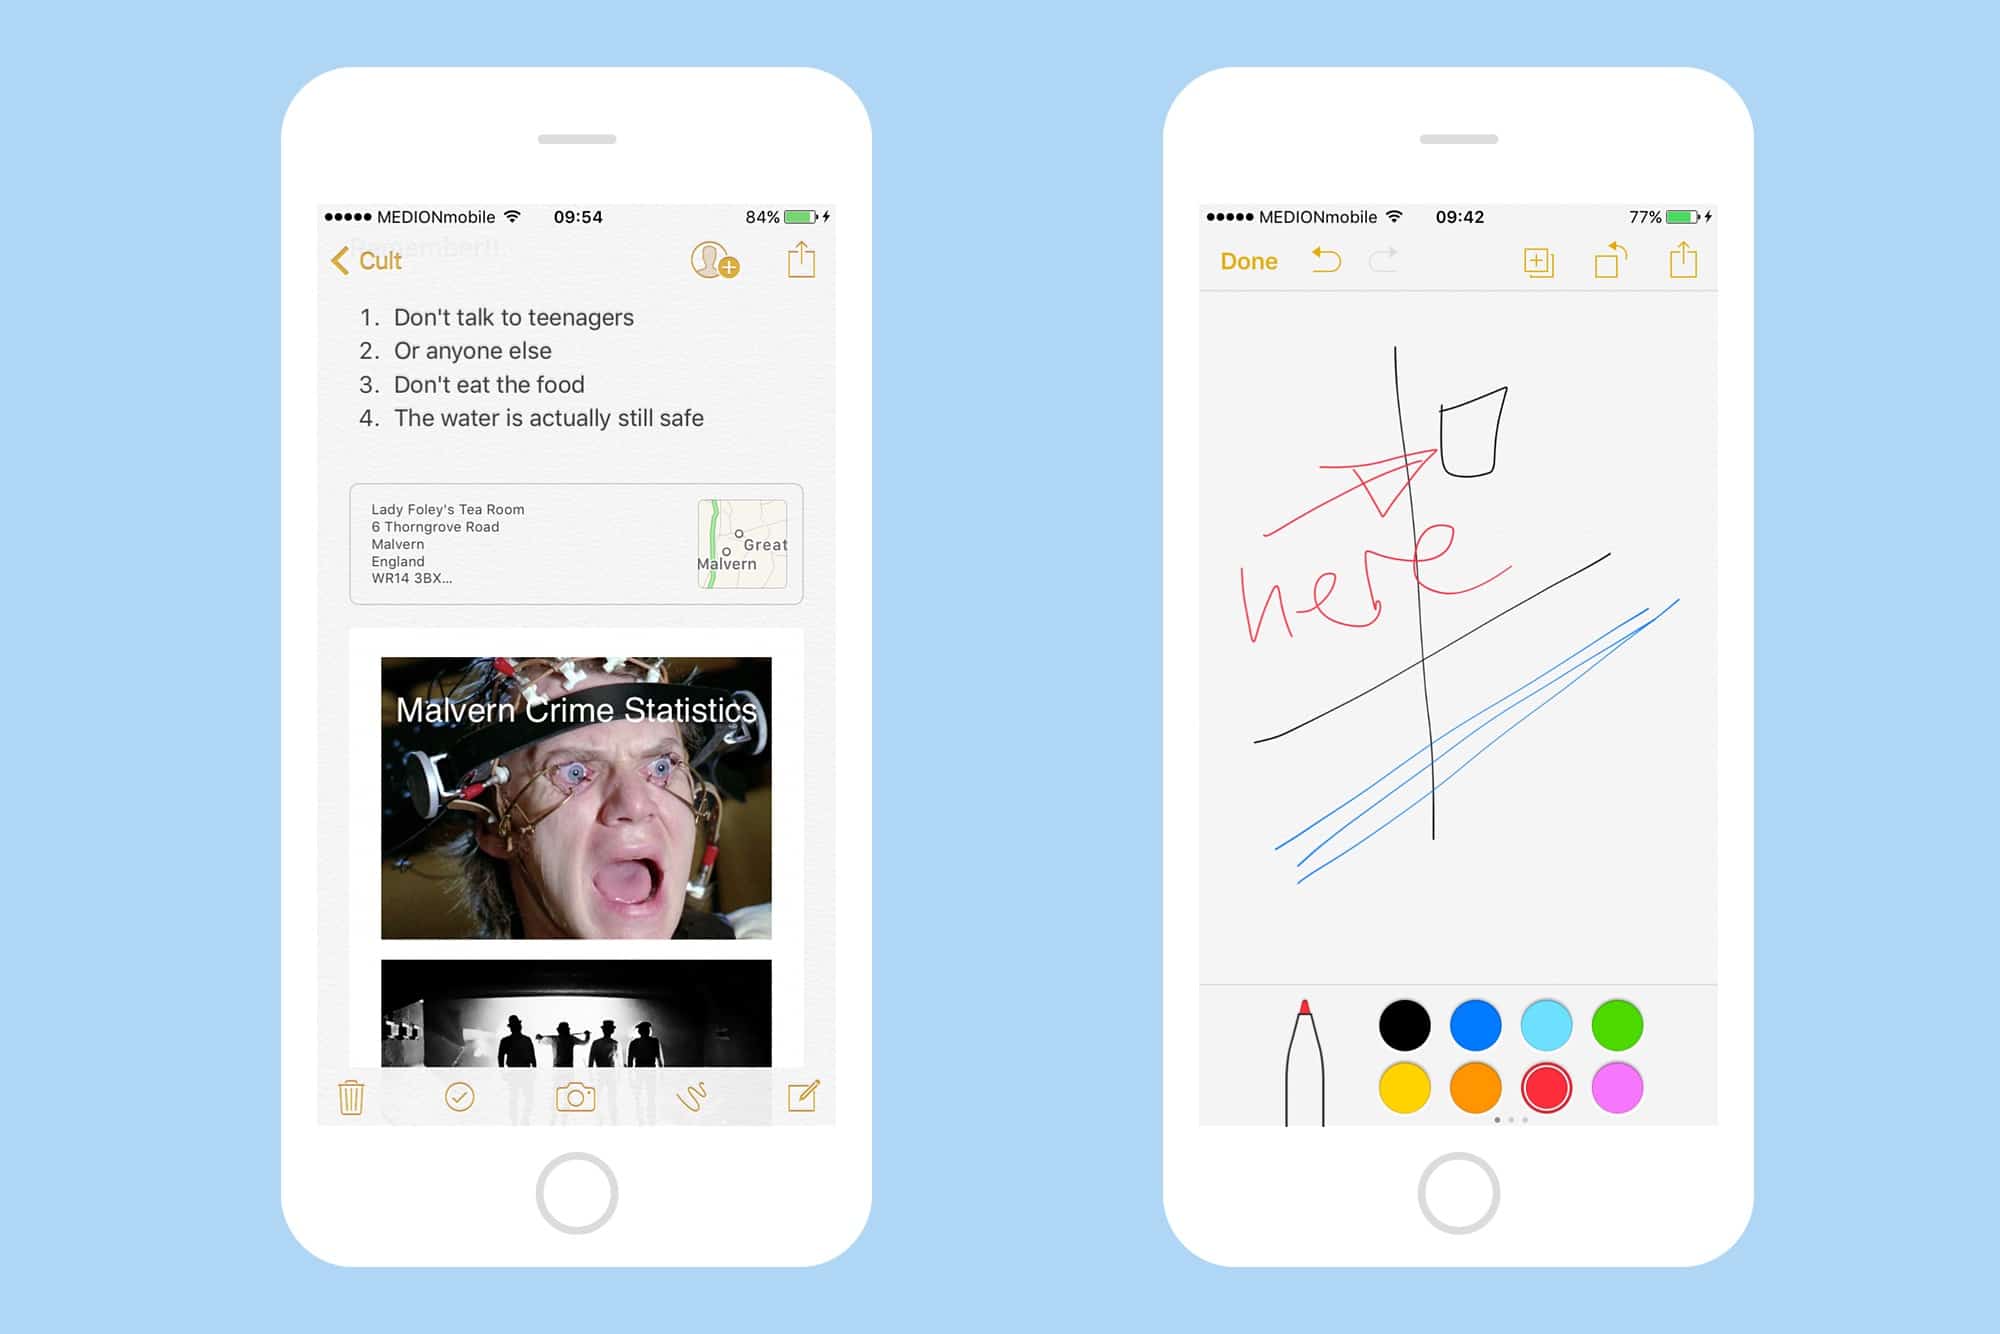
Photo: Cult of Mac
Sharing tricks
Whenever you share a link, or other item, to a note, it gets a neat little rich preview, which is great for identifying what snippet is what. But you should be aware that there are two ways to share from a web page, and they can be a little confusing. The first is to tap the sharing arrow for the for the whole page, the same way you’d share any web page. Doing it this way adds a rich preview to the note.
The second way is to select some text in the web page and use the Share button in the popover that appears. This shares the text, but doesn’t save the URL or a preview. To work around this, you should select the text and copy it. Then, you should share using the whole-page arrow method, the first one listed above. Then, you should Paste your copied text into the field: Add text to your note…. That way you get the rich link, as well as your clipped text.
Vacation scrapbook
When your vacation is over, you can just delete the note, or unshare it. But what about using it as a kind of vacation scrapbook? You can keep using the note during your trip to save interesting places you find, as well as photos of things you want to remember, like badly-translated restaurant menus. All of those are useful during the trip, but a year, or even a decade later, you can look back on it. To keep your not safe until then, you can lock it in the app using a pass code, or you can export the entire note, via email, say. After all that work you put in, it seems a shame to lose it.
