PDFs are fantastic. If you send somebody a PDF, you know it will look exactly the same on their computer as it does on yours. Same if you print it. But if your PDF contains a lot of images, it can quickly swell to an impractical size, making email impossible. Today we’re going to find out how to shrink that huge PDF dramatically, while making almost no difference in quality to the images therein. And we’ll do it using an app that’s already on your Mac, hidden in the Utilities folder: ColorSync Utility.
ColorSync Utility does a whole lot of useful stuff, but today we’ll look at its PDF tricks. Specifically, its PDF filters, which — as the name suggests — can slice and dice PDFs in all sorts of ways, making them B&W, making them lighter or darker, and reducing the file size. Today we will:
- Create a new size-reduction filter.
- See how to use it on any PDF.
Laugh! At ColorSync Utility’s default filters
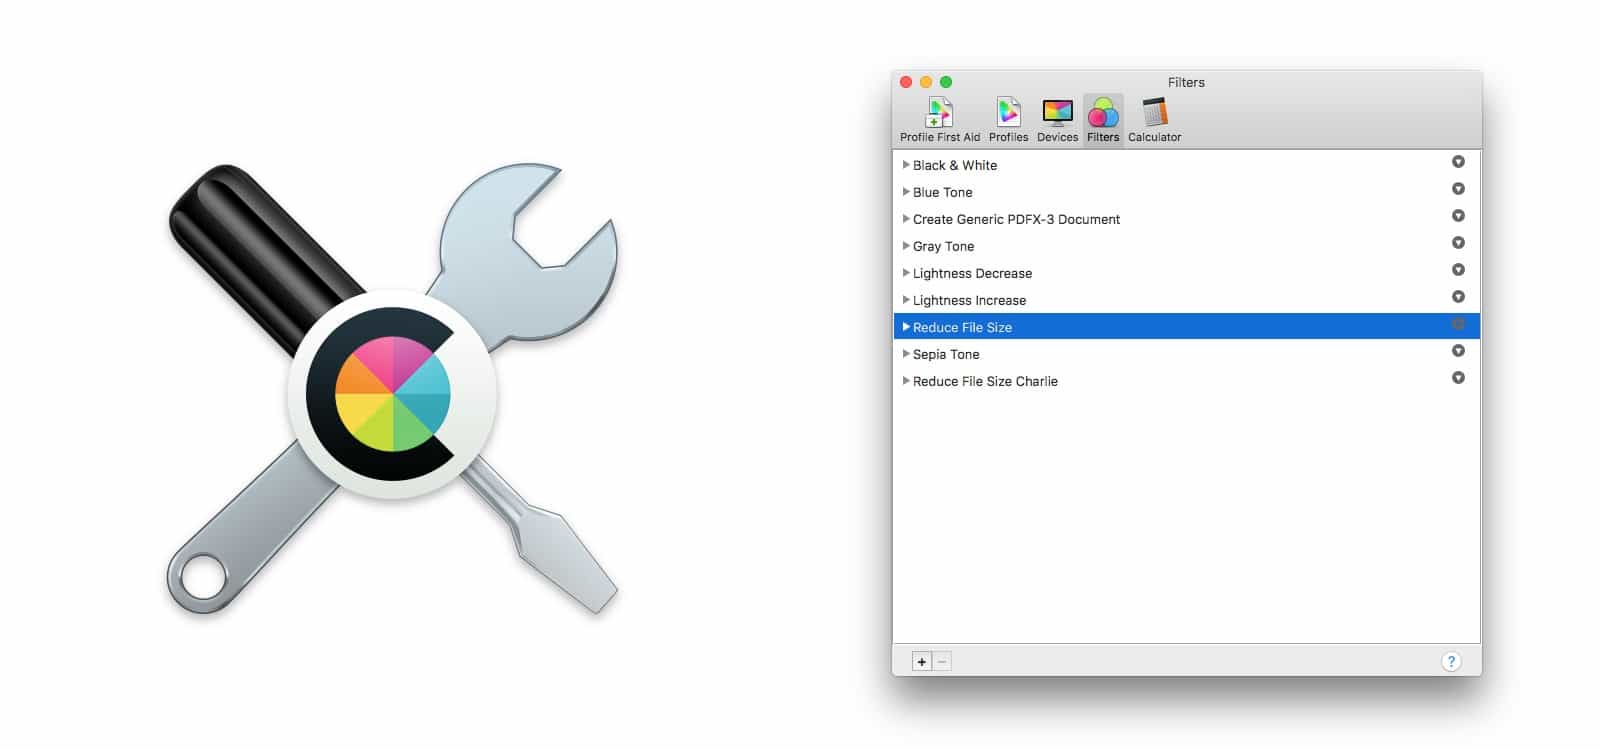
First, open up the app. You’ll find ColorSync Utility in your Mac’s Utilities folder, inside the Applications folder. Launch it, click on the Filters tab. It’ll look like the image at the top of this post.
You’ll see that there is already a Reduce File Size filter in there. Forget that, though. It’s hopeless. It does indeed reduce the size of a PDF, but it makes a real hash of it. Imagine that you asked a clumsy friend to wash your dishes, and he got them perfectly clean, but also smashed them into a zillion shards of crockery and glass. That’s how ColorSync Utility’s Reduce File Size filter works. Take a look at a sample:
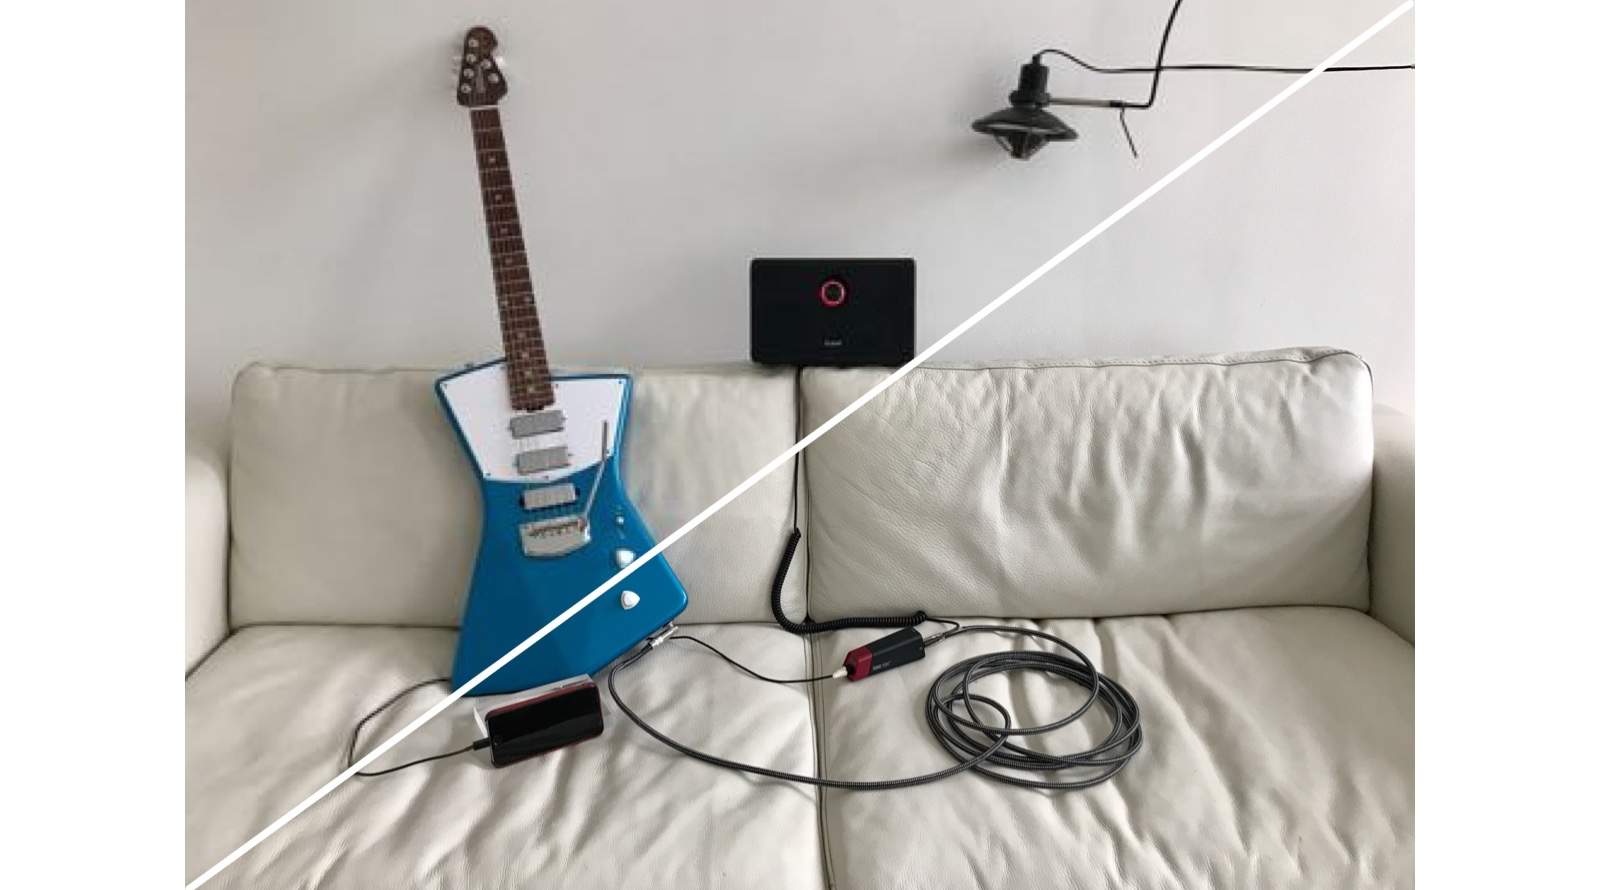
Photo: Charlie Sorrel/Cult of Mac
Bottom left is the original image (I made a quick PDF by selecting a bunch of photos in the Mac Photos app, and printing them to a PDF). Top right is what ColorSync Utility seems to think is an acceptable tradeoff between quality and file size. And for the record, size is reduced. The original is 66MB, while the processed version weighs just 283kb! Surely, you’re thinking, there lies something between those two extremes.
You’d be dead right.
Create a size-reduction filter with ColorSync Utility
To begin, we will make a copy of this joke of a filter. To do so, just click on the downward arrow on the right of the filter name. Then choose Duplicate Filter, and double-click the resulting filter to rename it. I called mine Make Smaller. Now we’ll edit the default values to make the image compression less extreme.

Photo: Cult of Mac
Click the disclosure triangle to expand the filter’s options. You’ll see Image Sampling and Image Compression. Go ahead and delete the first one, Image Sampling. It’s overkill for our purposes. Another time, you might also like to experiment with its settings to fine-tune the filter to your needs.
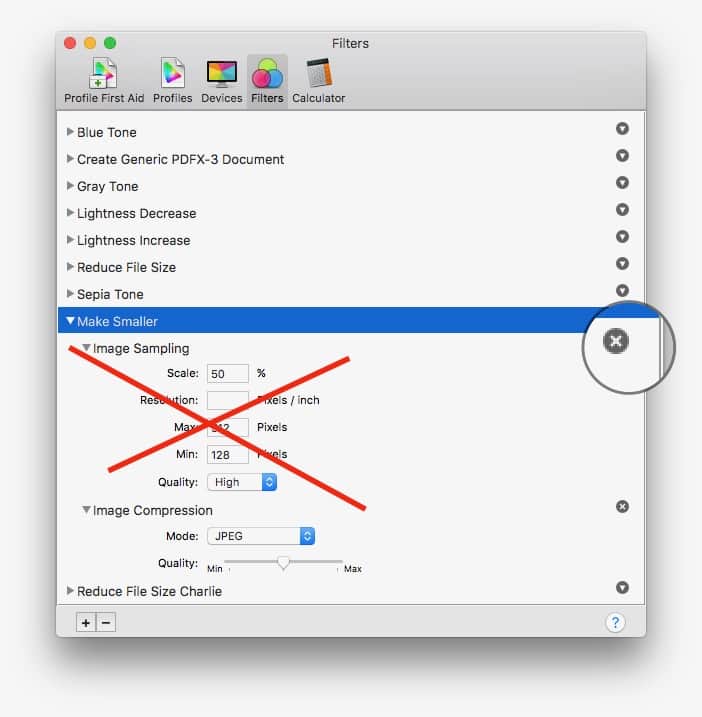
Photo: Cult of Mac
That leaves us with Image Compression. Go ahead and click the triangle to expand the settings. All we’re going to do is move the Quality slider on the JPEG settings. Right now it’s on half way. We want to slide it up to around 70%, which in almost all cases offers the best size:quality ratio.
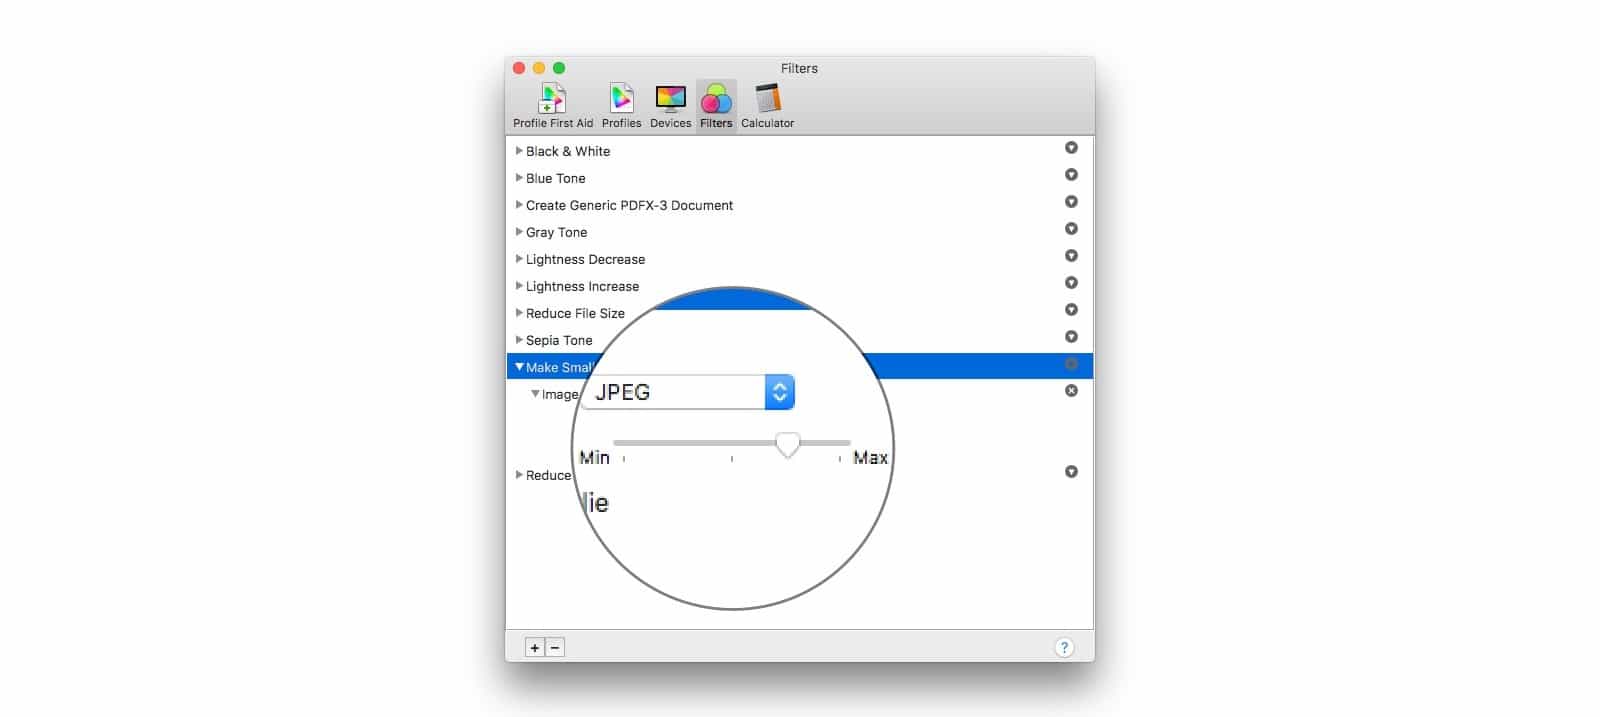
Photo: Cult of Mac
That’s it. You’re done with the filter. Go ahead and close the window.
Using the ColorSync filter to reduce PDF size
Now you have your filter, what do you do with it? You used to be able to access these filters from right inside the Mac system print dialog, so you could apply them whenever you created a PDF. They took that out, Lord knows why. Now you have to open your PDF with ColorSync Utility and work from there. Luckily, it’s easy. Step one, drag your PDF onto the ColorSync Utility icon in the Finder (or in the Dock), or hit File>Open… in the menubar (Command-O), and navigate to your file.
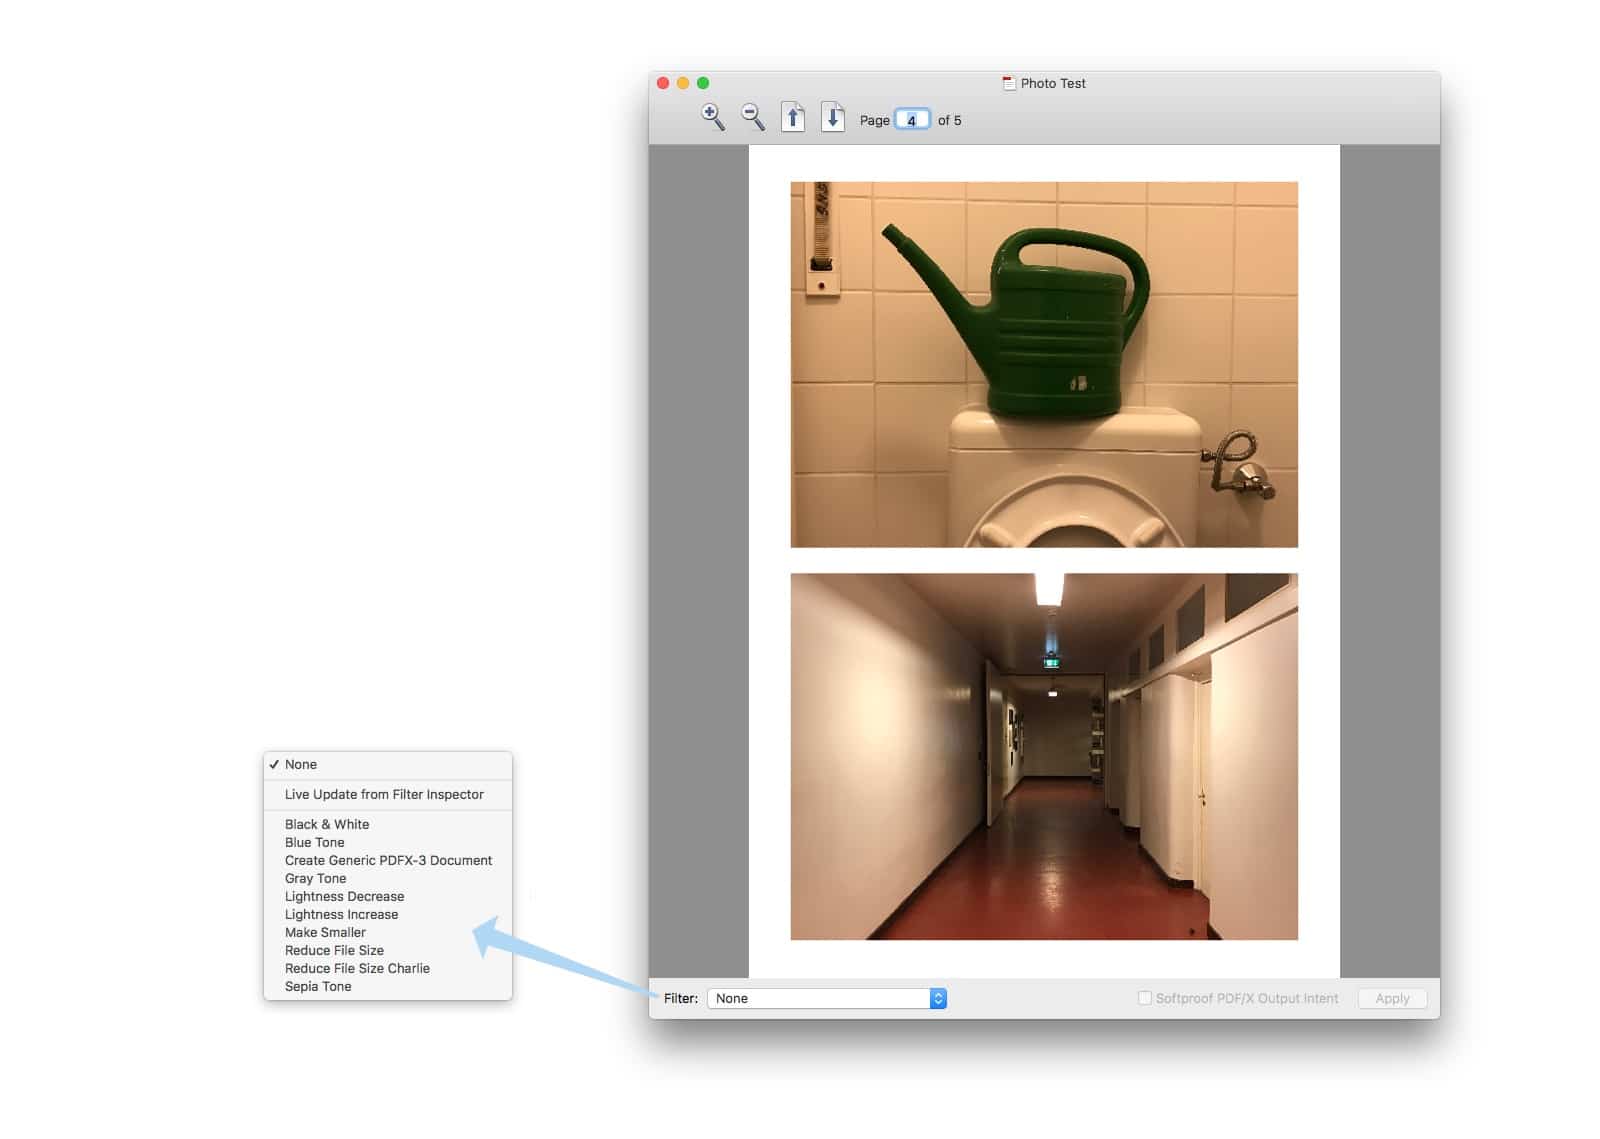
Photo: Cult of Mac
Click on None, and pick your previously created filter. Click Apply. The preview updates live to show you the effect your filter is having. In this case, you probably won’t notice much difference, which is a good thing. Go ahead and select some other filters to see what they do. I’ll wait.
Now, with your own filter applied, go ahead and save the new file. Hit ⇧⌘S, or pick File>Save As… from the menubar. That’s it. Let’s take a look at the result.
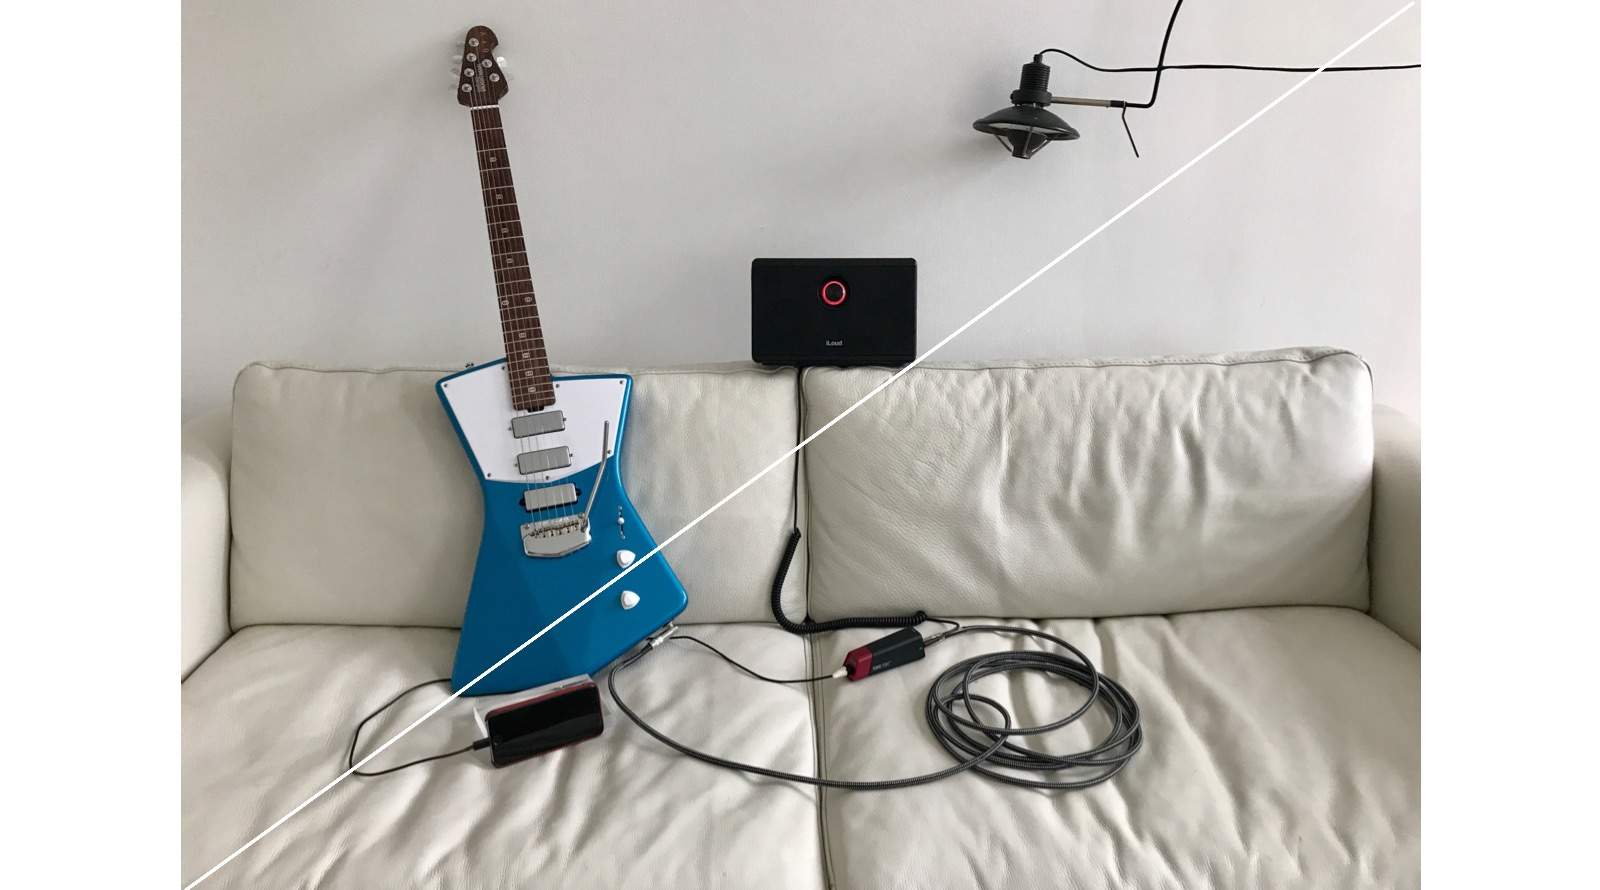
Photo: Charlie Sorrel/Cult of Mac
Mine comes out at 7.4MB, just over a tenth of the size of the 66.6MB original.
Not bad, right? Especially when compared to Apple’s joke of a preset. If you use this trick often, you might consider keeping ColorSync Utility in your Dock for quicker access. Now, go ahead and enjoy people no longer hating you because you keep sending them huge PDFs.
