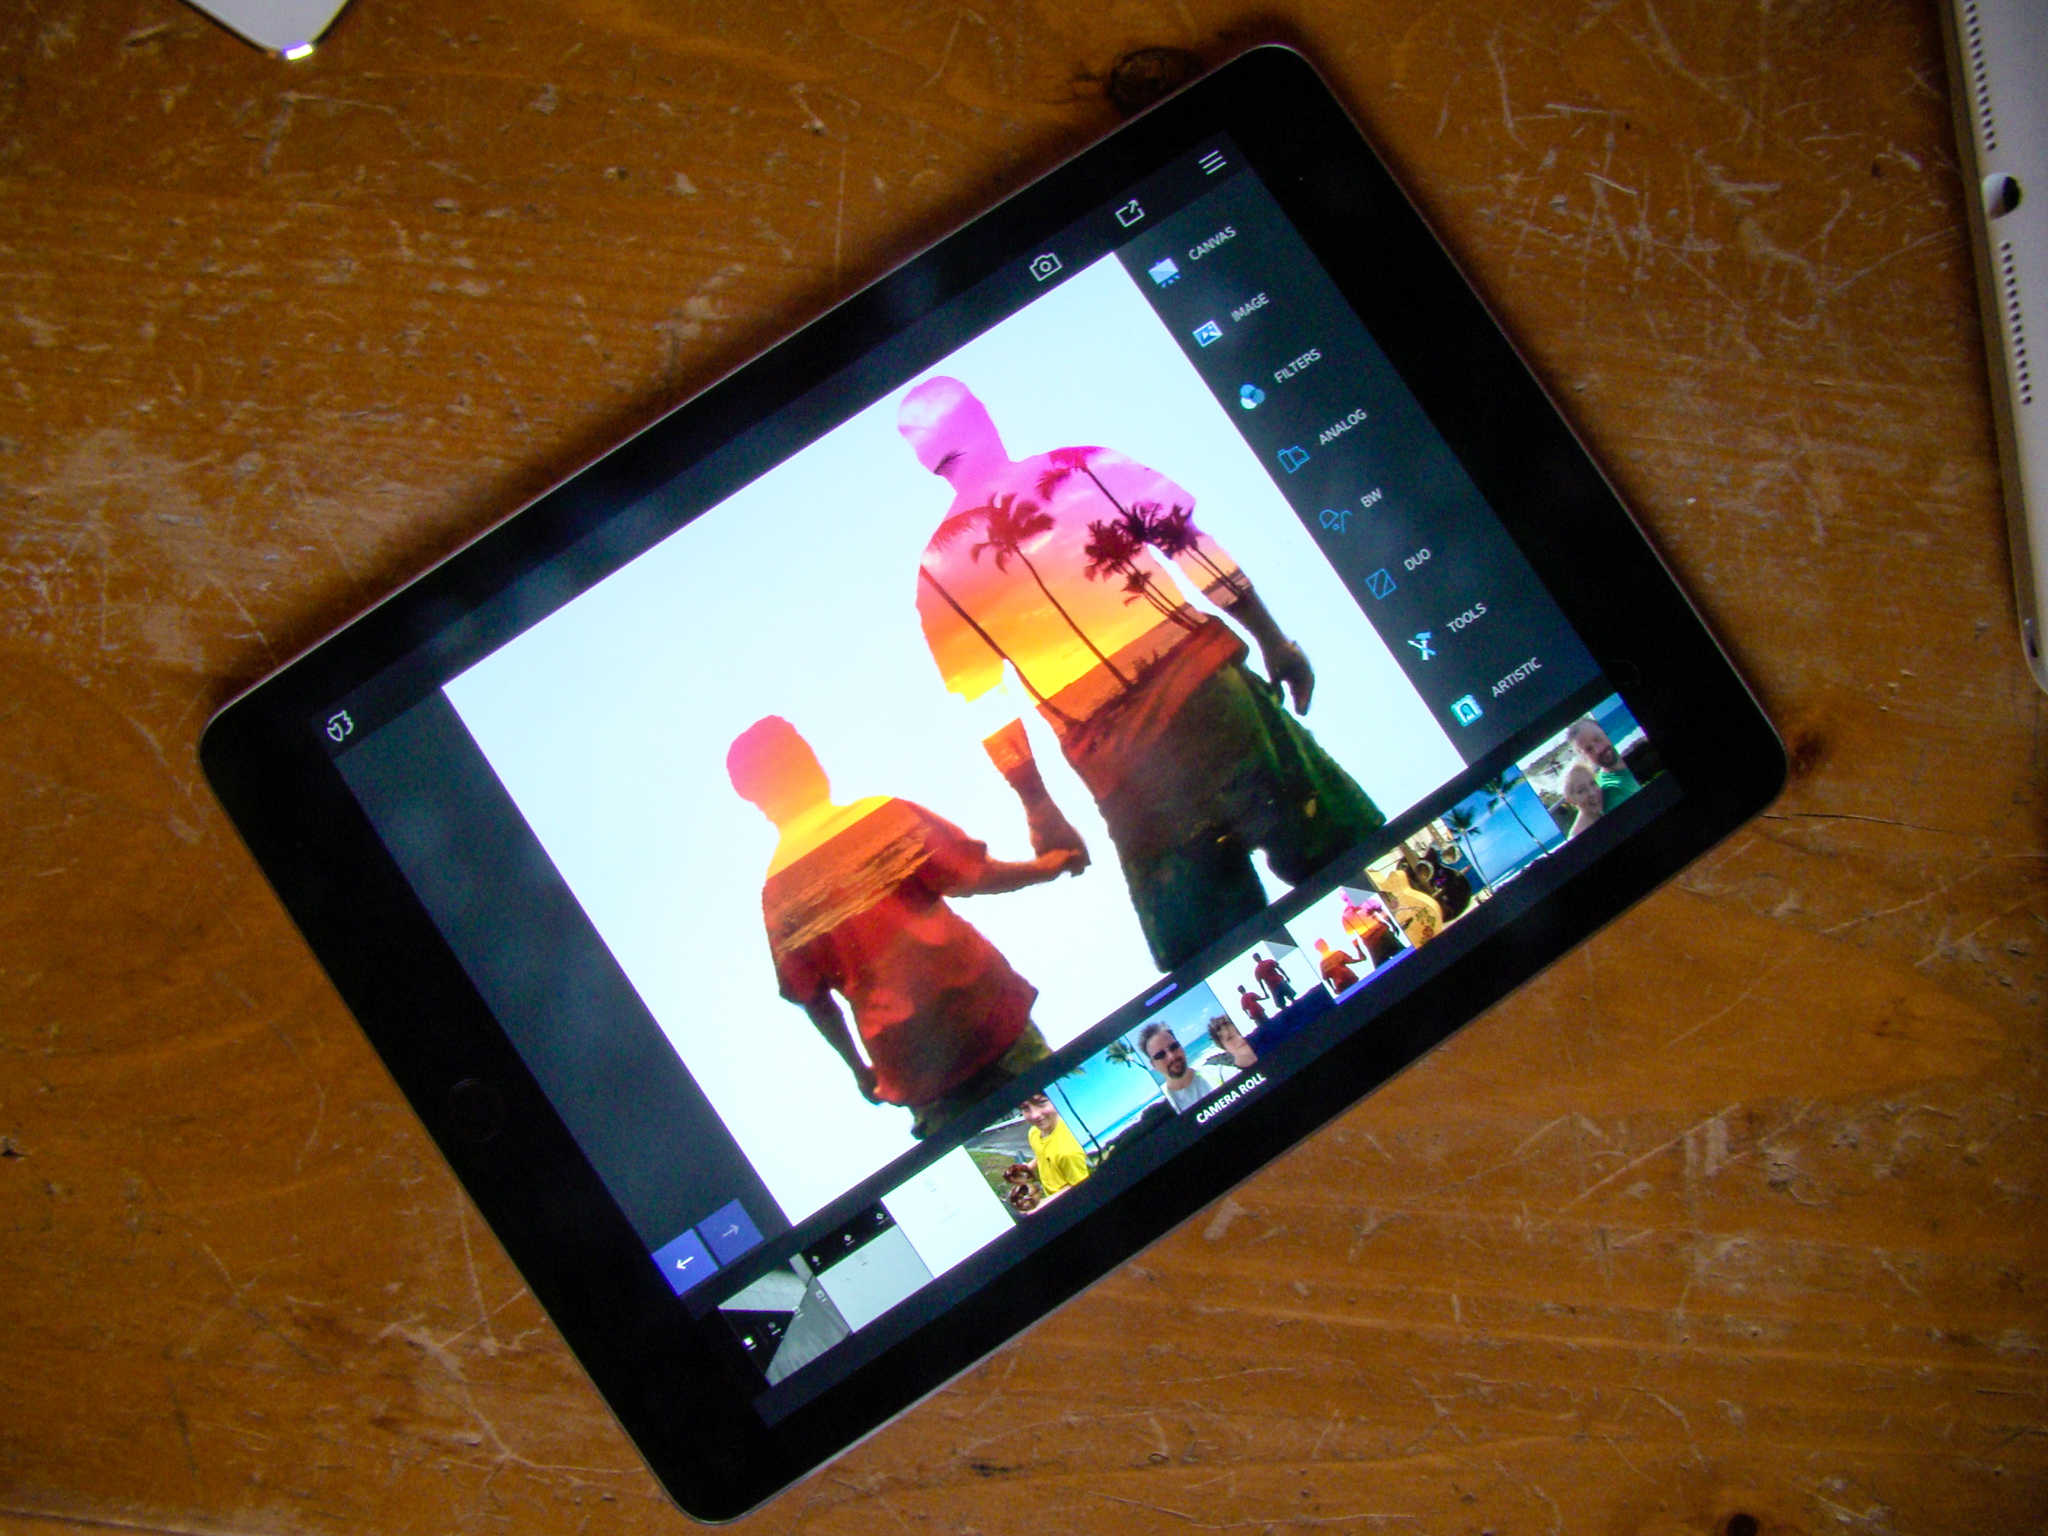
If you want to create amazing images like the one above, Enlight is a fantastic way to do so on the iPad (or iPhone).
Most of us don’t want to take a huge amount of time, either, learning how to create these images in-camera or with a big application like Photoshop.
Enlight makes it so easy, even a photo newbie like myself can create amazing double exposures with Enlight in just a few minutes.
Prep your source photos in Enlight
Launch Enlight, then choose two photos: the image you want to superimpose on top, and the image you want to choose for the base layer. I chose a picture of my brother and his son looking out over the ocean in Hawaii for the top layer, and a sunset with palm trees from the same trip for the bottom layer.
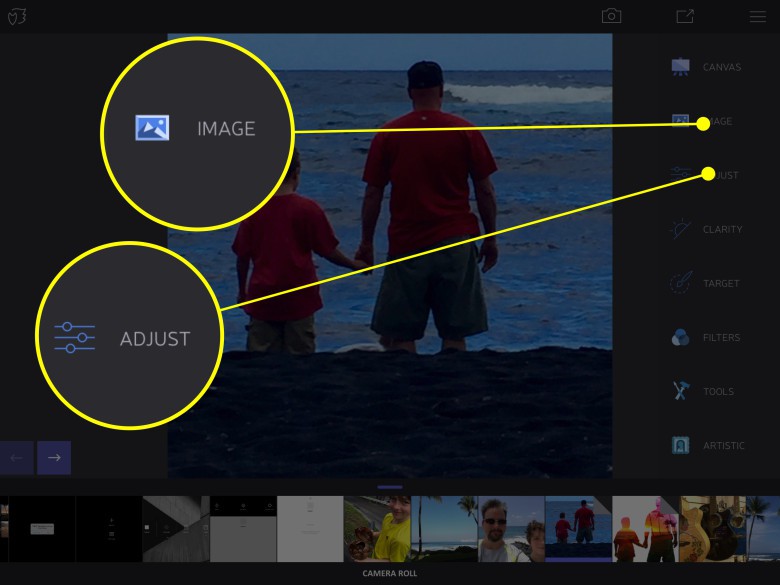
Photo: Rob LeFebvre/Cult of Mac
From within Enlight, tap on the photo you want to use for the top layer, then tap on the menu icon in the upper right of the Enlight screen (looks like three horizontal lines). Next, tap on the Image icon, then the Adjust icon. Finally, tap on the Tools button underneath all the automatic adjustments, then Basic, then Offset.

Photo: Rob LeFebvre/Cult of Mac
With Offset chosen, drag your finger from the middle of your photo to the right. The entire image will turn white. Next, tap on the Mask button at the bottom of your screen. The Apply brush icon will be selected (it’ll be a blue color, rather than white). All you do next is rub away all the stuff in the photo you want to disappear. It’s a bit like knocking out a background in Photoshop, only much less fiddly.
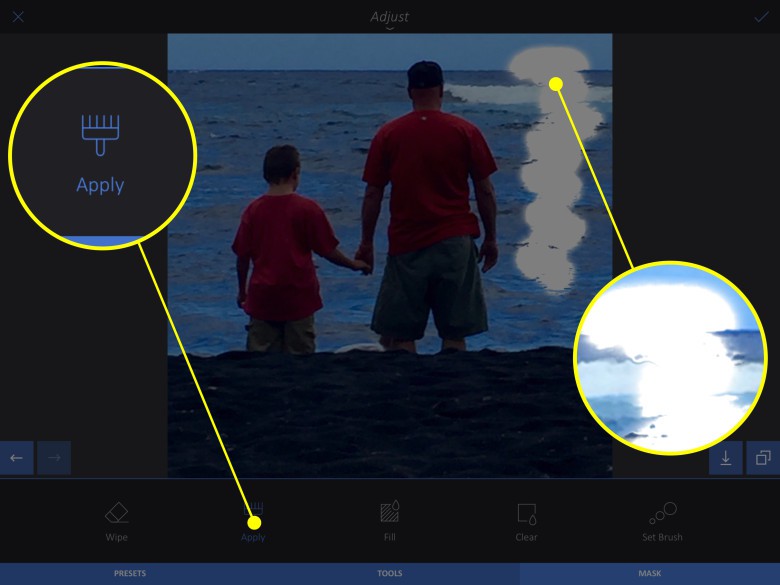
Photo: Rob LeFebvre/Cult of Mac
Zoom into your photo with a pinching out gesture to get up close to the edges of the areas you want to keep. Enlight does a surprisingly great job of recognizing these edges. If you make a mistake, just hit the back arrow to the left. Move around the photo with a two-finger swipe and knock out the entire background. When you’re done, tap the checkmark in the upper right corner to save your edits to this top layer photo.
Mix the photos together
Now, you’ll want to go back to the photo chooser and tap on the photo you plan to put on the bottom layer. Once you do that, tap on the Tools icon, then the Mixer icon in the menu. Next, tap on the top layer photo (the one you just masked with white) and adjust it by pinching in or out to change the size and dragging it around the screen for optimum placement.
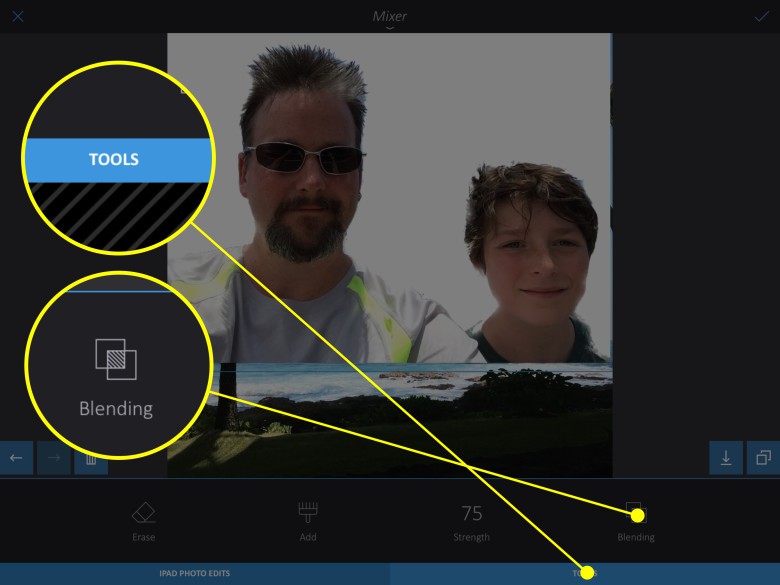
Photo: Rob LeFebvre/Cult of Mac
Once you’ve found the perfect spot and size, tap the tools button at the bottom of the screen (under the thumbnails) and then tap on Blending. You’ll next want to swipe all the way to the left to find the Lighten blending option. Tap on it to see what parts of your underneath photo will show through the top photo. You can also drag your finger up and down the right side of the screen to add less of the lighten effect and show your bottom photo through more. Tap the checkmark when ready.
Add filters to your double exposure
Now you can get even funkier with your base image to get some amazingly artistic effects. Bring up your double exposure (if it’s not already up and ready to edit) and tap on the menu again (the three horizontal lines). Next, tap on Image, then Filters. Choose the Duo filter option, then tap the Tools button at the bottom.
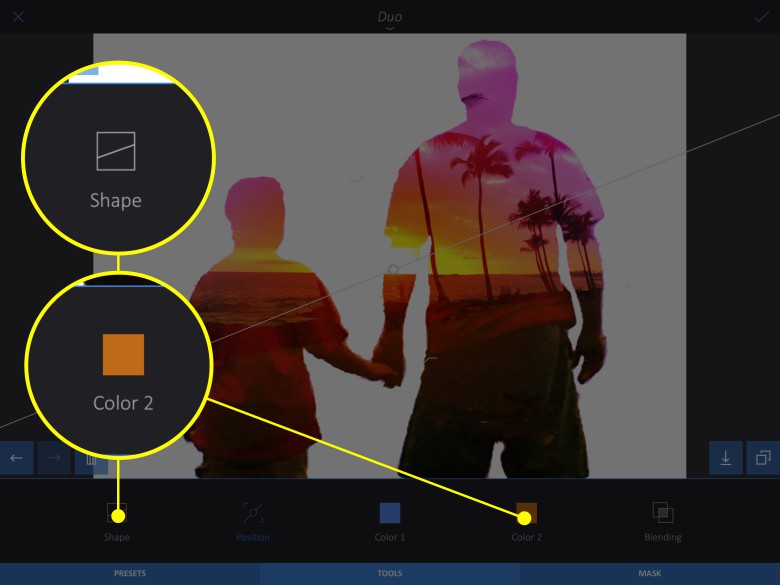
Photo: Rob LeFebvre/Cult of Mac
You can now tap the Shape icon and choose Linear. Adjust the effect line up and down with a drag, and then adjust the spread of the effect by dragging up or down on the arrows above and below the main line. You can change the rotation of the effect line as well by rotating two fingers on your iPad. Tap Tools again and change Color 1 and Color 2 to whatever floats your boat.
Now you’ve got a completely unique image from two of your own photos, right on your iPad or iPhone, with a very minimum of effort, thanks to this amazing app, Enlight, available for $3.99 on the iTunes App Store.
Via: 13th Design
