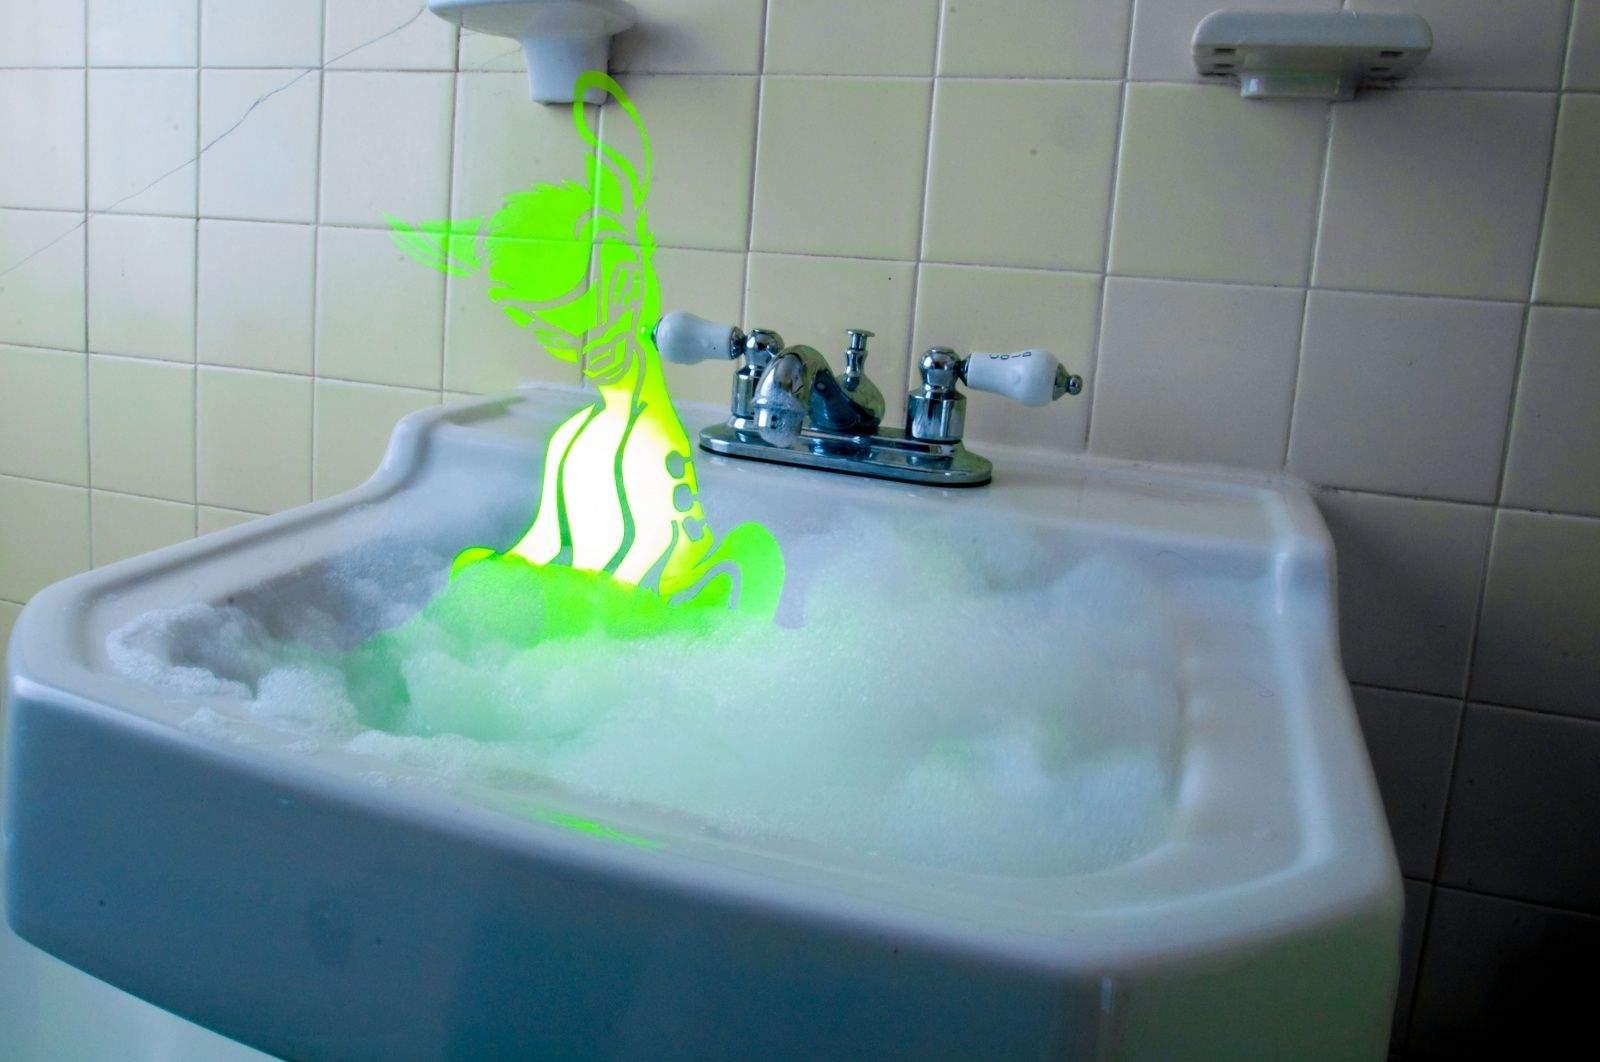
Photography is all about light, and photographers are all about light painting. There are many tricks to try, from isolating objects with incandescence outside the frame to shining light directly at the camera as in Janelle Pietrzak’s Bambi series, created using light stencils.
Creating this interesting analog photo effect doesn’t require any special equipment, just a detachable flash, some craft materials and a lot of imagination.
Darker environments require long exposures to pick out details. When a flash goes off behind a light stencil, the image is recorded immediately but the box holding the stencil, and you removing the stencil from the frame, will be too dark to be seen.
“I had all the blinds closed and lights off, but with the long exposure there is enough light that ultimately it looks and seems bright,” Pietrzak says. “The aperture was at f22, and the ISO was probably at 100. Anything to get the exposure to be a bit longer.”
There are groups of avid light painters all around the world. They collect at websites such as Light Painting Photography and in Flickr groups, sharing tips and holding contests. It’s fun, it’s accessible, and to help get you started, Pietrzak is here with a light stencil how-to.
Check out these step-by-step instructions for creating analog photographic effects with a light stencil.
- Find a box that will accommodate the size of your stencil design.
- Remove one side of the box as if you were making a diorama.
- Cut a hole opposite your box opening for a remote flash. Your device should be easily triggered without shaking the light stencil. Seal everything with gaffer’s tape and be careful to hide any indicator lights that may be on your flash.
- Create your stencil using a nontransparent material such as cardboard, heavy poster board or black construction paper. I like construction paper because it’s the easiest to cut with a razor blade, but it needs to be handled carefully to prevent creases or tears. If needed, use spray glue to back the stencil with transparent vellum.
- Back the completed stencil with tissue paper the same color as you’d like the stencil to appear. The thicker the tissue the truer the color. Layer it, as the flash can wash out thin tissue. If you want the stencil to appear white, you only need to add white tissue paper if you’ve backed the stencil with vellum.
- Tape the stencil over the front of the box using gaffer’s tape. Be careful about light leaks.
- Set your camera for a long exposure, as long as the available ambient light will allow. The longer the exposure, the easier it is to get a good light stencil.
- Trigger your camera and then, with the stencil facing the camera, trigger the flash. Move the light stencil out of the frame as soon as the flash has gone off. The faster you move, the less likely you will see a shadow of you or the box.
- Start in the dark for at least 30 seconds and work your exposure time down from there as you get comfortable with the process.
- Practice! Practice! Practice!
- Experiment! Experiment! Experiment! Try making a cone-shaped box, inserting the flash at different angles or lining the box with tinfoil to improve the evenness of your stencil. Experimentation is key, so get creative.
- Have fun!
You can also check out this video for extra tips and visual aids:


