There’s no iTunes for iOS. Thank God, some may say — after all, iTunes on the desktop is Apple’s Office, a bloated, do-it-all app that does nothing well, and is impossible to kill. But this also means that there’s no good way to save and wrangle music files on iOS — not from Apple at least. Which is where Kymatica’s AudioShare comes in. AudioShare is really a tool for musicians and other folks who work with sound, but it is so useful, and so easy to use, that everyone should have it on their iPhone and iPad to deal with audio files of all kinds.
What does AudioShare do (and what doesn’t it do)?
First, AudioShare isn’t an app for listening to well-crafted playlists. It can’t even play all the mp3s in a folder one after the other. And neither is AudioShare a way to get music into Apple’s Music app. To do that, you still need a Mac or PC running iTunes. But for almost everything else that you can do with a music file, AudioShare has you covered. Here’s a quick list of some highlights:
- Import/export music files to and form other apps, or other devices.
- Convert audio files into other formats (WAV, MP£, AIFF, CAFF).
- Trim, and otherwise clean up audio tracks.
- Record audio, from a microphone, or from another app, and even add audio FX.
Let’s take a look at these in a little more detail. To do so, we’ll record a track, edit it, convert it into a format good for sharing, and then share it, all inside AudioShare. But first, a quick look at importing already-existing files.
Importing into AudioShare

Photo: Cult of Mac
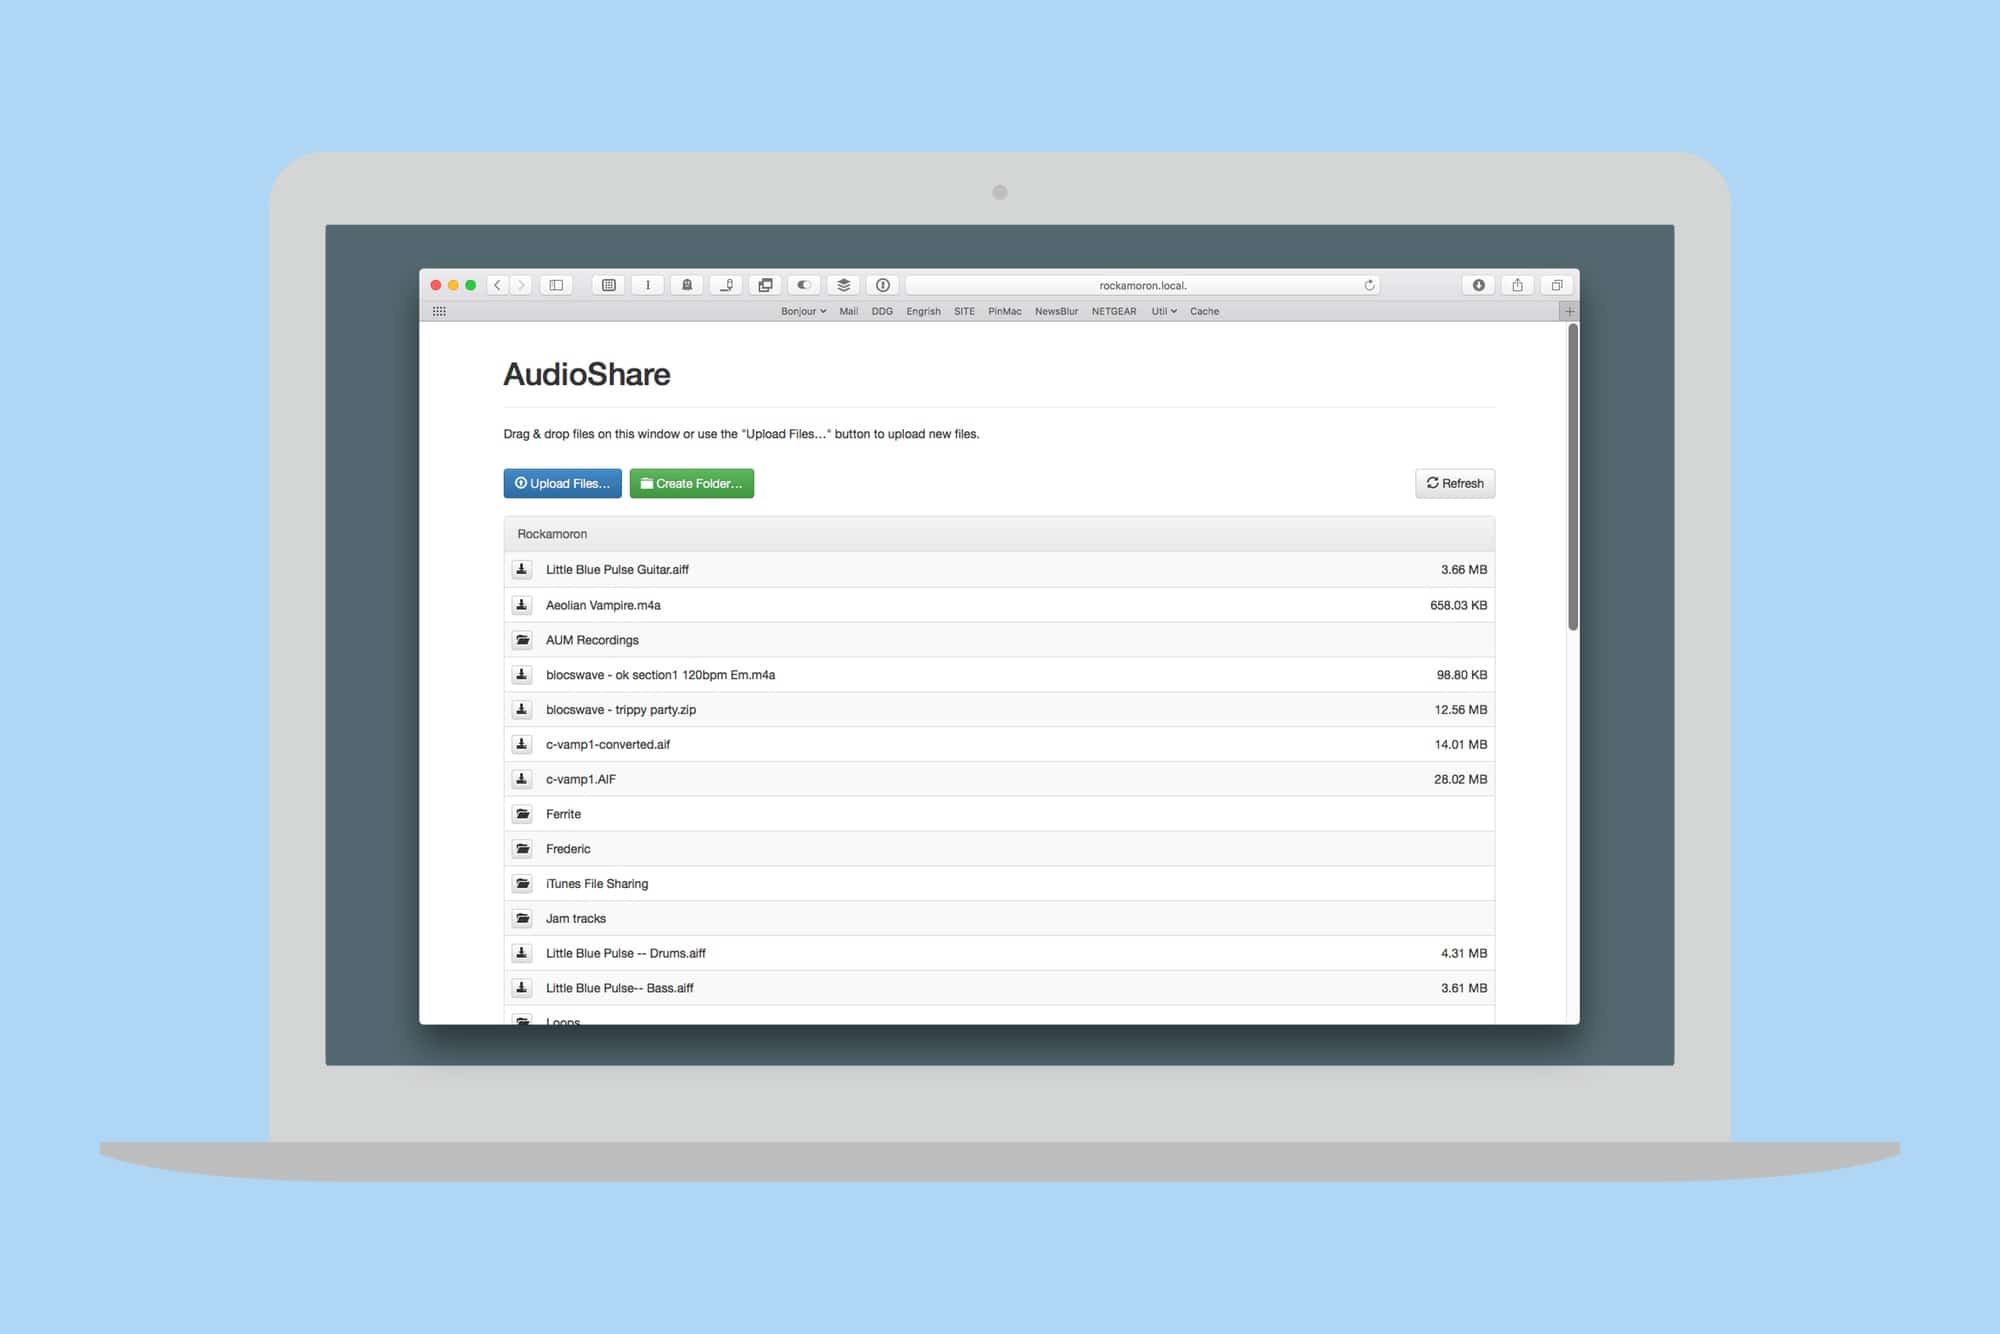
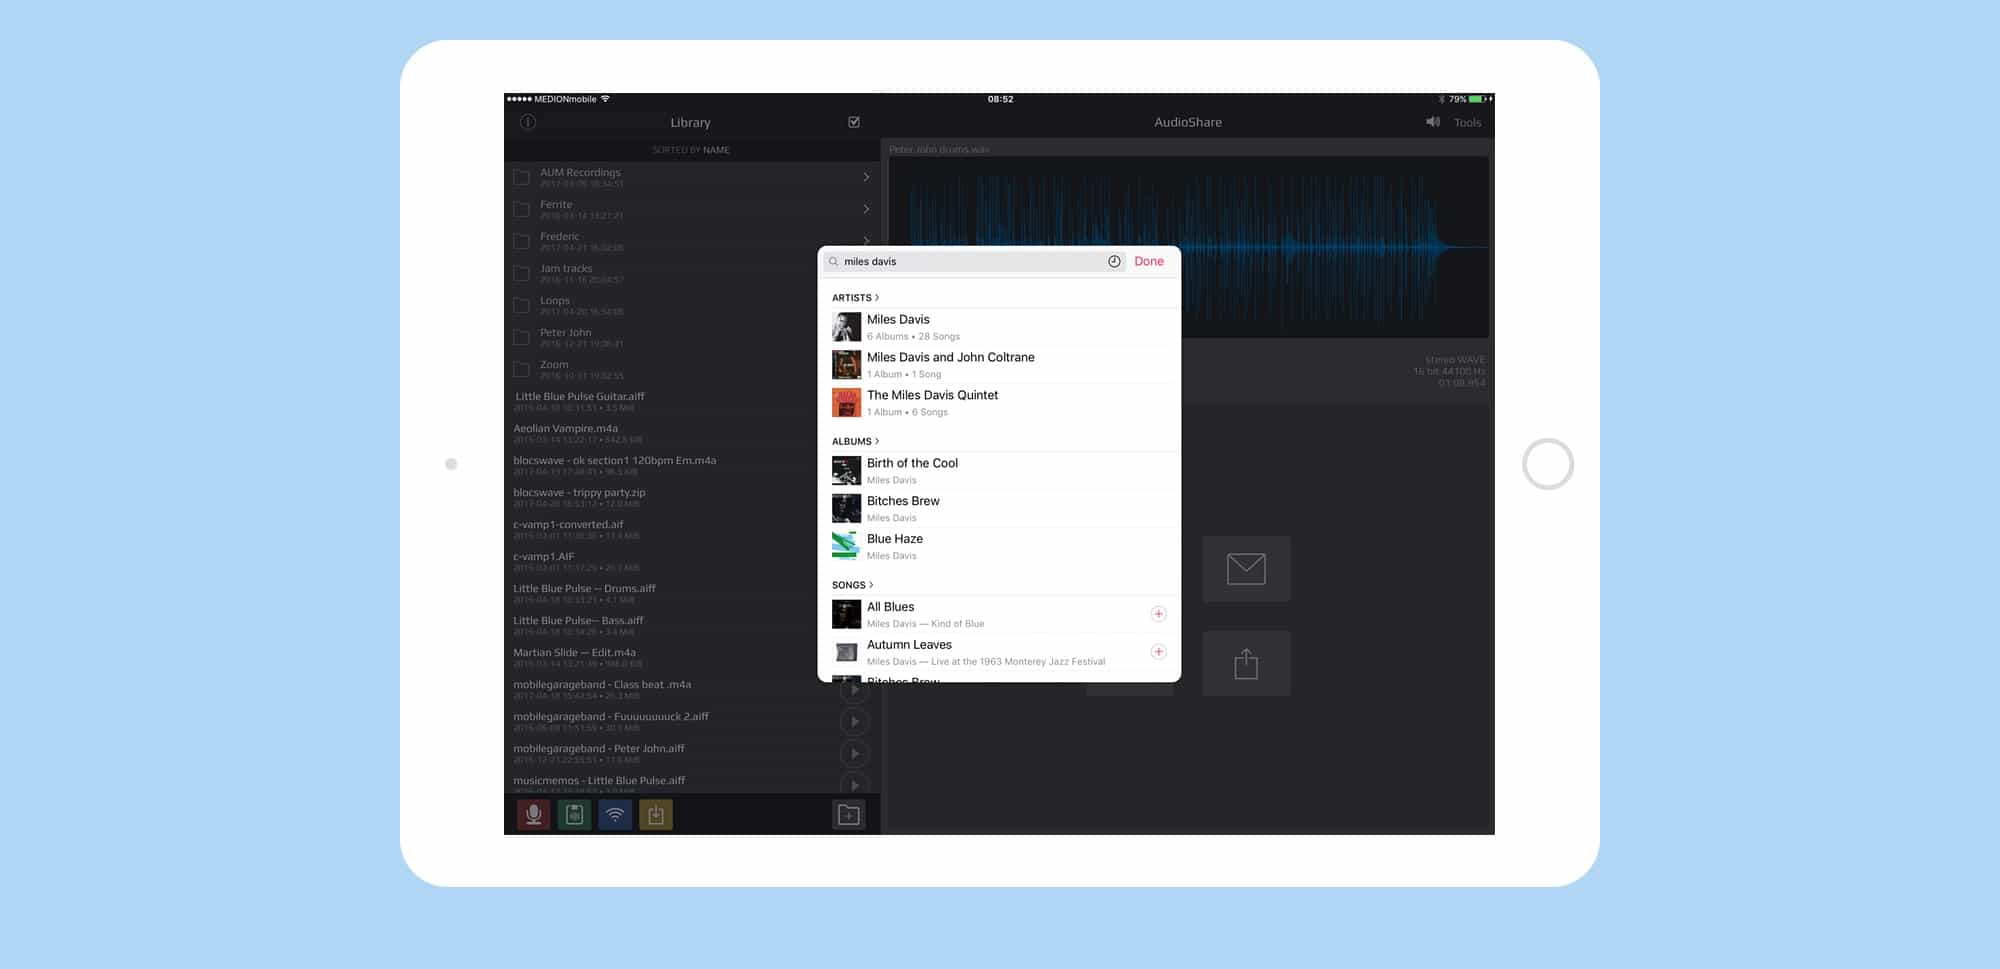
AudioShare is a great hub for audio found elsewhere. Not only can you Open in… pretty much any audio file from another app and store them in AudioShare, you can also import files from the iOS clipboard, from Dropbox and iCloud Drive, from any other app that supports there standards iOS document picker, and — this one may be huge — your iOS Music library (for files which you’ve added yourself). AudioShare can even start up a web server to transfer files directly from computers on your local network, via their browsers. And once you have grabbed that file, you can do anything.
Recording in AudioShare

Photo: Cult of Mac
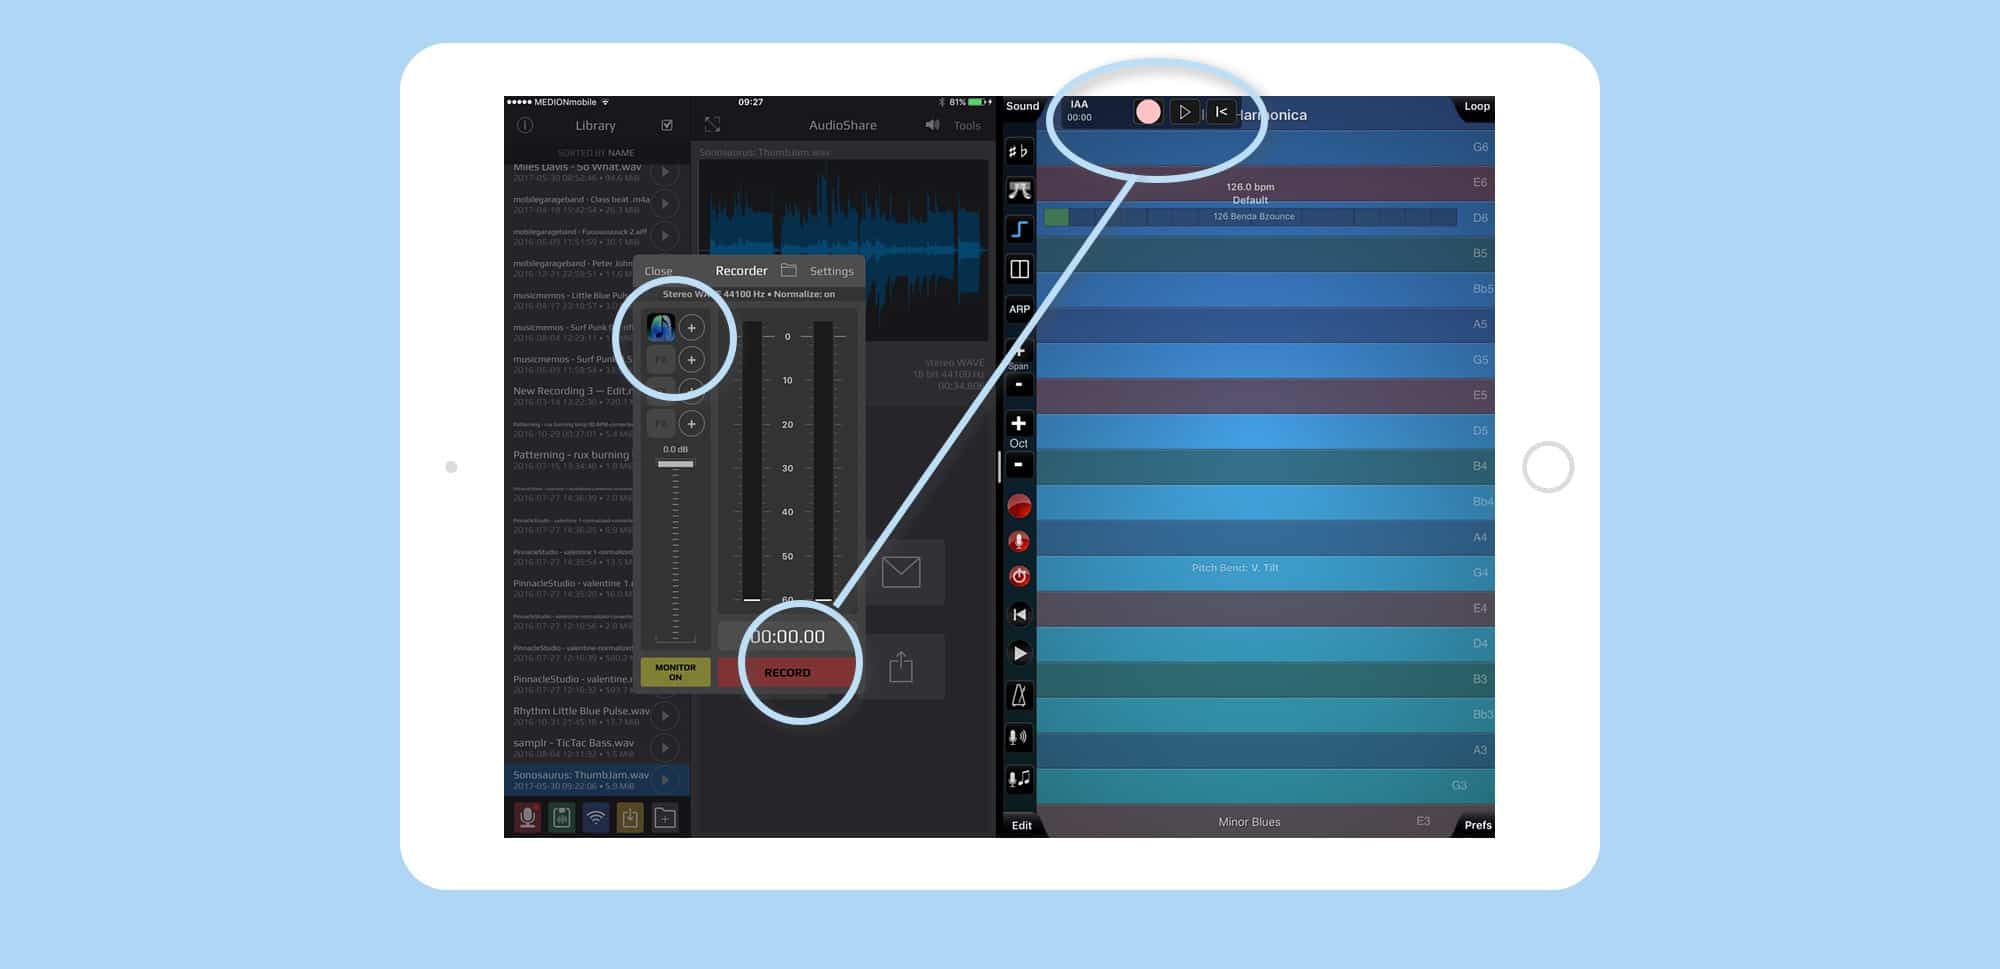
Let’s begin with a recording. To get fancy, we’ll record it from another app on the iPad. This could be something like a guitar amplifier simulation app, where you plug in a real instrument and record that, but today we’ll use ThumbJam by Sonosaurus, because it is pretty much the only app on my iPad that works in split-screen view. Remember, though, that AudioShare can record quite happily in the background. It doesn’t have to be on screen to work. AudioShare can record any app that uses iOS’ Inter-App Audio (IAA) to share its output with other apps.
-
- Tap the red Record mic in AudioShare, at bottom left.
- In the resulting popover window, tap the + next to the mic input. Then choose your source app from the list of IAA apps. If you want to record audio from a mic, or connected hardware, you can pick that here too. You may want to record a podcast, say.
- Choose any audio FX you want to add, in the same way you chose the audio source. We’ll skip this today.
- Hit Record.*
- Switch to the other app.
- Play music!
* In many apps, you can use the IAA “transport” buttons to start recording. As you can seen in the screenshot above, these appear in the source app, and allow you to control play/record in the other, off-screen app. Because we’re working in split-screen, we don’t need that, but on an iPhone, or in apps that don’t use split-screen, it’s super handy.
When you’re done, tap Stop, and the file is automatically saved, and highlighted in the Library. If the file you want isn’t highlighted, just tap it to make it active.
Editing music in AudioShare

Photo: Cult of Mac
AudioShare’s editing is basic, but gives you everything you need. Tap the Tools button at top right, and you can Normalize, Trim & Fade, and Convert. Avoid normalizing the file unless you’re just about to send it to someone, and even then think twice about it. The tools you’ll be using most are the trim and convert tools. Convert lets you convert your files to another format, like MP3 for emailing, and trim lets you lop off the ends of the track. In my Thumbjam track, I recorded a little too much silence at the beginning, so I’ll remove that.
- Tap Tools, then Trim & Fade.
- Usr the handles at the ends of the waveform to select your start and end points. If you want these cuts to be smoothed off a little, then you can adjust the fade-in and fade-out time using the arrows.
- Fine tune your selection using Nudge, if you like.
- Tap Save.
A copy is saved, with “trimmed” appended to the filename. Other file operations you can carry out on this screen are creating a copy of the file, emailing the file, sharing it to another app, or uploading to SoundCloud, Facebook, Twitter, Tumblr, or Foursquare.
Before we do that though, lets zip ups few files, ready to send.
Organizing music in AudioShare

Photo: Cult of Mac
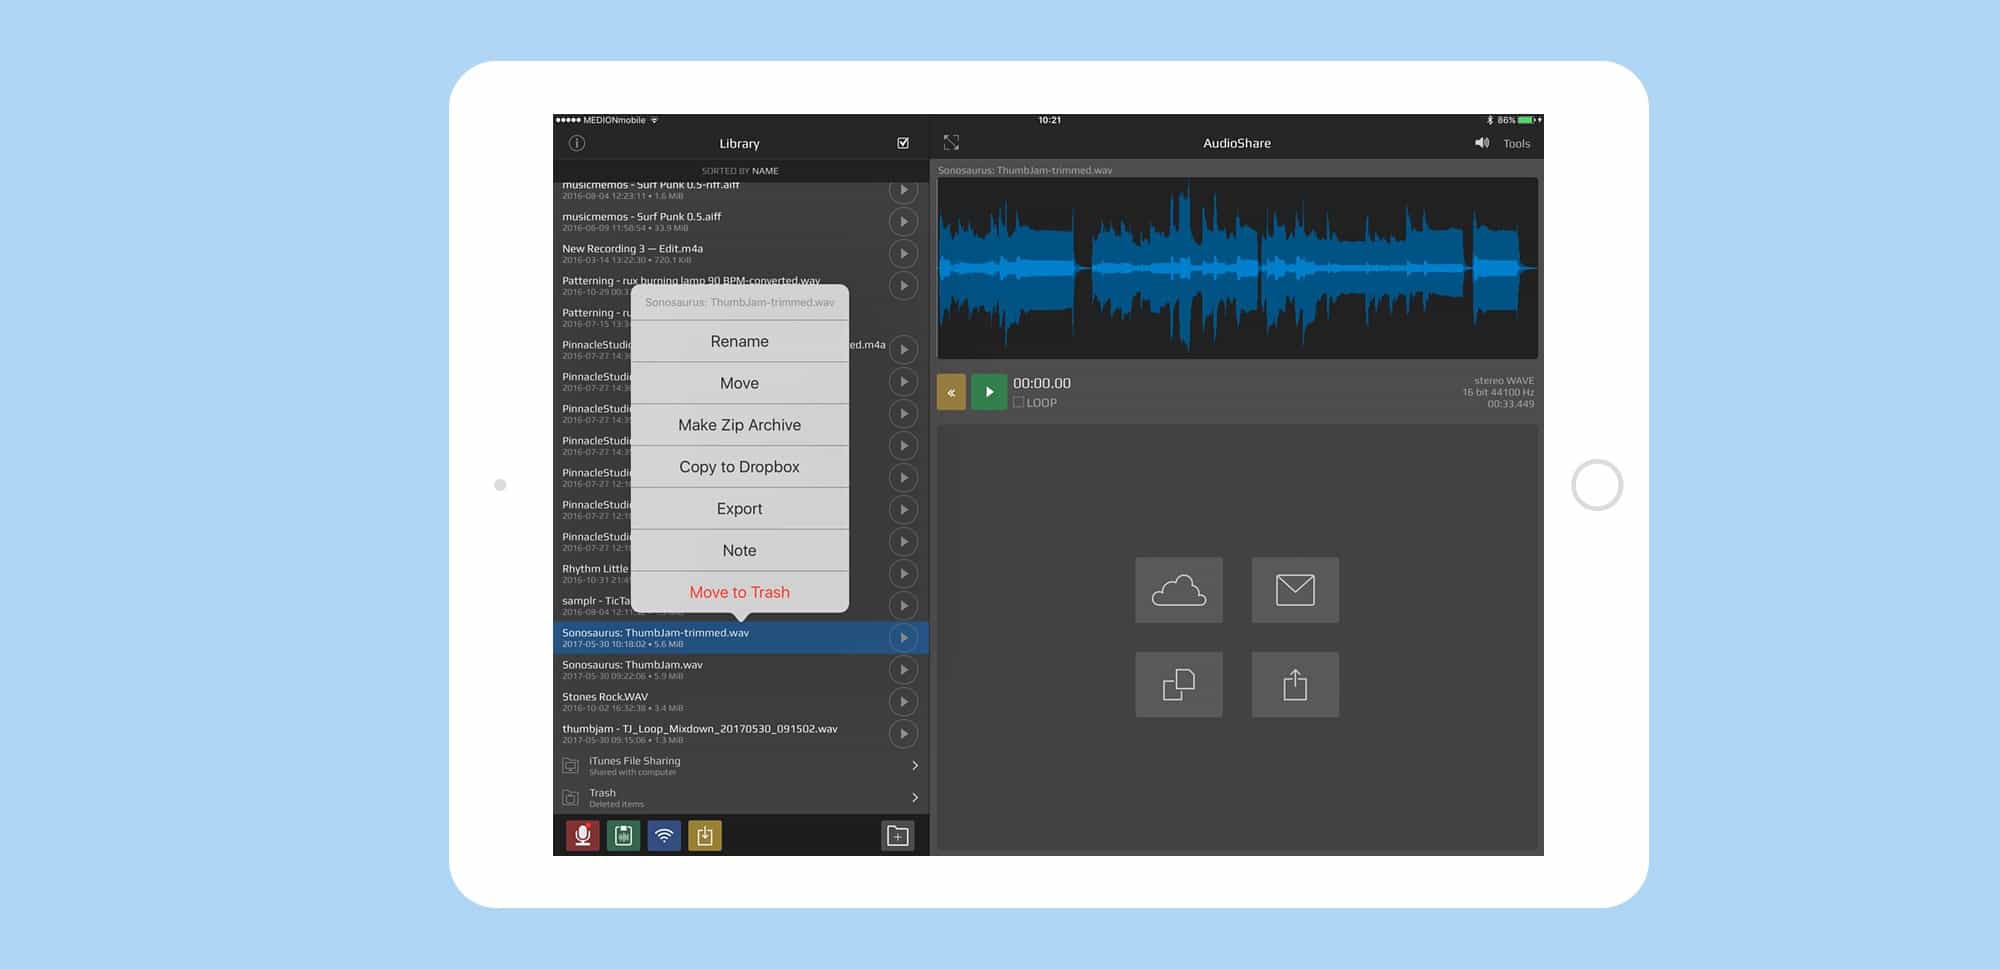
On the left, you see the Library panel. Here you can browse ands organize your files, renaming them, adding them to folders, an mots more. To get started, long-press a file. You get a list of options, as seen in the picture. Moving and renaming are probably the ones you’ll use most, but you can also a attach a text note, export the file, and zip several files. Let’s zip and share some files right now.
- Tap the multiple-selection checkmark above the Library panel.
- Select the files you want to zip by tapping on the little circles that appear next to each file.
- Tap the Move icon, the green inbox at the bottom of the Library panel, then tap the New Folder icon.
- Name the new folder.
- Tap Move items here.
- Long press the new folder.
- Tap Make Zip Archive in the list.
AudioShare can only zip a single item, like a file or a folder, which is why we had to make a folder first. The bonus of this approach is that anything you zipped is now nicely organized. The resulting zip file can now be shared, just like any other file.
Bonus tip: If you tap a zip file in the Library panel, AudioShare will offer to unzip it. That’s handy for when you receive a zipped folder of audio files, because you can open the zip in AudioShare and go from there.
There’s a lot more
AudioShare really is the handiest, do-it-all tool around when it comes to music on iOS. I’ve been using it for years, but even now it surprises me. Often I find myself looking for an app in the app store to do a specific task, before I think to try AudioShare. Usually it does what I need. What’s more, the app is only $5, and is Universal, so all this works on your iPhone too. You should probably go download it right now.


