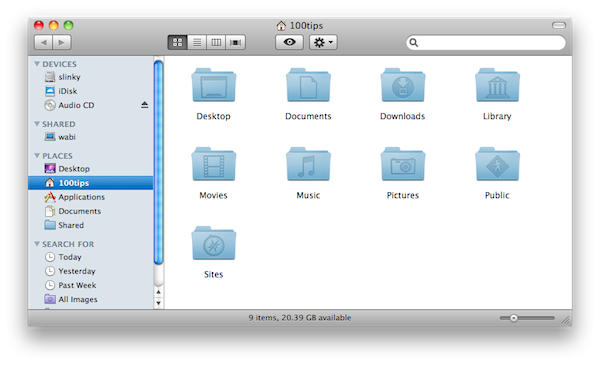
Here’s a typical Finder window:

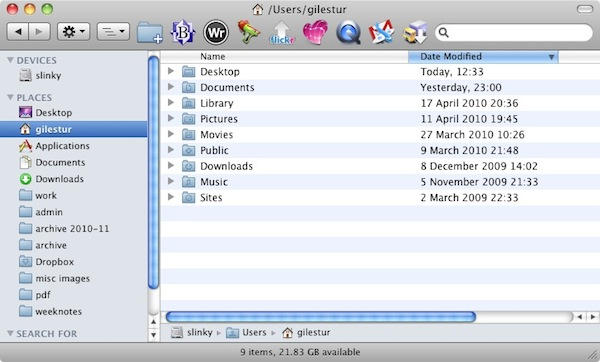
And here’s mine:

What’s different?
I’ve put a bunch of useful applications in the Finder toolbar (the line of buttons across the top of the window), so they’re always in reach when I want to open a file with one of them. (For those who’re interested, the applications are, from left to right: BBEdit, WriteRoom, AppZapper, Flickr Uploader, Skitch, Quicktime Player, Mailplane, and a Transmit droplet that uploads files to my webserver.)
I’ve picked them out because they’re the apps that I often drag stuff to. After a while using OS X, you might have your own set of apps that you’d like to have in easy reach.
You’ll be pleased to know it’s dead simple to add them to the Finder toolbar.
Open your Applications folder. Now just drag an app icon up to the Finder toolbar, and wait for a second or two – the other icons will shuffle to one side and make room for it.
Here’s a super quick screencast to show you how it works:
(You’re reading the 11th post in our series, 100 Essential Mac Tips And Tricks For Windows Switchers. Find out more.)


