This article first appeared in the Cult of Mac Newsstand magazine
The safest way to use your iPhone is to switch it off, open it up and remove the battery. But this is clearly impractical if you want to do anything more than pretend you have an Android phone.
Some guides have shown us how to increase our security by switching off all manner of services, from iCloud to geotagging for our photos. But if you do that, why buy an iPhone in the first place? And even if you only want to make calls, no amount of on-phone hackery will help you if the folks from The Wire are on your tail.
That’s not to say you shouldn’t be aware of what your iPhone is up to, and with this in mind we bring you a guide to the hidden and not-so-hidden settings you’ll need in iOS 7.
General
Settings> General> Passcode Lock
This is where you’ll find much of the official security settings and should be the first stop on your list. The Settings app is actually pretty crappily laid out, with some options appearing in two different places. The bit we’re interested in is Auto-Lock and Passcode Lock.
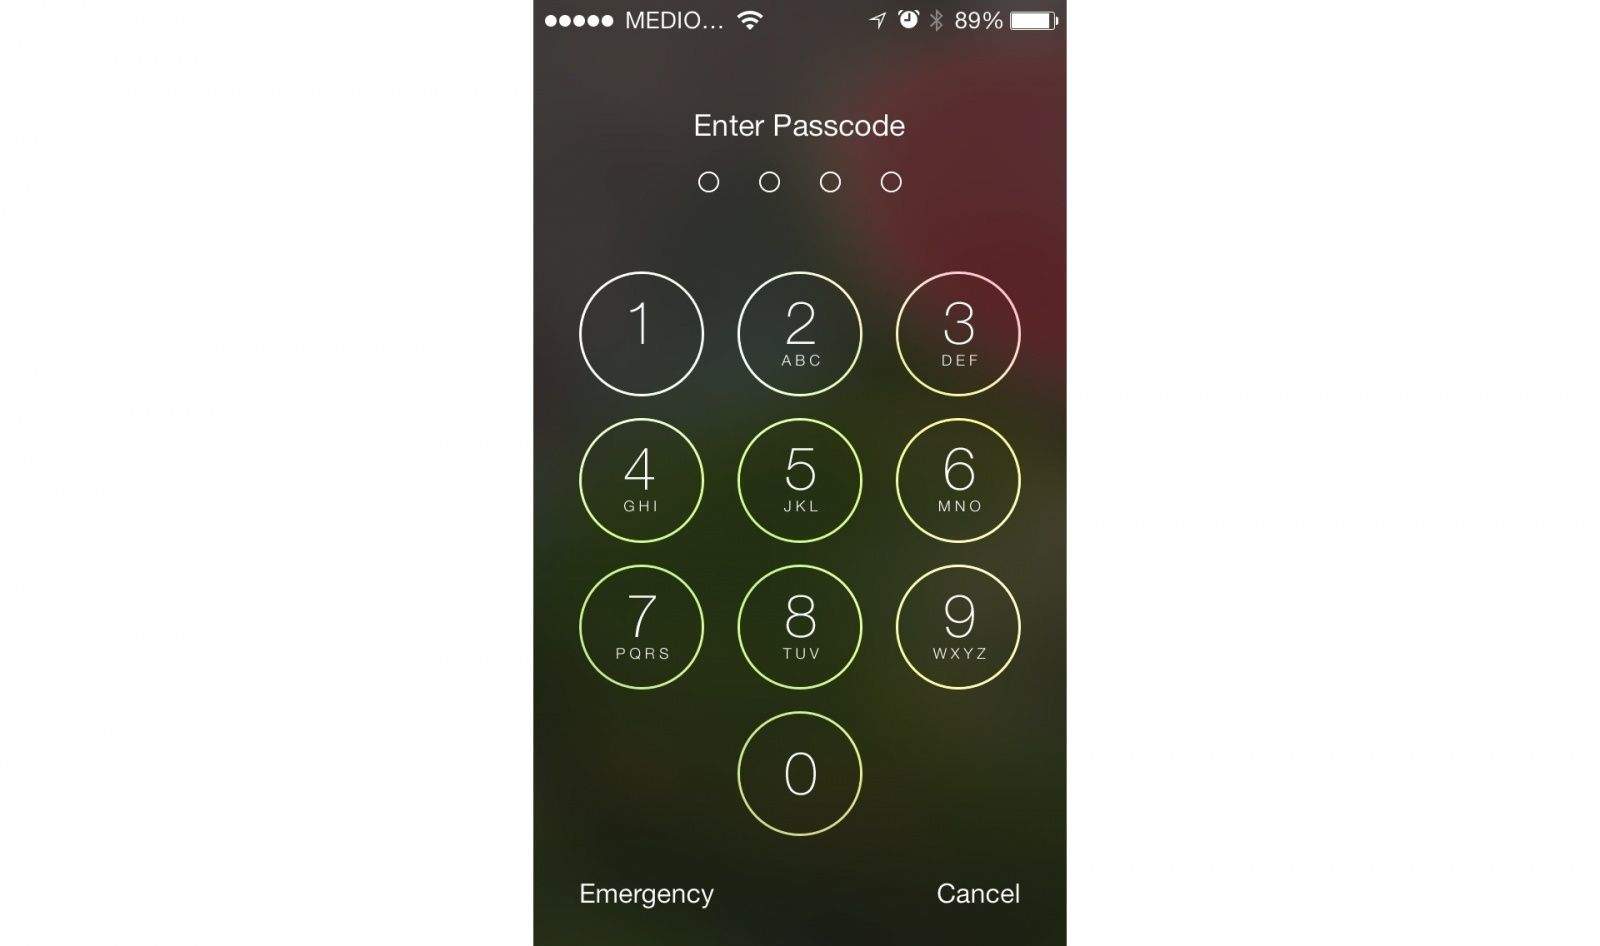
Auto-Lock changes the time before your screen goes to sleep when left idle. It does’t actually affect security other than that it plays along with the next setting, Passcode Lock. The Passcode Lock can be set to trigger anywhere from “immediately” to four hours. If set to “immediately,” it will switch on as soon as the screen sleeps. Mine’s set to an hour, which isn’t great, but I’m lazy and these days I leave my iPad home a lot, taking my iPhone and Kindle out with me instead.
Siri
This is also the spot to switch off Siri when the iPhone is locked. This is pretty serious: if you can use Siri then you can get access to much of your iPhone. For instance, I can ask Siri “What am I doing today?” and he’ll show me the day’s calendar events. If I try to see my email, though, Siri tells me to unlock my phone with a passcode.
Passcodes
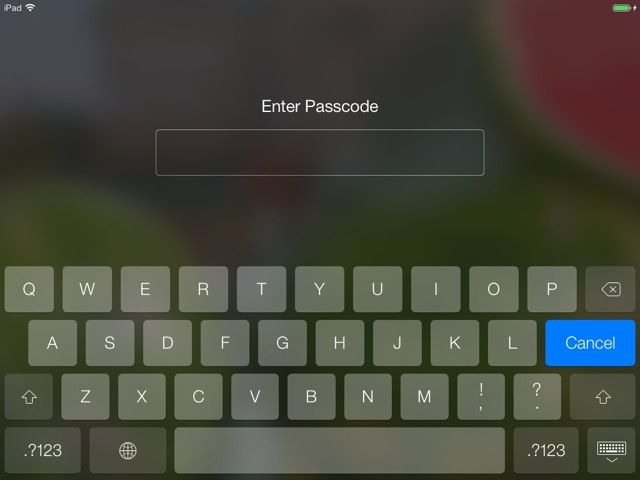
Speaking of passcodes, you might consider ditching the standard four-digit PIN in favor of a longer code. This is done in the Passcode Lock screen by unchecking the “Simple Passcode” button, tapping in your current PIN and then entering your new password. If you have an iPhone 5S with fingerprint sensor, then you should do this for sure as you no longer need the convenience of a short PIN to unlock your phone. I have it enabled – I figure if I only have to tap it in once an hour, then why not make it good?
Erase Data
You should also switch on the “Erase Data” option. IOS encrypts your entire disk, decrypting on-the-fly as you use it. This has a big advantage when securely erasing the device: you just destroy the decryption keys and leave the iPhone’s drive covered in encrypted mumbo jumbo. It’s safe and it’s also dead fast. If you’ve ever written zeros to a USB hard drive you’ll know what I means (I did it recently and it took 15 hours to do a single pass on a 2TB USB 2 drive).
If you enable the Erase Data setting then the keys will be destroyed after 10 incorrect attempts at unlocking the device. The only time I’d disable this is if you have kids and you’re going on vacation. The monsters will tap away at your iPhone to get to their games and then erase your device. The only way to get your data back is a full restore from iCloud or a local backup. Note: This only happens if “Data Protection” is enabled, which is the default on newer devices that are capable of it. You can check the status right under the Erase Data toggle.
Notification Center
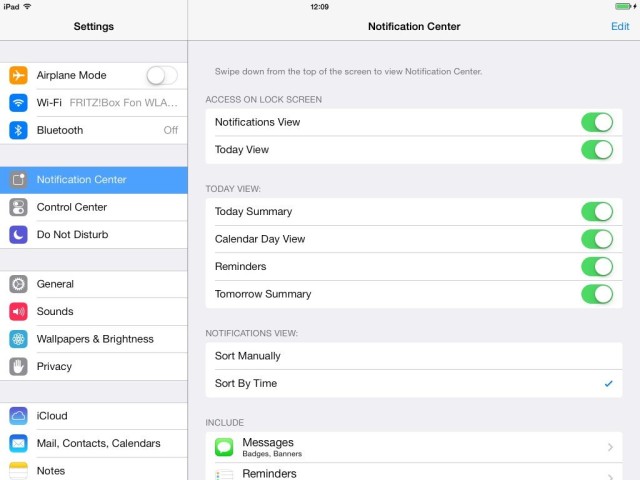
Settings> Notification Center
In iOS 7, the Notification Center is rad, offering up not only notifications but an overview of your day, including weather and advice for your drive home. But it is also accessible from your lock screen, meaning that even if you iPhone is locked with a passcode, folks can see you texts, your emails and anything else your iPhone chooses to tell you about.
The most secure option is to switch off home-screen access entirely, but you can be smarter than that. In this settings pane you can switch off the today view or the Notification view in the lock screen and you can tailor just what appears in the Today view.
Scroll down a little further and you’ll find the notification settings for individual apps, where things can be tuned further. Messages and Mail, for example, let you enable or disable a message preview. This is pretty good if you do a lot of sexting and don’t want those Anthony Weiner shots showing up on your lock screen during a family dinner.
Control Center
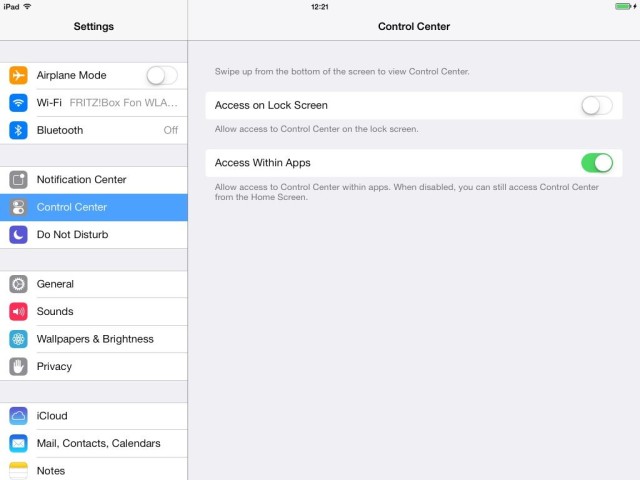
Settings>Control Center
Like Notification Center, you might want to turn off lock-screen access to Control Center. If not, folks can switch your Bluetooth and Wi-Fi on and off, change your AirDrop and AirPlay settings, and toggle silent mode. This might not sound too bad, but what if they switch your AirDrop from Contacts Only to Everyone, turns on silent and then start sending you stuff?
Or some joker could switch on Do Not Disturb mode without realizing you’re waiting on an important call.
Luckily, switching it off is easy. Just toggle the Access on Lock Screen button. And if you find yourself activating Control Center by mistake when in apps, you can limit it to inly work on a home screen.
Privacy
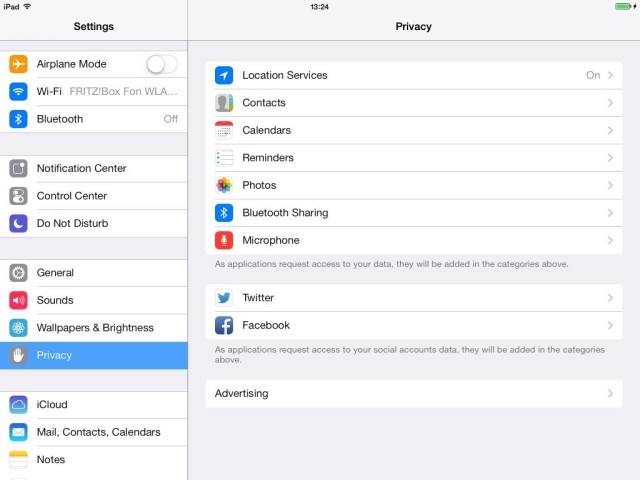
Settings>Privacy
The Privacy section is where you let iOS know which apps can use your data. Whenever you install a new app and it asks you for access to your contacts, photos, location and so on, the results are stored here. It’s also the spot where you can switch off your location services entirely, but be careful with that, as you might find a lot of your phone’s functions fairly useless as a result. Here’s the list.
- Location Services
- Contacts
- Calendars
- Reminders
- Photos
- Bluetooth Sharing
- Microphone
- Apps (Twitter, Facebook)
There’s a hidden section here, too. Right at the bottom of the list of apps is an entry called “System Services,” which turns off system-level location tracking. Take a look at the list and see what you want to keep, and what you want to dump. I have “Location-Based iAds” turned off, but I keep “Popular Near Me” on, even though it’s almost useless.
This section is also the spot to switch off ad tracking, if it’s not off already. Scroll down to Advertising, and then switch on Limit Ad Tracking.
__
Safari
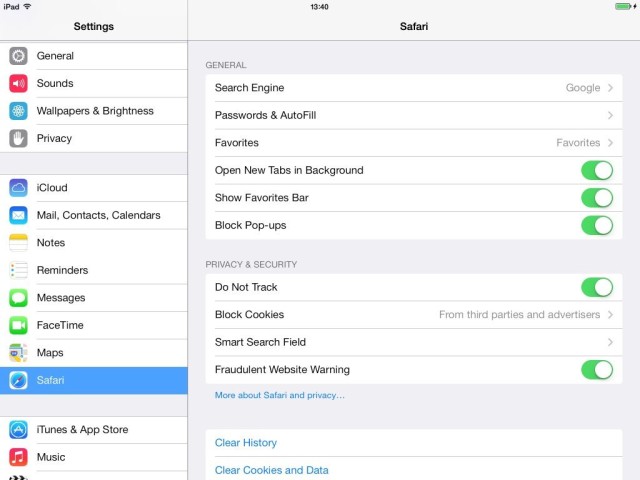
Settings> Safari
Safari gets its own section here, just like it gets its own section in the settings. Here the options are pretty self-explanatory, from Do Not Track to cookie management to AutoFill.
There are a few oddities. Even though the iCloud Keychain didn’t make it into the release versions of iOS 7 , Safari still has settings for saving your credit card details.
Another important setting is the Smart Search Field section, which is where you can tell the browser whether or not you want it to pre-load search suggestions, along with pre-loading the top search result. Again, it’s a measure of security vs. convenience.
Diagnostics
Settings> General> About> Diagnostics & Usage
Whenever an app crashes on your iPad or iPhone, or other weird stuff happens, the OS saves a log file. In this setting you can tell your device not to send these reports to Apple. The downside is that bugs might take longer to fix. The upside is that you’re sending one less piece of data off to the internet.
