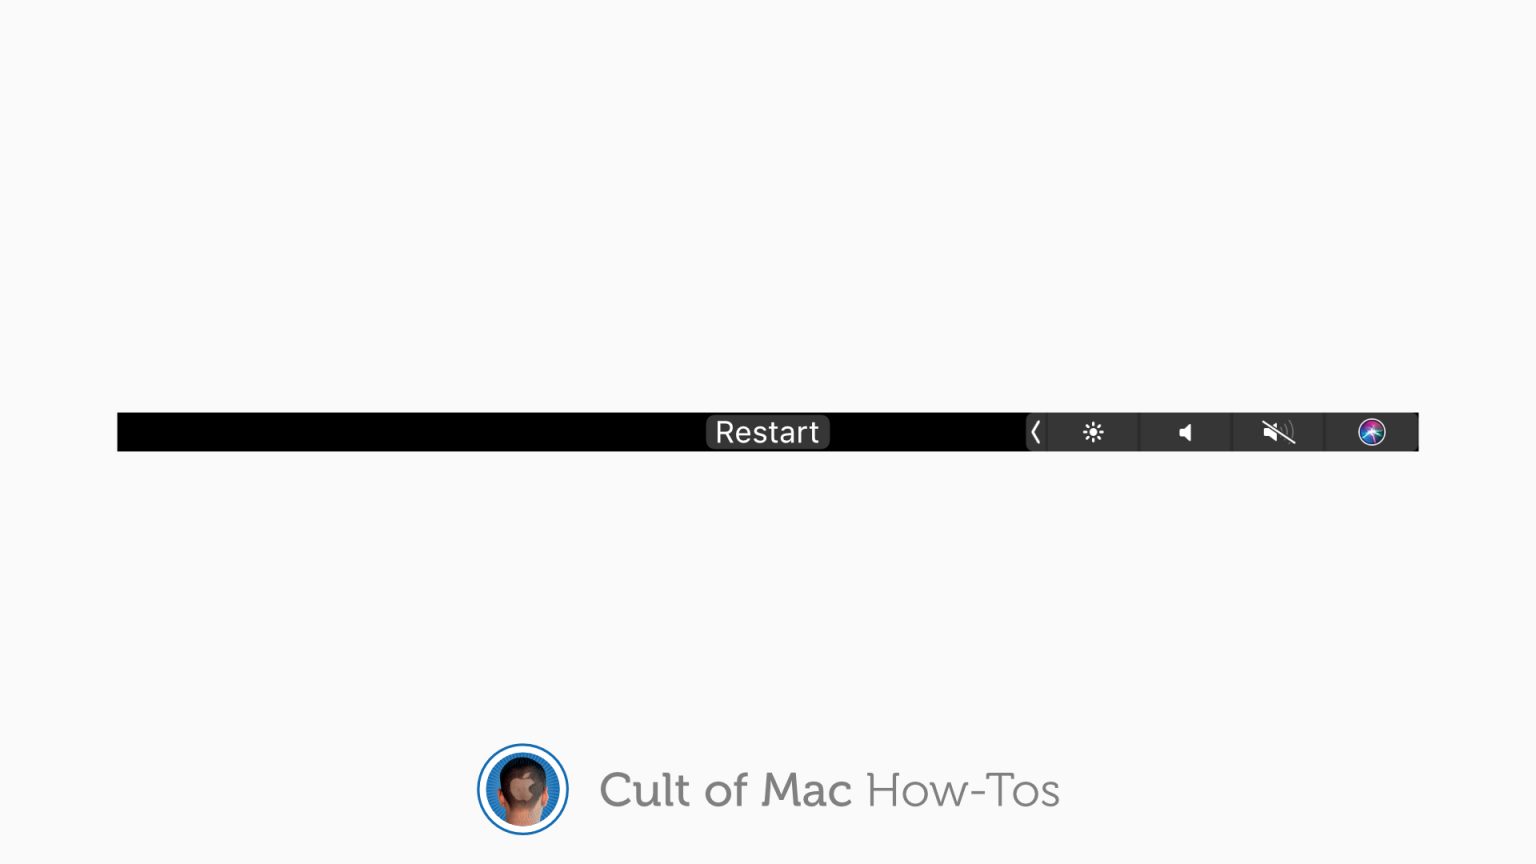
Restart your Touch Bar in an instant. Image: Killian Bell/Cult of Mac
Whatever your opinion may be on the MacBook Pro’s Touch Bar, there’s no denying it comes in handy from time to time. Except when it freezes — which can be a common occurrence — and then it’s no use at all.
You might reboot your MacBook Pro to get its Touch Bar working again when this happens. But there is a quicker, much less disruptive fix. Here’s how to restart your Touch Bar without rebooting your Mac.
ViDL is a YouTube download app for Mac. It comes from Ole Moritz, developer of the amazing Pythonista and Editorial iOS apps. ViDL is a simple wrapper for the youtube-dl command-line tool, so if you already use that, you don’t need this. But the app is far easier to use than a command-line tools. Plus, it offers a built-in browser, in case you need to log in to a site to get access to the target videos. There’s even a ViDL Safari extension.
Tabs, just like those that Safari now messes up. Photo: Charlie Sorrel/Cult of Mac
At some point, fairly recently, Safari started opening new tabs to the right of the currently open tab, instead of opening them at the end of the tab bar, as nature intended. This means that you have to search for the newly opened tab, instead of just knowing exactly where it is. I can see the point of opening tabs next to the current one, but I don’t like it.
Happily, there’s a way to revert Safari’s behavior to the good old way — the way my grandmother, and her grandmother before her, dealt with their tabs. It’s a simple option inside Safari’s debug menu. Wait? Debug menu?
When you start up a Mac, it goes “bong,” and that’s the way the world should be. Unless, that is, you bought a Mac in 2016 or later, when Apple removed the Mac startup chime. These days, a Mac starts up silently, with only a whisper of fan noise (or the din of a whirring, clicking hard drive on an iMac) to let you know something is happening.
But what if you miss the good old Mac startup chime? Or — if you’re new to Macs — you just fancy a bit of retro charm? Today we’ll see how to bring back the bong.
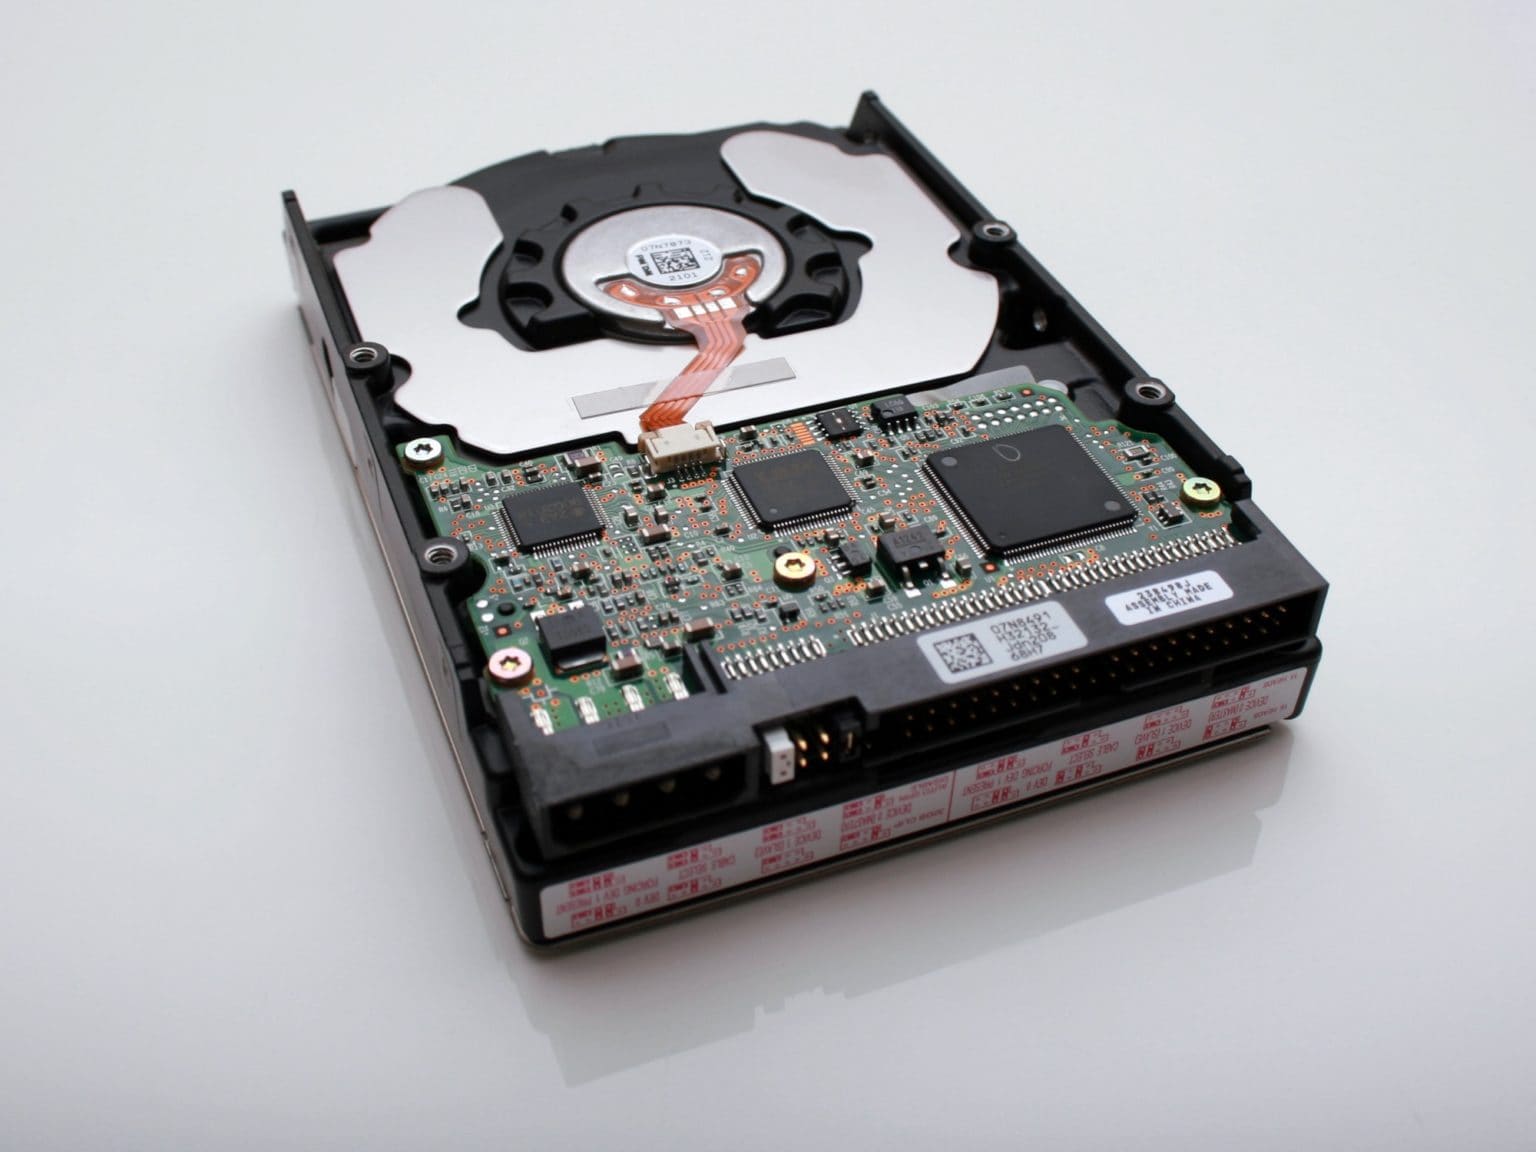
If the main disk in your Mac is a spinning hard drive, you should probably upgrade to a solid state drive. Swapping in an SSD is the cheapest way to make your old computer feel like a brand-new Mac. But for backups, and for lesser-used internal storage in a Mac Pro or iMac, a hard drive still gives you the best value. You will pay far less per megabyte of storage.
The problem is that hard drives are noisy as well as slow. If you’re used to enjoying the silence of an SSD-based computer environment, then those whirrs, whines clicks and pops will drive you nuts. Which is why you should unmount your noisy hard drives. That way they’re still available to the apps that need them, but otherwise they’re sleeping.
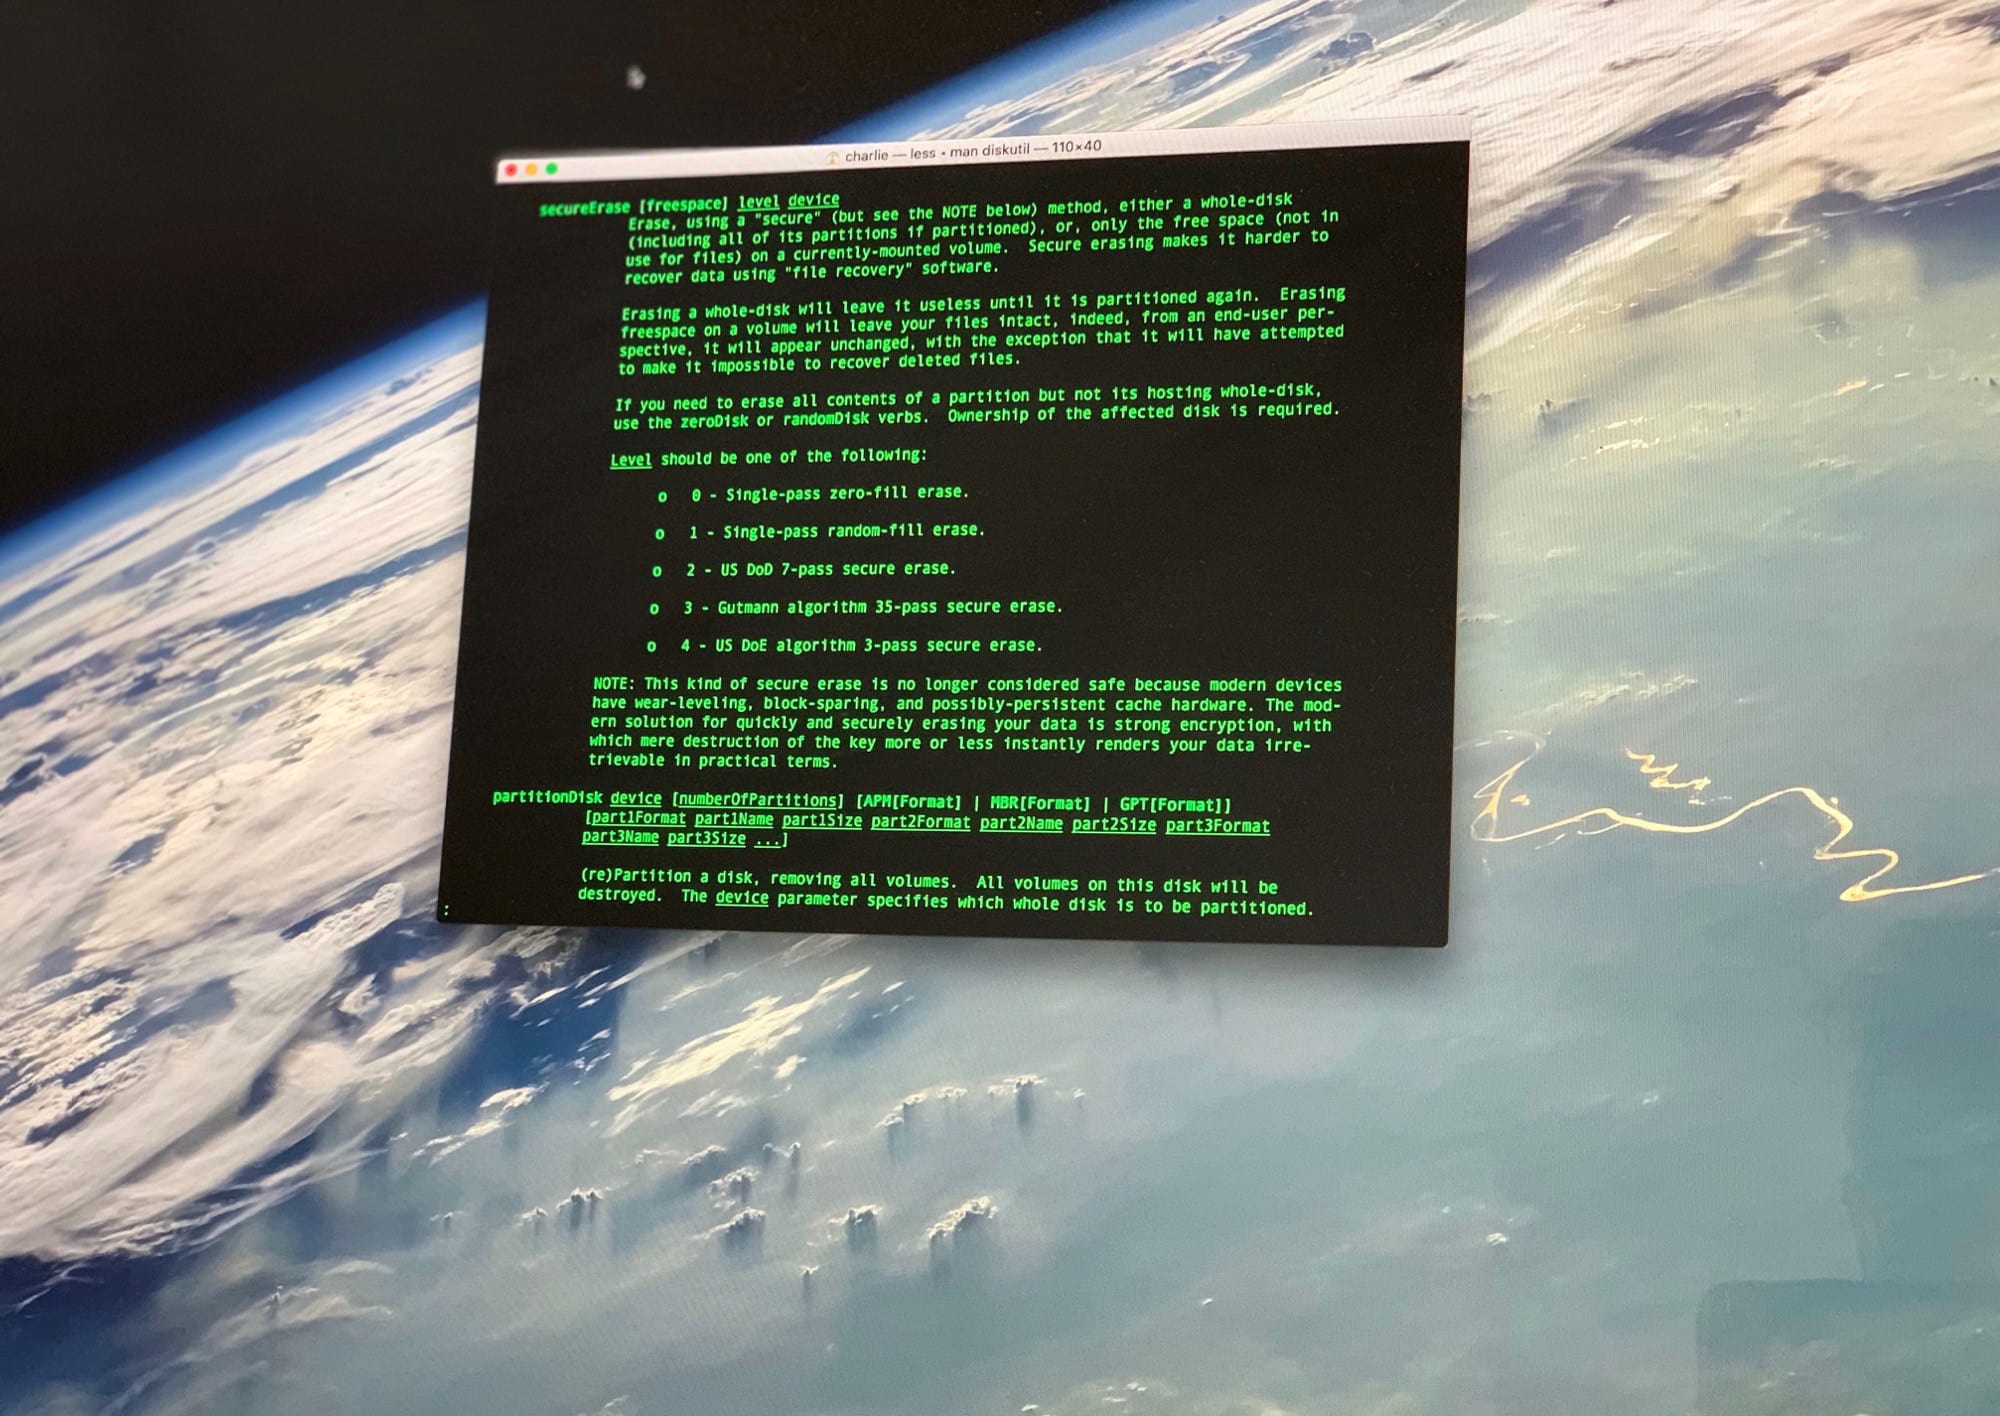
Encrypting your disk is way safer than trying to 'secure' erase it. Photo: Charlie Sorrel/Cult of Mac
In the olden days, when you wanted to replace your hard drive with a bigger one, you’d run a “secure erase” on it to completely remove any personal data. This would write zeros to the entire disk, overwriting anything already there.
But now, thanks to advances in storage tech, this no longer does the trick. (Not that you can change your own Mac SSDs now anyway.) The new secure-erase, says Apple, is to just encrypt your disk.
Dust off your Terminal to use these great hacks. Photo: Charlie Sorrel/Cult of Mac
By using commands in your Mac’s built-in Terminal app, you can quickly change settings you probably didn’t even know existed.
Some of these Mac settings are just shortcuts — you can enable them in the usual way, using the mouse. But Terminal makes things simple. Instead of opening the System Preferences app, then finding (or remembering) a setting you want to change, and then searching further until you actually find the right checkbox, you can just type (or paste) a command, then hit return.
Most of these are secret settings, though. They are impossible to change without Terminal. Let’s check them out.
Where the hell are you supposed to begin? Photo: Cult of Mac
The Mac’s Terminal is at once scary and powerful. It’s like a whole other computer living underneath the pretty interface of macOS. Sometimes, it’s convoluted. Other times, it seems laser-focused, offering a much quicker way to get things done. Instead of clicking and dragging your way through multiple screens, you just type a line of text.
However, the Mac Terminal is pretty intimidating if you’re not used to it. Today we will learn five super-useful Terminal tricks that make getting around much easier.
Screenshots can be saved anywhere, including iCloud. Photo: Charlie Sorrel/Cult of Mac
On your Mac, screenshots are pretty automatic. You hit the shortcut of your choice, and the resulting picture is saved to your desktop as a PNG image file. But what if you want a JPG? We’ve already covered that. How about saving the image to somewhere other than your desktop. Like iCloud maybe? Today we’ll see how to change the Mac’s default screenshot location to an iCloud folder.
Like a tidy stack of documents, right in your Dock. Photo: Charlie Sorrel/Cult of Mac
Left to its own devices, the Dock on your Mac is little more than a list of running apps, plus a trash can. You probably already know that you can force apps to stick around in the Dock for quick-launching, and that you can drag any folder to the Dock and just click it to see inside. But did you know that you can add special folders that show you your recent documents, applications, your favorite items, and more?
The recent documents folder is worth the price of this tip alone (which is $0 BTW), because it keeps track of all your recently-used documents, anywhere on your Mac, and gathers them into one place. If you’re the kind of person who has a desktop cluttered with pretty much all your documents, then fast access to that file you were using one moment ago — and you swear it was right here, oh God where has it gone — is a lifesaver.