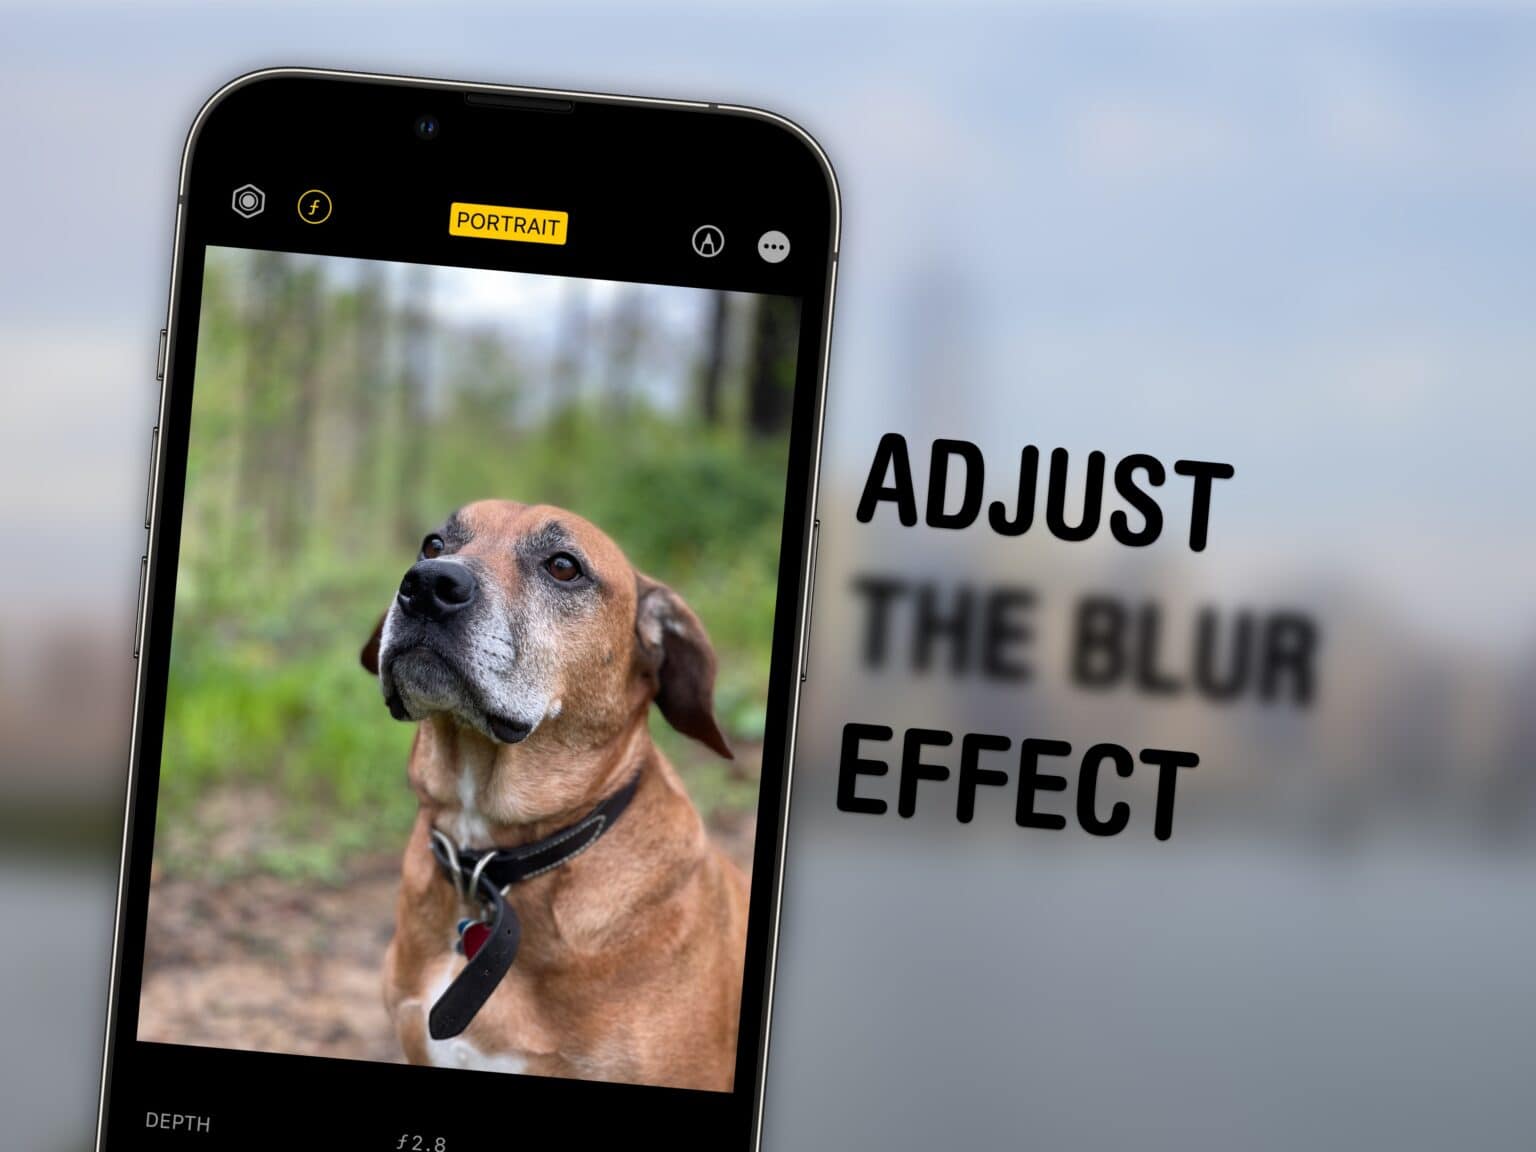
 You can adjust the Portrait mode blur on iPhone and Mac — even after you’ve taken the picture. Your iPhone stores the depth data that it uses to make the blur effect along with the photo, so if the picture was taken on a recent iPhone, you can adjust how blurry or clear the background is. It’s super easy to get just the right amount of bokeh.
A blurrier background, under the right conditions, can make for a really dramatic picture with emphasis on the subject. You might want to turn up the blur to intentionally hide details behind you. On the other hand, if you’re in a photogenic spot of scenery, you might want to see more of the landscape.
Either way, I’ll show you how to edit Portrait mode on iPhone and Mac.
Get better Bokeh: How to adjust Portrait mode blur on iPhone

Screenshot: D. Griffin Jones/Cult of Mac
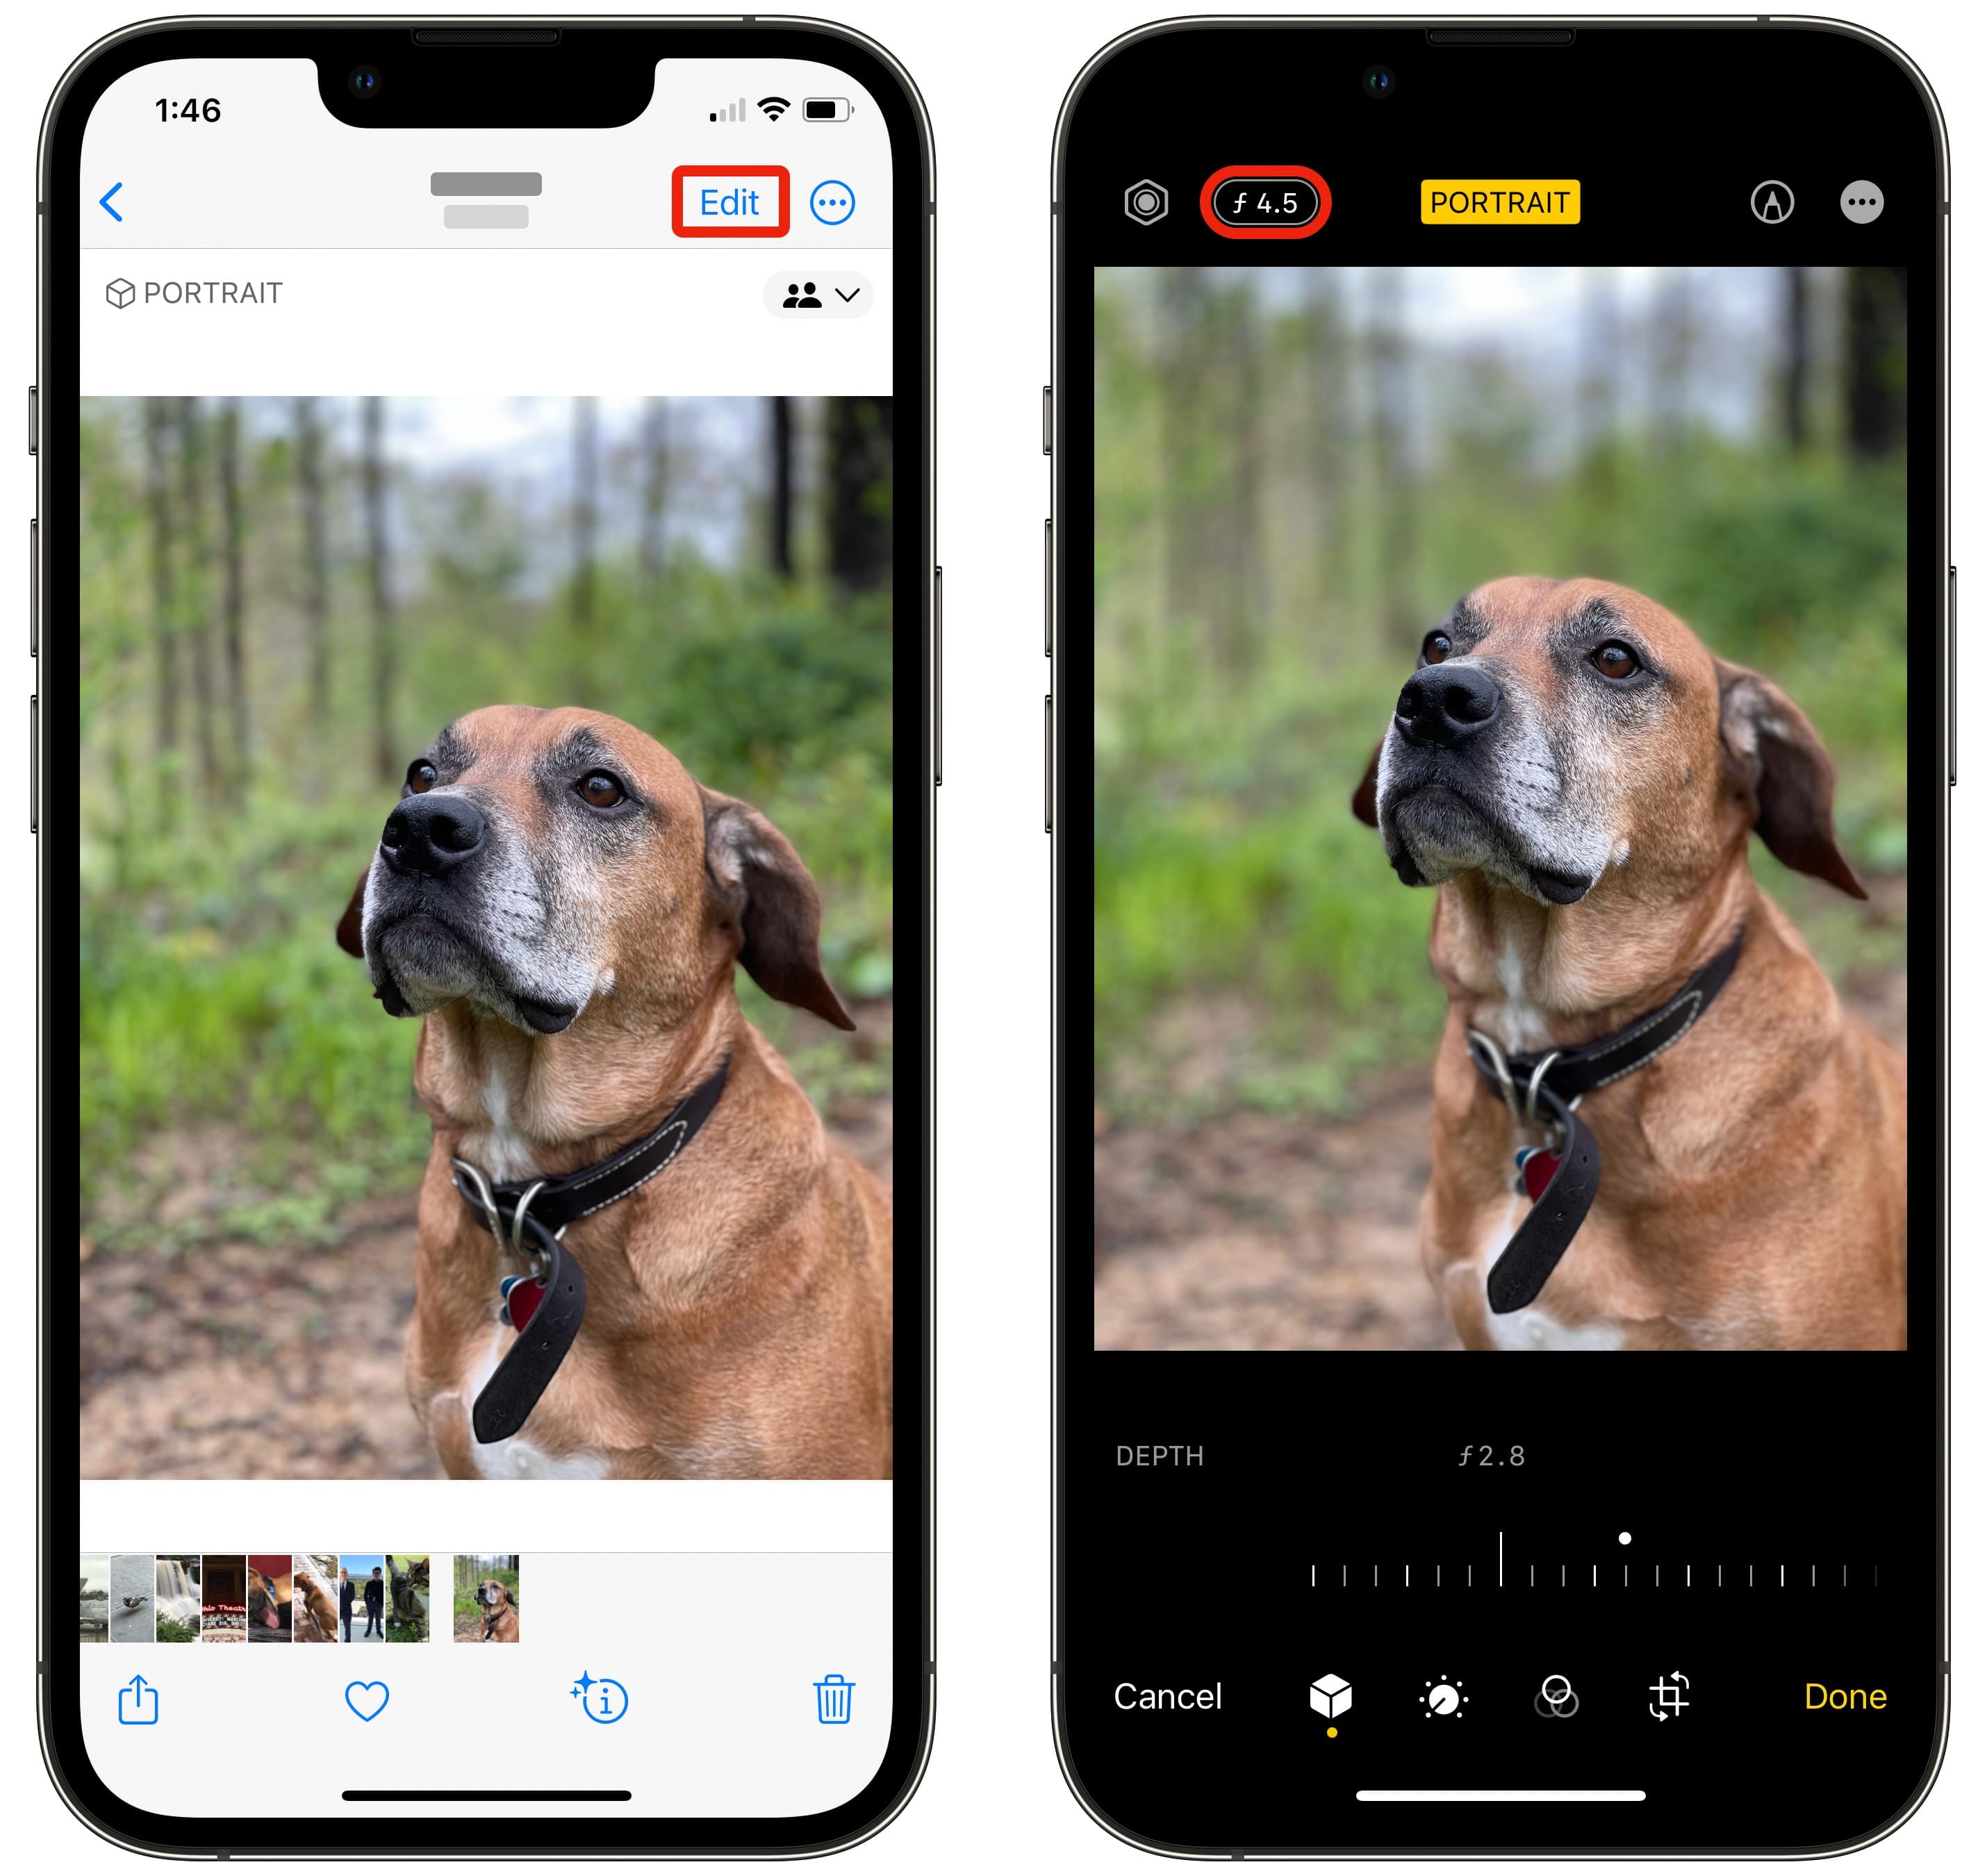
On an iPhone, tap Edit in the top right. You’ll see a button in the top left that says 𝑓4.5. Tap it to bring up a depth-of-field slider.
Slide it to the left for a more shallow depth-of-field (more blur) or to the right for deeper depth-of-field (less blur).
Note: This isn’t supported on every iPhone with Portrait mode. The image needs to have been shot on a compatible iPhone (XS, XR, SE 2 or newer). You also need to edit it on a compatible device — older iPhones can’t, but certain Macs can. Apple doesn’t have a published list of these.
How to adjust Portrait mode blur on Mac

Screenshot: D. Griffin Jones/Cult of Mac
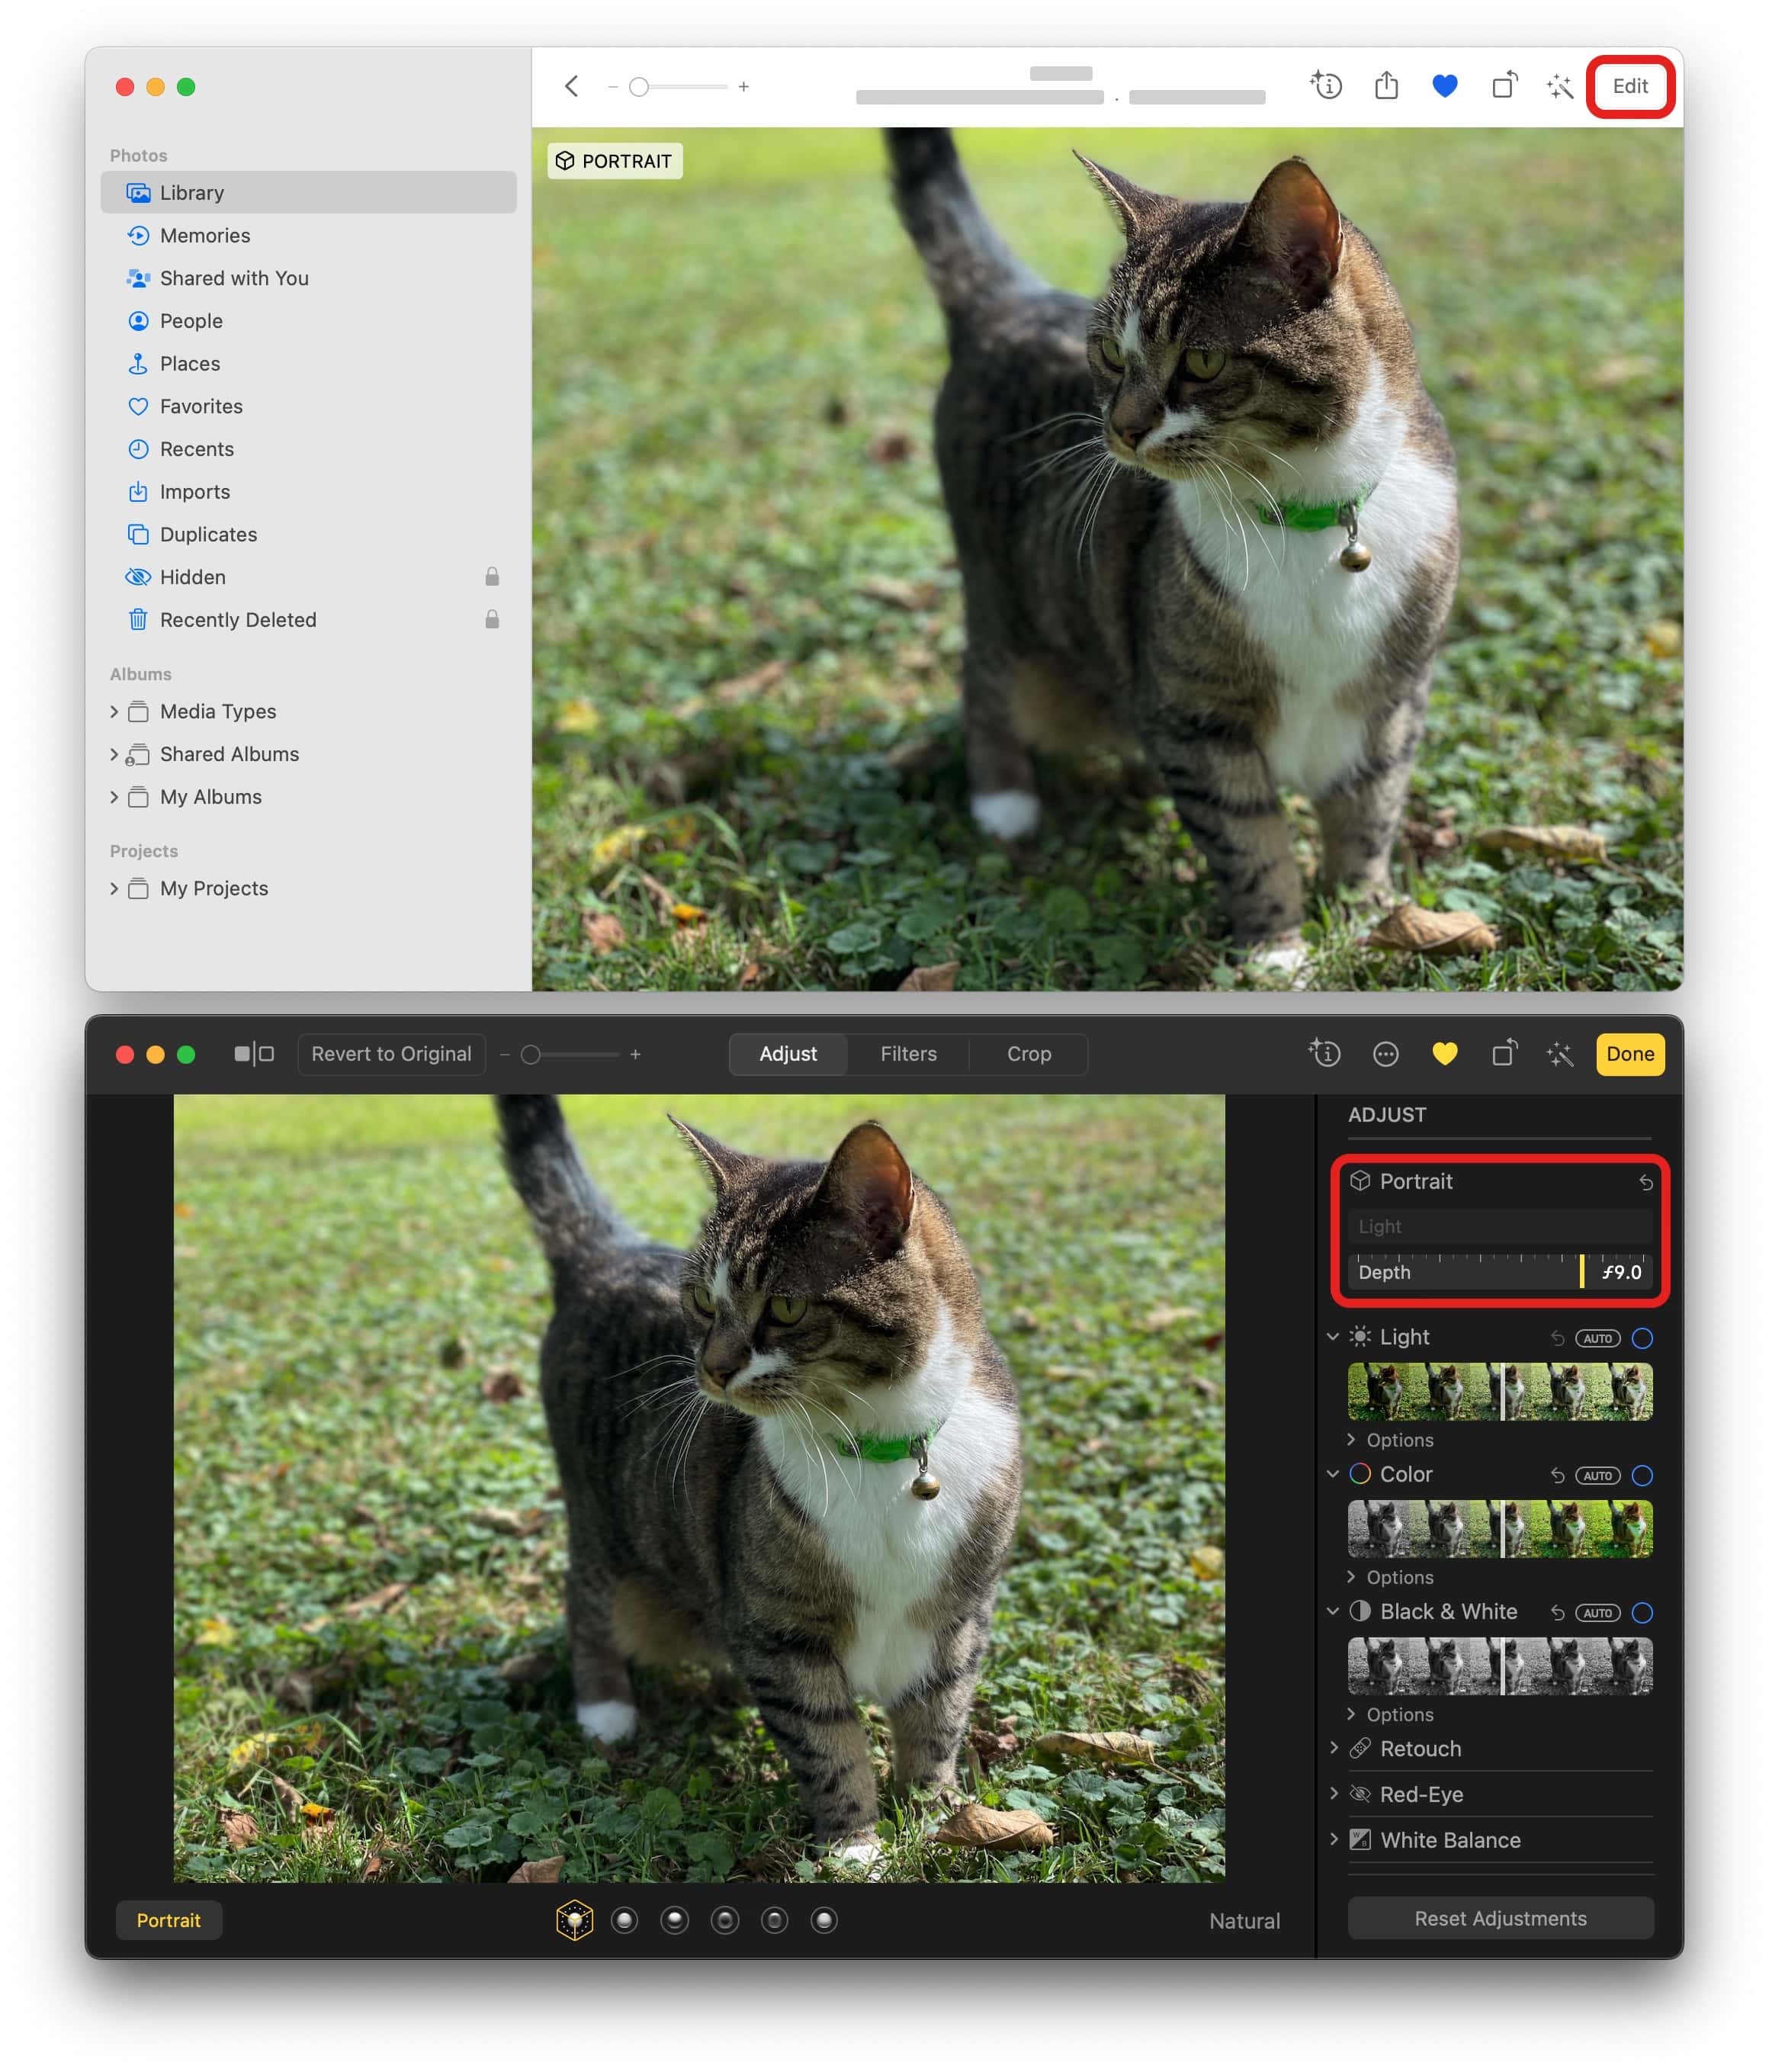
You can do the same with a Mac as well. Click the Edit button in the toolbar. The Depth slider is in the Portrait section on the very top. Click and drag the mouse over the slider to adjust the blur.
The Apple Support page doesn’t say this is a hardware-limited feature, so it should be available on every Mac running a newer version of macOS.
Use Portrait mode as a privacy blur — but beware
Maybe you’d like to use a Portrait taken of you on social media — if only for that one thing in the background that reveals where you live, a personal item visible on a table, etc.
Turning up the background blur, combined with cropping in a little bit, can be effective in obscuring parts of the image.
Just make sure that, despite my prior advice, you do not check “All Photos Data” when sending the picture to someone over iMessage or AirDrop. Otherwise, they’ll be able to undo your edits and possibly reveal the very thing you were trying to hide.


