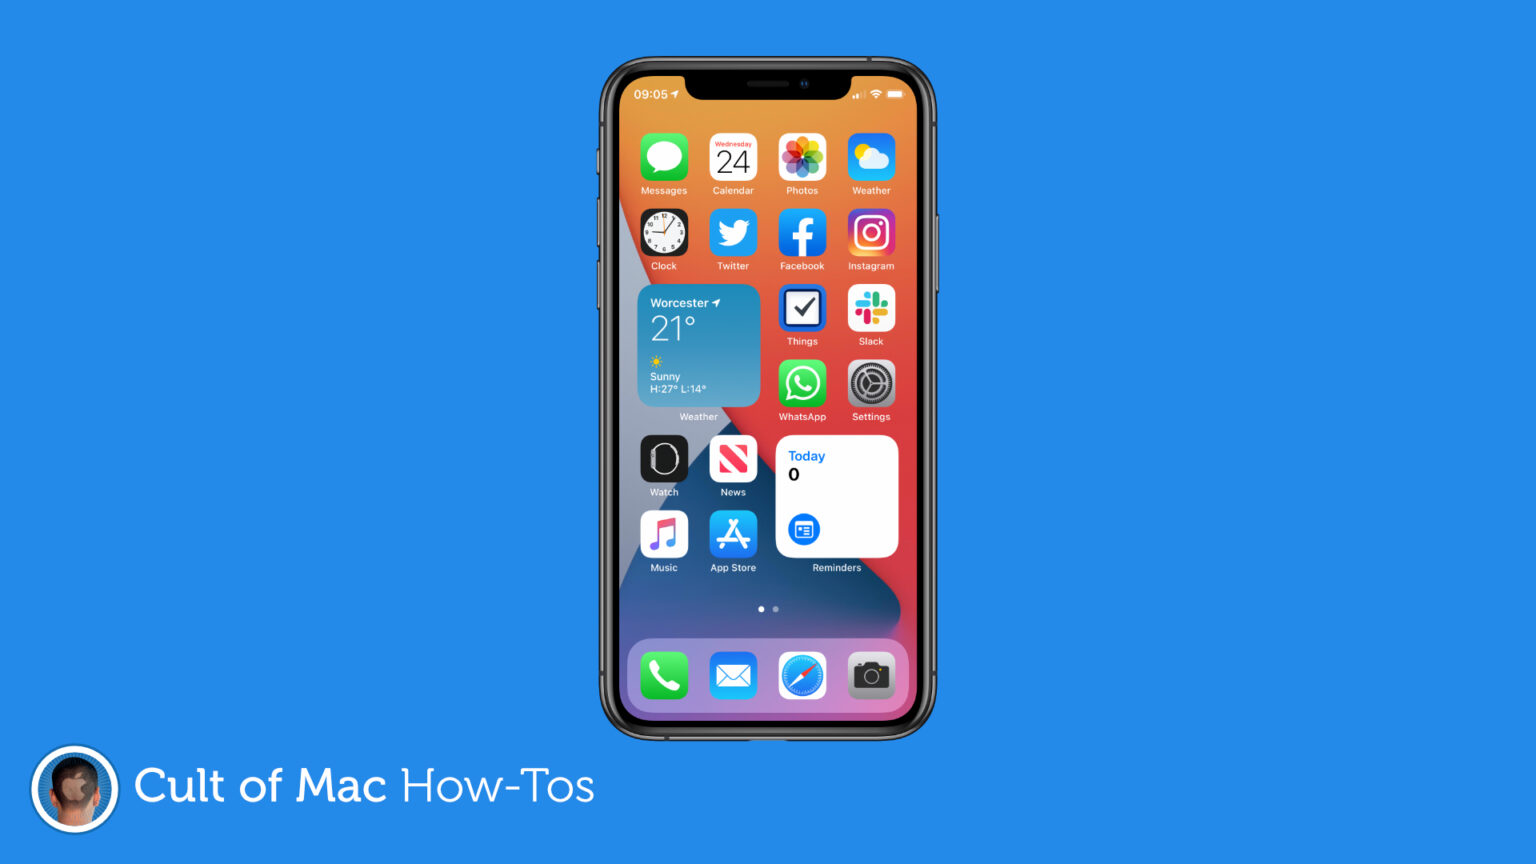
If you caved and installed the iOS 14 or iPadOS 14 betas on your iPhone and iPad, and now you’re running into problems, you’ll be pleased to know you can downgrade to iOS 13.
It’s a relatively simple process that shouldn’t take you long, and as long as you’ve backed up, you won’t lose too much data data. We’ll walk you through the process in this step-by-step guide.
The first iOS 14 and iPadOS 14 betas are surprisingly stable — a lot more stable than early iOS 13 betas were. But they’re still not meant for everyday use, and they won’t run some third-party apps.
Apple warns us that these early releases shouldn’t be installed on primary devices — that they’re intended only for development purposes. But many of us just can’t fight the urge to upgrade early.
If you’ve found yourself in this position and now you’re regretting it, here’s how to get back to iOS 13.
How to downgrade to iOS 13
Before we begin downgrading, there are some things you need to know. Firstly, you will need a Mac or PC to recover your iOS device; the process cannot be carried out on iPhone or iPad itself.
Secondly, if you’ve updated your Apple Watch to the watchOS 7 beta, you won’t be able to use your wearable once you return to iOS 13. It cannot be downgraded, and watchOS 7 isn’t compatible with iOS 13.
Finally, ensure your Mac is up to date, or that you have the latest version of iTunes installed if you’re using a Windows machine.
Once you’re ready to downgrade, follow these steps:
- Plug your iPhone or iPad into your Mac or PC.
- Put your iPhone or iPad into recovery mode. How you do this depends on the device you’re using.
- For iPhone 8 or later and iPad Pro with Face ID: Press and release the volume up button. Press and release the volume down button. Press and hold the sleep/wake button until your device enters recovery mode.
- For iPhone 7, 7 Plus and iPod touch: Press and hold the sleep/wake button and volume down buttons at the same time. Keep holding them down until your device enters recovery mode.
- For iPad with Touch ID and iPhone 6s or earlier: Press and hold the sleep/wake and Home buttons at the same time. Keep holding them down until your device enters recovery mode.
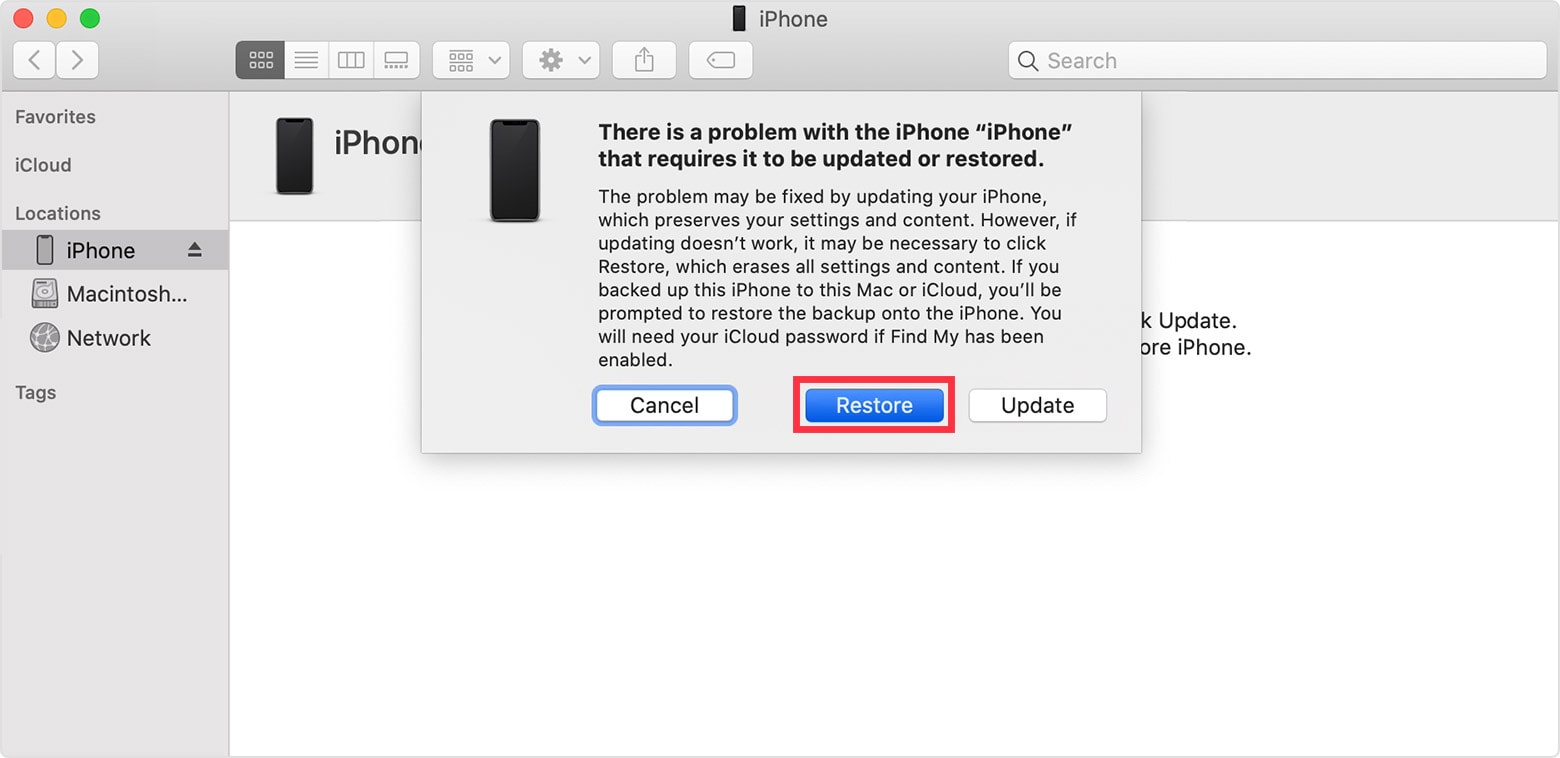
- Your Mac or PC will now prompt you to restore or update your iOS device. Click the Restore option.

Screenshot: Apple
Your iPhone or iPad will now be erased and the latest version of iOS 13 will be installed. Once this process is complete, you can use your most recent iOS 13 backup to recover your apps and all your data.
Downgrade to iOS 13 without iTunes conveniently!
Smartly, you can download an intelligent iOS diagnosis tool, iOS System Recovery, to easily downgrade from iOS 14 beta to iOS 13. Vice versa, if you want to upgrade from an older iOS version to iOS 14, this tool can also do you a favor. Moreover, this software can safely fix iOS system from 50+ stuck issues without data loss.
There is another way
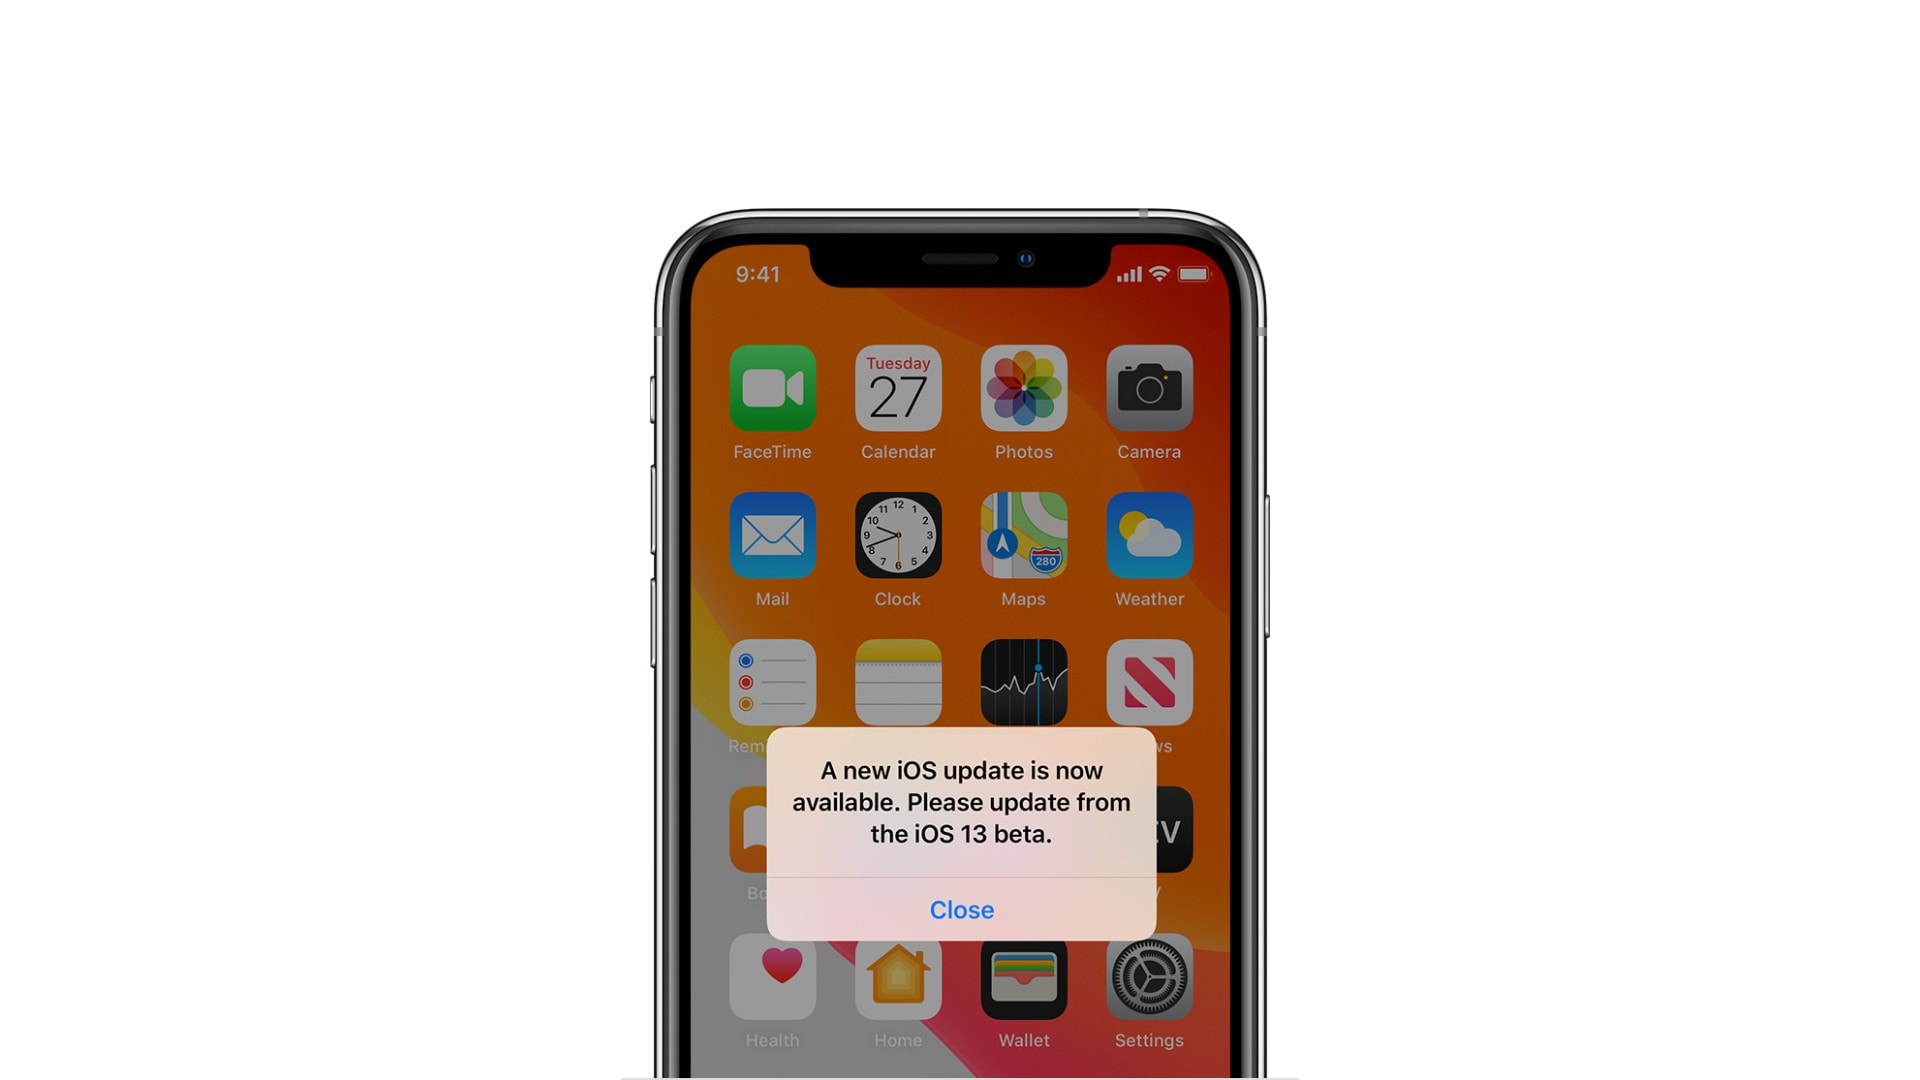
There is a simpler way to downgrade that involves removing the iOS Beta Software Profile, then simply waiting for a new iOS 13 update. But it means you’re stuck with iOS 14 until a new version of iOS 13 rolls out — and who knows when that will be.
If you can wait and you would prefer to go down this route, these are the steps to follow:
- Open the Settings app on your iPhone or iPad.
- Tap General, then tap Profiles & Device Management.
- Select the iOS Beta Software Profile.
- Tap Remove Profile then restart your device.

Photo: Apple
In the coming weeks, Apple will roll out iOS 14 and iPadOS 14 public betas that are easier to install, and more stable. You might want to revisit the releases then — or wait for them to roll out to everyone this fall.


