What happens if you’re working on a document and you realize you screwed it up? Maybe you deleted a few paragraphs without realizing. Or you’ve just been writing a bunch of nonsense for the past half-hour and wish you could go back to where you were before? On the Mac, you can easily do just that. It’s called versions, and it’s automatic.
Using versions, you can easily browse and restore previous versions of any document. Some apps have this built in, so you can do it right there inside the app itself. But the Finder also supports versions, so you can revert to a previous state of almost anything.
Revert to a previous version
For this how-to, we’ll use Ulysses. Partly that’s because I use it every day to write for Cult of Mac, and partly because it’s the A++ gold standard for document revisions. Not all apps work in the same way, but this will give you a great idea of how it all works. And for apps that offer no support for versions, we’ll take a quick look at how the Finder handles it.

Photo: Cult of Mac
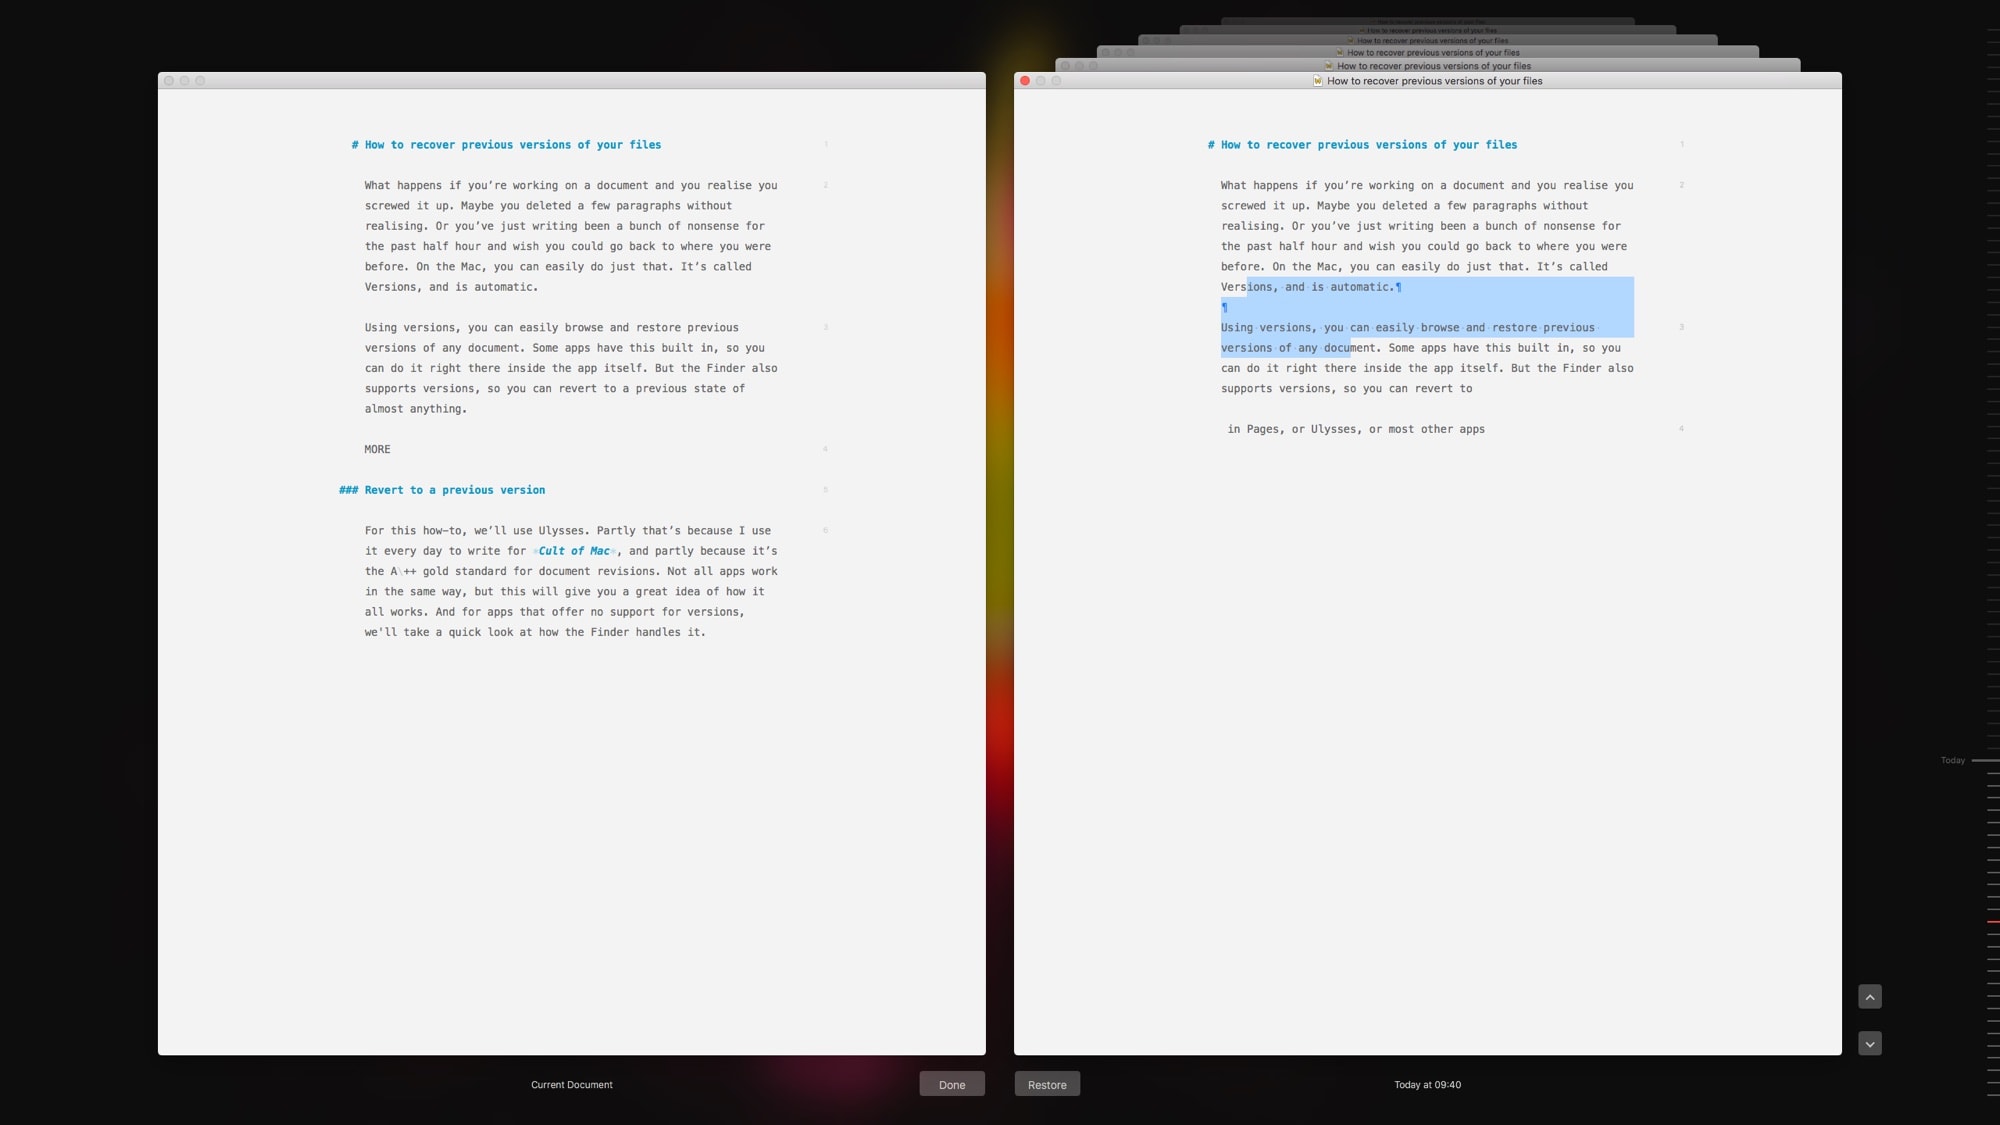
In your app, go to the menubar and choose File > Revert To… or (as is the case in Ulysses) File > Browse All Versions. You’ll see the above view. If this looks familiar, it’s because it uses the same interface as Time Machine, only it’s generally a lot faster as it deals with only the current file.
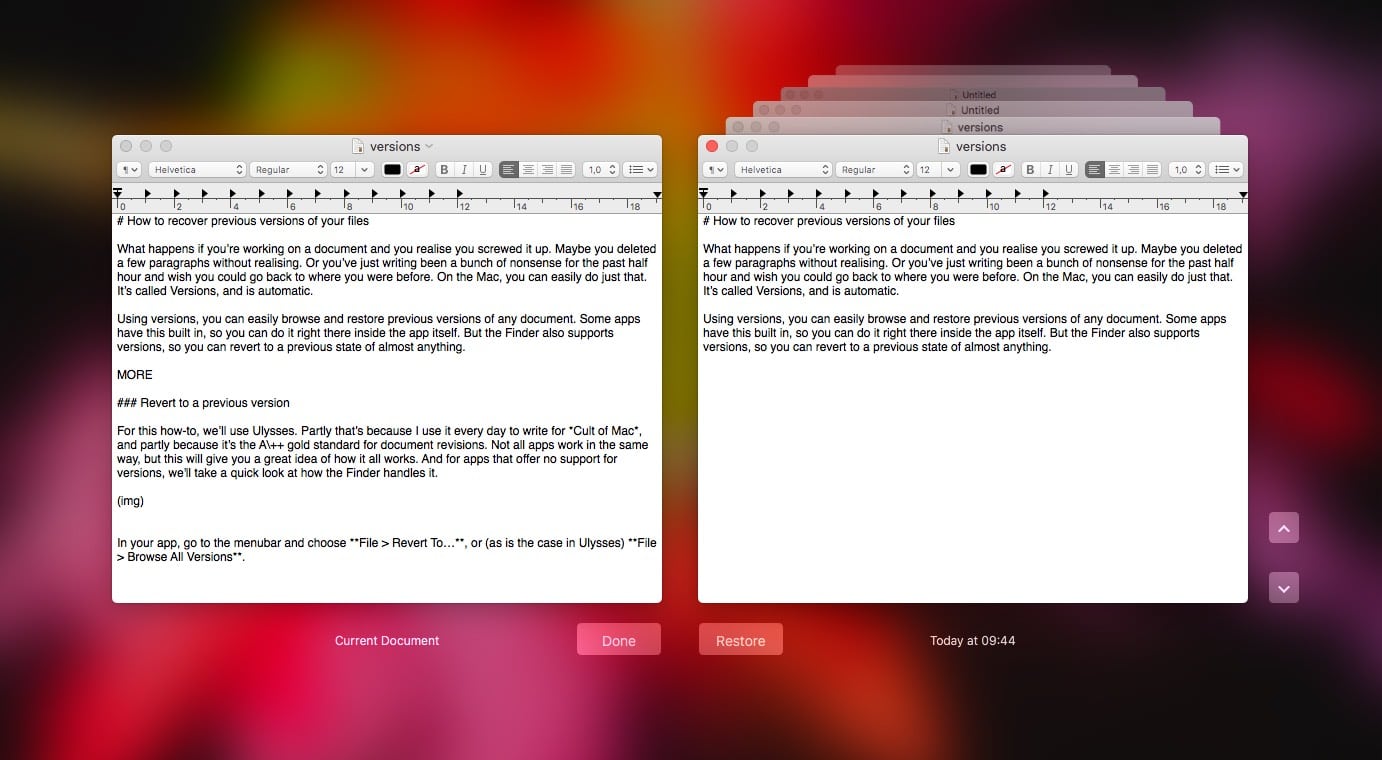
On the left, you have the current version of your file. On the right is a stack of previous versions. These are snapshots, taken automatically at intervals. To browse through them, just click the arrow buttons on the screen, or click directly on the toolbar of any of the windows in the stack.

Photo: Cult of Mac
Versions of your file are kept right back to when it was first created. This could be years. In that case, you might prefer to use the timeline at the right of the window to navigate your older versions. However you do it, the version you’re currently viewing has its date and time at the bottom of its window.
To revert to a previous version, just click restore under the version you want.
Copy/Paste from versions
My favorite trick in versions is copy and paste. The documents in the versions browser behave like regular files, albeit read-only versions. That means you can copy text from an older version and paste it directly into your current live version (the one on the left). You can even search within your versions, although only in the currently displayed one.
Manual saves
In Ulysses, you never have to save a document. When you create a new sheet, it is all handled by the app. You never have to save anything. But you can use the ⌘-S shortcut. In Ulysses, it saves a version (the menu command is File > Save Version). This means that you can explicitly lock a version before you make any big changes — like when you get notes back from your editor and are about to get working on v2.
Finder versions

Photo: Cult of Mac
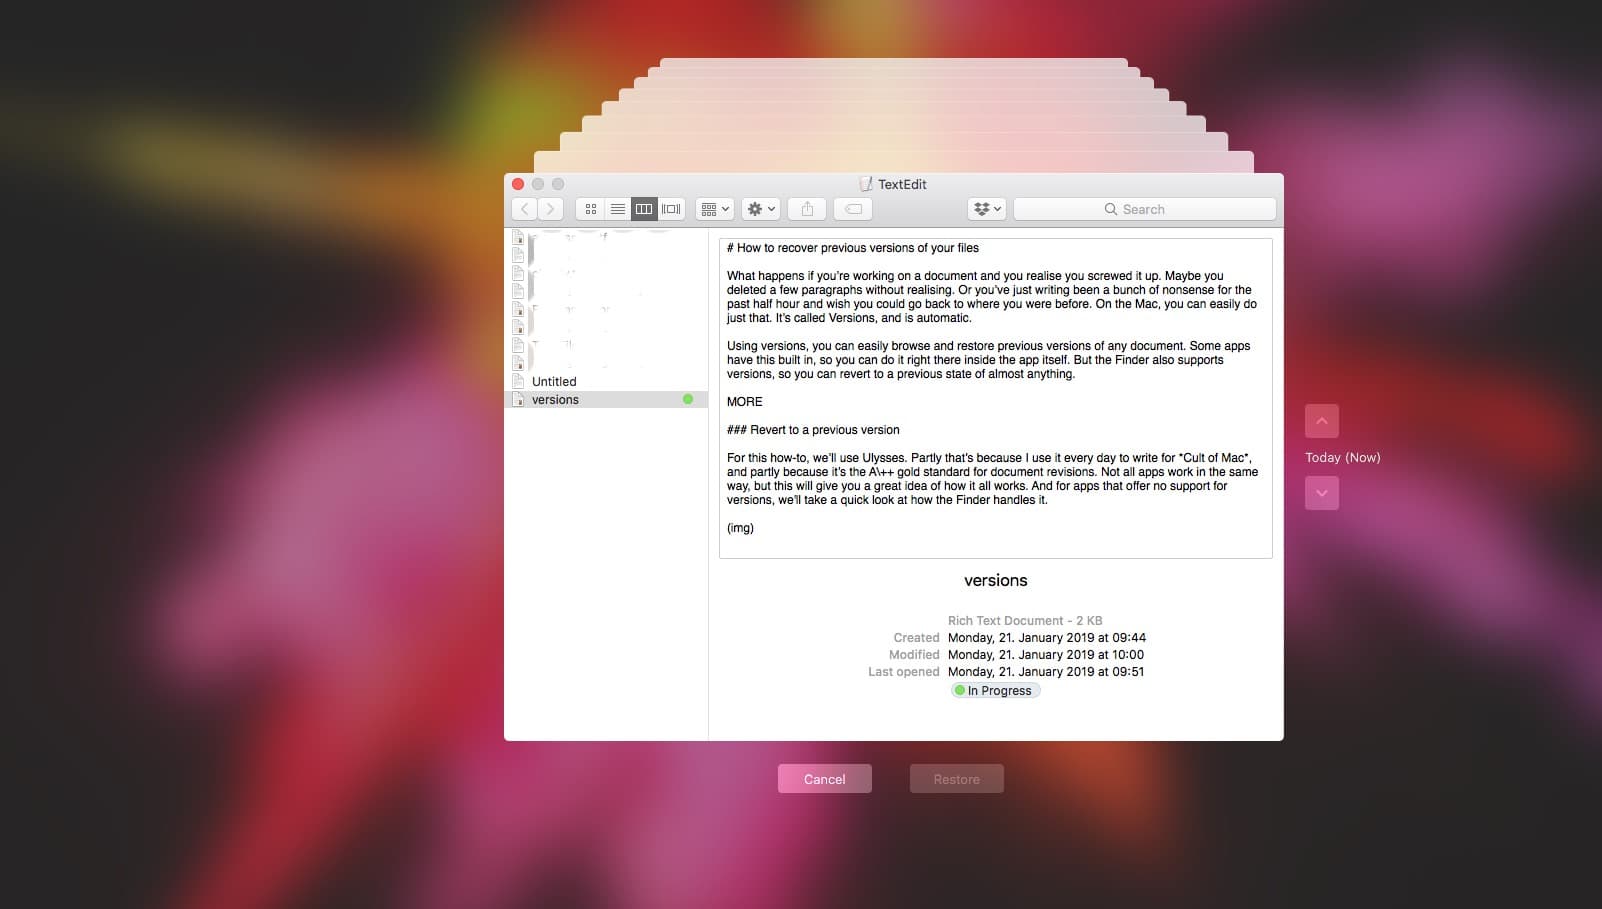
What if your app doesn’t support versions? If you use Time Machine, you can just find the file in the Finder, then click the Time Machine icon in the menubar. Time Machine takes over, and you can browse back through time to find older versions of documents, and even recover documents you have since deleted.
Not just for emergencies
The beauty of versions isn’t just that you can rescue lost work. It’s that you only ever need one version of a file, and you can refer back to previous versions at any time. Instead of creating a new document for your meeting notes each week, for instance, you can just use the same one, deleting everything and starting over. Then, when you want to look at the notes from a meeting on a specific day two years ago, it’s easy to find, because it’s right there in the same note you always use.


