The iPad Pro is pro enough for almost anything, but one thing it still can’t manage is making a Skype (or FaceTime) call and recording it at the same time. This is actually the fault of Skype (and FaceTime), but is nonetheless a pain for anyone who travels and podcasts.
There’s a workaround, however. It requires that you use an iPhone and an iPad together. But seeing as how the alternative is carrying a MacBook, too, it’s a pretty good option. It’s also easy, once you get your head around the setup. And you don’t need to travel to use this setup. After some experimentation, this is now my default podcasting method.
When I’m recording my new podcast, The Uncanny Alley, with my friend Andrea Nepori of La Stampa, I prefer to use iOS. I’m almost always at home when we record, but I still don’t like using my old Mac. The fans and hard drive are noisy, and I just don’t like using it. I also don’t own a MacBook, so if I do need to podcast on the road, iOS is my only option.
The iOS podcasting problem
iOS already offers a built-in way to pipe audio between apps. It’s called Inter-App Audio (IAA), and was added by Apple some years back. Aimed primarily at music-making, IAA lets apps send audio back and forth. (A synthesizer app can send its audio to be recorded in GarageBand, for example.)
The catch is, apps must be built to support IAA. Most music apps include it, but no VOIP apps — Skype, FaceTime, etc. — support IAA.
The fix

Photo: Charlie Sorrel/Cult of Mac
The workaround is to use one device to make the call, and another to record it. Also, we will be recording just one side of the conversation — our own. This is known as the “double-ender” method, because each participant records their own audio. This avoids the situation where one person sounds great and the other sounds tinny because their audio is coming in via Skype. Also, it’s good practice to record audio on a separate device from the one you’re using to create the audio.
To do this, we’ll place the FaceTime call using the iPhone, and record our audio using the iPad. You can use your favorite recording app, but try to pick something that records in a lossless, non-compressed format, so you have more latitude for massaging the audio later. AIFF or WAV are what you want. MP3 and M4A should probably be avoided for now.
The iOS podcast setup
For this setup you’ll need:
- Two iOS devices (an iPad and an iPhone, for example)
- Headphones
- A good microphone
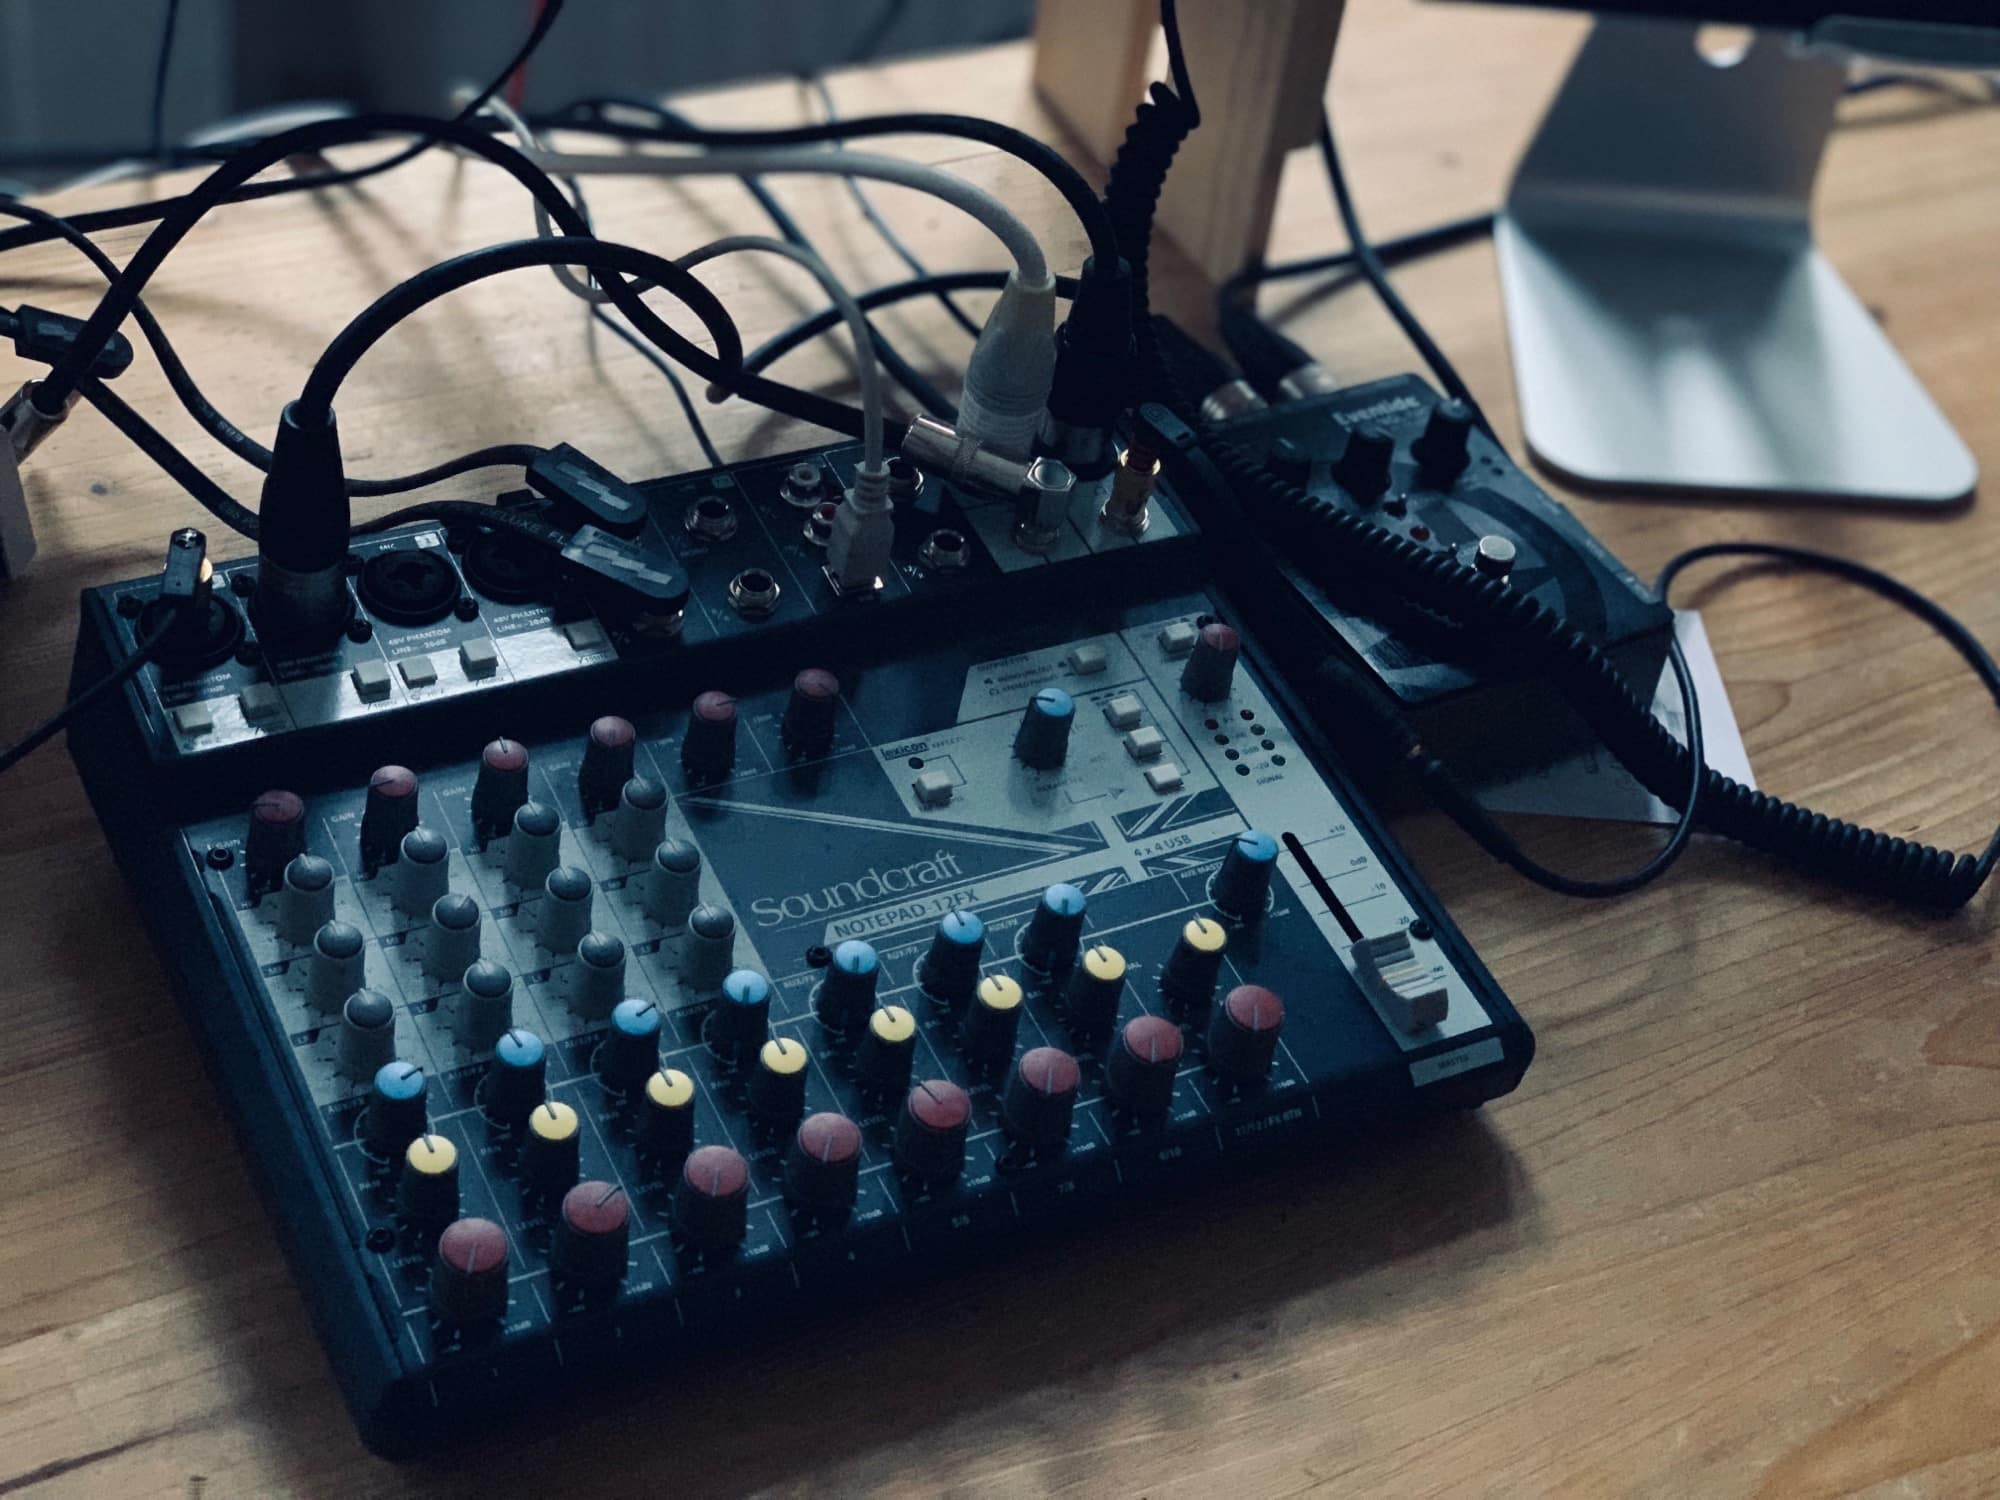
- A USB audio interface for connecting the mic and headphones to the iPad (it should have at least two inputs)
- 3.5mm jack cable
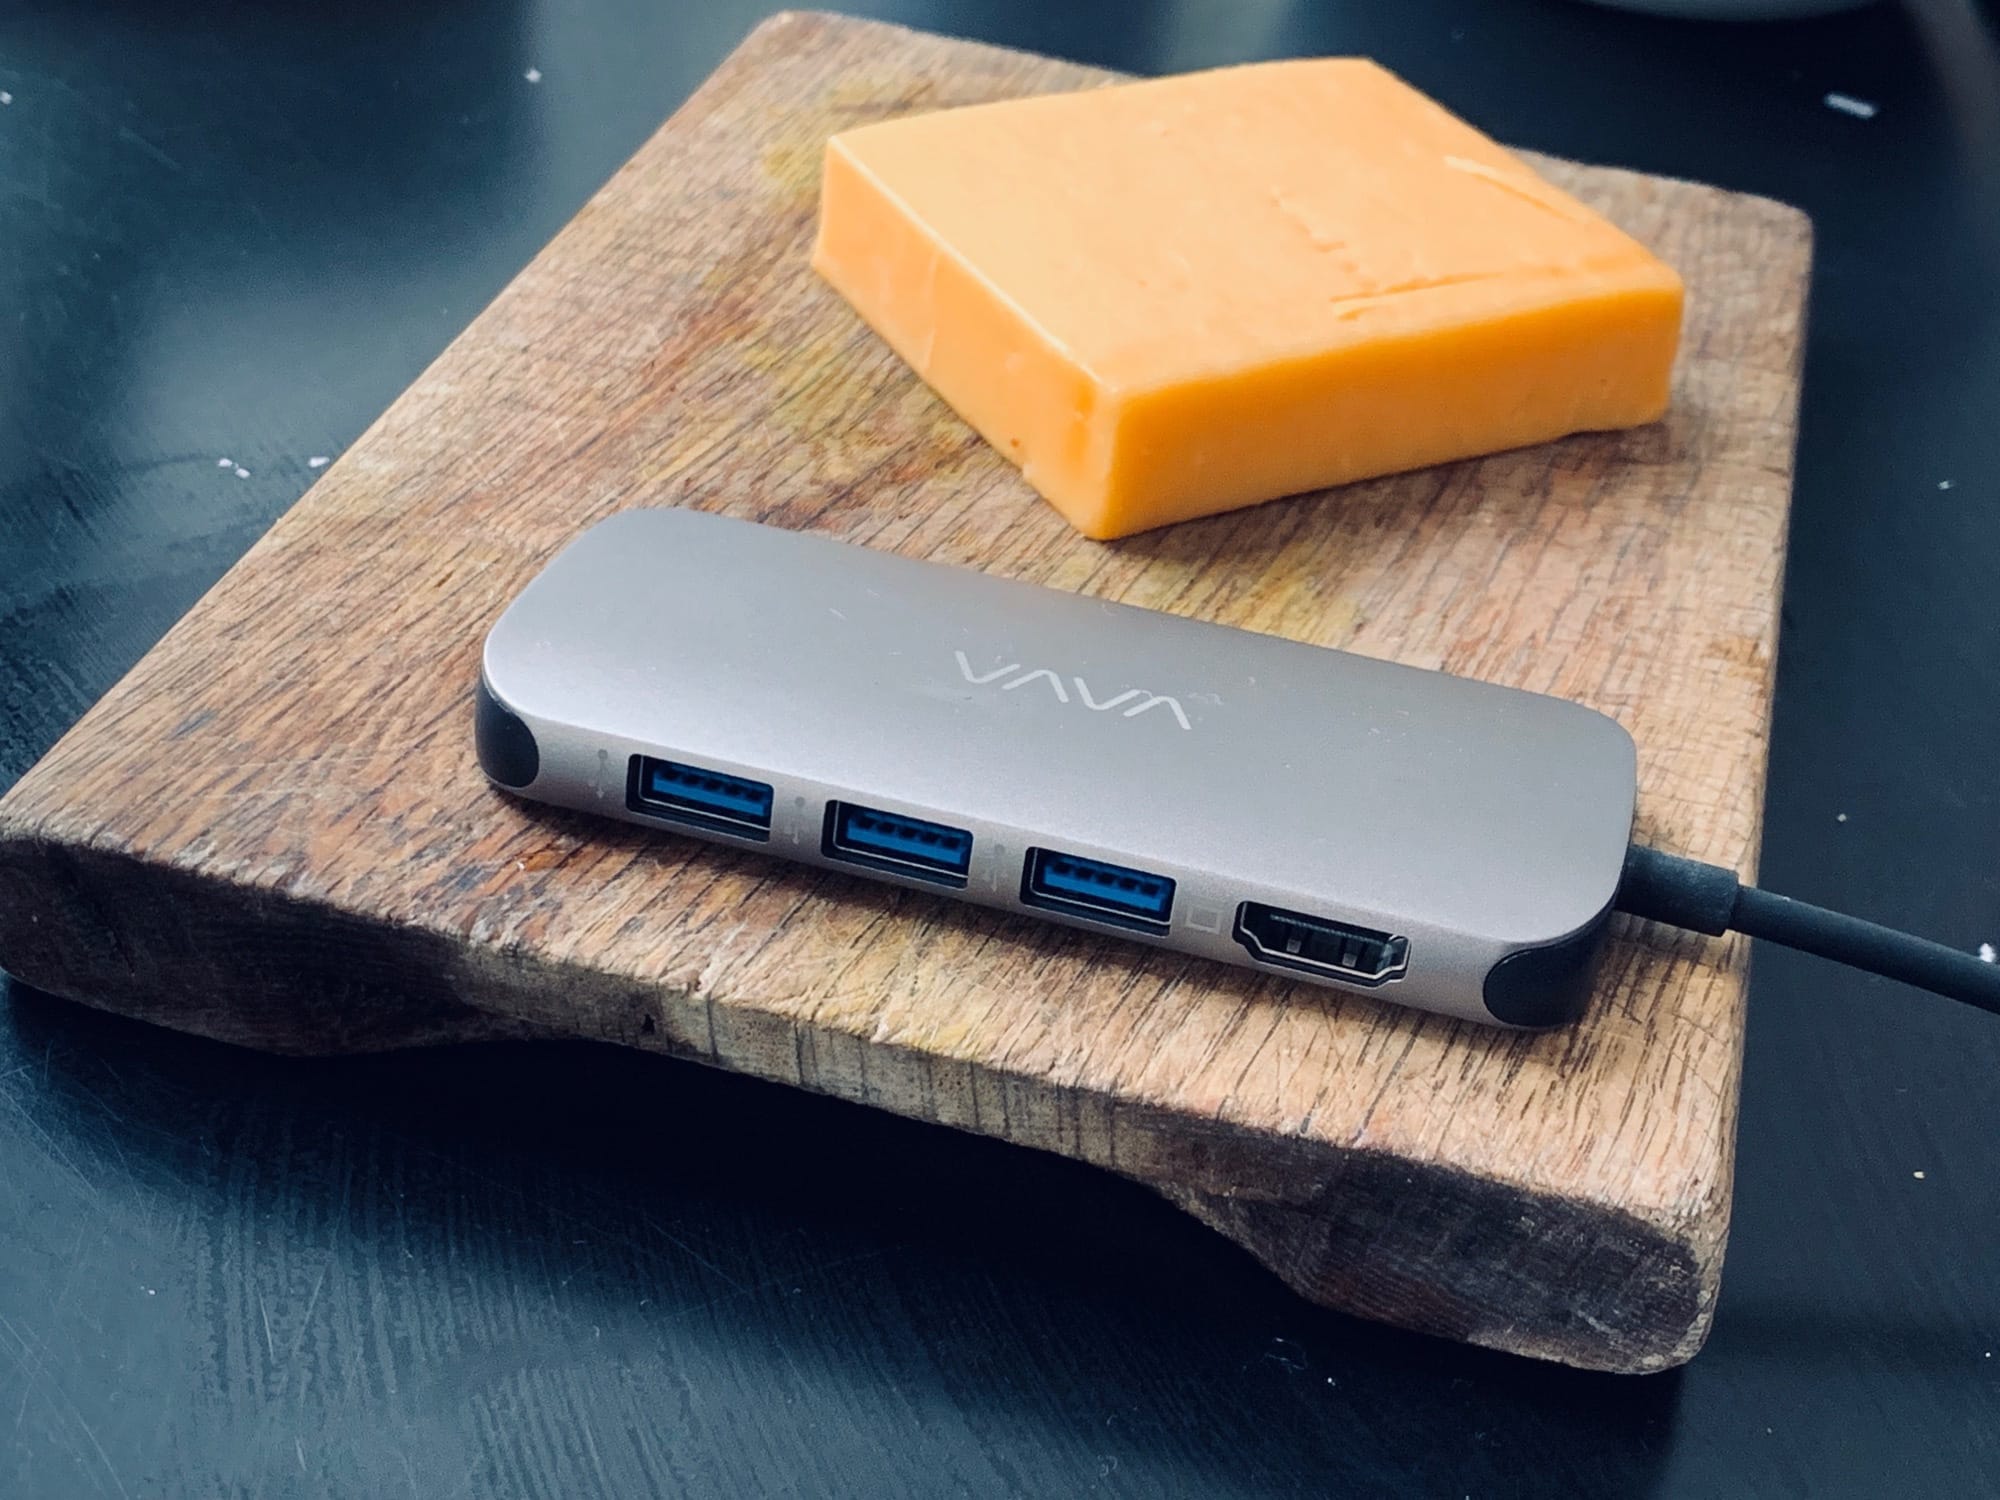
- Dongles
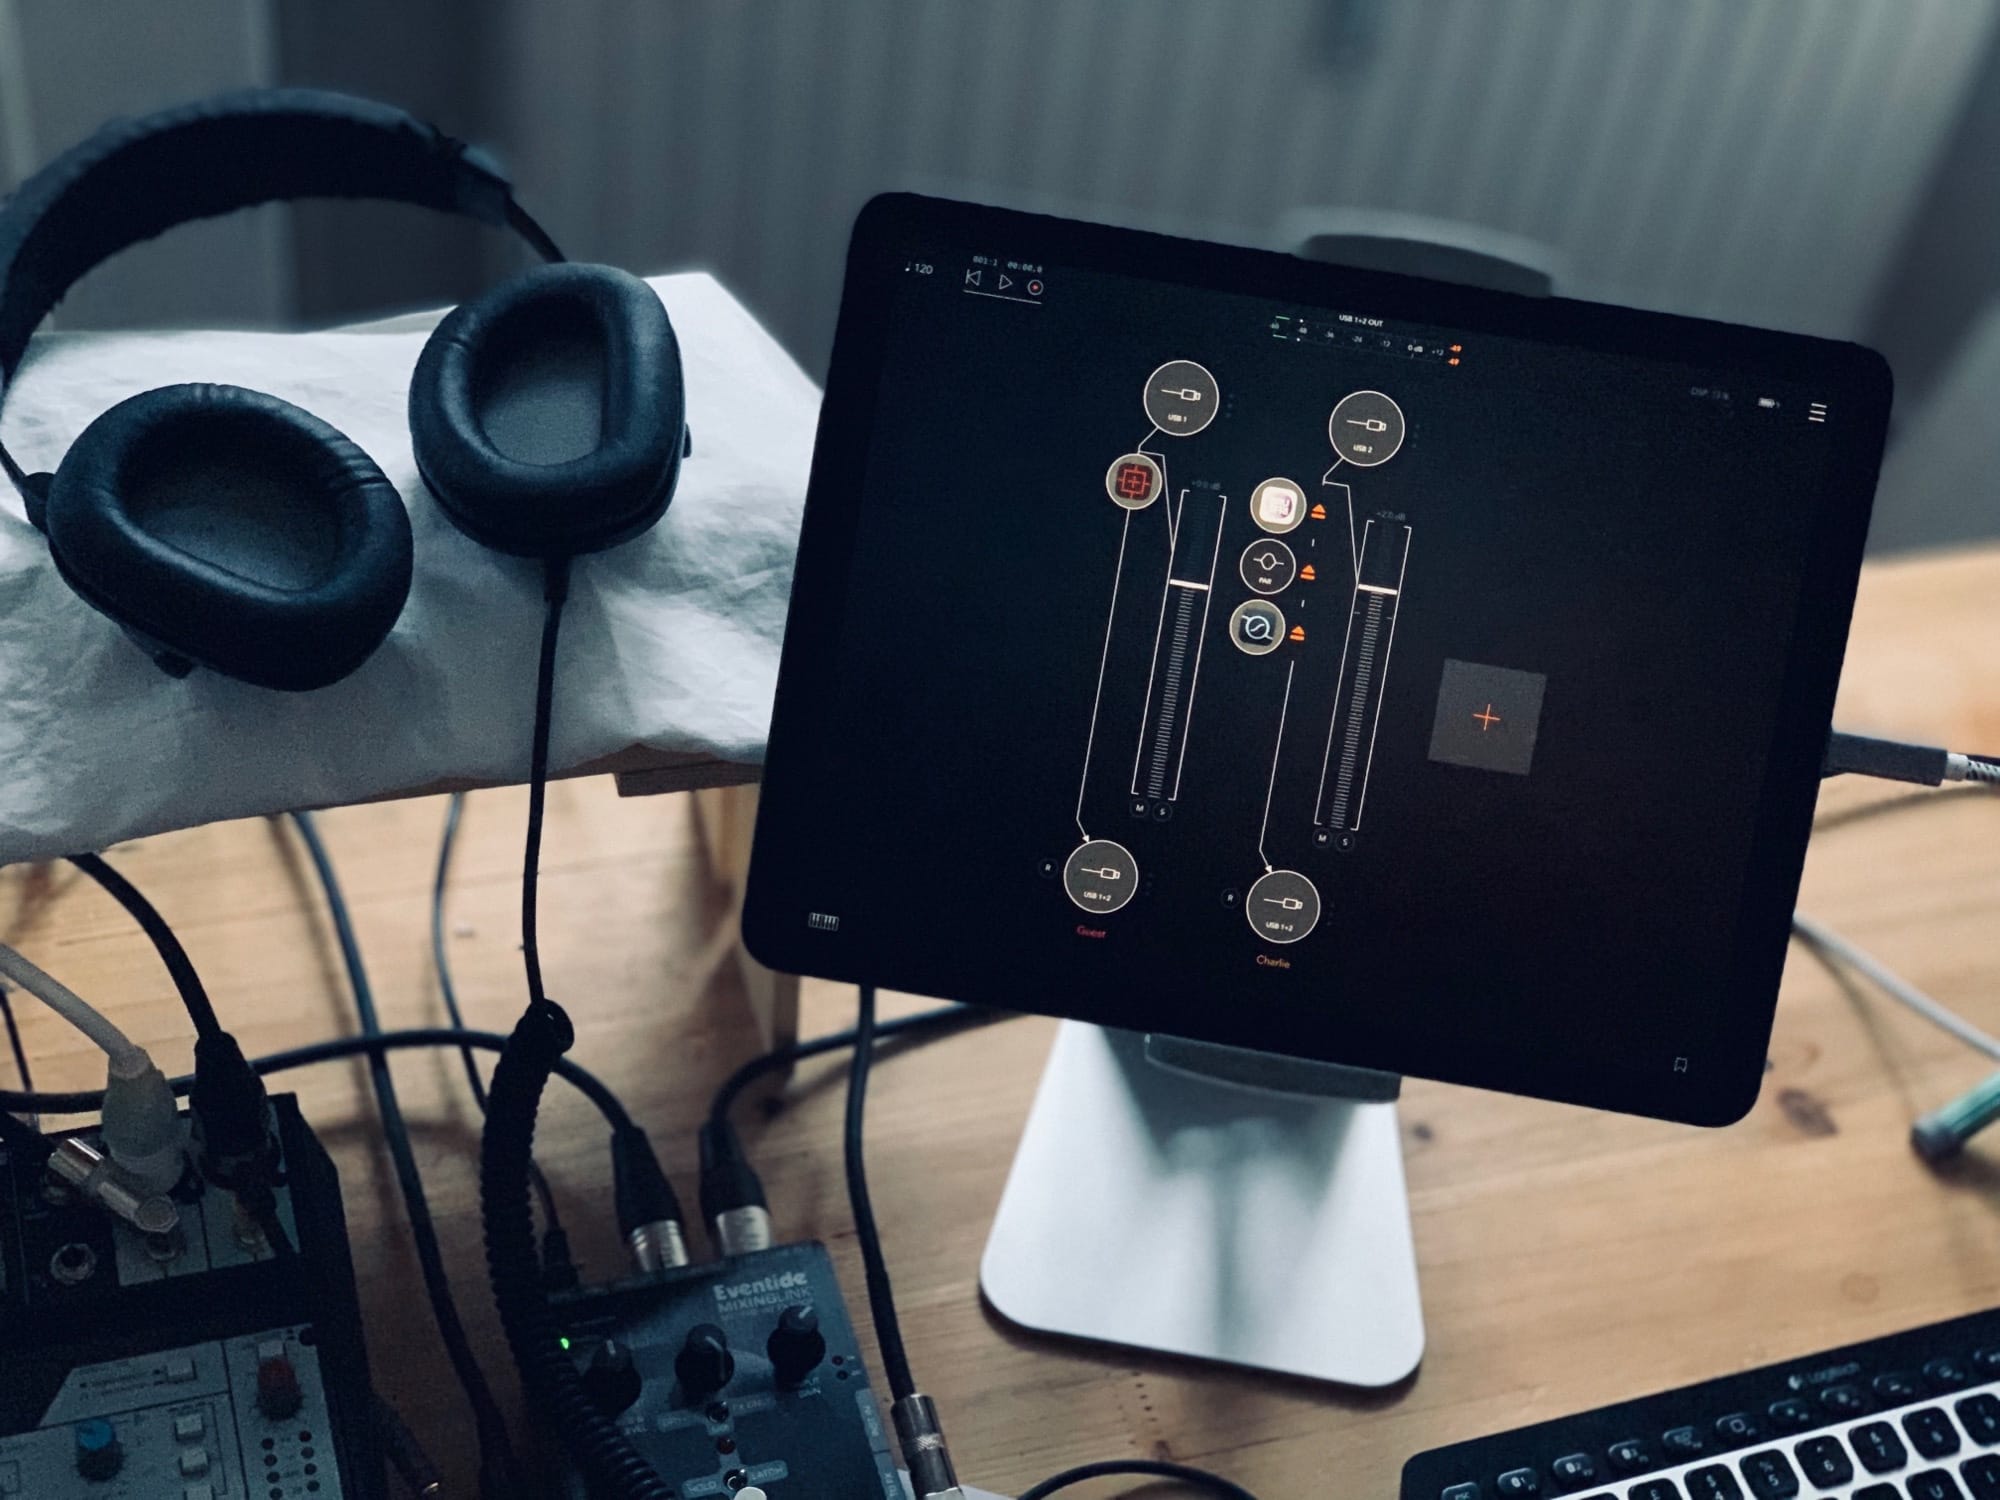
Here’s how it works: You connect the USB audio interface to your iPad using the Lightning camera connection kit or using a USB-C adapter of some kind (for the 2018 iPad Pro). Next, you hook up the mic and headphones to the audio interface.

Photo: Charlie Sorrel/Cult of Mac
This is a standard iOS recording setup. Any audio recording app will automatically recognize the microphone and headphones, using them for input and output. The mic picks up your beautiful voice, and the headphones let you hear both yourself and the caller (more on that part in a second). Headphones are important, because without them, the mic would pick up the sound from any speakers, causing feedback and echoes.
Adding the call into the mix
Here’s the clever part. You take a standard 3.5mm jack cable, the one with headphone jacks on both ends, and plug it into the headphone jack of your iPhone. (If you’re using a recent iPhone, you’ll need a dongle to do this, because it doesn’t have a headphone jack.)
Then, plug the other end into an input of your audio interface. This achieves two things:
- You can hear the FaceTime call though your headphones
- You can record the FaceTime audio onto a separate track in your recording app.
Now, we mentioned above that we’re doing a double-ender. This means that my podcast partner Andrea is recording his end of the conversation on his Mac. Why, then, do I want to record his audio? Because why not? It’s there, and if anything goes wrong with his recording, we have a backup.
Also, the audio tracks I record (mine and his) will be in sync, which makes syncing up the high-quality track he sends me later much easier.
What about Andrea? How can he hear me? That’s easy. The iPhone’s own mic takes care of that. The jack cable we plugged in only takes the audio out of the iPhone, like a pair of earbuds. Because it’s a plain stereo audio cable, it doesn’t switch off the iPhone’s internal mic.
A workaround
If you have an audio interface for your iPad that only has one input, you won’t be able to pipe in the audio form the iPhone. Or perhaps you hook up a USB mic directly to your iPad (some USB mics have a headphone jack on the side so you can use them this way), and so you have no audio interface at all.
Don’t worry. Just use a pair of AirPods for the iPhone, and put the AirPods on inside your big headphones. They manage to pick up your speech from the big headphones, while the headphones stop the AirPods’s audio from bleeding into your mic. You can even use standard wired earbuds for this, with the big headphones over the top. This lets you hear your own voice (through the big headphones), plus the voice of your partner.
Bonus: With Group FaceTime calls, this setup works equally well for group podcasts, as long as everyone records their own audio locally.
The aftermath
When you’re done, you’ll need the other participant(s) to send you their audio, in whatever manner is convenient. Ask them to send the original, uncompressed recording if possible. Maybe if they’re overseas using a cellular connection this won’t be possible, but if they can, that’s what you want.
Then, you just need to assemble and edit the audio. That’s what we’ll do in part 2 of this how-to (coming soon). And if you want to listen to a podcast recorded this way, you can subscribe to The Uncanny Alley here.


