AirDrop, Apple’s built-in sharing feature, lets you beam pretty much anything between any Apple devices. You can use it to share photos, videos, URLS, documents, snippets of text — in short, anything that can be shared using the standard “sharing arrow” icon is fair game for AirDrop.
AirDrop really should be your first choice for sharing, because it doesn’t use the internet to send the files. It connects you and the recipient directly to each other using Wi-Fi, and makes the transfer that way. This makes AirDrop secure and lightning-fast. It also mean it works as well on the top of a mountain as it does in a busy office.
How to use AirDrop on iPhone and iPad

Photo: Cult of Mac
Using AirDrop is easy and reliable. In recent years, Apple made the feature rock-solid. It’s likely that the only troubleshooting you’ll have to do is to make sure the person you’re sending to has AirDrop switched on on their iPhone or iPad.
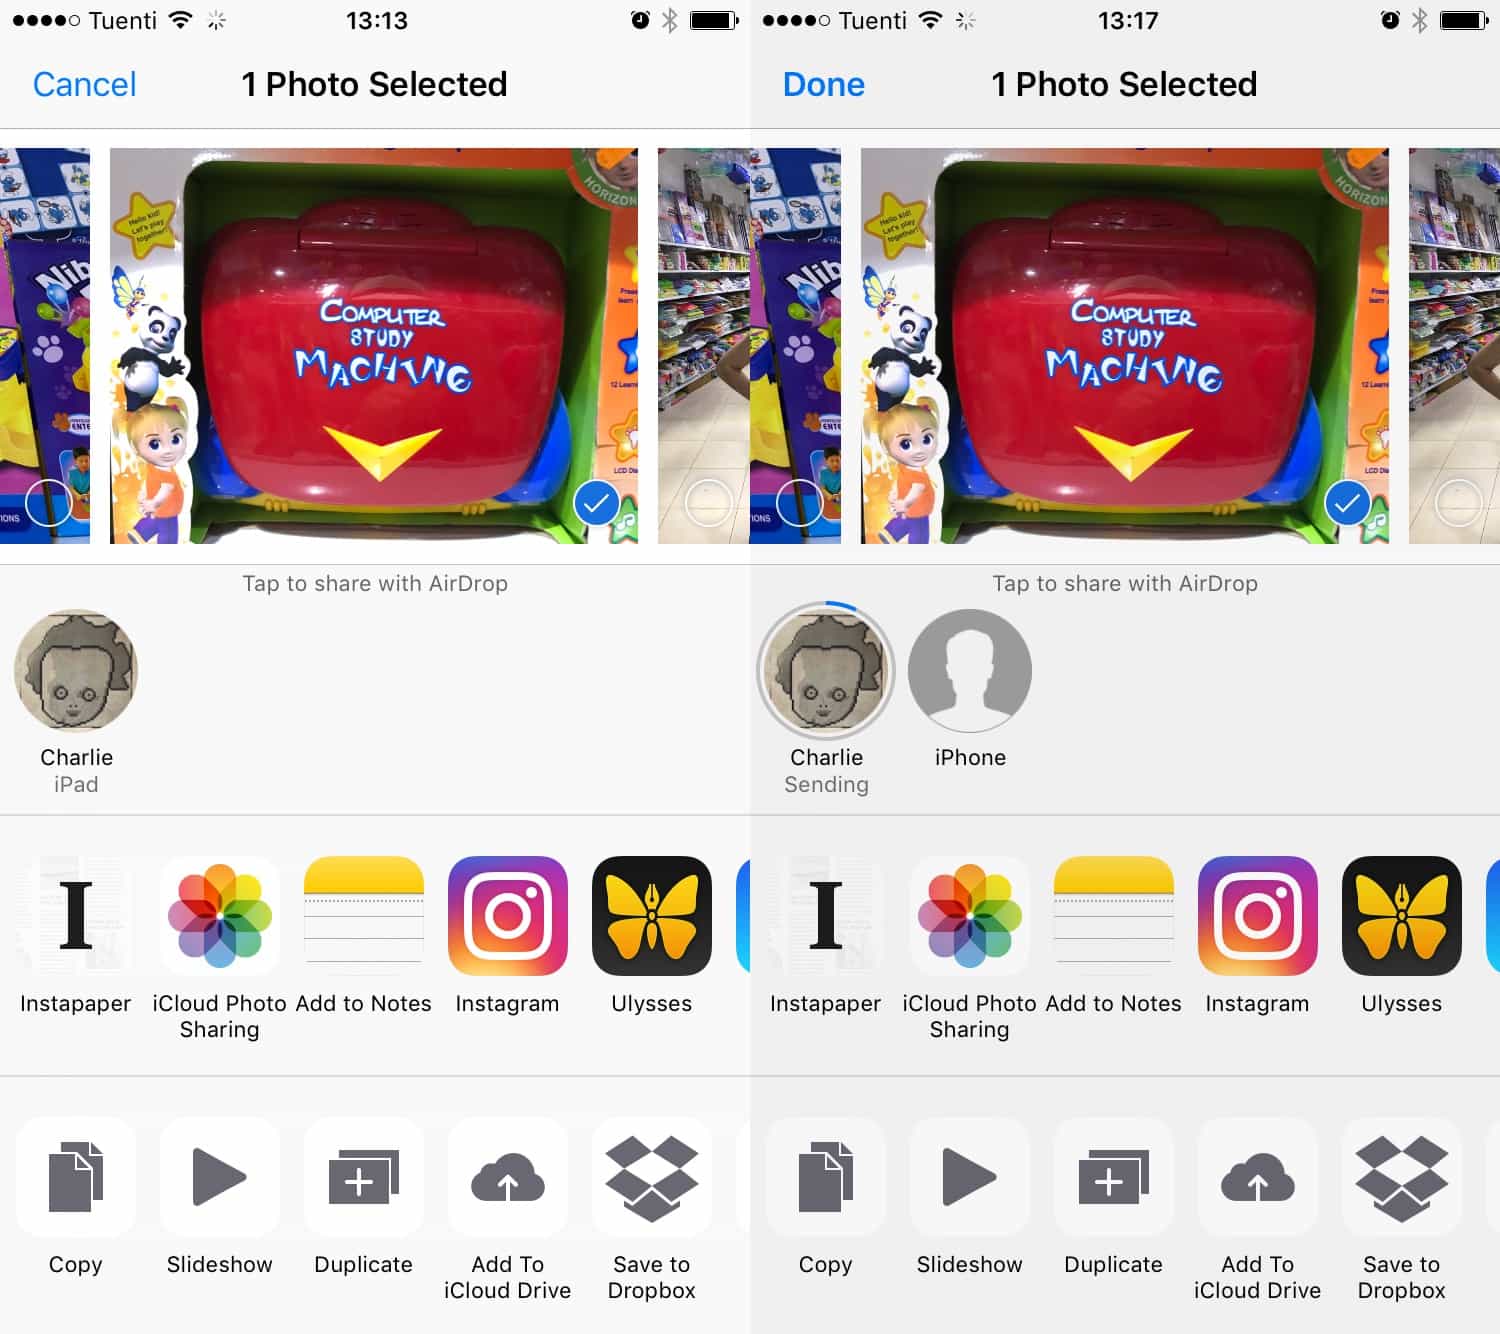
To use AirDrop, just hit the standard Share Arrow, then tap the AirDrop icon when the Share Sheet shows up. The AirDrop icon is the little circle with some blue, radar-like waves in it (if the radar lines are black, you have AirDrop switched off).
It sits in its own row, above all other sharing options. In that row, all available recipients will show up, with their names and the kind of device(s) they own (Mac, iPad, iPhone). Just tap one to send the file, photo, link or whatever. From your point of view, as a sender, that’s it. A progress indicator will rush around the edge of that person’s icon on your iPhone or iPad, showing you how fast the transfer is going.
Receiving with AirDrop

Photo: Cult of Mac
When you receive a file with AirDrop, one of several things can happen. First, you will be prompted to accept the incoming transfer. Unless, that is, you are sending a file to one of your own devices — from your iPhone to your iPad, for example. In this case, iOS automatically accepts the file. What happens next depends on the file type.
If you’re receiving a photo, it gets added automatically to your Photo Library (and a URL likely opens in Safari). But if you send something that can be opened by several apps on your device, a list pops up on the screen so you can choose where the file goes. In the above example, I sent a text snippet from Drafts on my iPhone to my iPad. The resulting list popped up automatically, showing all the apps that can accept a snippet of text. The same happens with PDFs, and all kinds of other files. It’s a bit like the Mac Finder’s Open in… command.
One neat option to pay attention to here appears at the bottom of the list, where you can choose to Save to iCloud Drive. This great catch-all destination saves the file at the root level of your iCloud Drive. If you’re running iOS 11 and using the Files app, you can find it there. This turns your iCloud Drive into a kind of inbox for your AirDrop transfers. Whether you keep it organized, or let it go to ruin like that morass of crap you call a desktop on your Mac, is up to you.
Setting up AirDrop

Photo: Cult of Mac
Usually, AirDrop just works. If it’s not on, simply switch it on right there when you’re ready to share. If you don’t see the recipient’s device in the AirDrop row in the Share Sheet, you might need to fix something on their device.

Photo: Cult of Mac
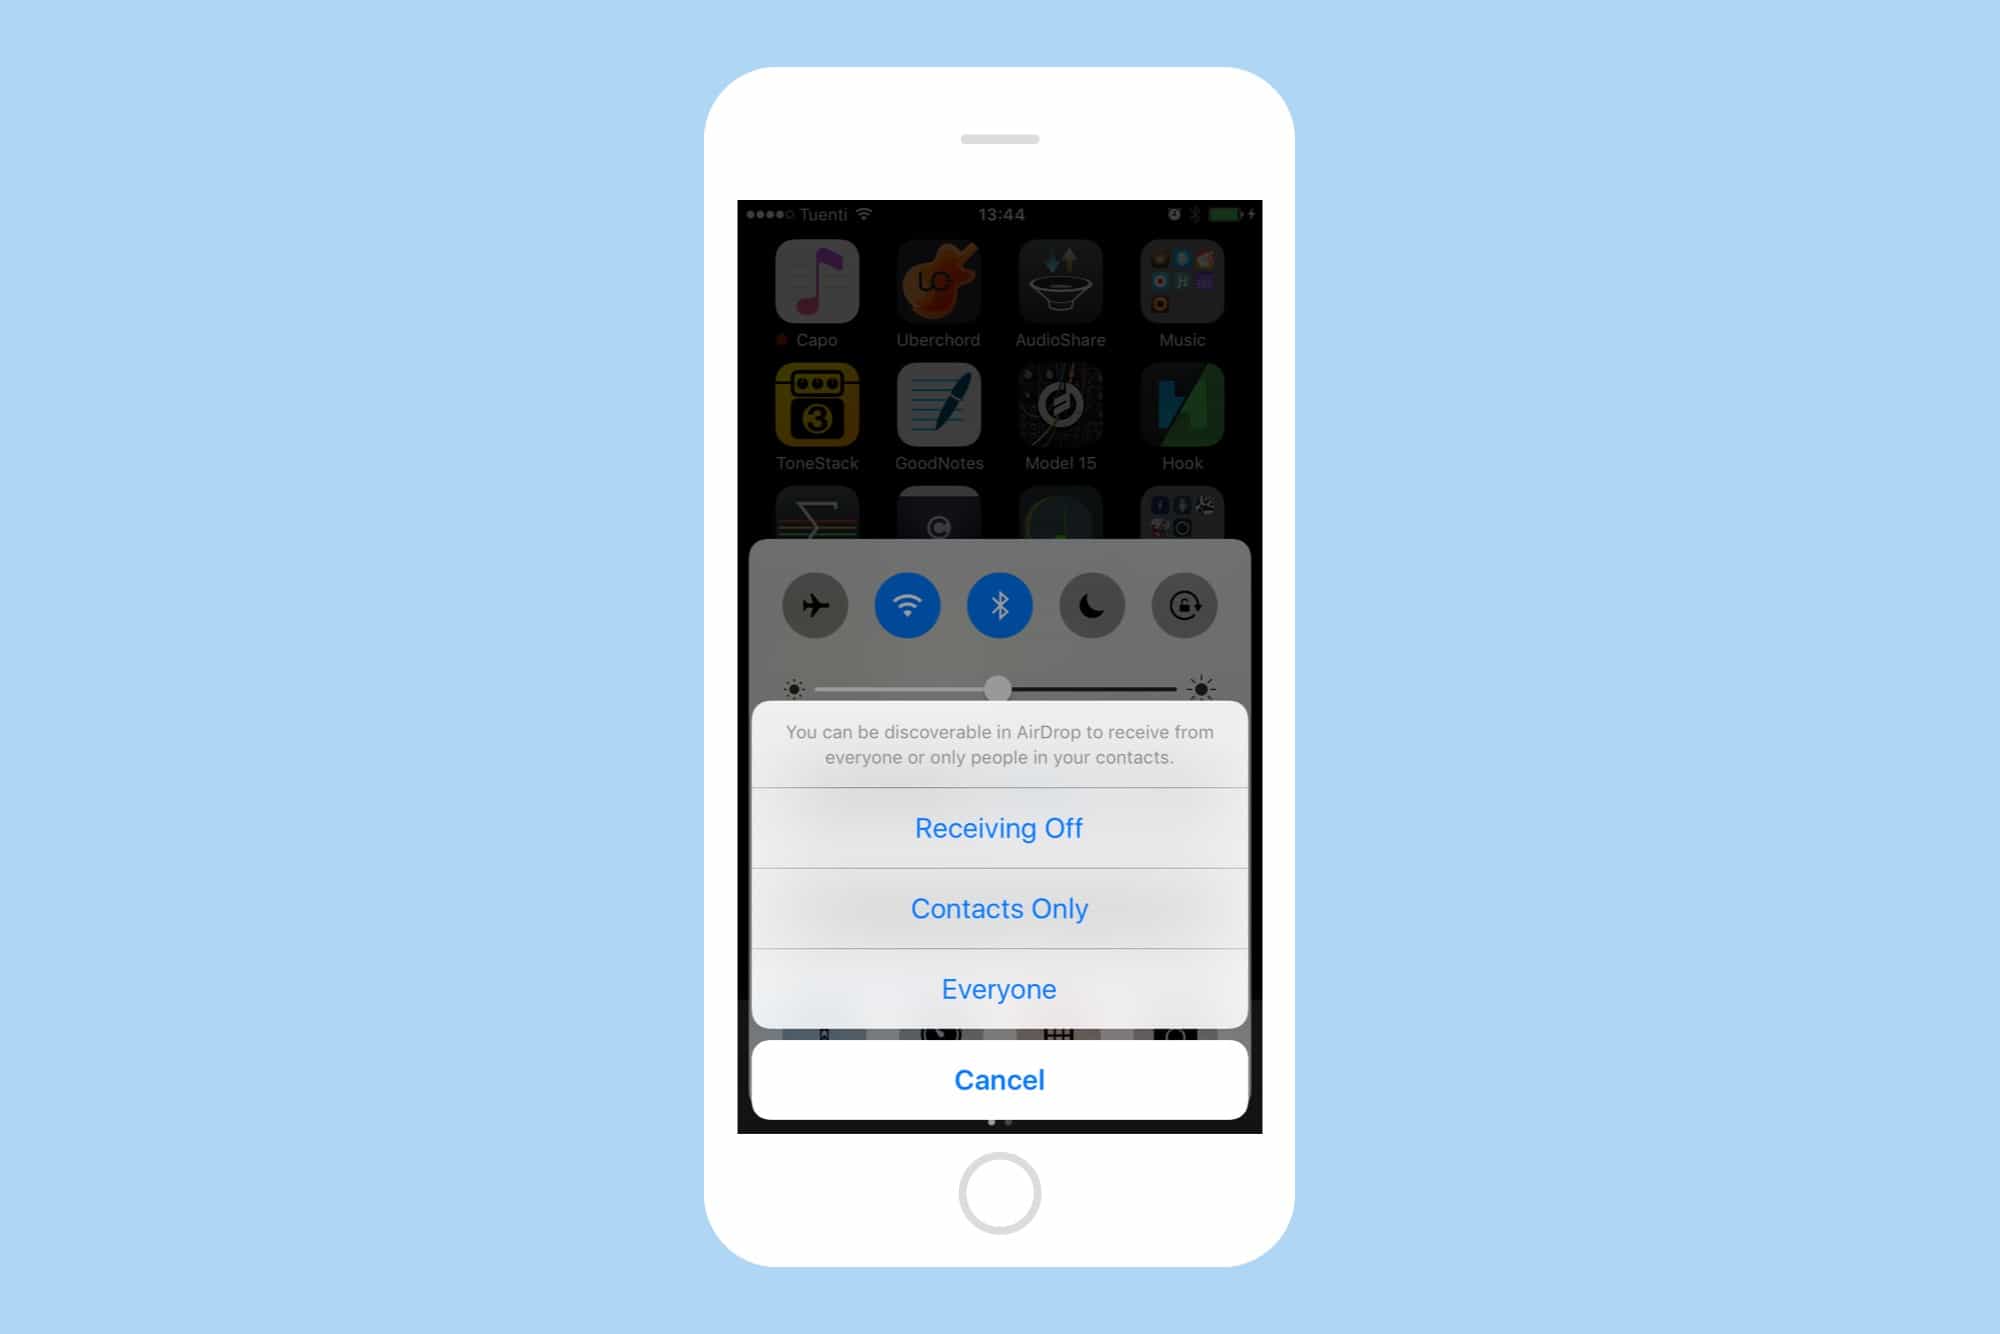
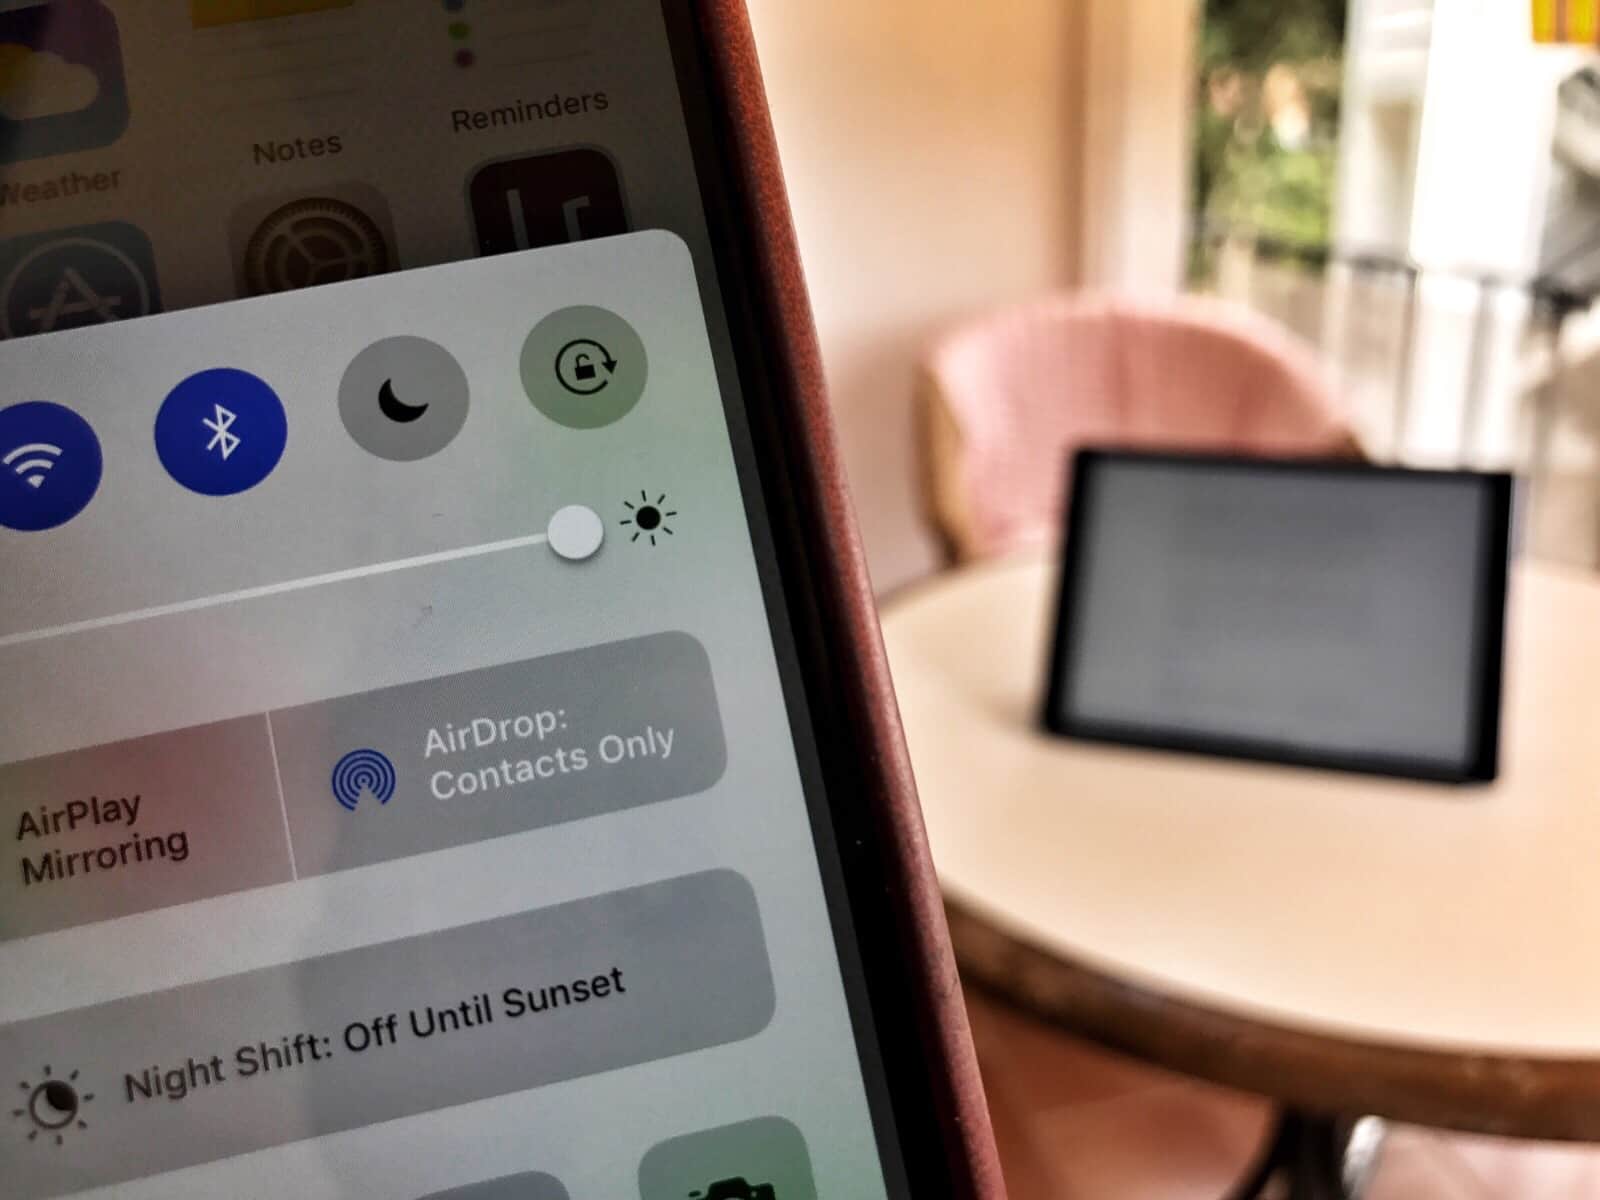
The easiest way is to make them open Control Center and tap the AirDrop icon. In iOS 10, this opens up a small menu where they can choose Receiving Off, Contacts Only or Everyone. These all do what you’d expect. The best one for most people is Contacts Only, as it leaves you open to receive files at any time, but only from folks in your Contacts list.
On iOS 11, it works a little differently. Here, you open Control Center with the same swipe up from the bottom of the screen. But then you must long-press the Wi-Fi widget to access the AirDrop controls. Once there, you can choose from the same three options.
How does AirDrop work?
Finally, how does AirDrop work? It uses a combination of Bluetooth and Wi-Fi. Bluetooth is used to keep track of the other iDevices nearby (in one of the above screenshots, you can see that a nearby stranger’s iPhone showed up in my list). Then, when you make the transfer, a super-fast, peer-to-peer connection is made with Wi-Fi. The resulting transfers are ridiculously fast. Even a large video will be beamed over in a couple of seconds, and photos move so quickly that you might wonder if something went wrong.
AirDrop is pretty great, and works almost all the time. If you never use it, you should get in the habit.


