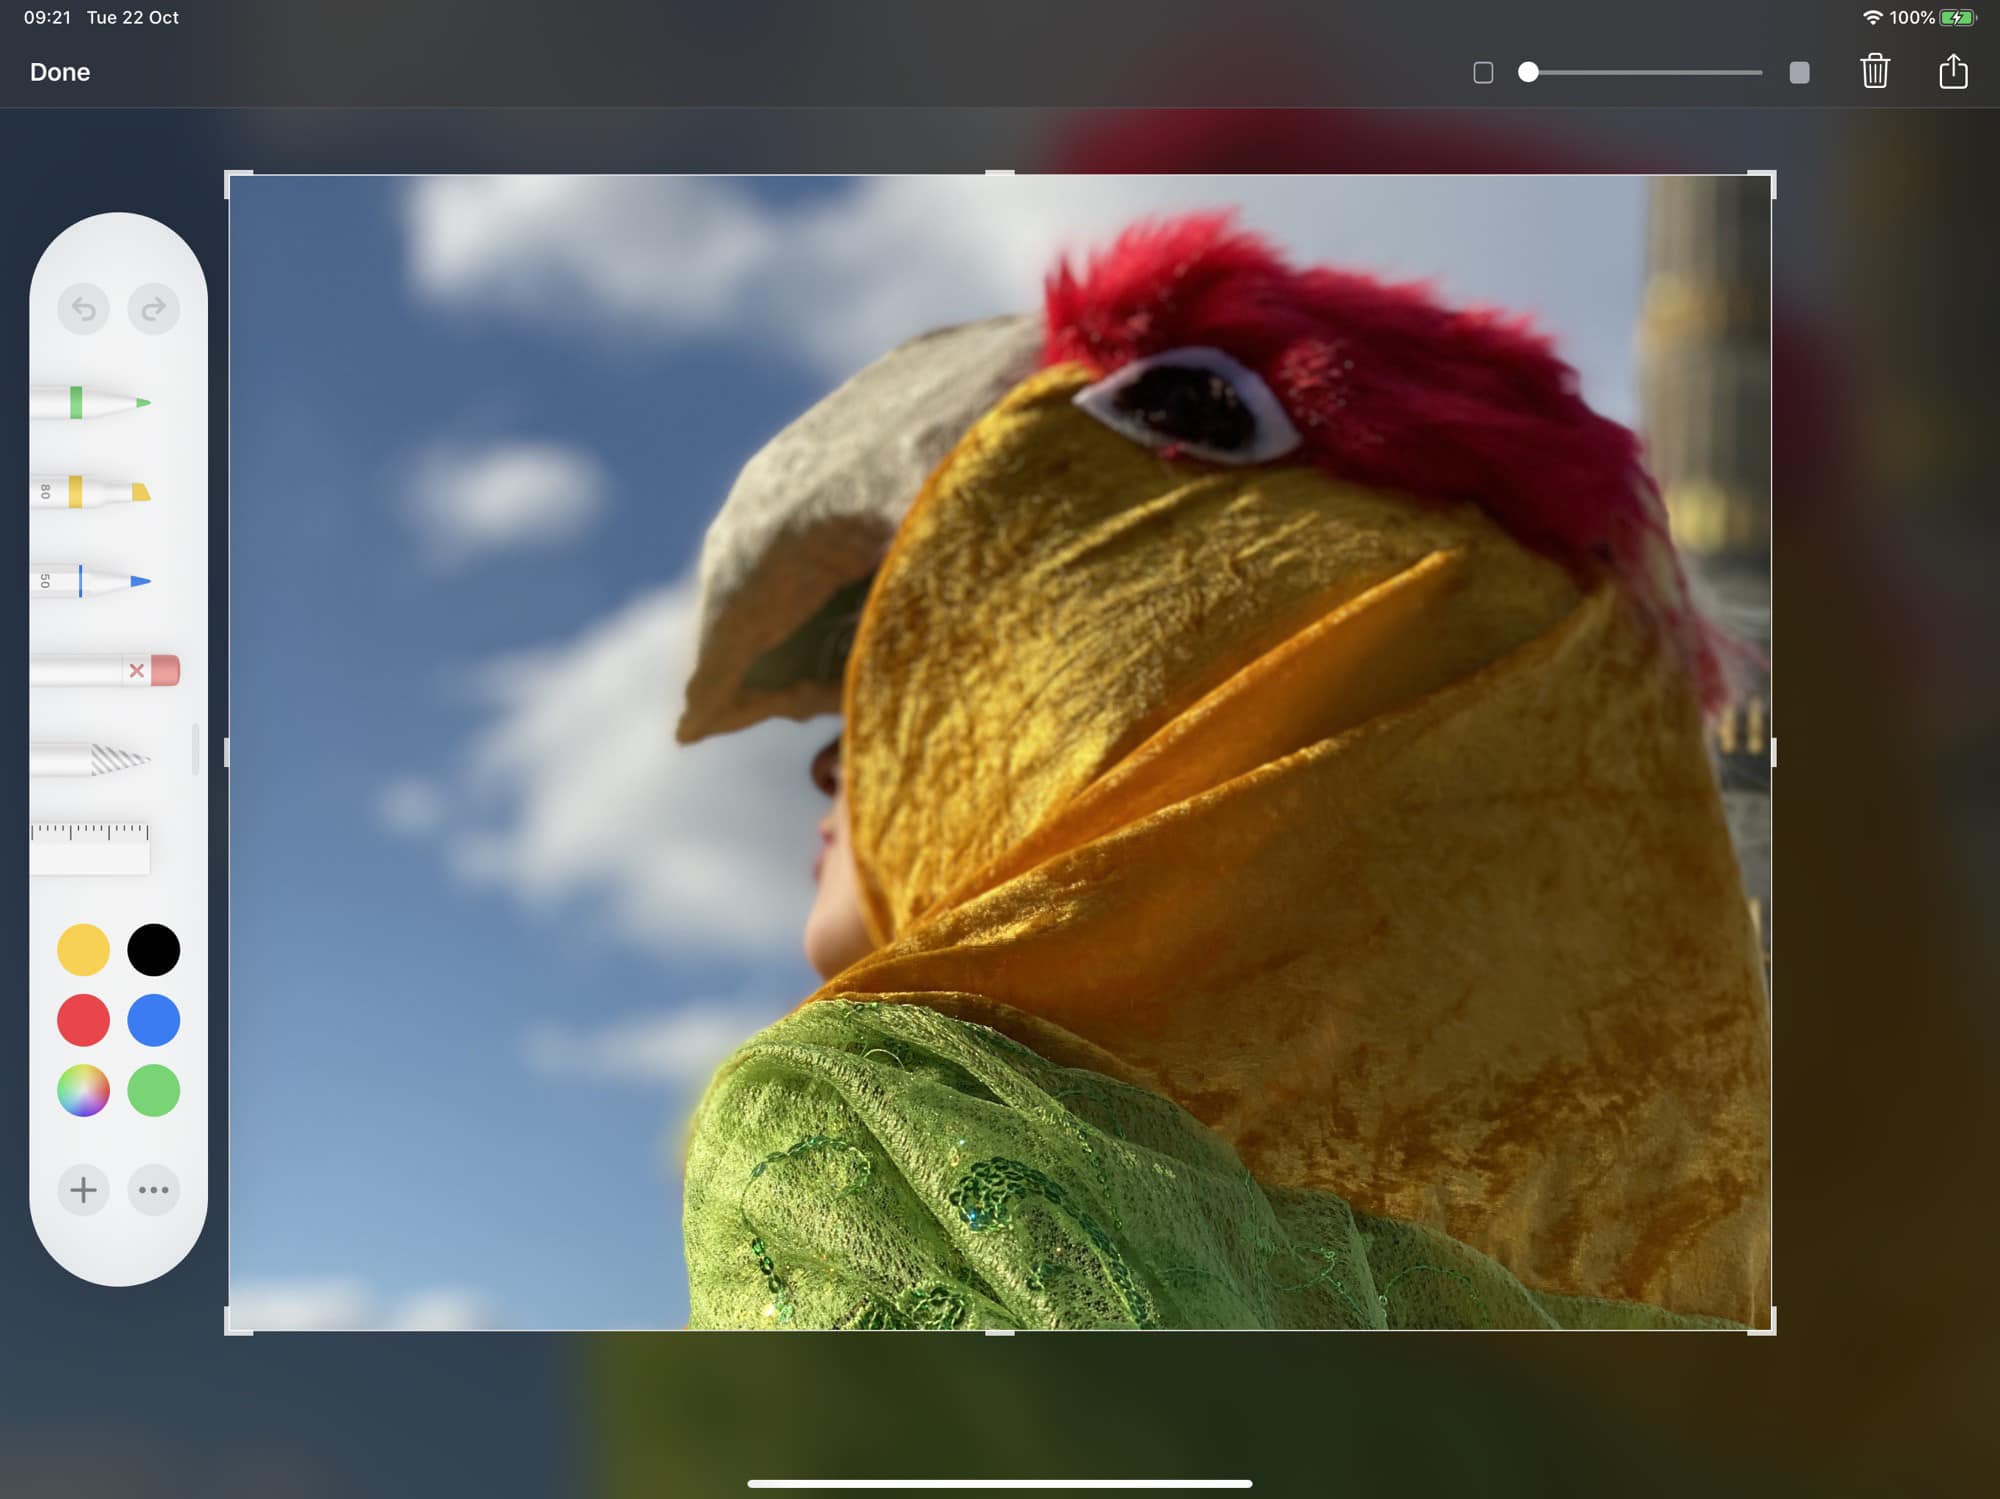
Instant Markup is one of the best parts of the iOS screenshot tool, and in iOS 13 and iPadOS it’s better than ever. The tools are more flexible, you get more colors, and it even remembers your selections for next time. It still doesn’t offer all the advanced features of a markup app like Annotable (you can’t pixelate parts of the image, for example), but it’s more than good enough for most uses.
Let’s see what’s new in the iOS 13 screenshot markup tool.
iOS 13 markup tools
Here’s the main panel:
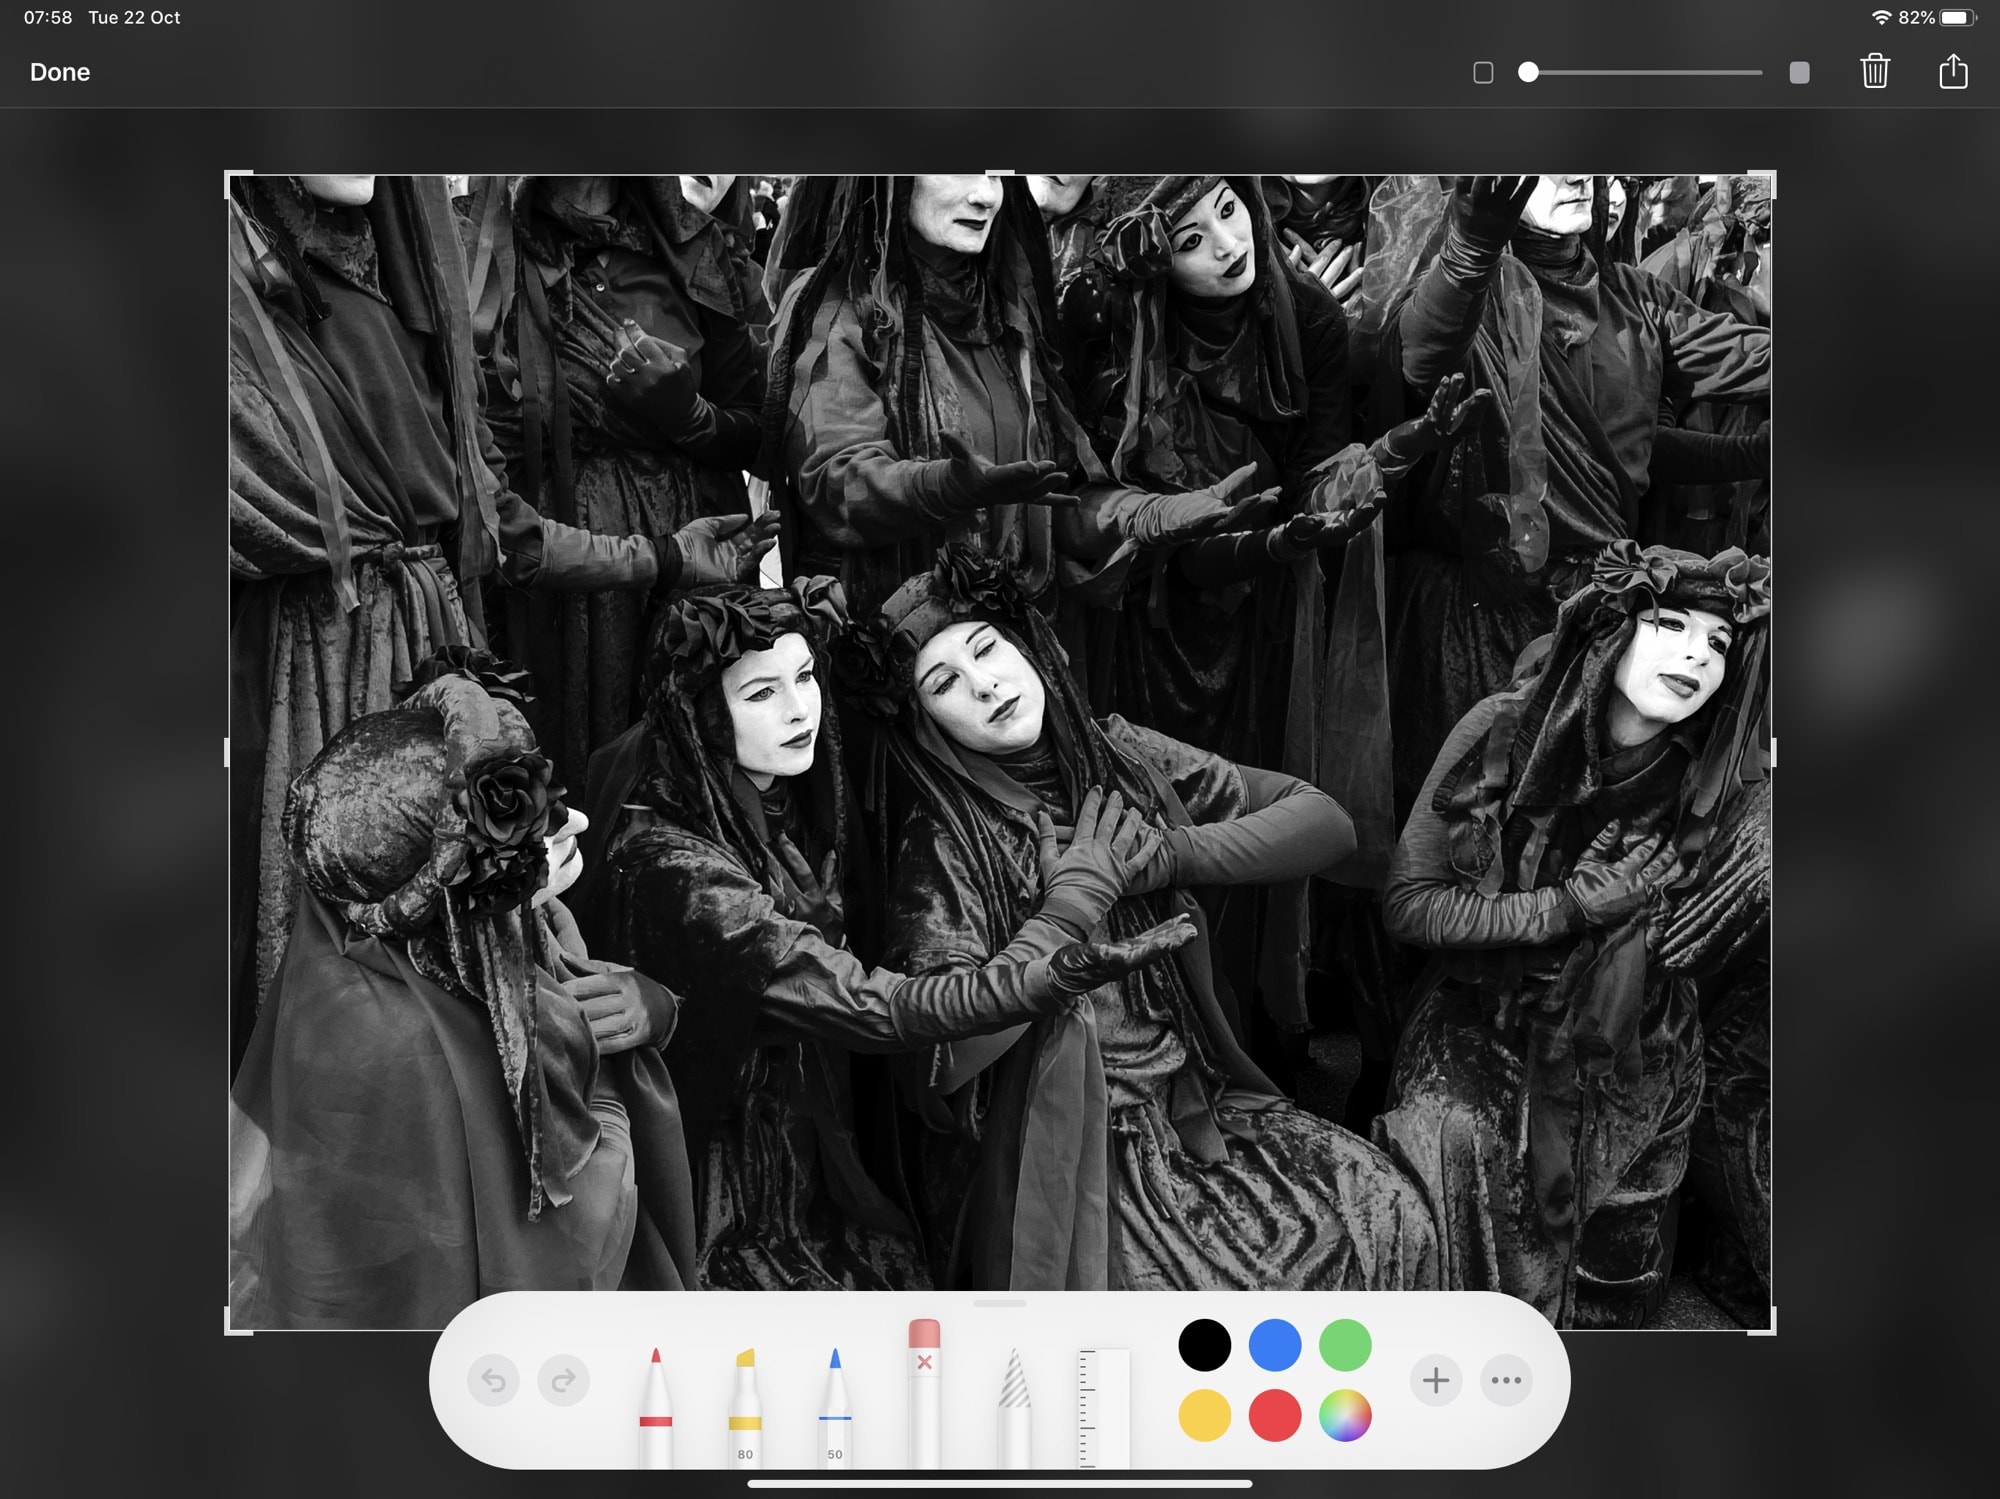
Photo: Andrea Nepori
This looks pretty familiar. As in earlier versions of iOS, the tool panel appears automatically whenever you take a screenshot. Tap a pen or other tool to select it. Tap it again to open up the options for that tool. For instance, for the various pen tools, you can choose line thickness and opacity. You also can choose the color of the tool, using the color picker just like olden times.
One big improvement over the old markup toolset is that the pens remember their settings. If you change the color of the highlighter to green, for instance, it stays green until you pick a different color. The old pre-iOS 13 pen would revert to black every single time.
New markup tools
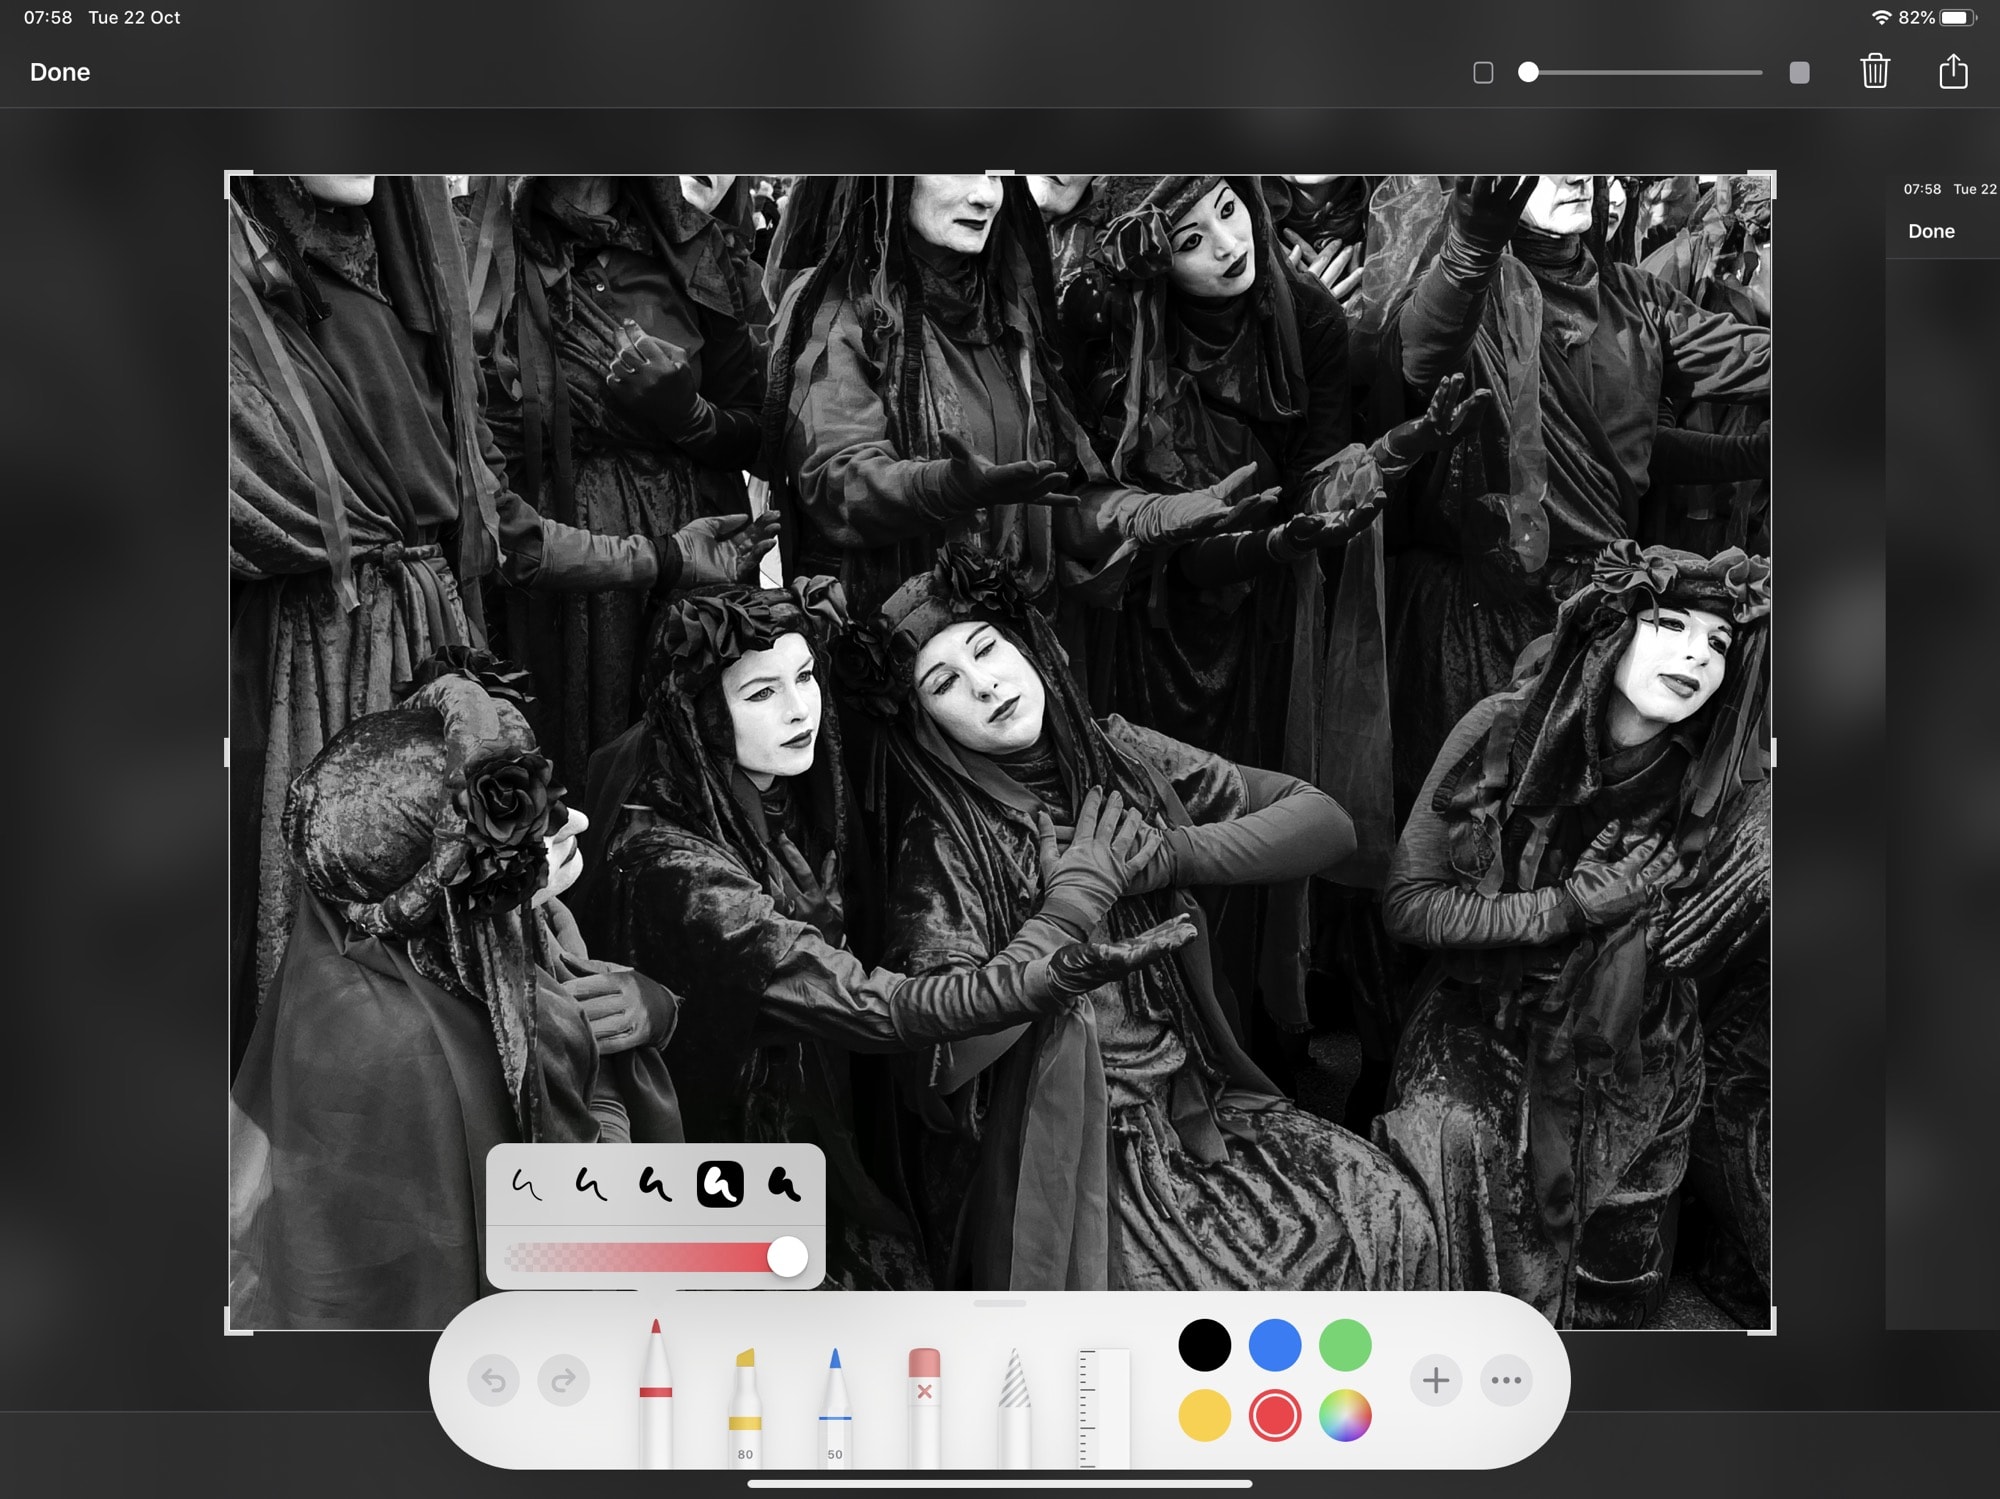
Photo: Andrea Nepori
iOS 13 and iPadOS also offer a few new tools and some visual changes. The main difference now is color. The tools are colored instead of black and white. You also can shrink the entire tool palette into a small, floating circle that you can park in any corner of your screen.
Apple replaced the lasso icon with what looks like a paper smudging pencil, but which is in fact a lasso tool. It behaves much the same as the old lasso. You can select objects, then duplicate, delete, cut or copy them. The “marching ants” selection lines now conform to the shape of the object(s) selected, instead of appearing where you drew the original selection loop.
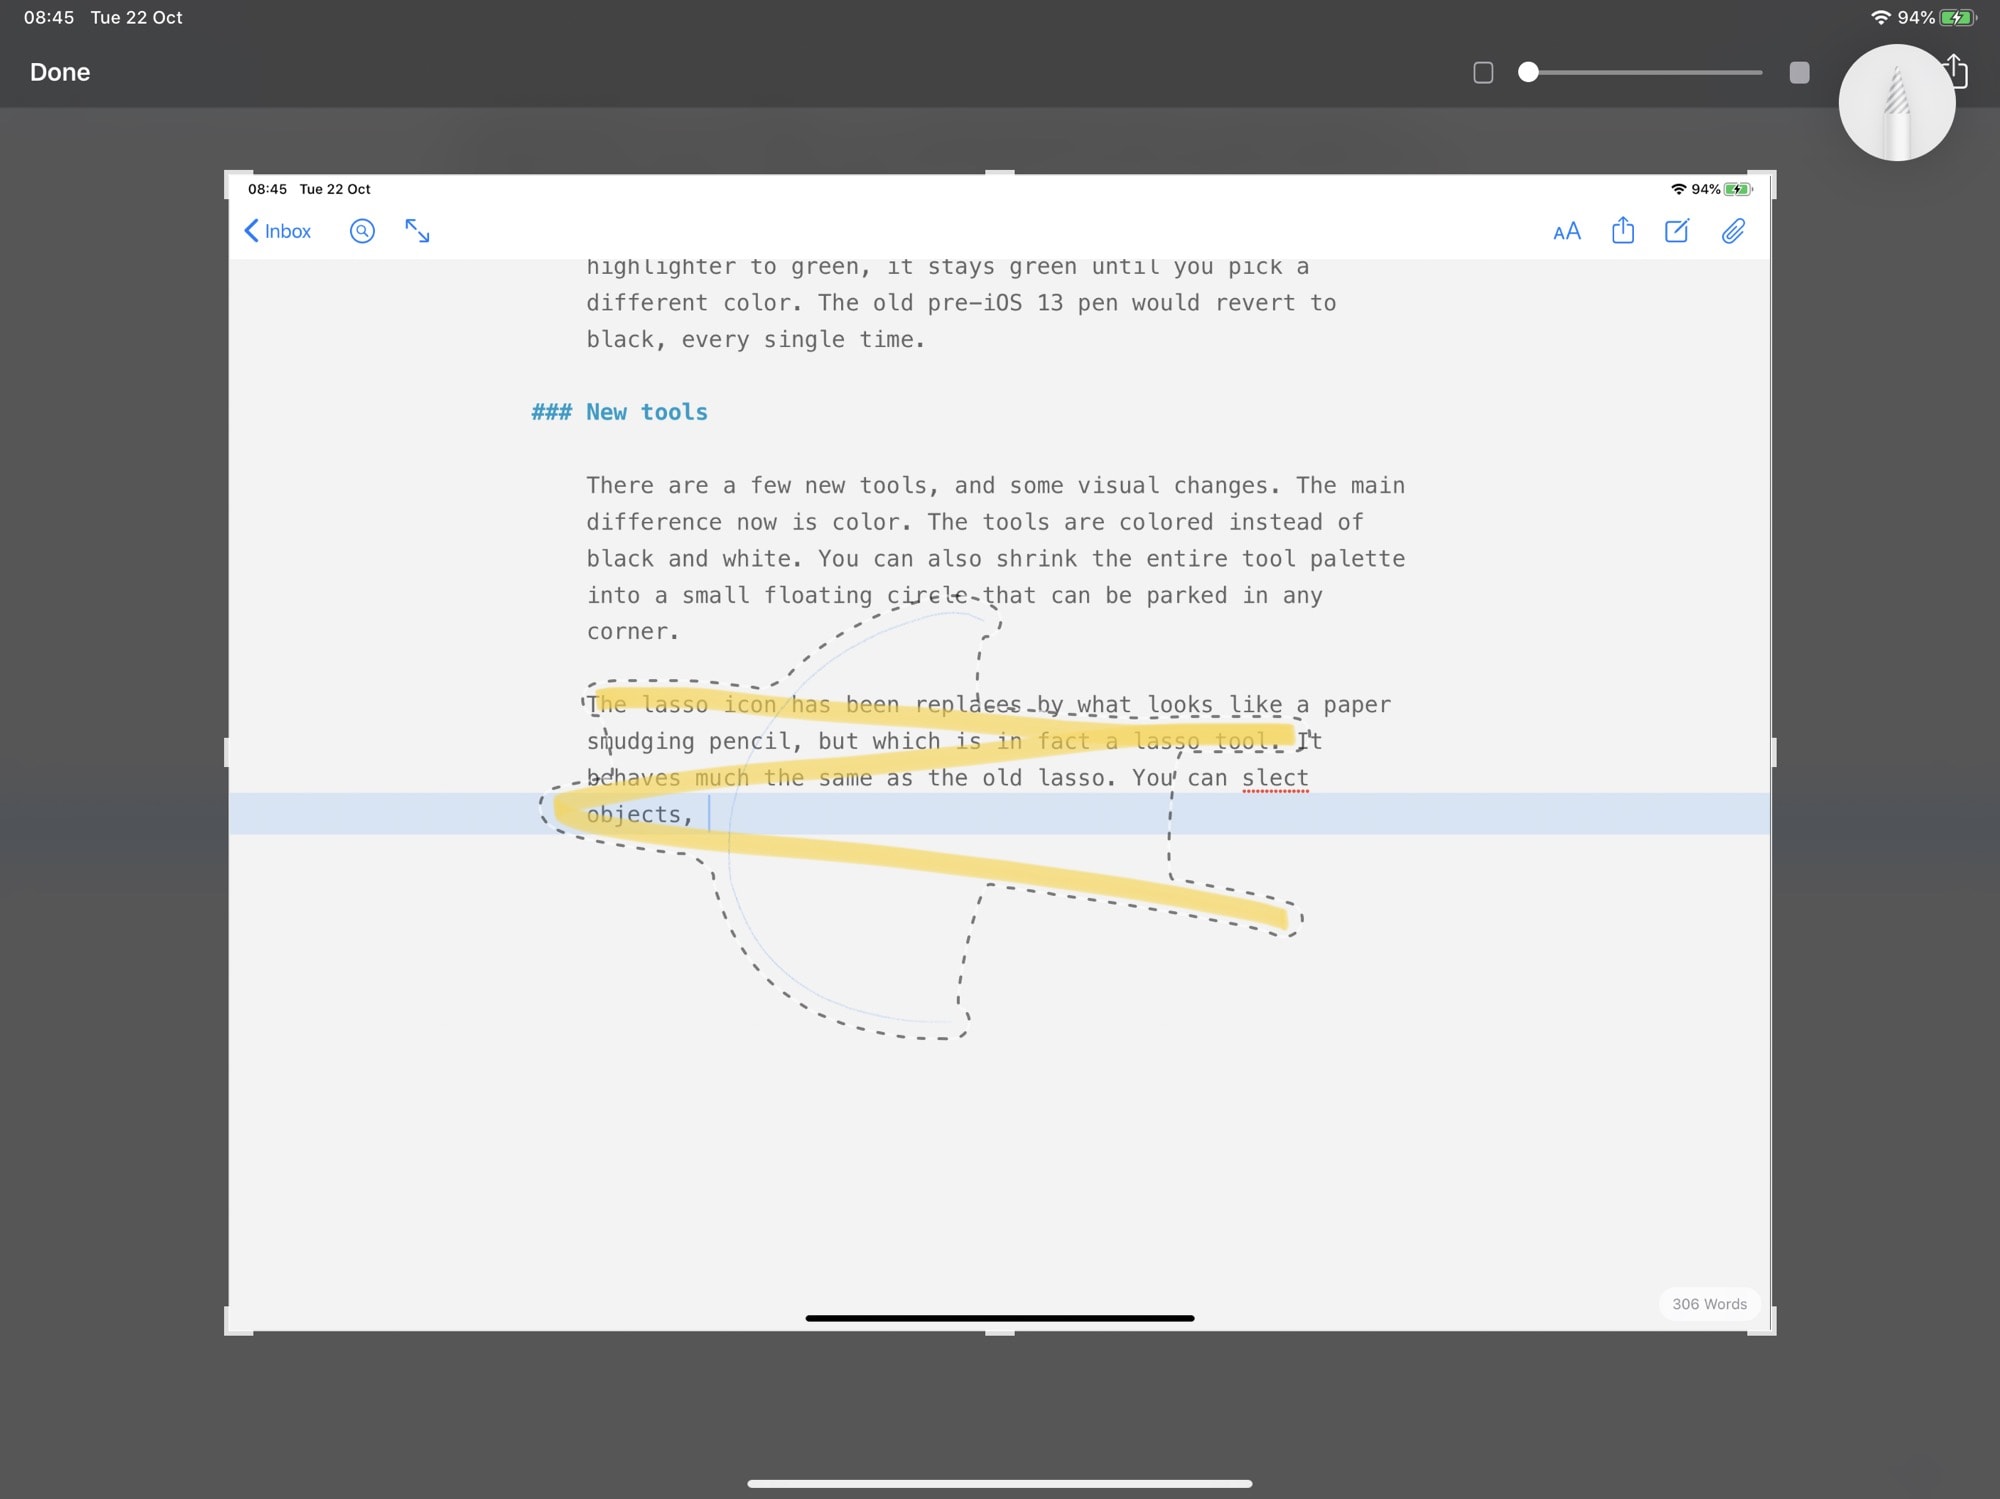
Photo: Cult of Mac
The ruler is the only new tool in the main palette. This works just like the ruler in the Notes app. Tap to place it on the screen, and tap again to remove it. Use a finger to move the ruler into place, and use two fingers to twist it. The ruler will snap to common angles, but also can be freely placed.
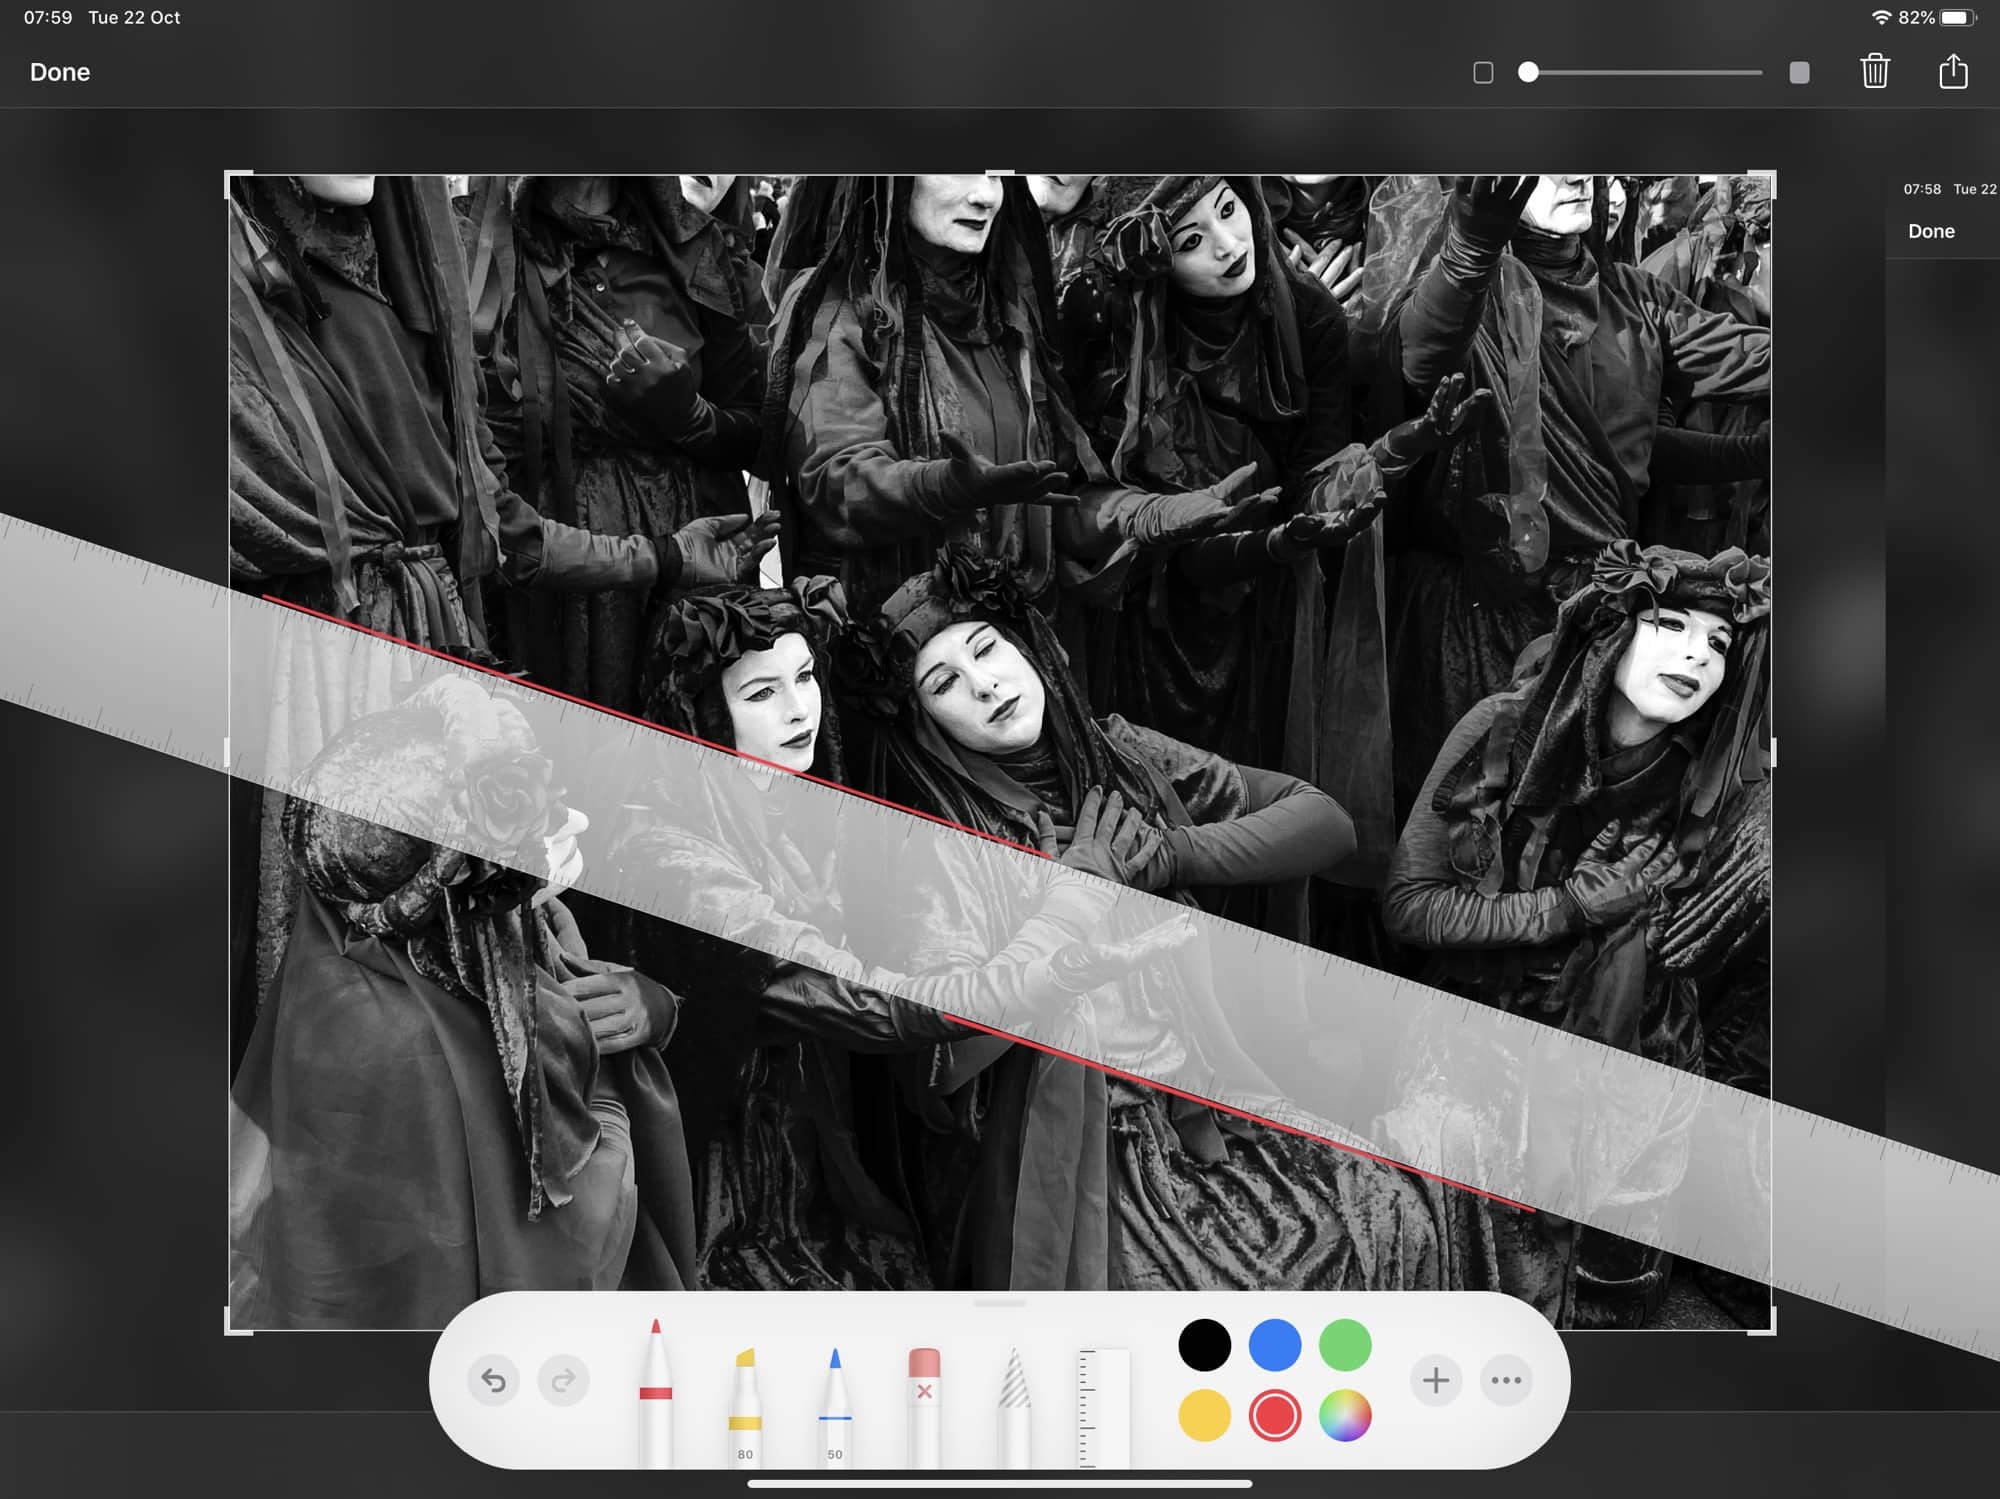
Photo: Andrea Nepori
Once placed, select a pen tool to draw. The ruler acts as you’d expect, masking off the image so you can draw straight-edged lines, shapes and scribbles.
Pixel or object erase
Another neat change is in the eraser tool. You can erase pixels, as before — just scrub the eraser over anything you’ve drawn, and it acts like a reverse-pencil, eating away at the colors beneath. But you also can pick the new object erase option, which lets you tap on an object to make the entire thing disappear. In this case, an object can be a square, a signature, an arrow or anything else from the object placement tool. But it also can be anything you’ve drawn. So, if you mess up a freehand circle, you can erase it in a single tap.
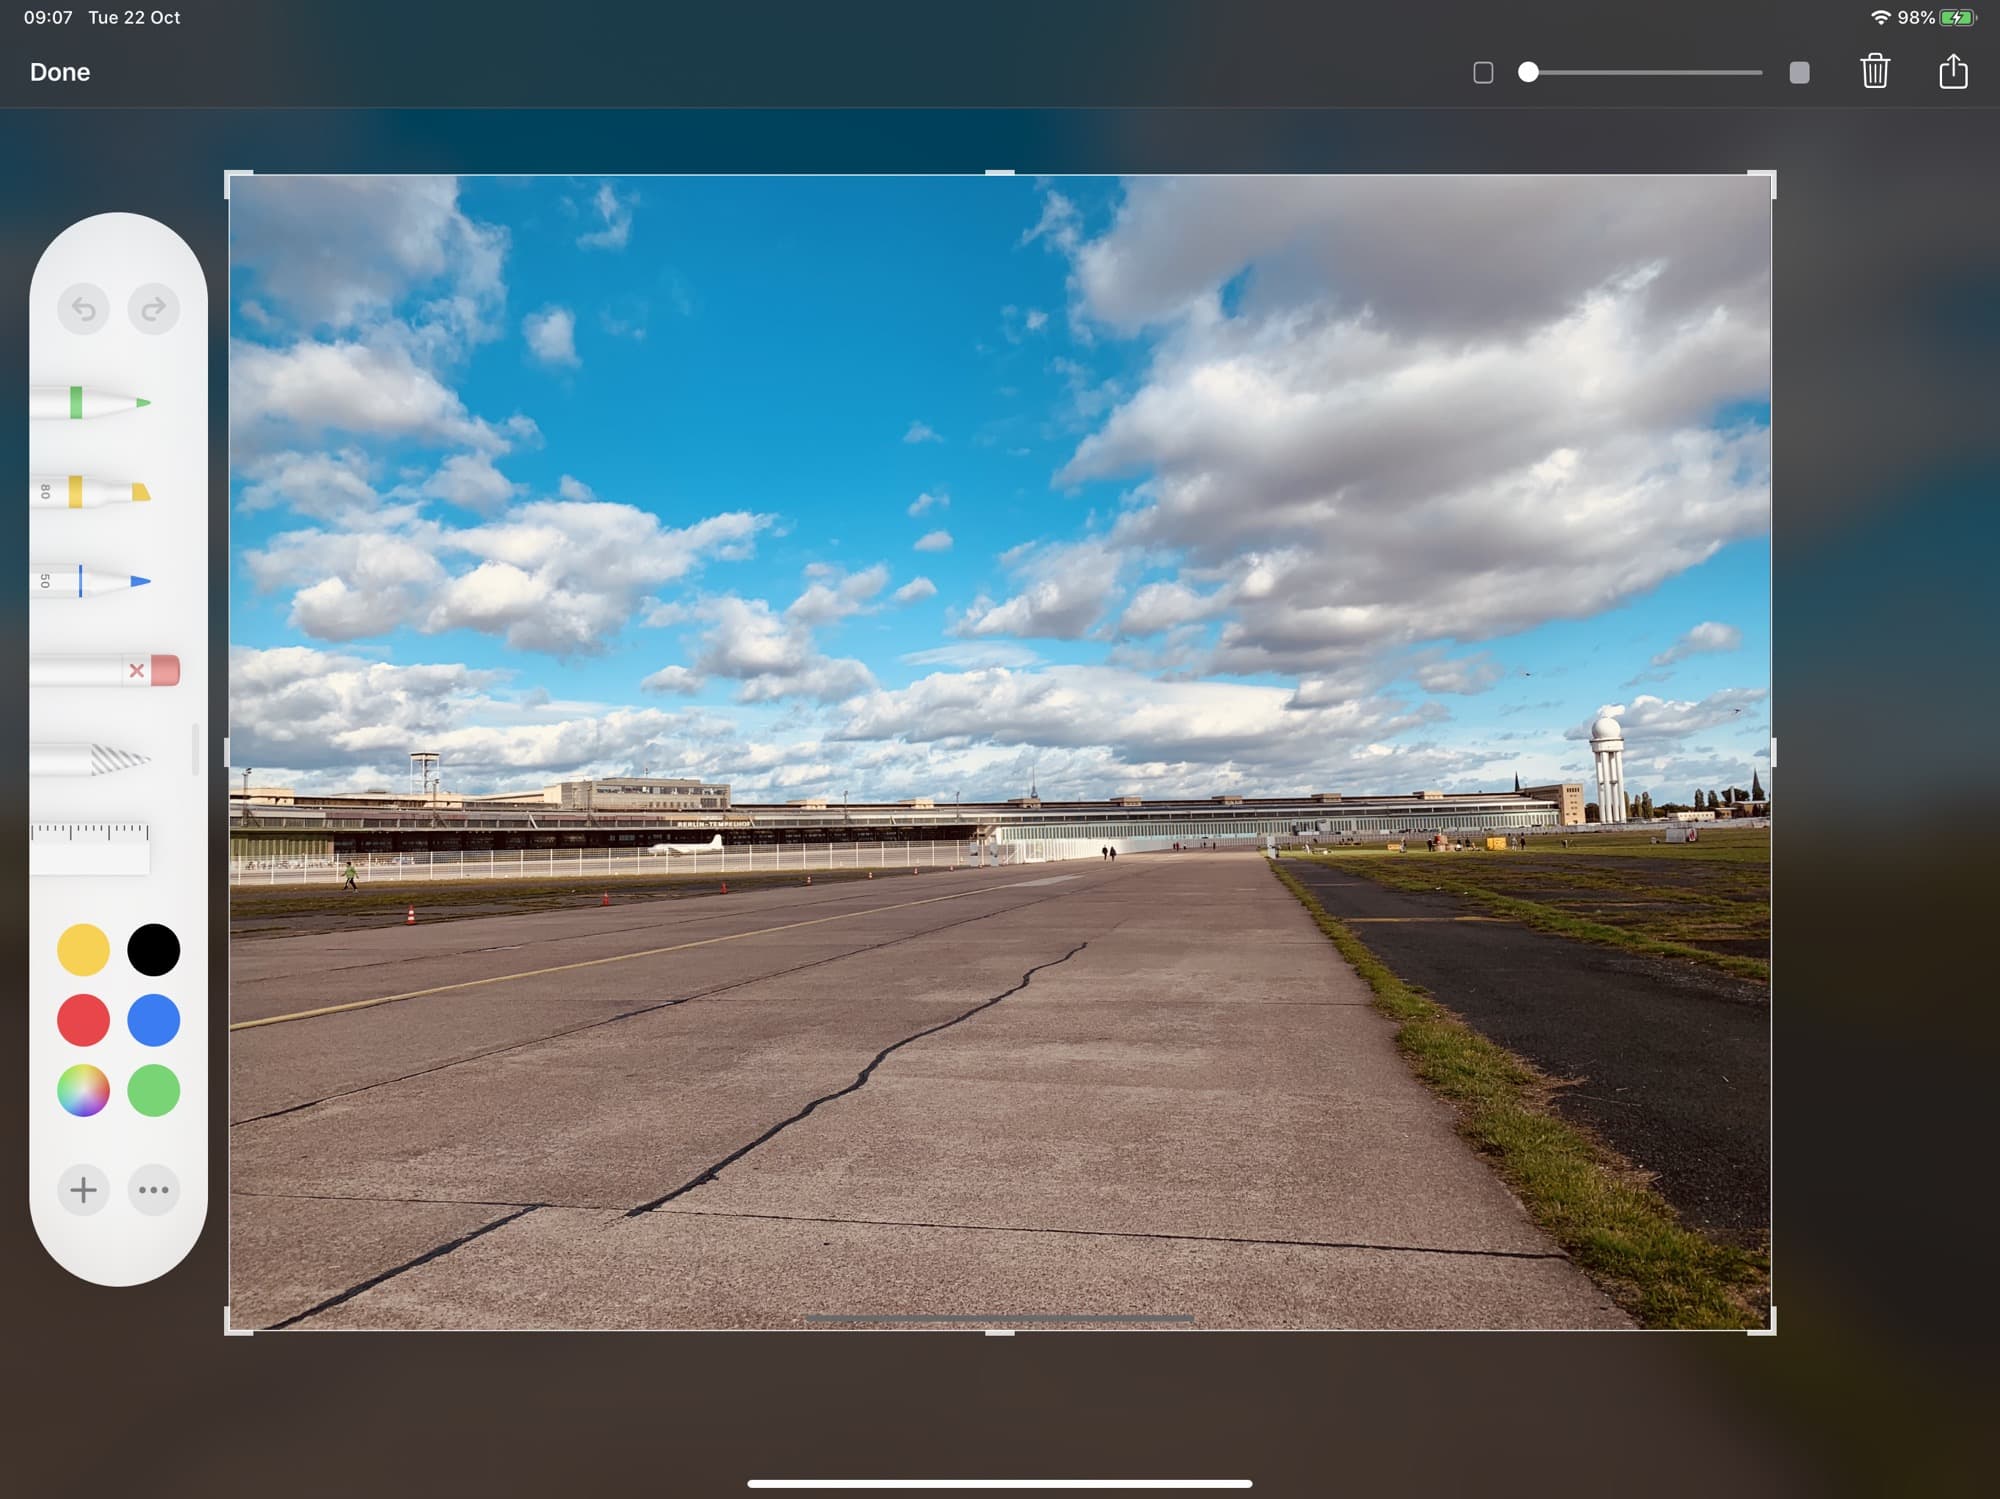
Photo: Charlie Sorrel/Cult of Mac
Other screenshot markup tools
The other screenshot markup tools remain the same in iOS 13 and iPadOS. You can still add shapes, arrows and a signature. And you can fill those shapes and change their colors. Apart from a couple of additions, this update isn’t about new features or tools. It’s about refining what was already there. If you use these markup tools a lot, you’re going to be very pleased with this update.
