Oh man! You just got your amazing new iPad Pro, tore it out of the box, and wondered how you tricked somebody into dropping $130 on that tiny white Apple Pencil. Now it’s time to get things set up. Thankfully, this is an easy process, especially if you already use an iPhone or iPad with iCloud.
So easy, in fact, that there are just a few things you need to do to move from your old iPad to a new one, or to migrate from an iPhone. And setting up a new iPad Pro from scratch isn’t much harder — gone are the days of manually copying passwords just to get to the home screen.
Still, following these iPad Pro setup and customization tips will make sure you get the most out of your new machine. Let’s get started.
Auto setup
Automatic Setup has been around since iOS 11, and is a fantastic feature. Just bring your old and new devices close to each other when prompted, and Automatic Setup will copy across your Apple ID and home Wi-Fi settings. It’s like AirDrop, only with one very specific purpose.
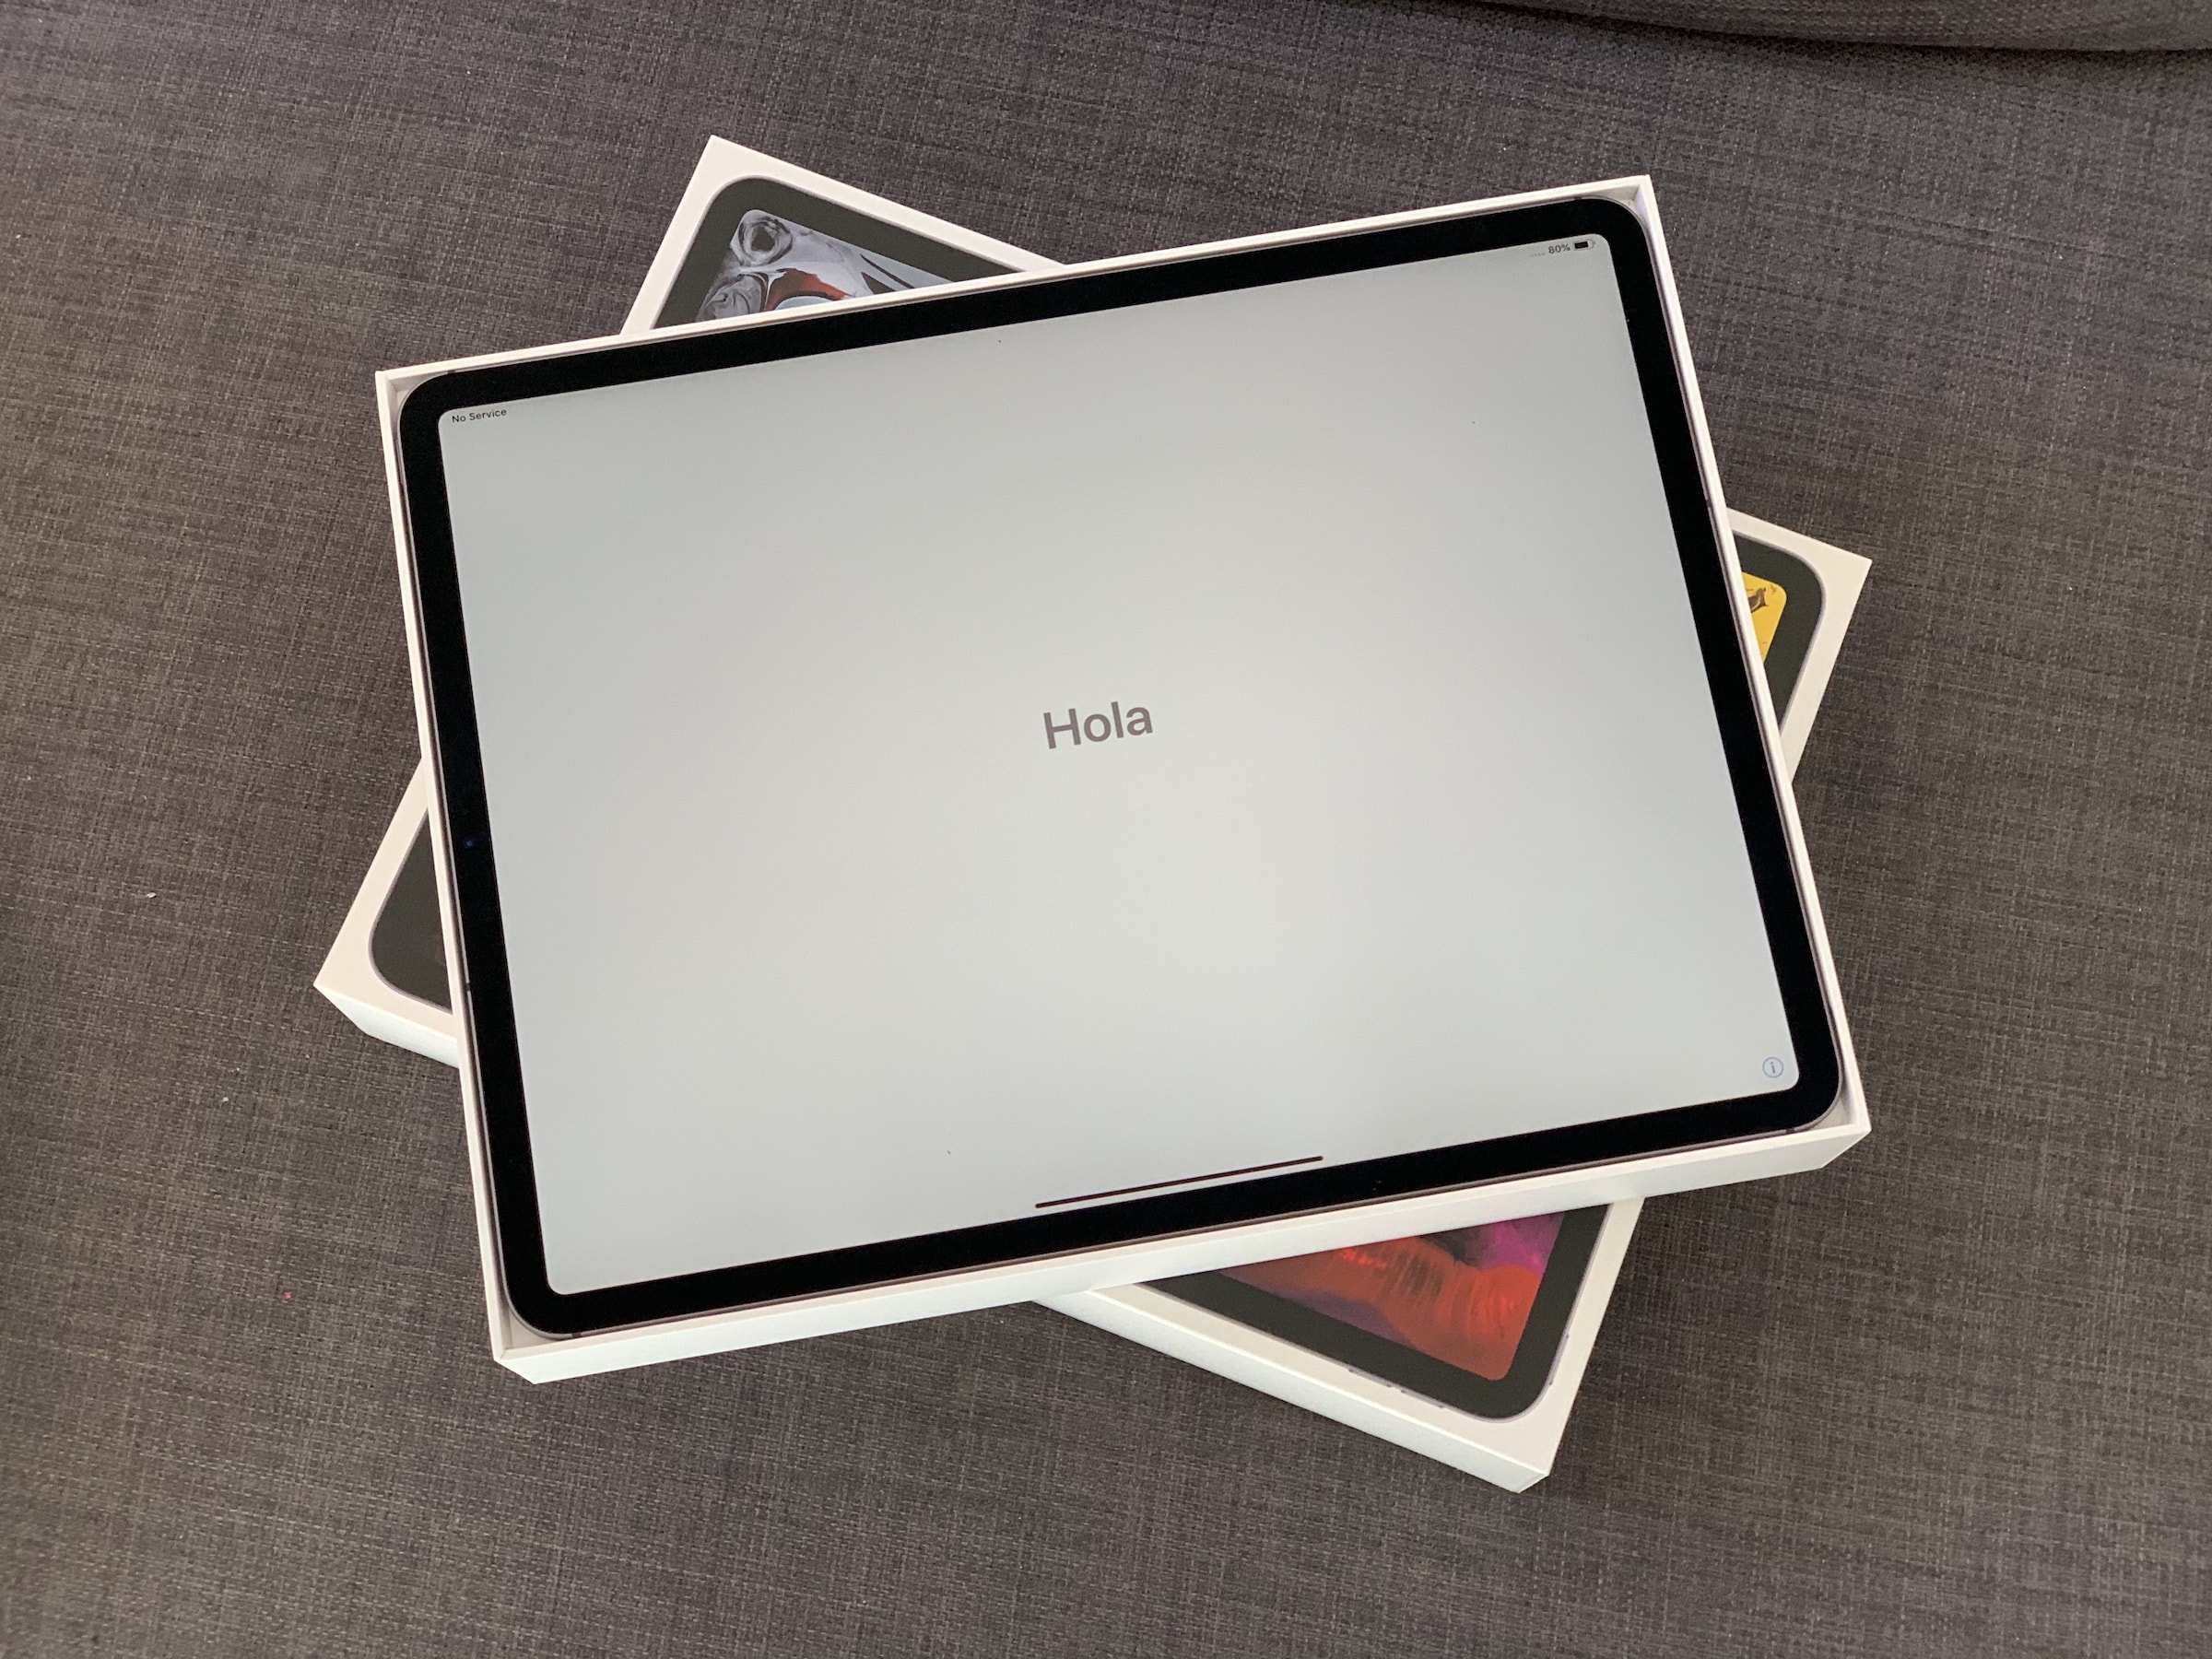
It works like this: When you fire up your new iPad for the first time, any nearby iOS devices will detect it, and offer to do an Automatic Setup. The new device will show a dot-cloud pattern on its screen, and you use the camera of your old device to “scan” this like a QR code. Then you just follow along. Your iCloud login, Wi-Fi passwords, and everything else you need are transferred across. It really is amazing.
From there, you can either set up the iPhone XR as a new device, or restore from a backup.
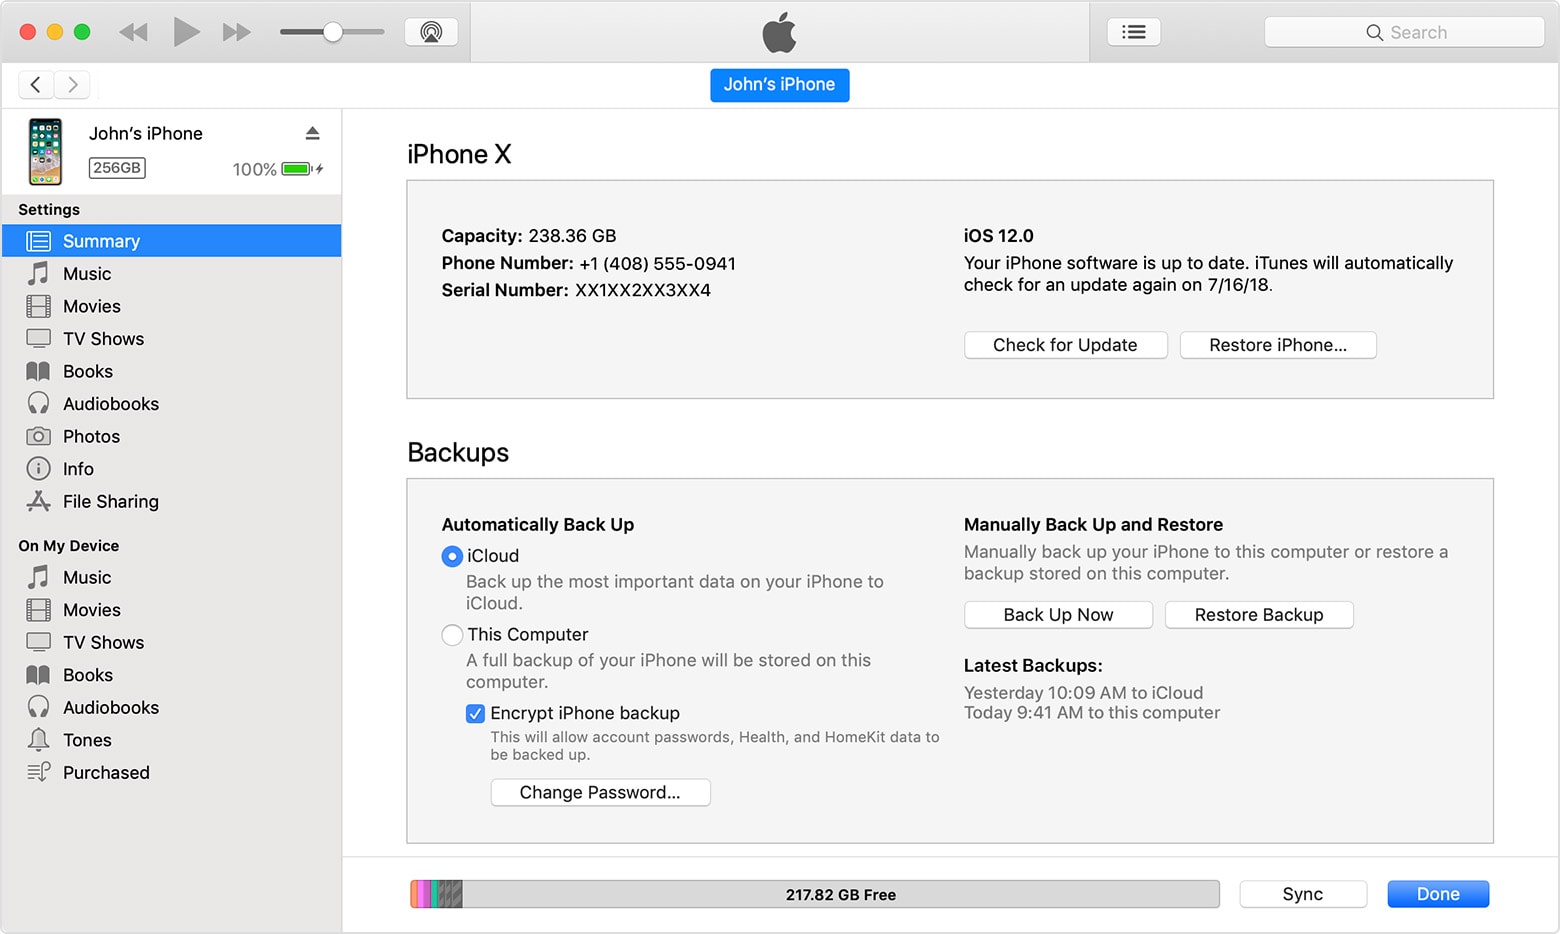
 iTunes backups are still a good option for folks with super slow internet.
One tip on restoring from backups. You may prefer to use an iTunes backup instead of an iCloud backup. If you do this, be aware that it may take a lot longer. Also, make sure that you check the box in iTunes to encrypt your backups. This means that all you passwords will also be backed up and restored. Unencrypted back-ups don’t include this sensitive information.
iTunes back-ups and restores can be dead slow. If you have a fast internet connection, an iCloud restore is much faster. If you don’t, then an iTunes restore is the way to go.
Restore from backup
This is the hands-down the easiest way to move from an old iPad to a new one. All you have to do is make sure you have a recent backup from your existing iPad, and then point your new iPhone Pro at this iCloud backup. It will then download everything — all your settings, apps, passwords, even your wallpaper. When the process is done — and it could take a while depending on you internet speed, and the size of your backup — it’ll be like you never left the old iPad. Even your Safari tabs will be intact.
Even if you never owned an iPad before, you can restore from a backup of your iPhone. That’ll make it easier to get up and running, and you can always tweak things later.
To make a backup, head to the iCloud settings on your iPhone, and checking that there is a recent automatic backup. If not, just do one manually. Head to Settings > Your Name > iCloud > iCloud Backup and tap Back Up Now. Wait until it’s done.
Face ID
 Face ID is even cooler on the big screen.
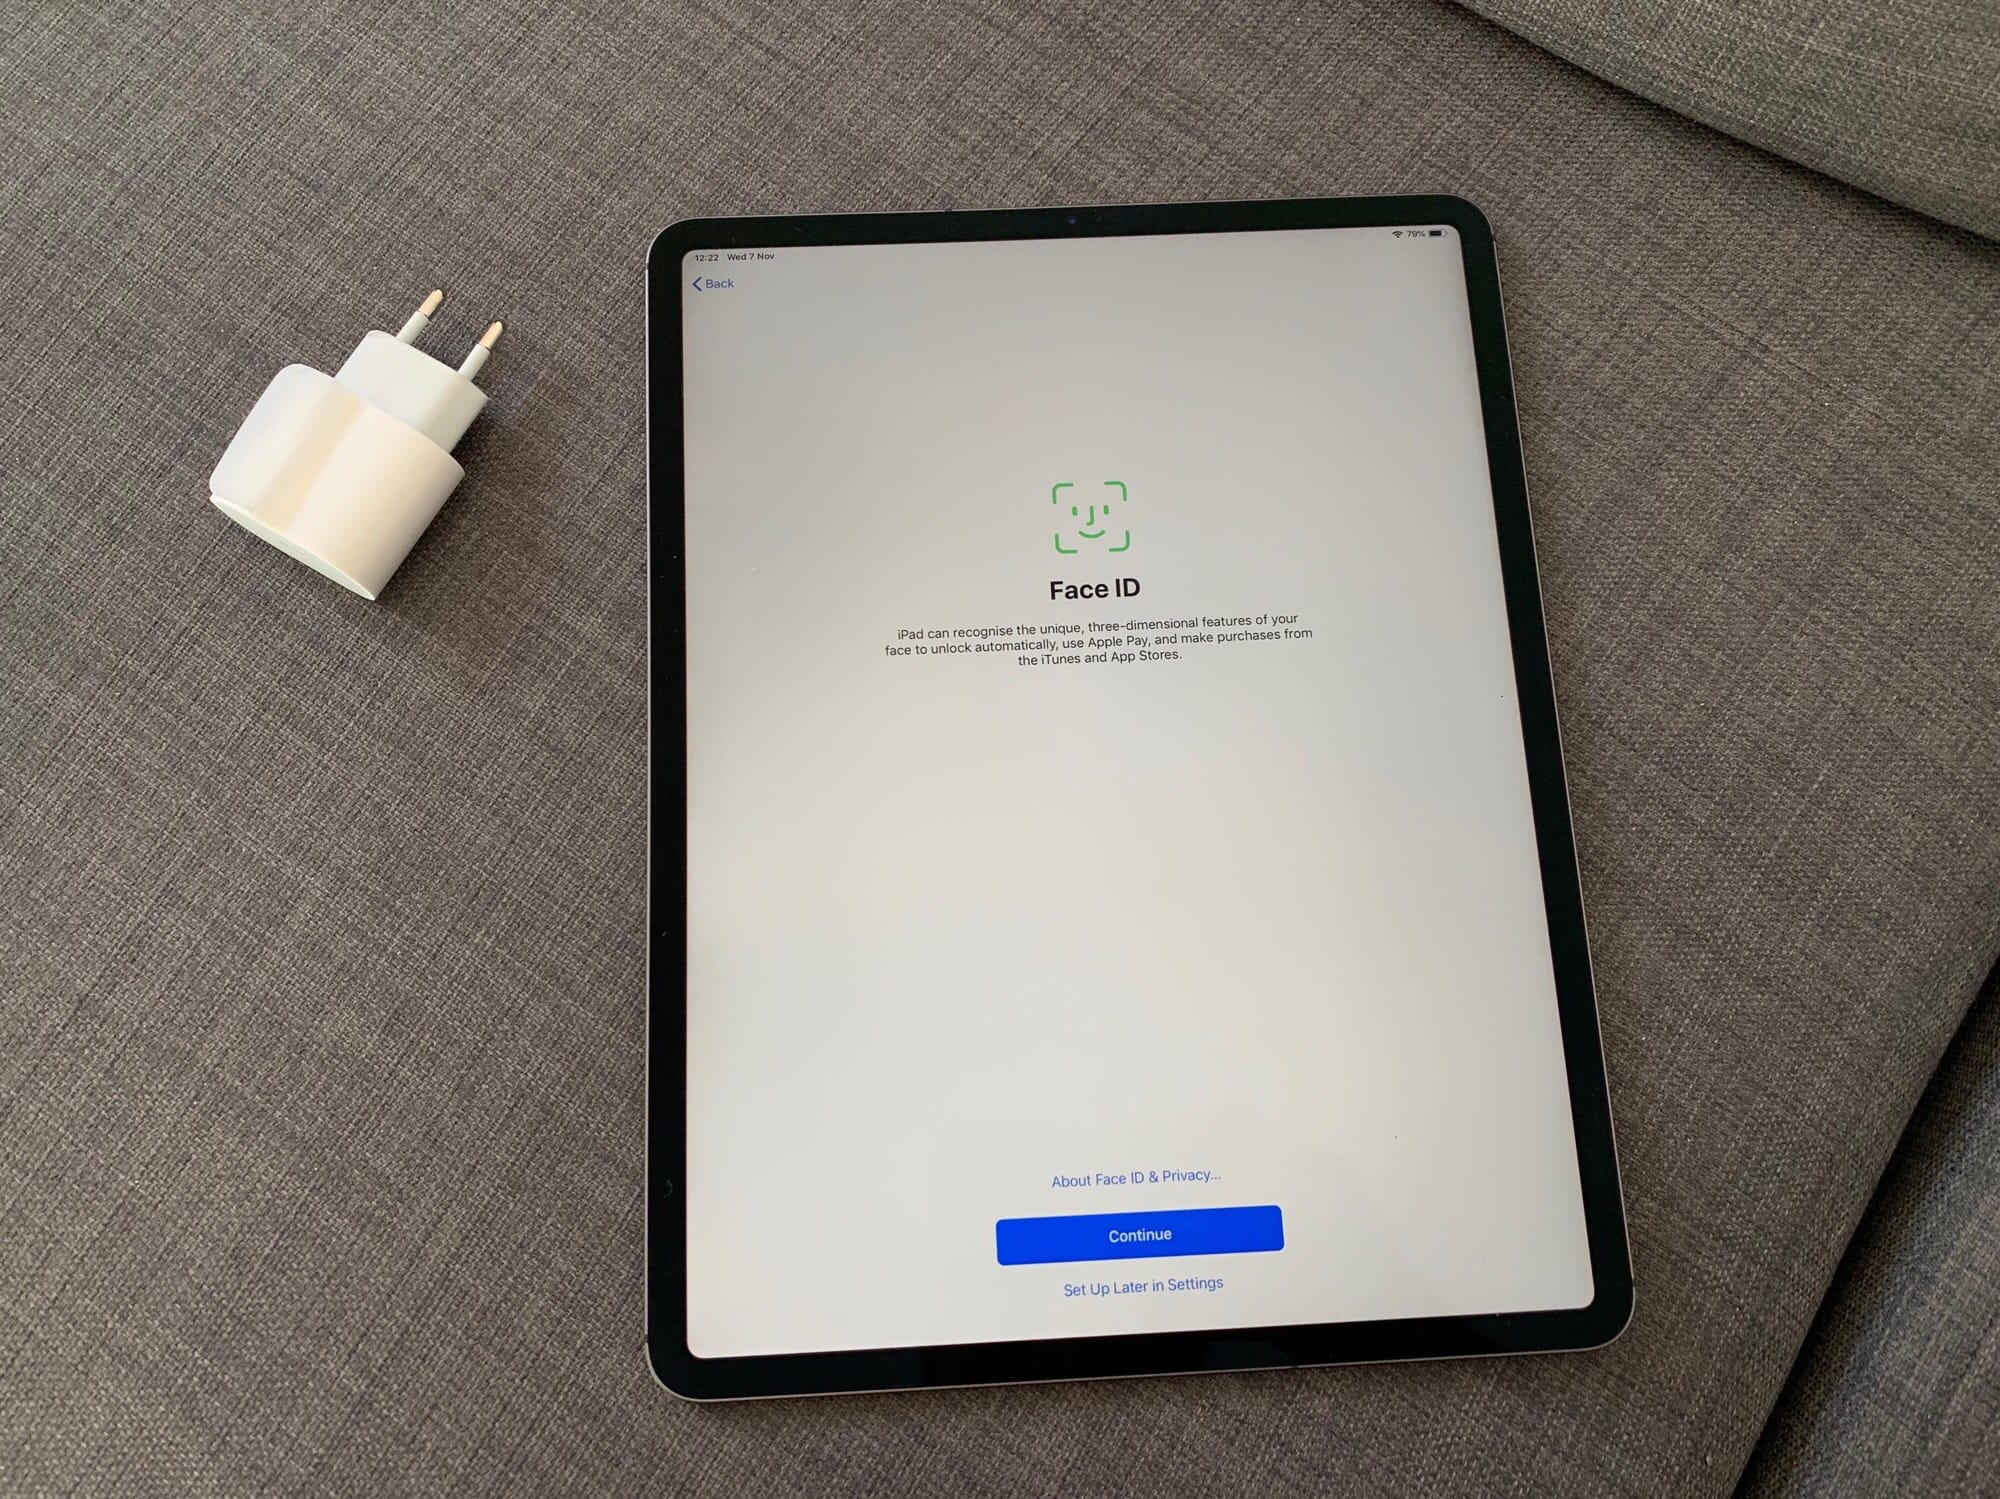
Next, you’ll be prompted to set up Face ID.
Face ID is much easier to use than Touch ID, and it’s also easier to set up. Instead of having to train your iPad with your fingerprints, one by one, you just look into the camera and… that’s almost it. To set up Face ID on your iPad, just follow along when prompted during the initial setup. You’ll have to hold the iPad up so its Face ID camera can see you, and then turn your head so it can scan your face. On-screen guides will show you how to place and move your head, and setup takes just a few moments. This is even more fun and science-fictiony on the iPad, as the screen is so much bigger.
If you want to start over with Face ID setup, head to Settings>Face ID & Passcode, and tap in your password to get started.
If you regularly sport a second appearance — you’re a clown, a surgeon, an Elvis impersonator, or something similar, then you can also set up an alternate appearance. Just tap the button in the Face ID settings to set this up.
Apple Pencil
 Like everything else, the new Apple Pencil is better.
If you purchased an Apple Pencil along with your new iPad Pro, how’s the time to set it up. And by “set it up,” I really mean that you just take it out of its packaging and set it on the right edge of the iPad (when held “upright” in portrait mode). The magnets will snap it onto place, and the Pencil will pair and begin charging. You’ll see a life-sized picture of the Pencil on screen to tell you it has happened.
And that’s it.
Add Apple Pay
Next up, add Apple Pay to your iPad. You’ll be prompted to do this as part of the setup, but if you skip it, follow along here. Go to Settings > Wallet & Apple Pay. If you have previously added a credit or debit card to your Apple Pay account, you will have to re-activate it on this device. To do so, tap that card in the list (it will have Unavailable written below it), and follow the instructions. Procedures may differ depending on your bank. Then, if you like, you can set a default Apple Pay card.
Put apps and folders in the dock – optimize for drag-n-drop
Next up, get your apps sorted. The iPad Pro supports Apple’s great drag-and-drop for apps. If you’re unfamiliar with this, check out our great article about the Dock and drag and drop on the iPad. The iPad lets you drag apps from the Dock, and then drop them next to, or over, the current app, in order to use the split-screen view. Finding these apps is a lot easier if you keep them in folders in the Dock, because you can get to the Dock from inside any app by swiping up from the bottom of the screen. Which brings us to:
Consider a blank home screen
You might like to run your iPad with a blank home screen. It sounds radical, but I switched back in July and I’m still using it. The idea is that you keep the first home screen icon-free, and instead put all your most-used apps into a folder in the Dock. Then you can get instant access to all your favorite apps from anywhere in iOS, just by swiping up to reveal the Dock. It’s almost essential for split-screen multitasking, but also great for everything else.
Try it at least. You might love it
Switch on Dropbox in Files app
The new iPad Pro inherits all of iOS 12’s flaws, but it still lets you use the powerful Files app. Open that up now and take a look at the left column in the Browse tab. This shows the various storage areas available to you — iCloud Drive, and On My iPad. The latter gives access only to the local storage folders created by apps — you can;t actually create a folder in there. But you should tap the Edit button at the top of this list, and you’ll see all the available sources. These are provided by third-party apps, and let you drop files into these apps, or to access their files, right inside the Files app.
For example, AudioShare is an amazing app for organizing your music files. It provides a Files folder, so you can use the AudioShare app to organize your music, but use the Files app to drag and drop that music onto other apps.
This is also where you switch on Dropbox, and other cloud services.
Learn the gestures
Ever since iOS 12, the iPad has had iPhone X-like gestures. Even on the older iPad, with their home buttons and giant bezels, you can navigate without ever touching that home button. Swipes and taps can do everything. The good news is, if you are already used to the iPhone X or later, you will have nothing to learn. If you’re new to ios devices without home buttons, check out our comprehensive guide to iPad gestures in iOS 12.
Pick a name
This might be the hardest part of the setup. You’ll need to pick a name for your new iPad Pro, one that you’re happy with for the next few years. This name will show up on the network, it will be used to identify it in iCloud, and so on. I can’t help you pick one — that’s what baby and dog name books are for — but I can tell you how to change it. Go to Settings > About, and tap Name at the top of the list. Then just type in your new name, and you’re done.


