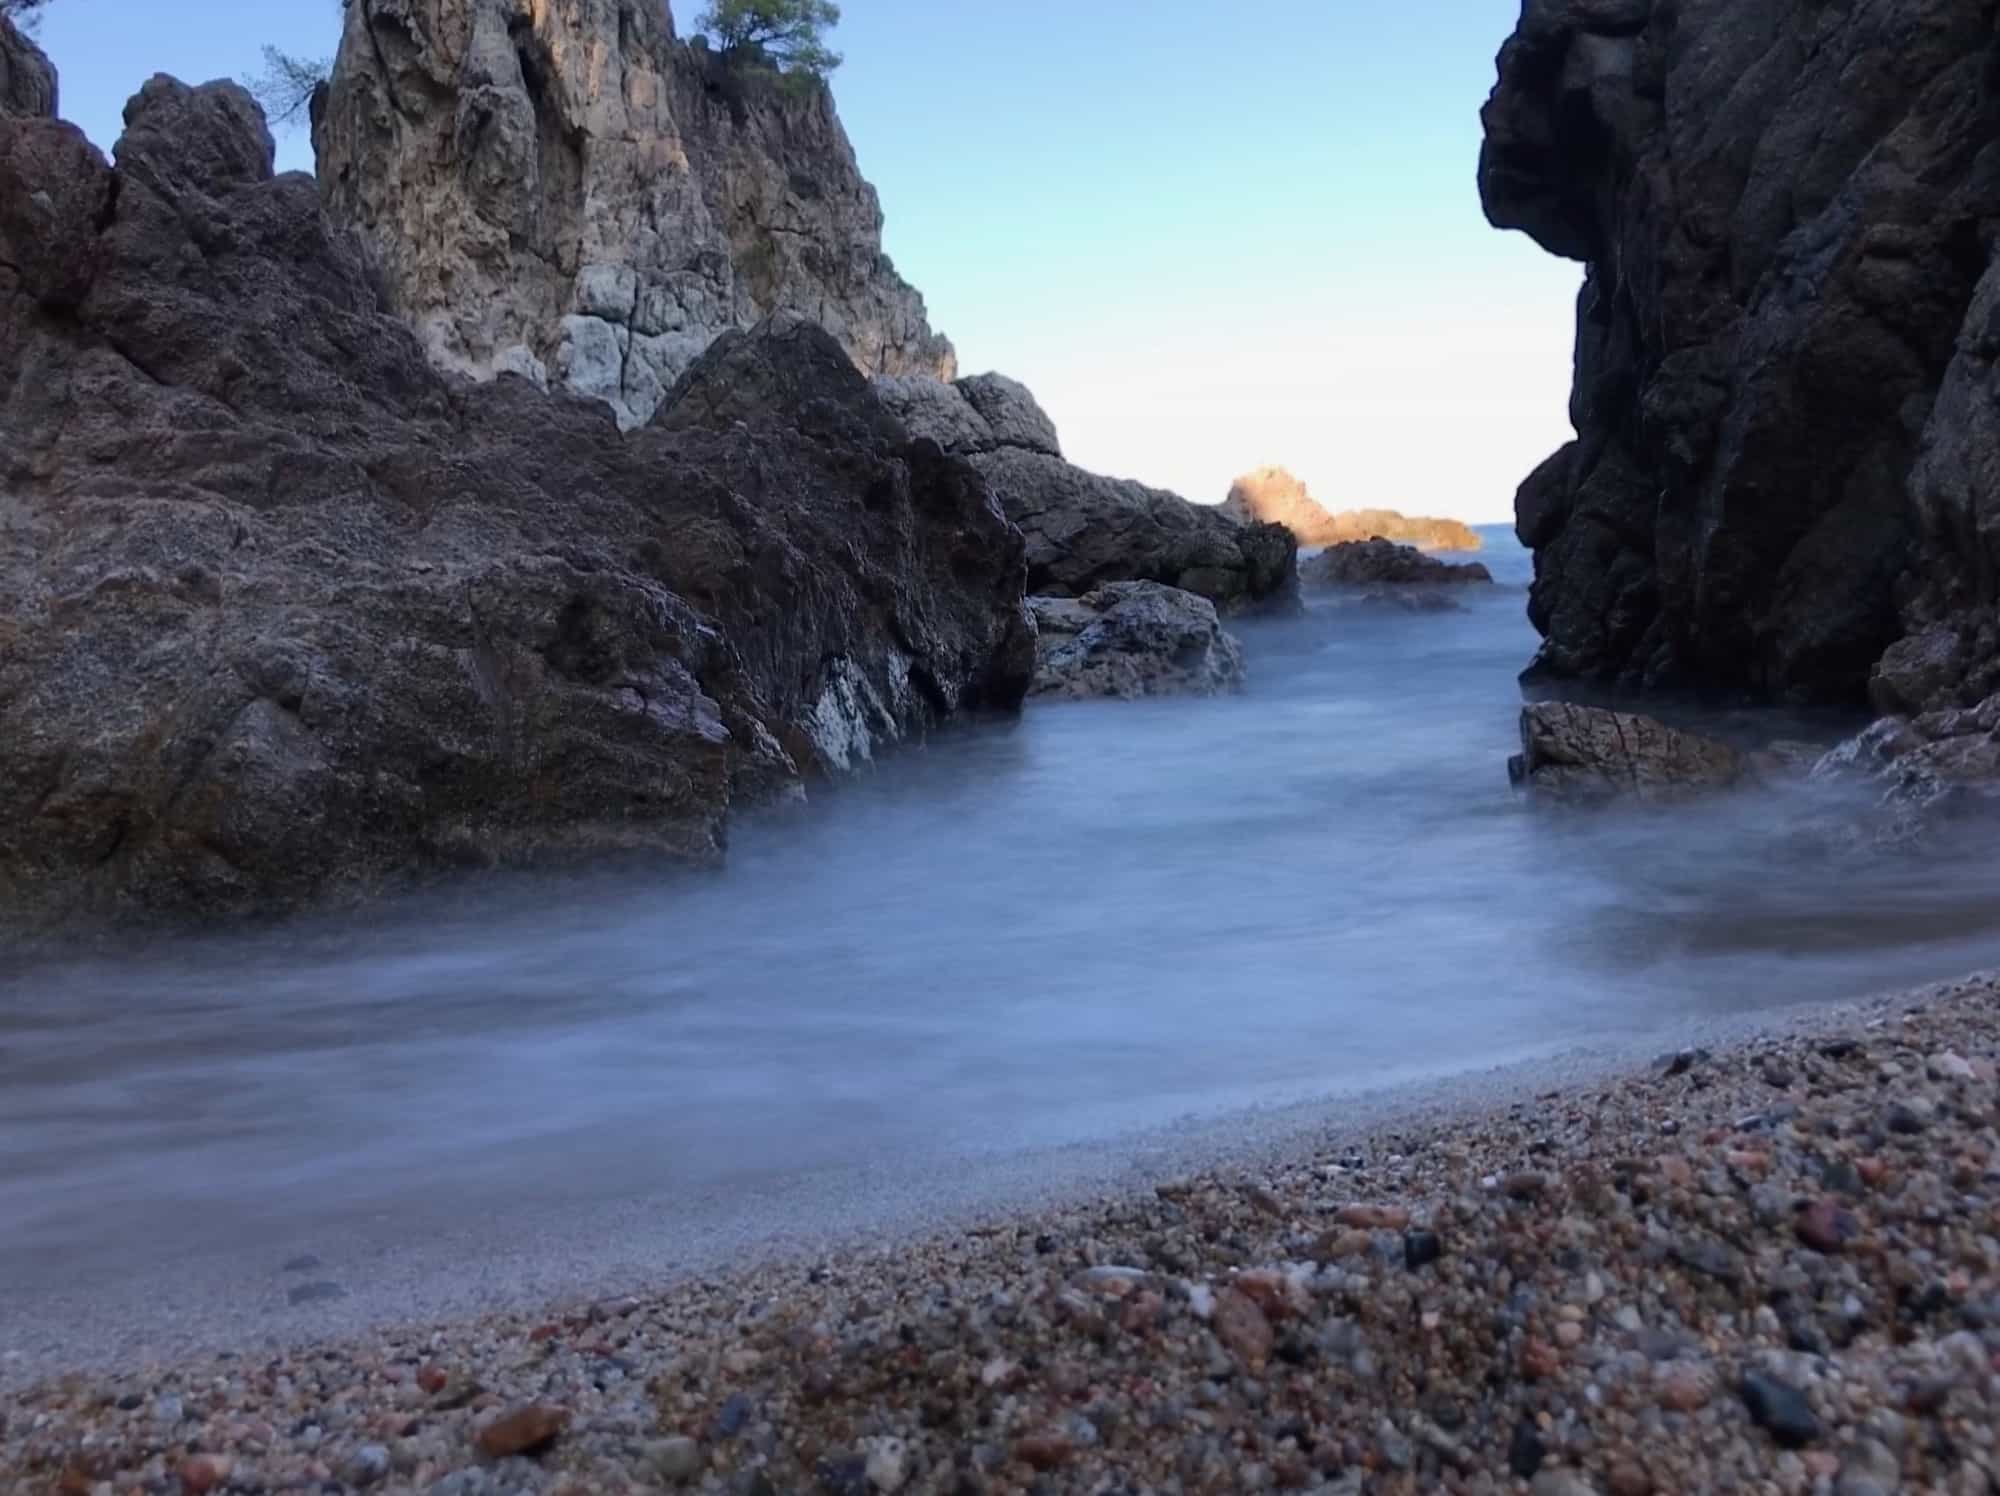
One of the neatest tricks you can do with a standalone camera is the long exposure trick. You may have seen it used to turn the tail-lights of a car into long streaks of red curving through the dark behind a ghostly car, or to blur turbulent waters into a peaceful, misty-looking lake. In a regular camera, you have to finagle the shutter speed to get the level of blur just right, and there’s no second chance. On the iPhone, it’s way easier.
Live Photos effects

Photo: Charlie Sorrel/Cult of Mac
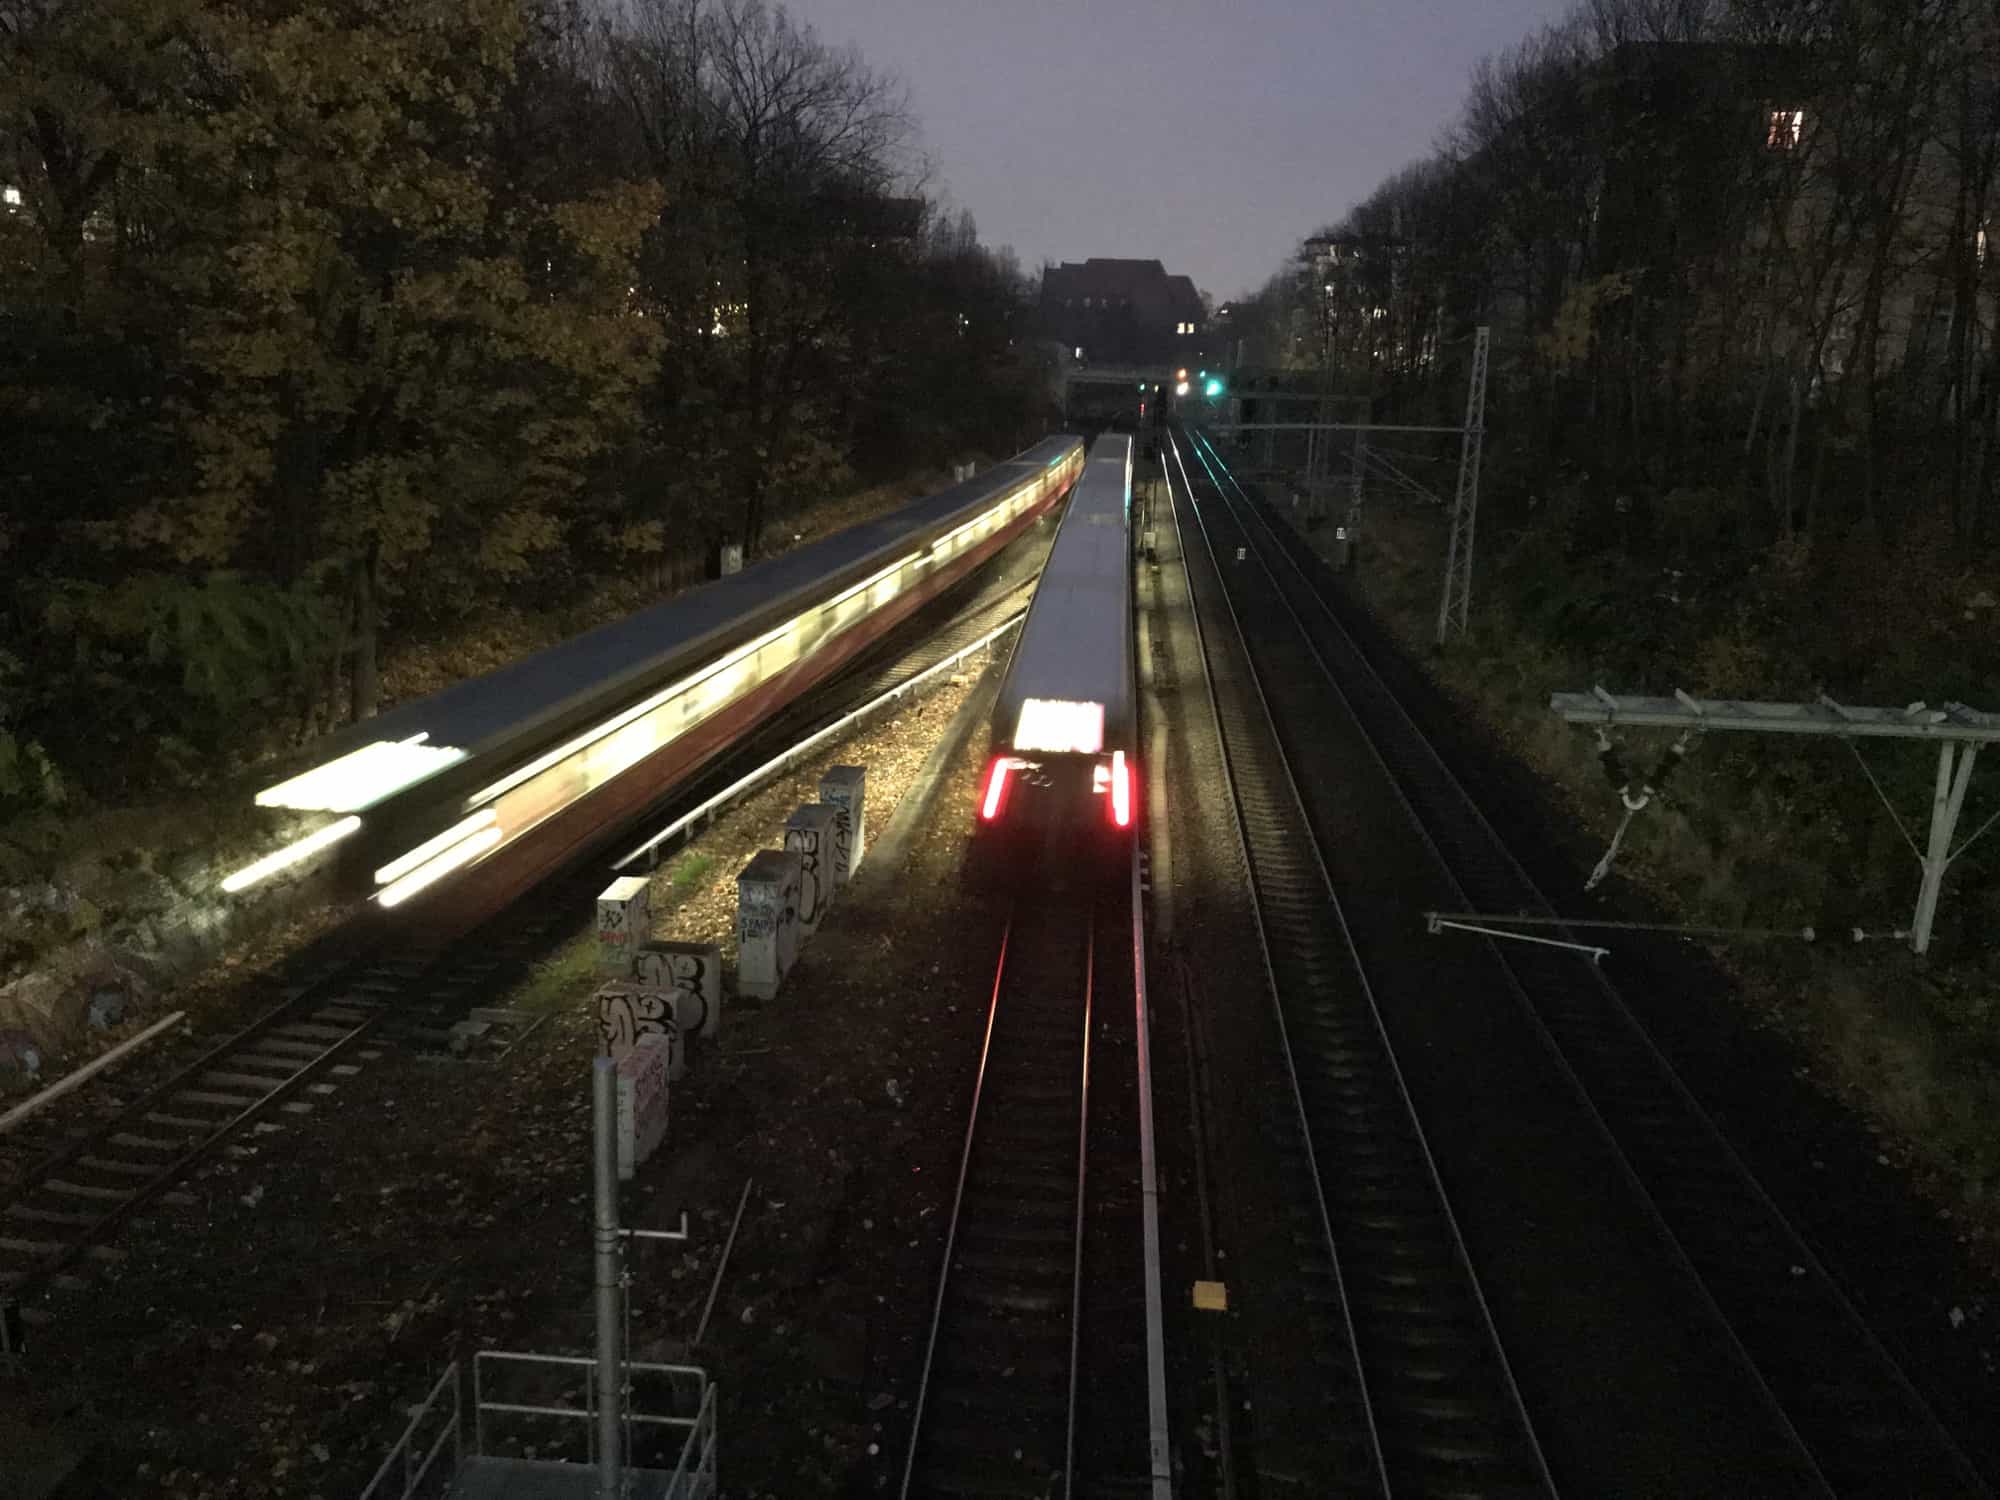
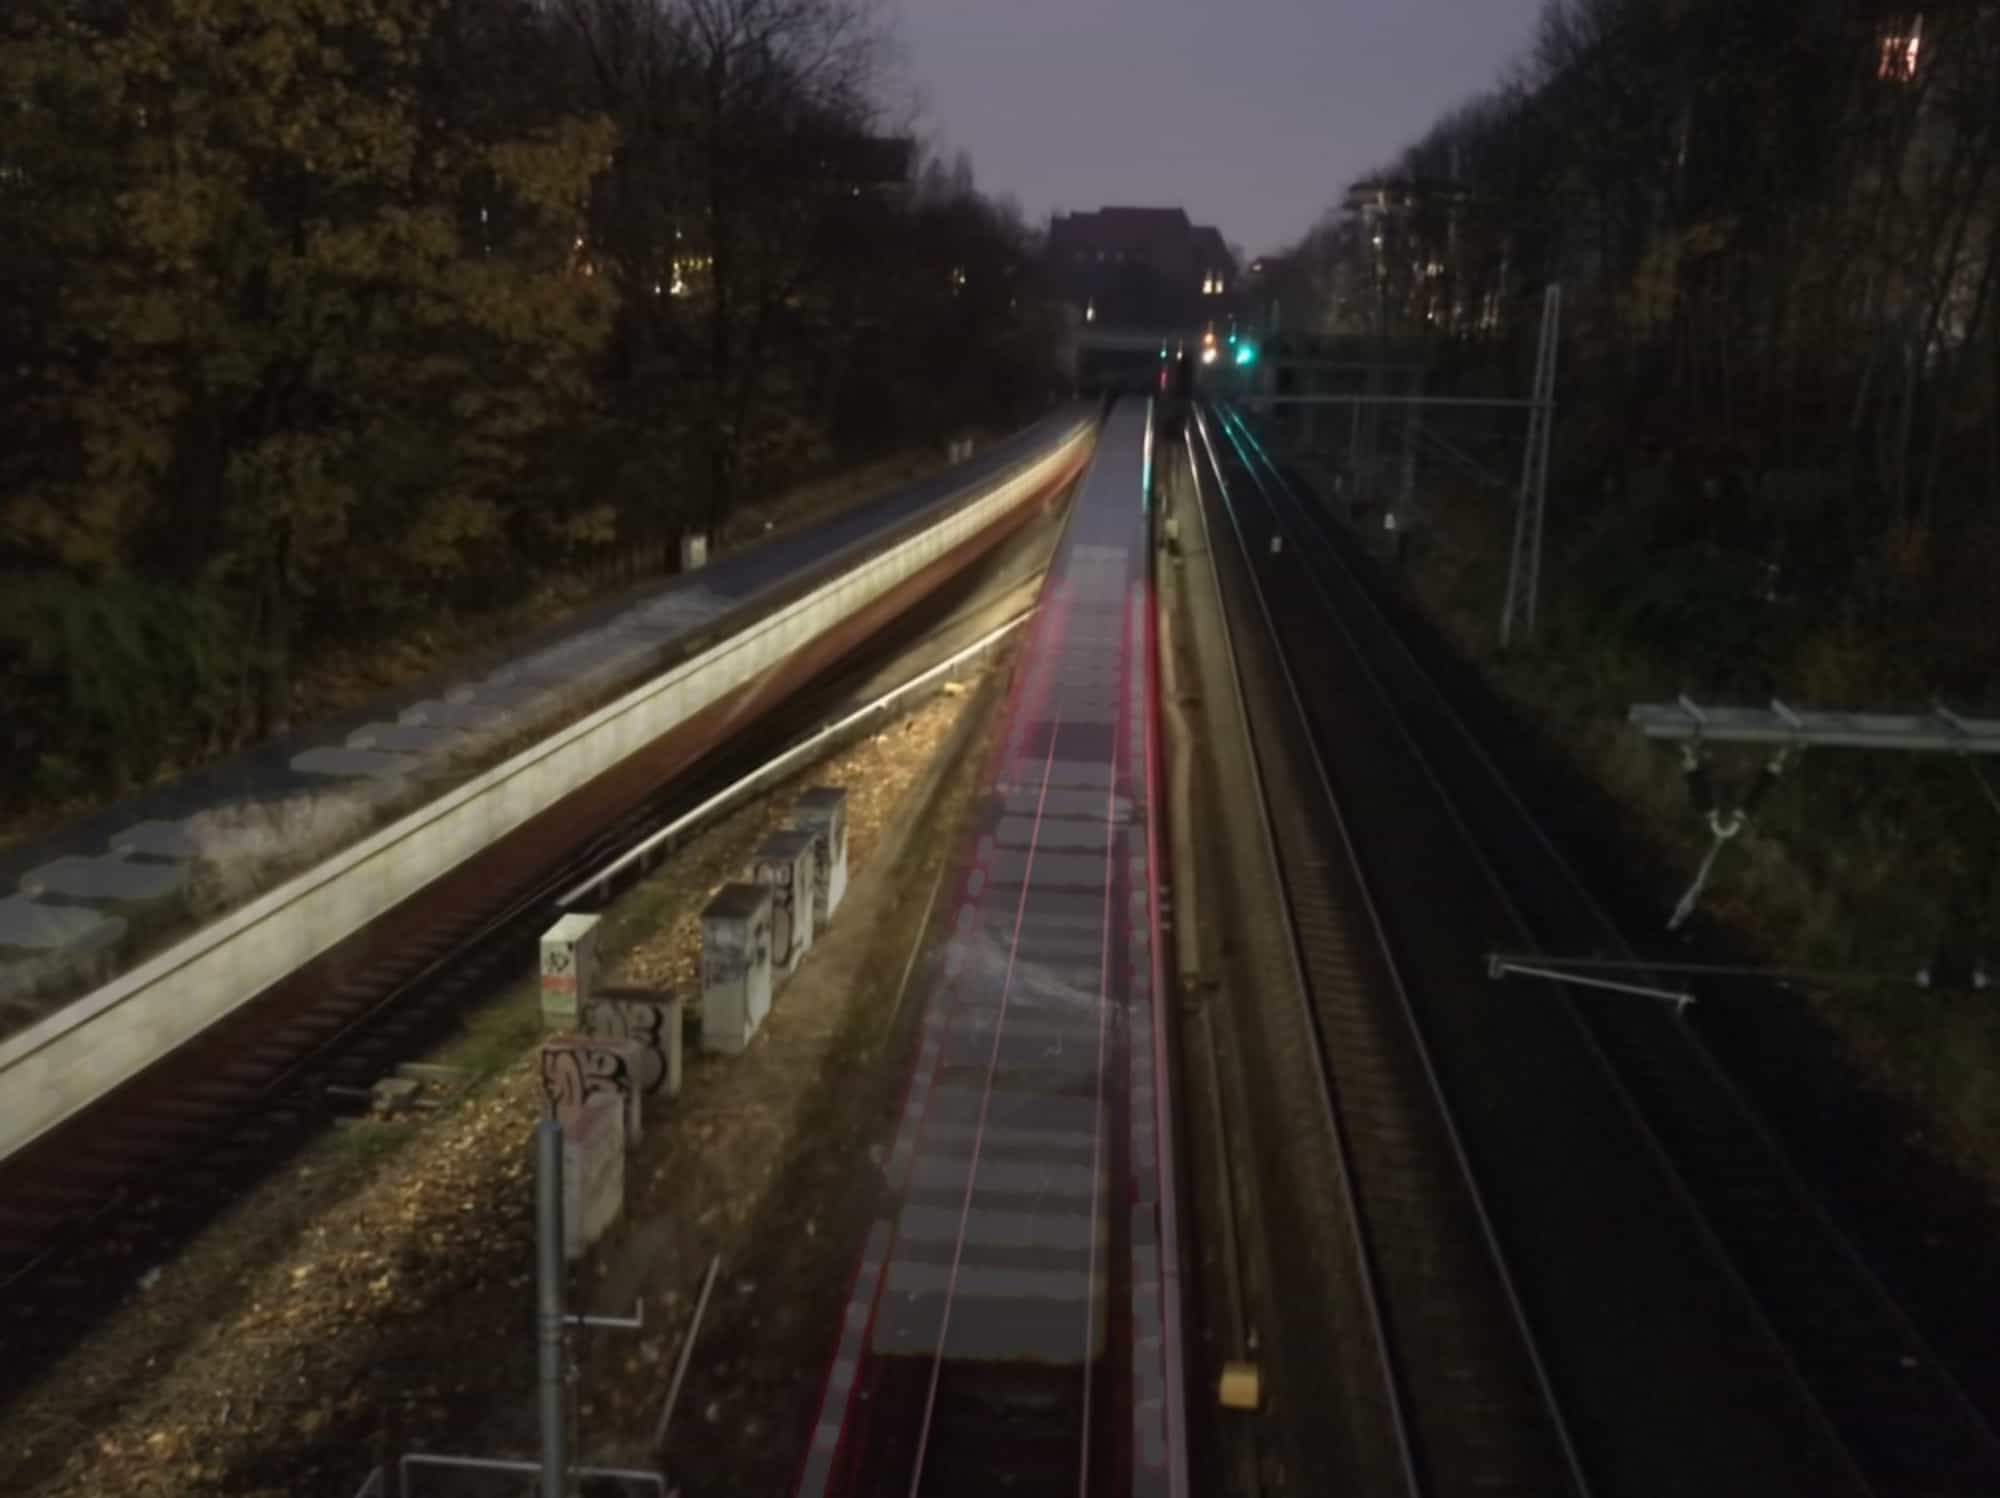
Live Photos got a big boost in iOS 11, including the addition of three new effects. In addition to the regular Live photo, you can now use Loop, Bounce, and Long Exposure. Long Exposure is the one we’re interested in today. It takes your live photo, and blurs any parts of it that are moving, turning those moving tail-lights into red streaks, and blurring water, crowds, dancers, anything. To illustrate the effect, I’ll stick to the tail-light cliche, although I’ll use trains not cars.
The Long Exposure setup

Photo: Charlie Sorrel/Cult of Mac
Applying the Live Photo Long Exposure effect is easy. You can read all about it in our Live Photos How-to, but the gist is this: Swipe up when viewing your live photo, and pick Long Exposure from the available affects. That’s it. But for great results, you’ll need a bit of planning before you even take the picture.
First, pick a suitable subject. I stopped on a railway bridge after sundown, but you might pick a road, you might choose a waterfall to blur the steam against the rocks. You could set up above a crowded concourse in a photogenic railways station, to blur the crowds at rush-hour.
If you were doing this with a regular camera, you’d have to reduce the light levels enough to leave your shutter open long enough to blur the movement. But because the iPhone’s Long Exposure effect work by processing a video clip, you can use it even in bright sunlight.
Steady, steady
One part of this technique that does carry over from regular photography is that you have to keep the camera dead still. This is necessary so that the iPhone can keep the still parts sharp, and detect which parts are moving so it can blur them. For this you need either a tripod, or a solid surface on which to rest your iPhone. I used the bridge’s railing. Steady the iPhone, make sure Live Phots is enabled, and take the shot. Make sure not to grab the iPhone off the tripod before the Live Loops icon has blinked off, which indicates that the video part of the shot has been captured.

Photo: Charlie Sorrel/Cult of Mac
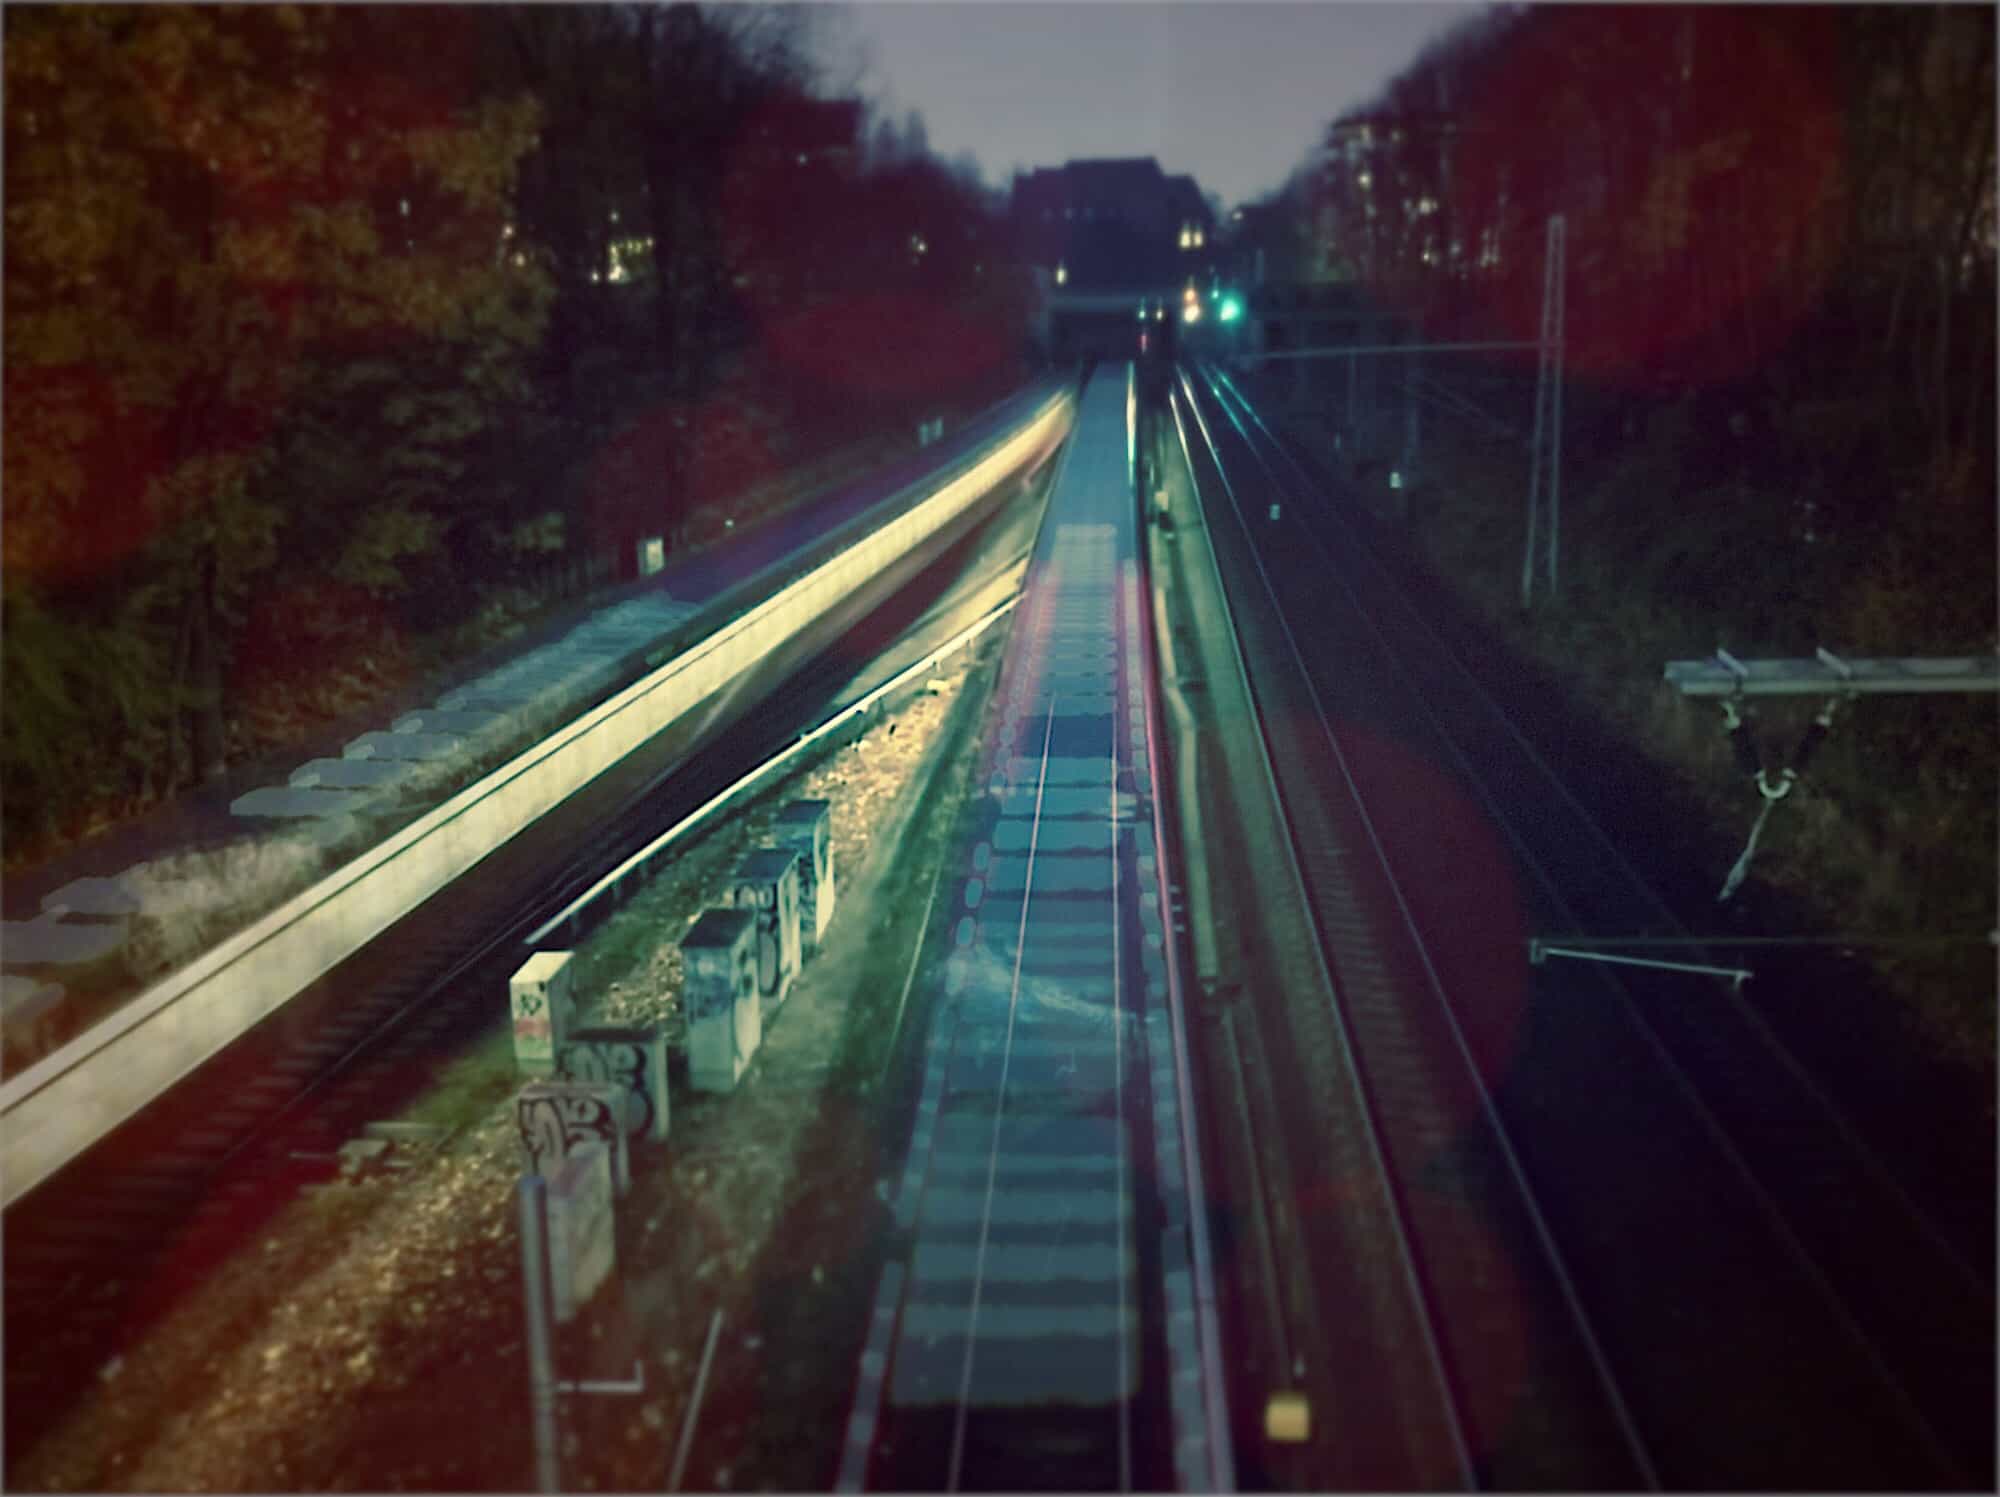
Taking a good solid shot is very important. As you can see here, my nighttime train shot needed a lot of extra effects to get it into decent shape, whereas the beach shot at the top of the post needed no extra help at all. That one was taken with the iPhone perched on a rock, using the self-timer to make sure I didn’t move it.
Add effects
Once you’ve captured your shot, and switched on Long Exposure to create your blurs, you can add any other photo effects you like. If you use the filters built-in to the Photos app, or the adjustment tools, then the image stays as a Live Photo, and the animation will run whenever you flip to it while browsing your pictures. If you tap the little three-dots-in-a-circle icon to edit the image with external filters, then it will be converted to a still image first.
Then, you can edit the picture with your favorite editors and filters.
Try it right now
You don’t even have to leave your desk to try this right now. Just open up the Photos app on your iPhone or iPad (running iOS 11), or your Mac running High Sierra, and go to the Live Photos album. You can retroactively convert any of these to a Long Exposure photo. Go ahead and play with them now. You’re sure to find something in there that’ll give you a crazy result.


