Sometimes you need to use your entire screen at once, like when you’re working on a serious photo-retouching project or need more screen real estate for an epic GarageBand session and you don’t want to maximize the app you’re using.
If you’ve ever wanted to regain a little bit of space on your Mac’s screen, the time is right to make sure you’re running the latest version of OS X, El Capitan. It will let you hide the menu bar up top to give you more space to work with.
Here’s how to have your menu bar hide itself when you’re not using it.
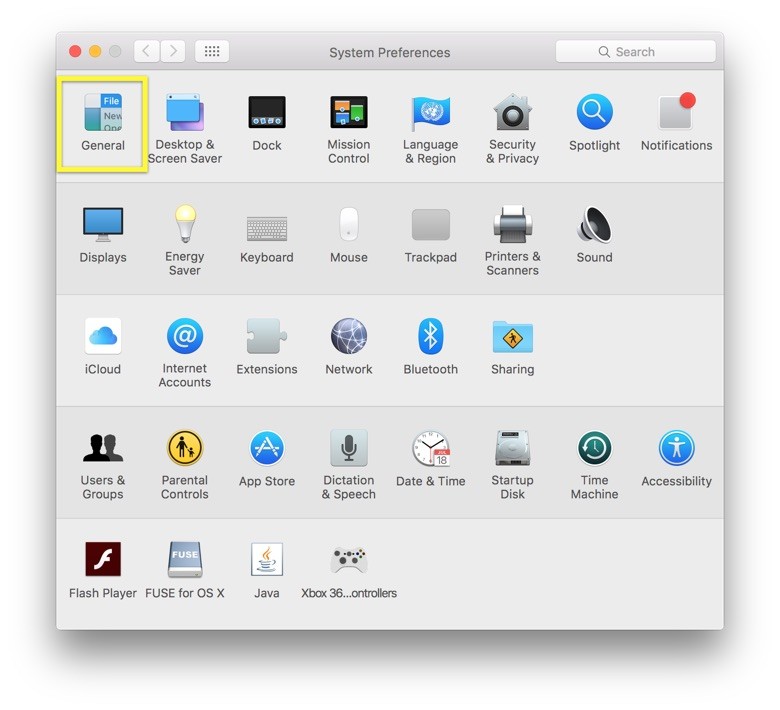
Launch System Preferences on your Mac with a click or two, then click on the General icon.

Screen: Rob LeFebvre/Cult of Mac
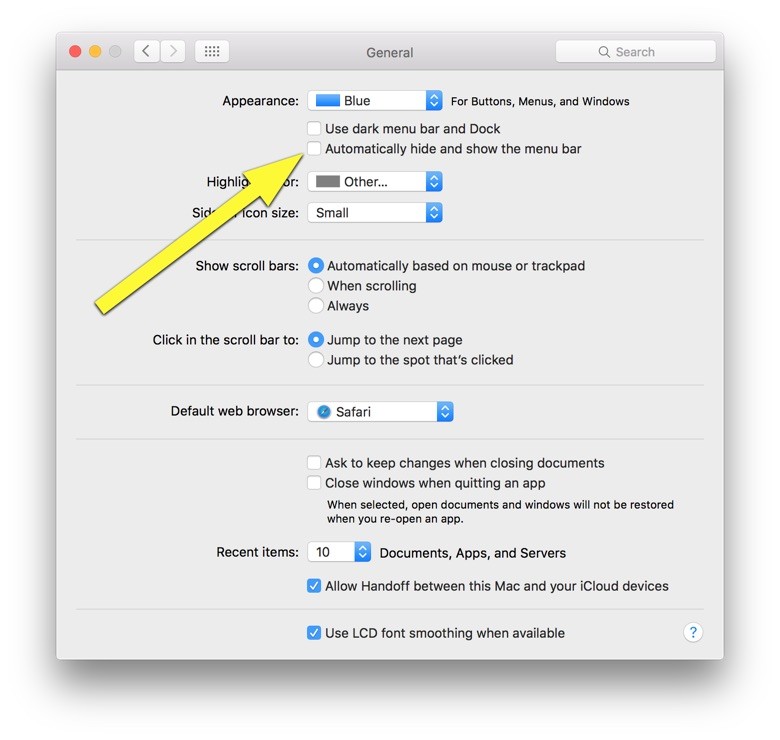
Next, click on the checkbox next to the awkwardly named “Automatically hide and show the menu bar” entry.

Screen: Rob LeFebvre/Cult of Mac
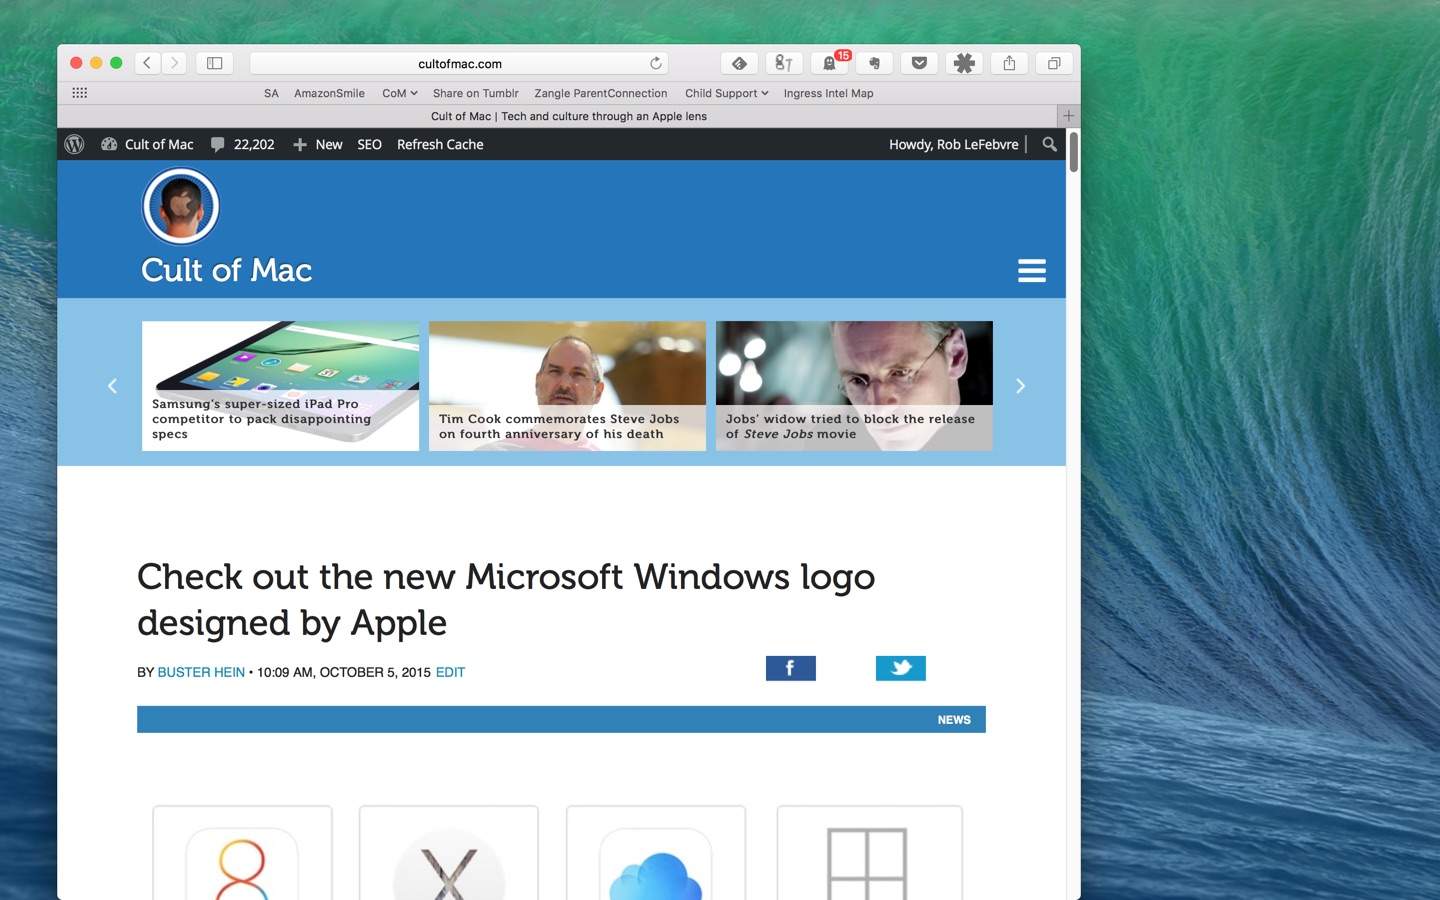
Your menu bar will slide up into the top of your Mac’s screen immediately. You can quit System Preferences at this point.
After switching the setting, to access the hidden menu bar you simply hover your mouse cursor up near where the menu bar usually is. The menu bar will drop down, similar to how a hidden Dock appears almost magically.
Now you’ll be able to use all your Mac’s screen when you need it, still have access to the menus you need and love, and be able to quickly switch back and forth between apps without having to get out of Full Screen mode.


