Sick of the mountains of paper stacking up in your inbox? You’ve probably heard about the joys of having a paperless office, maybe even thought about setting one up, but didn’t know how.
Well, here’s how. Not only is it easy to set to do, it can totally change your life.
Here’s how to use your Mac and iPhone to effortlessly set up your own idiot-proof paperless office … the right way.
Why I wrote this
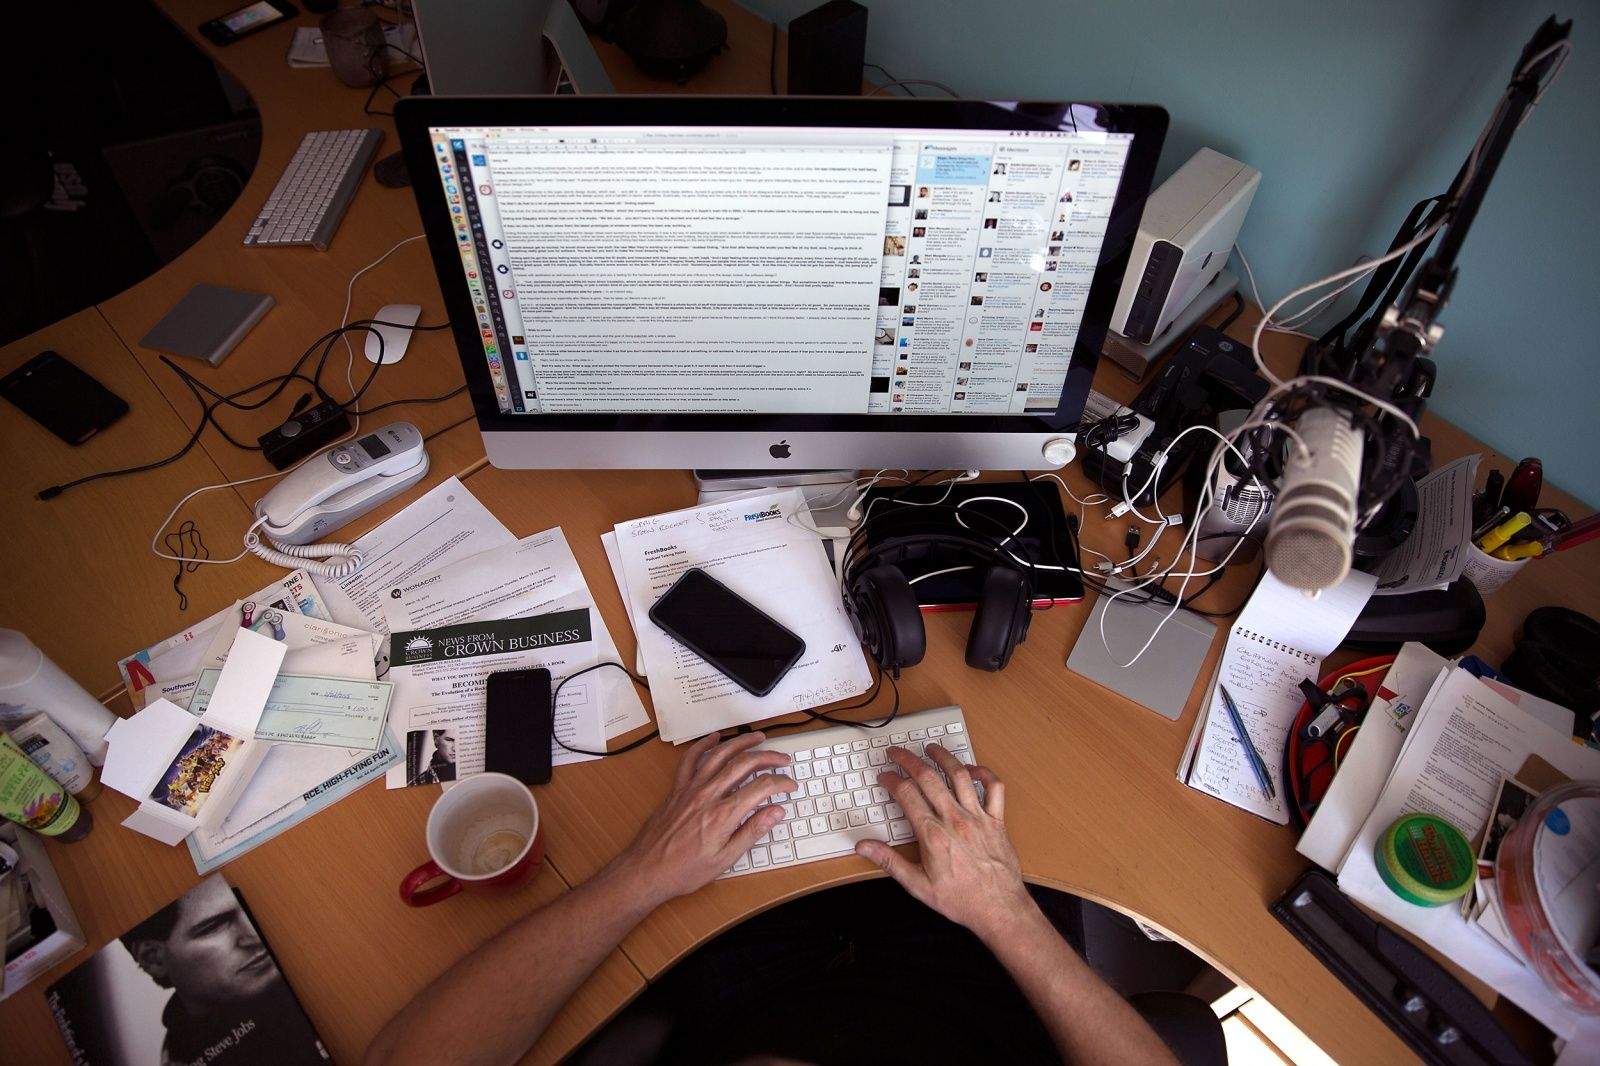
I’ve never been very good with filing. In fact, I think you could say, when it comes to papers, I’m just a mess.
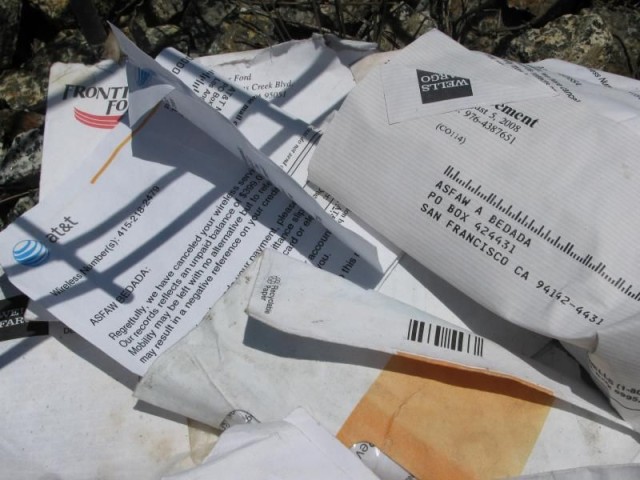
In grade school, my school desk was crammed full of unorganized papers; in high school, it was my locker and my backpack. For most of my adult life, I’ve avoided opening mail for weeks, letting it stack up in huge, wobbly towers of bills and junk mailings.
After I did open my mail, I would simply cram anything important into any available drawer. When these drawers filled up, their contents would be shuffled off into cardboard boxes, which I’d shove in the basement. I have boxes full of unorganized paper down there that date back to an apartment in Ireland I moved out of in 2006!
What I’m trying to say is that I’m an organizational mess. A paper hoarder. And finally, I recognized my problem. I decided I needed to make a clean break from paper, once and for all, by setting up a paperless office. Yet for all the talk online of the benefits of going paperless, I didn’t actually find one that actually walked me through the process, step-by-step, especially from a Mac owner’s perspective. I had to learn from scratch.
I’m happy to say I was successful. A few months after setting up my paperless Mac office, my drawers are empty, all my bills have been paid, and I actually look forward to hearing the mailman walking up the front steps. Because what I learned is that going paperless isn’t just a better way to do things, it’s actually a lot of fun. Here’s how I did it.
Goals

My goals for setting up a paperless Mac office were simple. I obviously had a problem with letters, bills and other documents piling up. To cope with that, I needed a system that:
1) Made it painless to scan mail, receipts and papers as they arrived, whether I was at home or on the road.
2) Allowed me to keep scanned docs organized in a central archive, accessible from any device.
3) Kept all my scanned documents backed up to the cloud.
4) Allowed me to prioritize time-sensitive documents, as well as keep scans organized.
5) Archived digital documents and emailed receipts.
6) Supported alerts and notifications for when a document is past due (like, for example, a bill that needs to be paid).
After a lot of experimentation, I figured out a system that addressed all these goals. Here’s what you need.
The ingredients: hardware

The most critical thing in a paperless office is going to be your scanner. After all, you can’t digitize your papers at all without a good scanner. If you don’t have one, you’re going to need one.
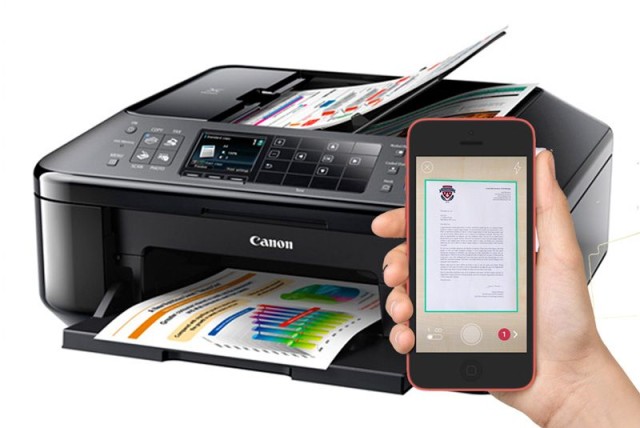
In my case, I already had the hardware. My home office contains a perfectly serviceable all-in-one printer/scanner/fax machine, the Canon Pixma MX882, which I bought a few years ago. It has a document feeder, and works well enough.
If you’re happy with your own scanner, I suggest using it. Otherwise, you could take a recommendation from The Wirecutter on what scanner to buy. Whatever you get, though, I recommend making sure you have a document feeder: Personally, I couldn’t get along without one.
You also have the option of not buying a scanner at all. After all, you have an iPhone, and depending on how many pages you have to digitize, it’s possible that your iPhone — along with the right app (see below) — will do all the heavy lifting for you.
The ingredients: apps & services
Speaking of heavy lifting, here’s what I’m using for my Mac paperless office.
• Evernote — The elephant-themed note-taking and archiving service is the perfect way to keep documents organized and in the cloud. Evernote’s very full-featured: It supports image files, multiple notebooks, tagging and searching within PDFs, and it has apps for pretty much every platform under the sun. Evernote even allows you to easily annotate notes, set alerts for when they’re due, and file email bills and receipts alongside “real” ones thanks to the Evernote web clipper.
• Dropbox — It might seem weird that we’d be saving our scans to both Dropbox and Evernote, but bear with me here: Setting up an account on the cloud-based file service goes a long way toward automating your paperless office. Because…
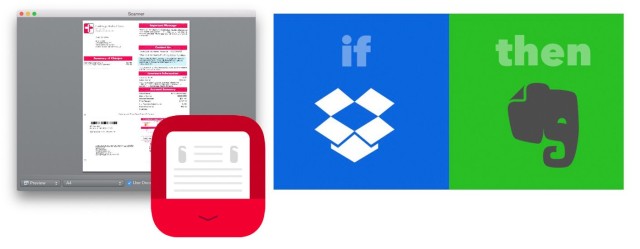
• IFTTT — Yup, we’re going to use internet automation tool IFTTT to connect your Dropbox and Evernote accounts, guaranteeing that any time you scan a document into your Dropbox folder, it’s automatically stored, filed and tagged in a universal inbox in your Evernote account.
• Scanbot — This killer iPhone app is an incredibly full-featured, easy-to-use scanner in the palm of your hand. Most importantly for our purposes, Scanbot can automatically save all your scans to Evernote. Best of all? Scanbot is a free download on the iOS App Store.
• Mac scanning software — This one’s up to you. OS X has built-in scanning software, but I personally found that it was unreliable and prone to jamming and mysterious errors when I used it with my Pixma. If you’re having issues with OS X’s default Scanning app, you might have better luck if you try the one that comes with your scanner.
Once you’ve signed up for the above services and downloaded their associated apps, setting up your Mac paperless office only takes a couple more minutes.
Setting everything up

What we’re going to do here is create a universal inbox for documents in Evernote. Anytime you scan anything on your Mac or on your iPhone, the scans will be instantly sent to this inbox and stored in the cloud.
1. Install Evernote on your Mac and create an account if you don’t already have one.
2. Create a notebook in Evernote called To Be Filed.
3. Install Dropbox on your Mac and create an account if you don’t already have one.
4. Once Dropbox is installed, create a subfolder in your Dropbox folder called Paperless Scans.
5. Go to this IFTTT link and click “Add Recipe” to link your Dropbox Paperless Scans folder to your Evernote To Be Filed notebook.
6. Optional: On your iPhone, install Scanbot, then open the app. Click the “X” button at the top left corner of the screen, then select the “Gears” icon. From there, turn on “Automatic Upload” and set Scanbot to automatically upload all your scans to the To Be Filed folder in your Evernote.
All done? For the next step, I’m going to walk you through my process of scanning documents and filing them away. Every person handles things uniquely, so you may well decide to do this differently, but I figured it would probably be helpful to see how I use the above system to keep myself organized.
The process
Here’s how I keep myself organized with my paperless office.
Once a day, I open all my mail. If it’s important, I save it; if it’s not important, I trash it immediately. The same thing goes for receipts. Throughout the day, I store my receipts in my wallet. Once a day, I open my wallet, take my receipts out, and scan them in if they’re important (like business expenses). Otherwise, they’re trashed.
Regardless of whether they are bills, important documents or receipts, I use either Scanbot on the iPhone or my desktop scanner to save every receipt to the Paperless Scans folder. I don’t worry about the name of these files or anything else. I’m not trying to organize my documents in Dropbox. That’s what Evernote is for. I know that if I save a receipt to Dropbox on my desktop, it will automatically be put in my To Be Filed notebook in Evernote, and that Scanbot will automatically add them there.
(Note: If you’re using the IFTTT recipe above for a desktop scanner, make sure to save them as image files and not PDFs. If they are in PDF form, the IFTTT recipe can’t automatically import them as image notes into Evernote, so you’ll have to add them manually.
Once I’ve scanned everything in, it goes into the trash or shredder immediately, and I open Evernote. Navigating to my To Be Filed notebook, I can see all my recent scans at a glance. I click through each scan, one by one, and give it a descriptive name as well as tags. For example, the note containing this month’s electricity bill might be renamed “Electricity Bill – March 2015” and be tagged with “bills, electricity, utilities, 2015.”
In addition, if there are two or three different scans that all belong together, like a multipage document, I’ll use Evernote’s “Merge” feature to group them together. And if a document has a “due by” attached, like a bill, I’ll click Evernote’s “Reminder” button and set a date when I should be reminded to pay it.
After I rename, tag, merge and set reminders for all of that day’s scanned documents, I file them by moving them out of the To Be Filed notebook and into other Evernote notebooks I’ve set up to keep me organized. The notebooks you might want to set up here will probably differ from mine, but to give you an idea, I’ve got notebooks for “Paid Bills,” “Unpaid Bills,” “Business Receipts,” “Household Receipts,” “Important Documents” and more.
Regardless of what notebooks you have, the goal is the same. You’re looking to keep the “To Be Filed” notebook clear of any documents that have already been dealt with. This is the inbox zero that counts!
Conclusion
Got that? Scan, toss, file, repeat. By spending just two minutes a day doing these simple tasks on any device you have at hand, you can totally change your life.
I know I’ve spilled a lot of pixels describing how to set up a paperless office for Mac here, but trust me: It’s a lot easier than it looks. You can set this up in a few minutes. And once you set it up? It’s heaven.
All your bills and important papers become searchable. You’re never missing a receipt or a bill again. Paper exists only to digitize and fire into the cloud. Your desk becomes uncluttered. You never miss a bill “due by” date again. An IRS audit ceases to become a thing to be feared. And you can file email receipts the same place as paper ones, without printing anything out.
What are you waiting for? Set up your paperless office, then tell us in the comments how it’s working out for you!


