One of the selling points of a Mac these days is the ability to run Windows software on it, via virtualization or Apple’s own Boot Camp. Running Windows lets you play PC games that haven’t been ported to the Mac, or stay completely compatible with your documents from a PC-centric workplace.
Virtualization software like Parallels or VMWare Fusion (two of the best apps to run Windows software on your Mac without partitioning your hard drive for Boot Camp) isn’t free, though these applications do allow you to try before you buy. Windows 8.1, the current version of Microsoft’s operating system, will run you about $120 for a plain-jane version.
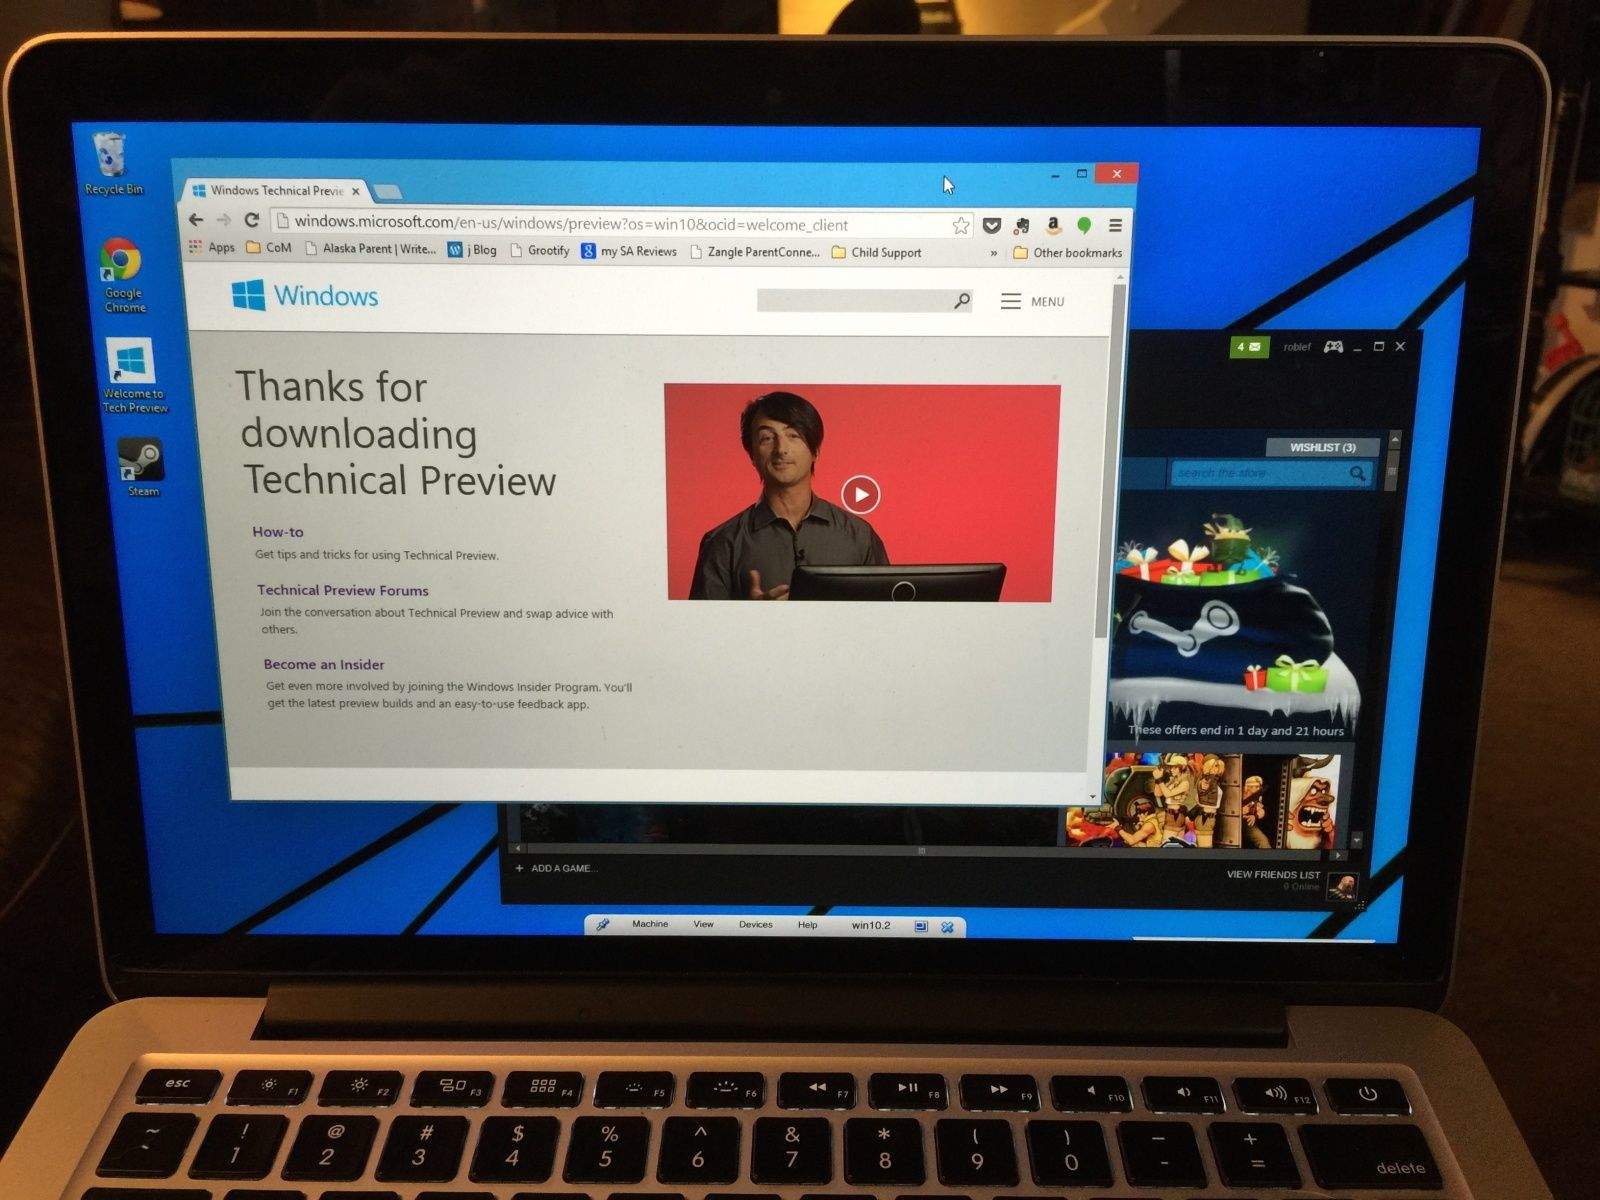
You can run the next-gen OS from Microsoft (Windows 10) on your Mac using virtualization for free, however. We took a quick run at doing just that, as originally sussed out by the fantastic folks over at iMore.
Grab that virtual box
We’re going to use a free, open source bit of emulation software called VirtualBox, from Oracle. It’s pretty robust and works almost as well as the more costly solutions like Parallels or VMWare Fusion, so you can get a taste of things without having to bust out the credit card.
Head on over to the VirtualBox webpage, and click on the Download link over to the left. You’ll want to choose the latest VirtualBox version (4.3.20 as of this writing) for OS X hosts x86/amd64. Once downloaded, you can launch and install the app, which will get you ready to roll with Windows 10.
Get Windows 10 for free
To get a free, legal copy of Windows 10 Technical Preview, you’ll need to sign up with your Microsoft account (or create one in the process) for the Windows Insider Program. The process takes a couple of minutes, and it’s free as well.
Once you’ve signed up, you’ll be able to download an ISO file that acts just like an inserted install disk. You’ll want to download the 64 bit version of file in the language you want Windows to run in. The instructions at the Technical Preview page tell you to move the file to a USB drive and then install from there, but you don’t need to–I installed it just fine from the file on my Mac’s hard drive.
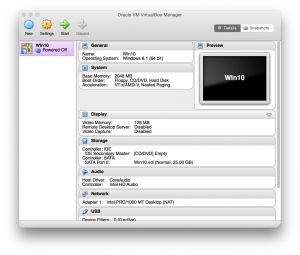
Now you’ll want to launch VirtualBox. Click on the blue New star button at the top, and click through the default settings. You’ll first give the newly created virtual environment a name and choose the Windows Type and then Windows 8.1 (64 bit) from the two drop-down menus. Name it something clever, like “Windows 10” if you like.
Install the virtual disk on the virtual hard drive
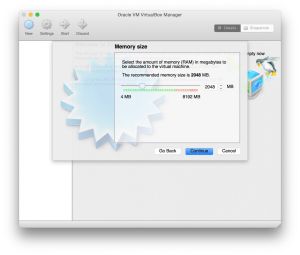
Next you’ll need to choose the size of your virtual hard drive. I left this at the default 2 GB setting, but you can increase it by moving the little slider to the right. Avoid a size that hits in the yellow or red zone, or you may have issues with running both OS X and Windows at the same time.
Allow VirtualBox to create a virtual hard drive using the default setting. Simply click on Create, then let it make a VirtualBox Disk Image, or VDI, on the next screen. I let it create a dynamically allocated hard drive, since that was the default option, as well. Give your new hard drive image a name (VirtualBox will choose the name you gave the environment in the first place – it’s ok to let this stand), and then find a size that fits well on your hard drive. I left it at the default 25 GB setting, and then clicked on Create.
You’ll now have a virtual environment to install Windows onto. Click the green Start arrow, and then click on the little folder icon to choose the ISO you downloaded from Microsoft above. You’ll have an option to Capture your mouse within the environment, and then you’ll find out that your host OS (OS X) allows for mouse pointer integration. Just click on the Continue buttons here.
Rock the Windows install
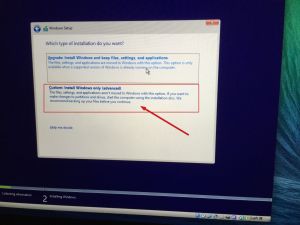
After you click Next on the Windows Setup window, you’ll need to click Install Now and then accept the license terms. If you didn’t move the ISO to a USB drive, choose the second option when asked what kind of installation you want: Custom Install. Click Next when you see the Disk 0 Unallocated Space screen, and then click through the rest of the Windows installation prompts.
As soon as all the Windows installation fooferah finishes up, you’ll be running Windows 10 on your Mac. You can hit Command-F to go full screen and trick anyone into thinking you’re running a Windows machine (except your Macbook looks way better than most PCs). You can now install Steam or other PC games, or just mess around with the new OS. Enjoy!
Via: iMore


