Good day, sleepy humans. I assume you are a fellow appreciator of delicious coffee, and that you suffer the same morning paradox as me: You just woke up, and are still rather groggy. And yet you also want to make a great cup of coffee. After all, you can’t drink that many in a day without wigging out.
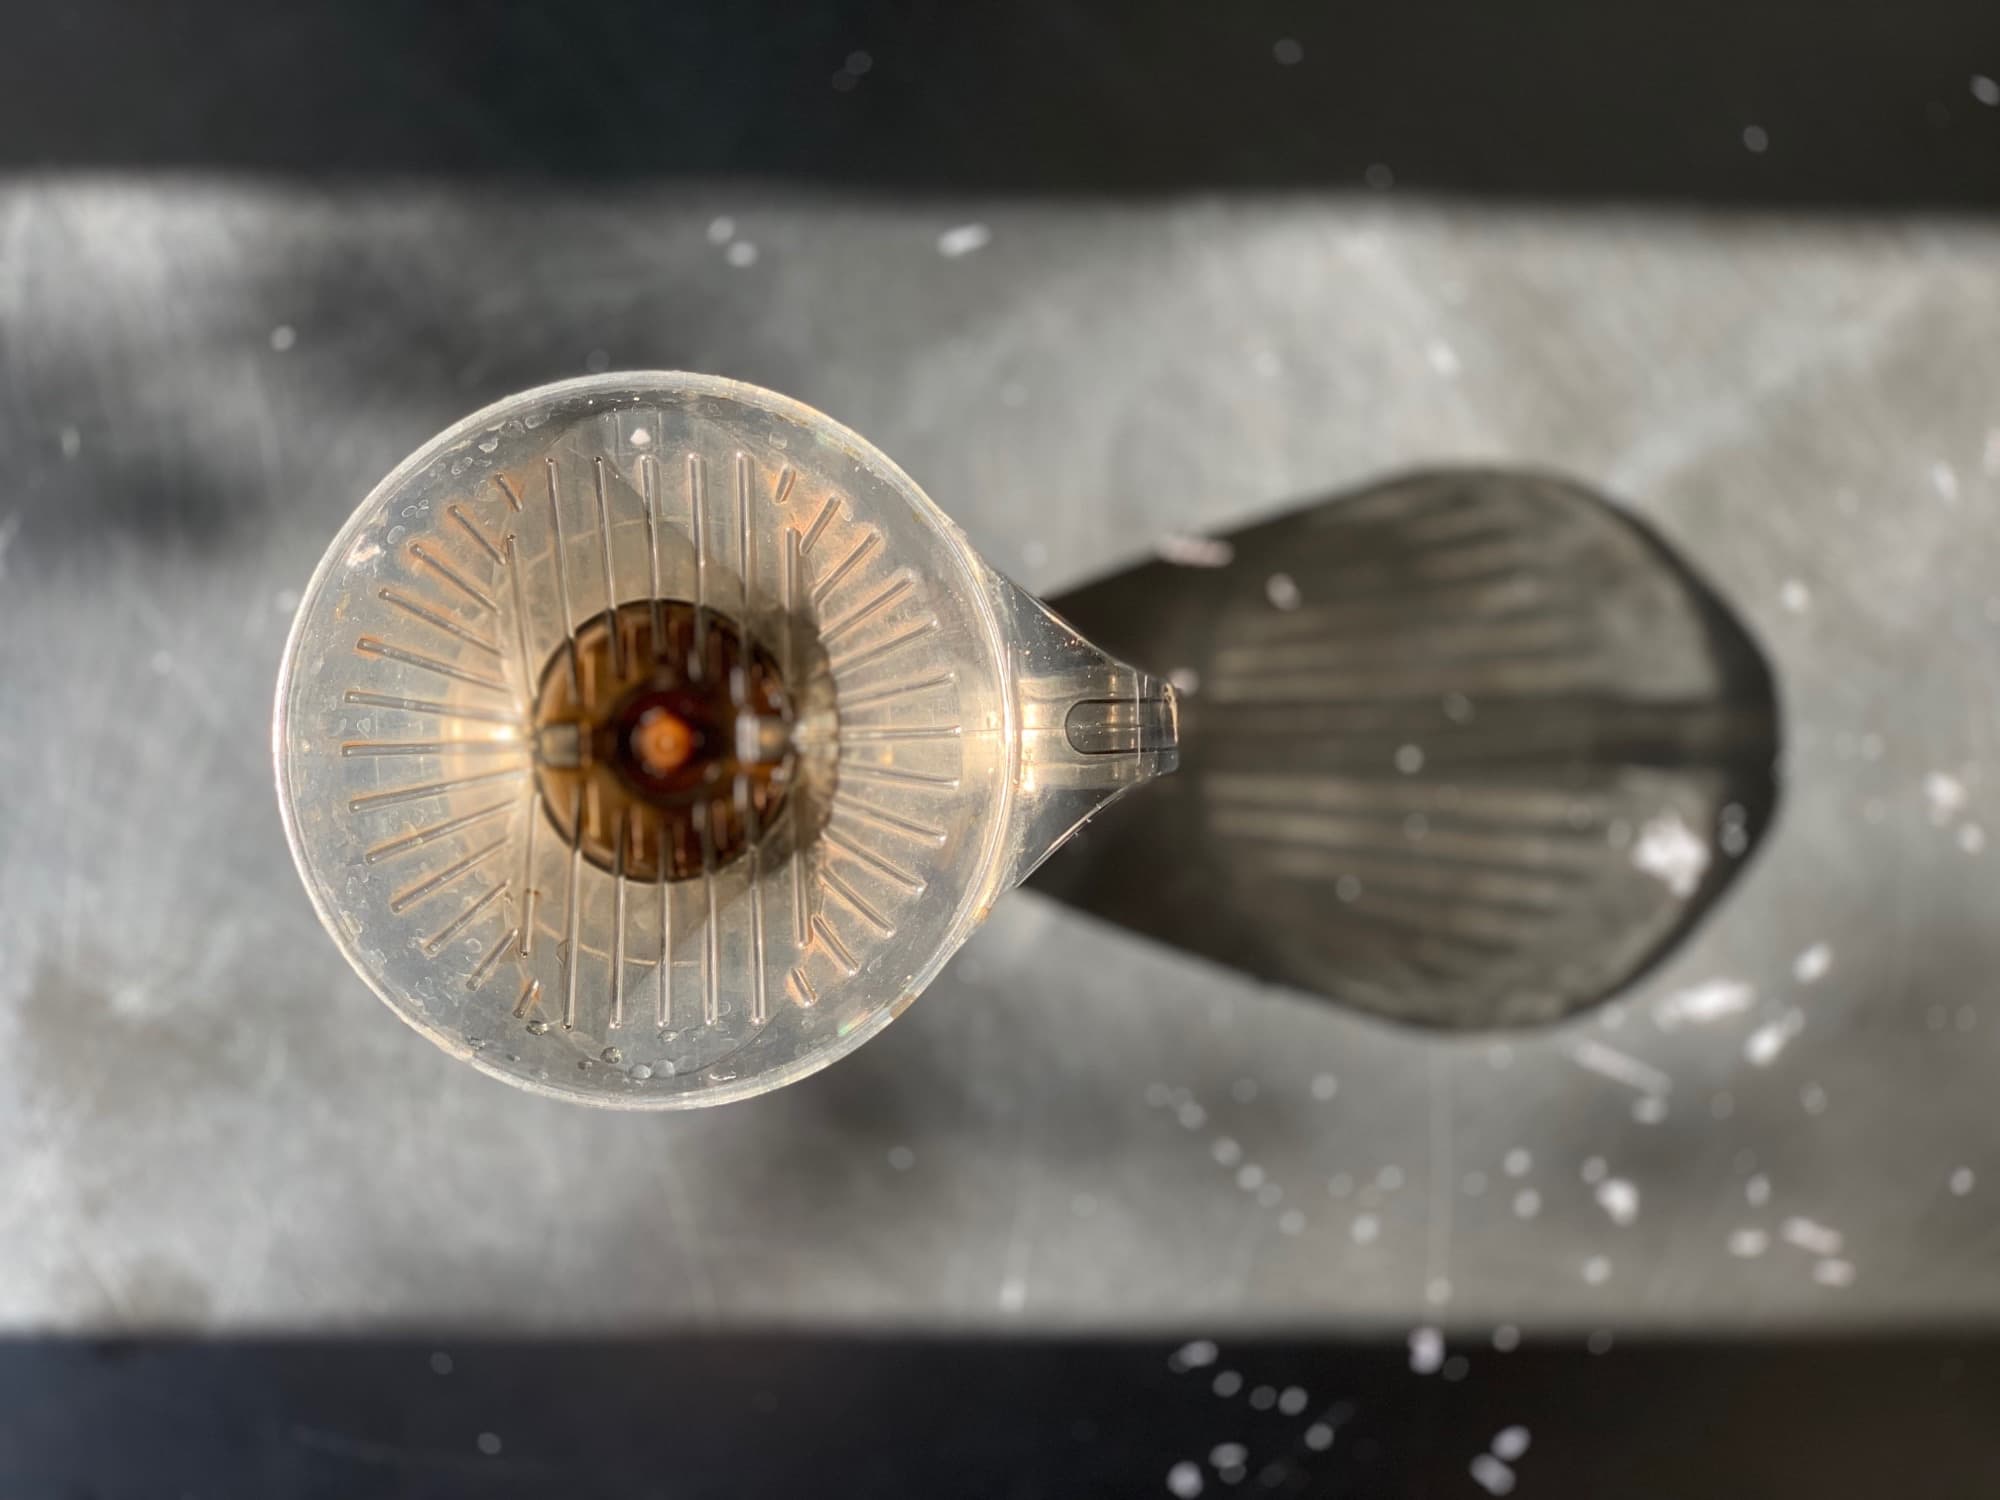
The answer is here: It’s the Clever Dripper, and it’s almost impossible to make a bad cup of coffee with it. Not only that, but it might make the best coffee you’ve ever tasted.
This post contains affiliate links. Cult of Mac may earn a commission when you use our links to buy items.
How the Clever Dripper works
The Clever Dripper takes a standard Melitta-style pour-over funnel, and adds a valve to the hole in the bottom. The valve stays closed when on the countertop, but opens when you place the device atop a cup, jug or (pro tip) thermal flask. This means you can dump in coffee grounds, add hot water, and wait a few minutes for the coffee to steep, or extract. Then, just plunk it onto your cup, wait another minute or so, and you’re ready.
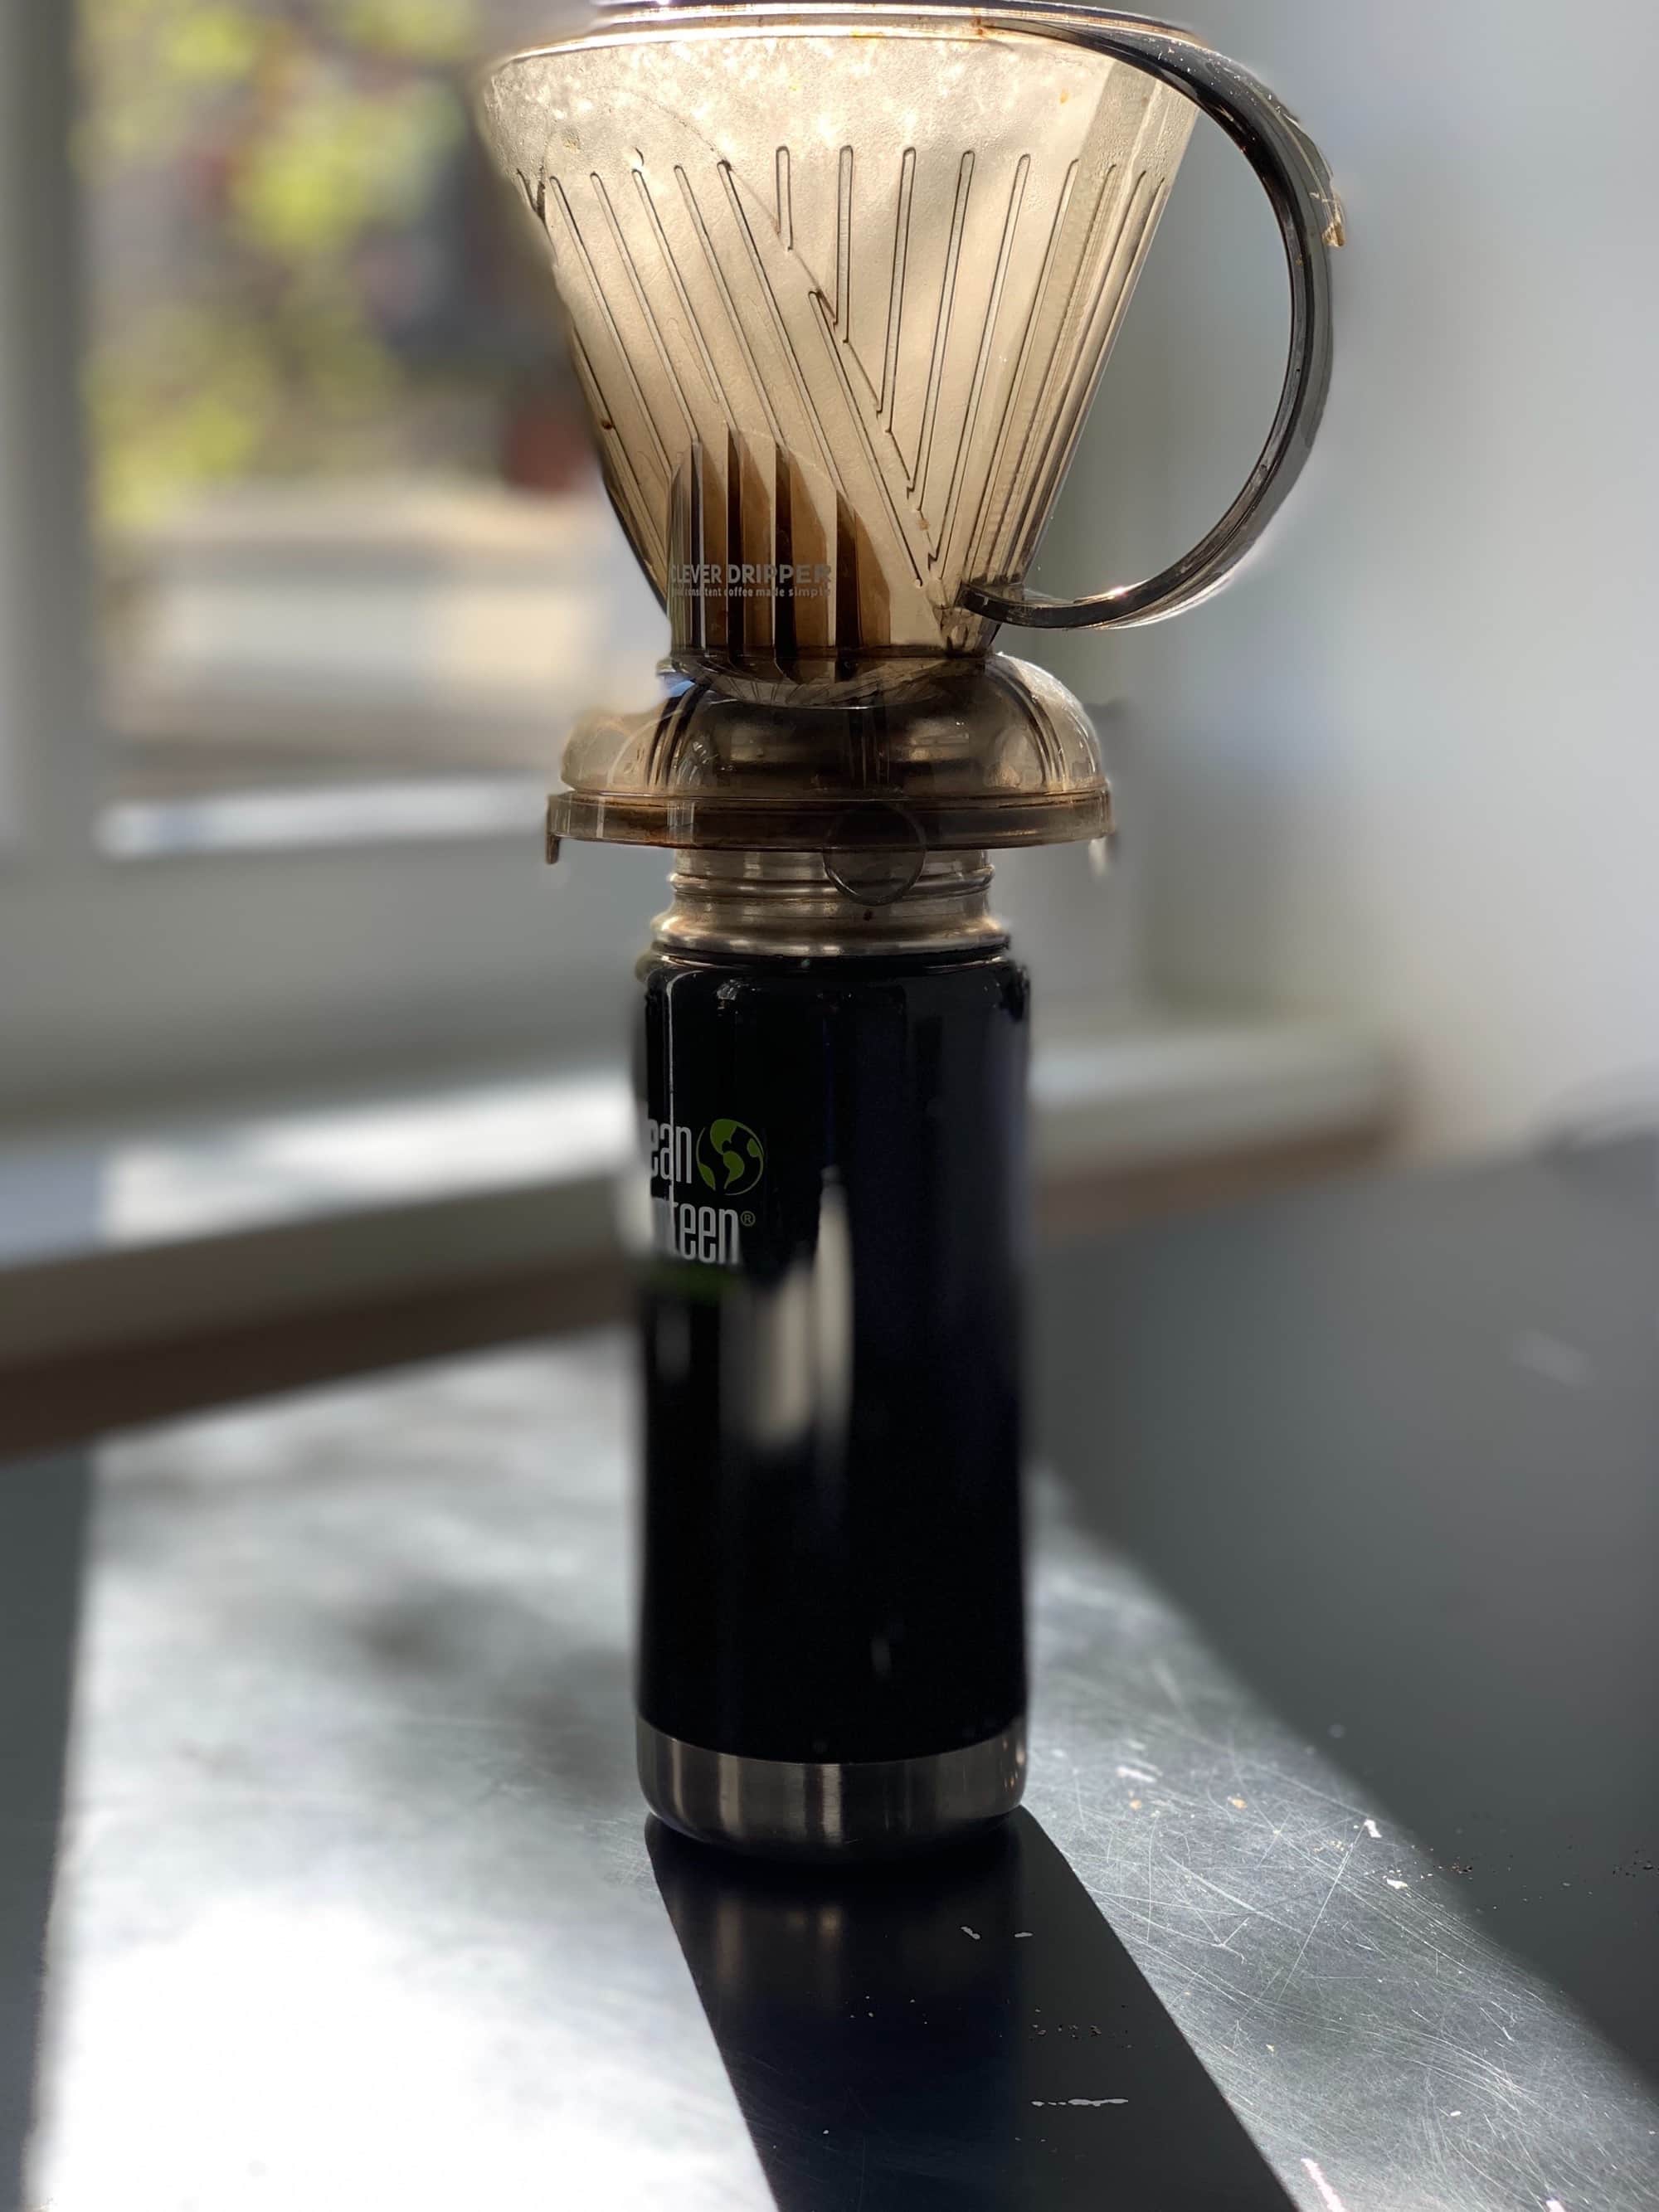
Photo: Charlie Sorrel/Cult of Mac
The advantage over a regular pour over is consistency. Normally, a pour over requires you to constantly top up the water as the brewed coffee drips out the exit hole in the bottom of the funnel. Faster or slower pouring can have a big effect on the extraction. That makes getting perfect results somewhat tricky — especially first thing in the morning.
However, when you get it right, the regular pour over is just amazing. That may be down to the constantly replenished fresh water, or something else. All I know is that it tastes different from the Clever.
How to make coffee with the Clever Dripper
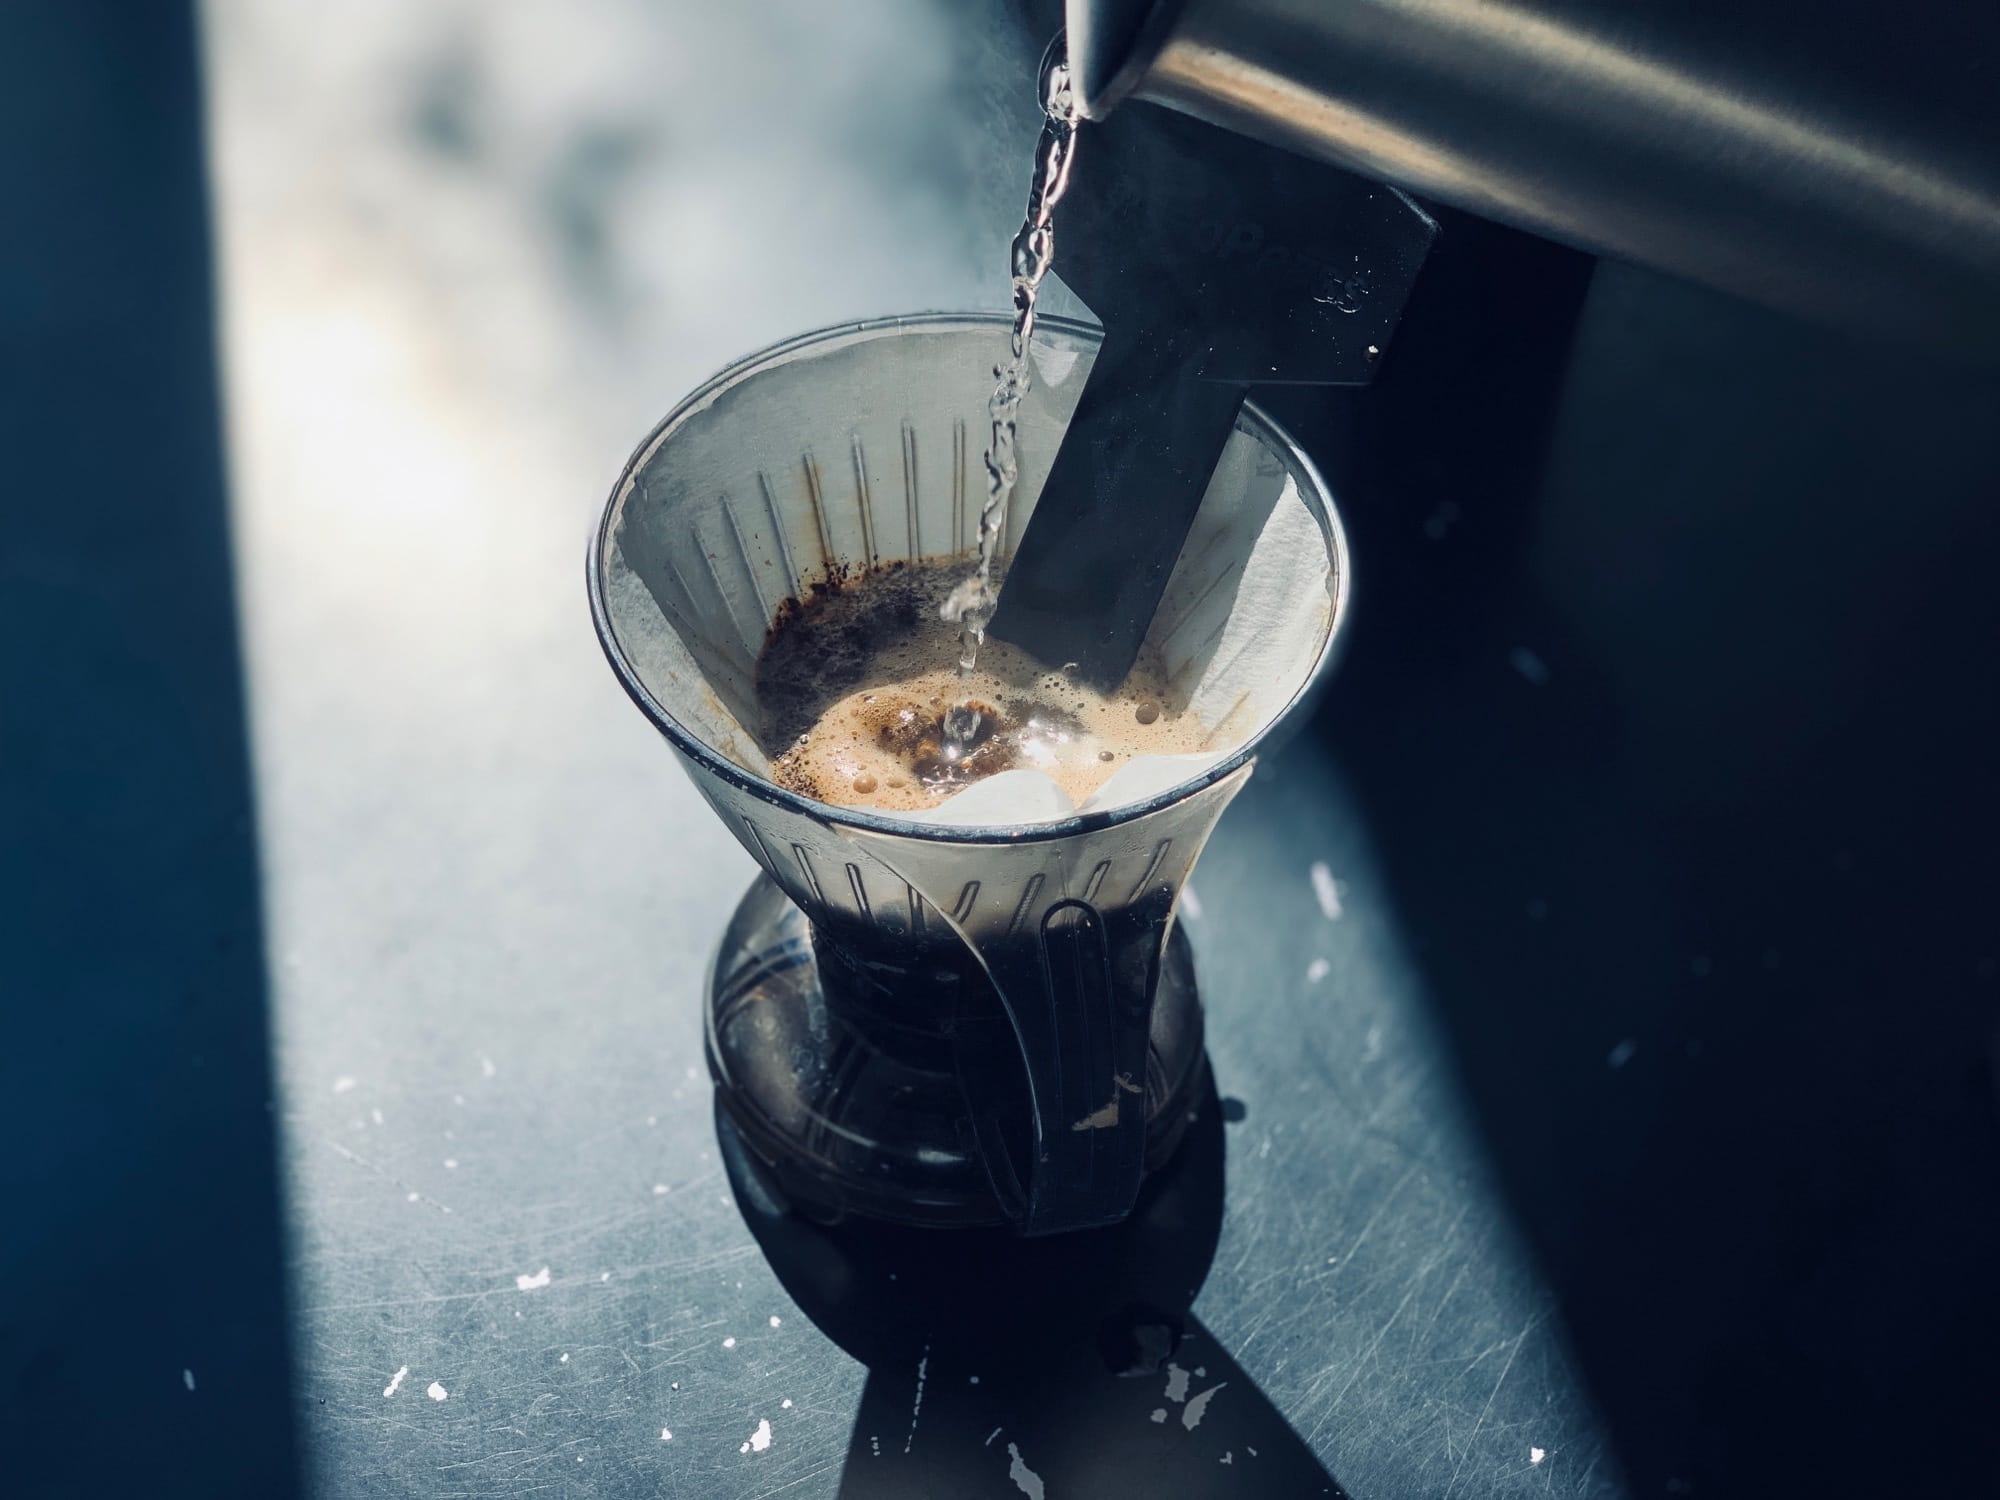
Photo: Charlie Sorrel/Cult of Mac
Assemble your gear:
- Clever Dripper (I use the “large” 18-ounce version).
- Filtered water.
- Number 4 coffee filters.
- Coffee beans.
- Coffee grinder.
- Water kettle.
- Measuring scoop.
- Wide-neck thermos.
Now, my recipe. You can and should experiment to find your own perfect cup, but this is a good start.
Measure the coffee carefully
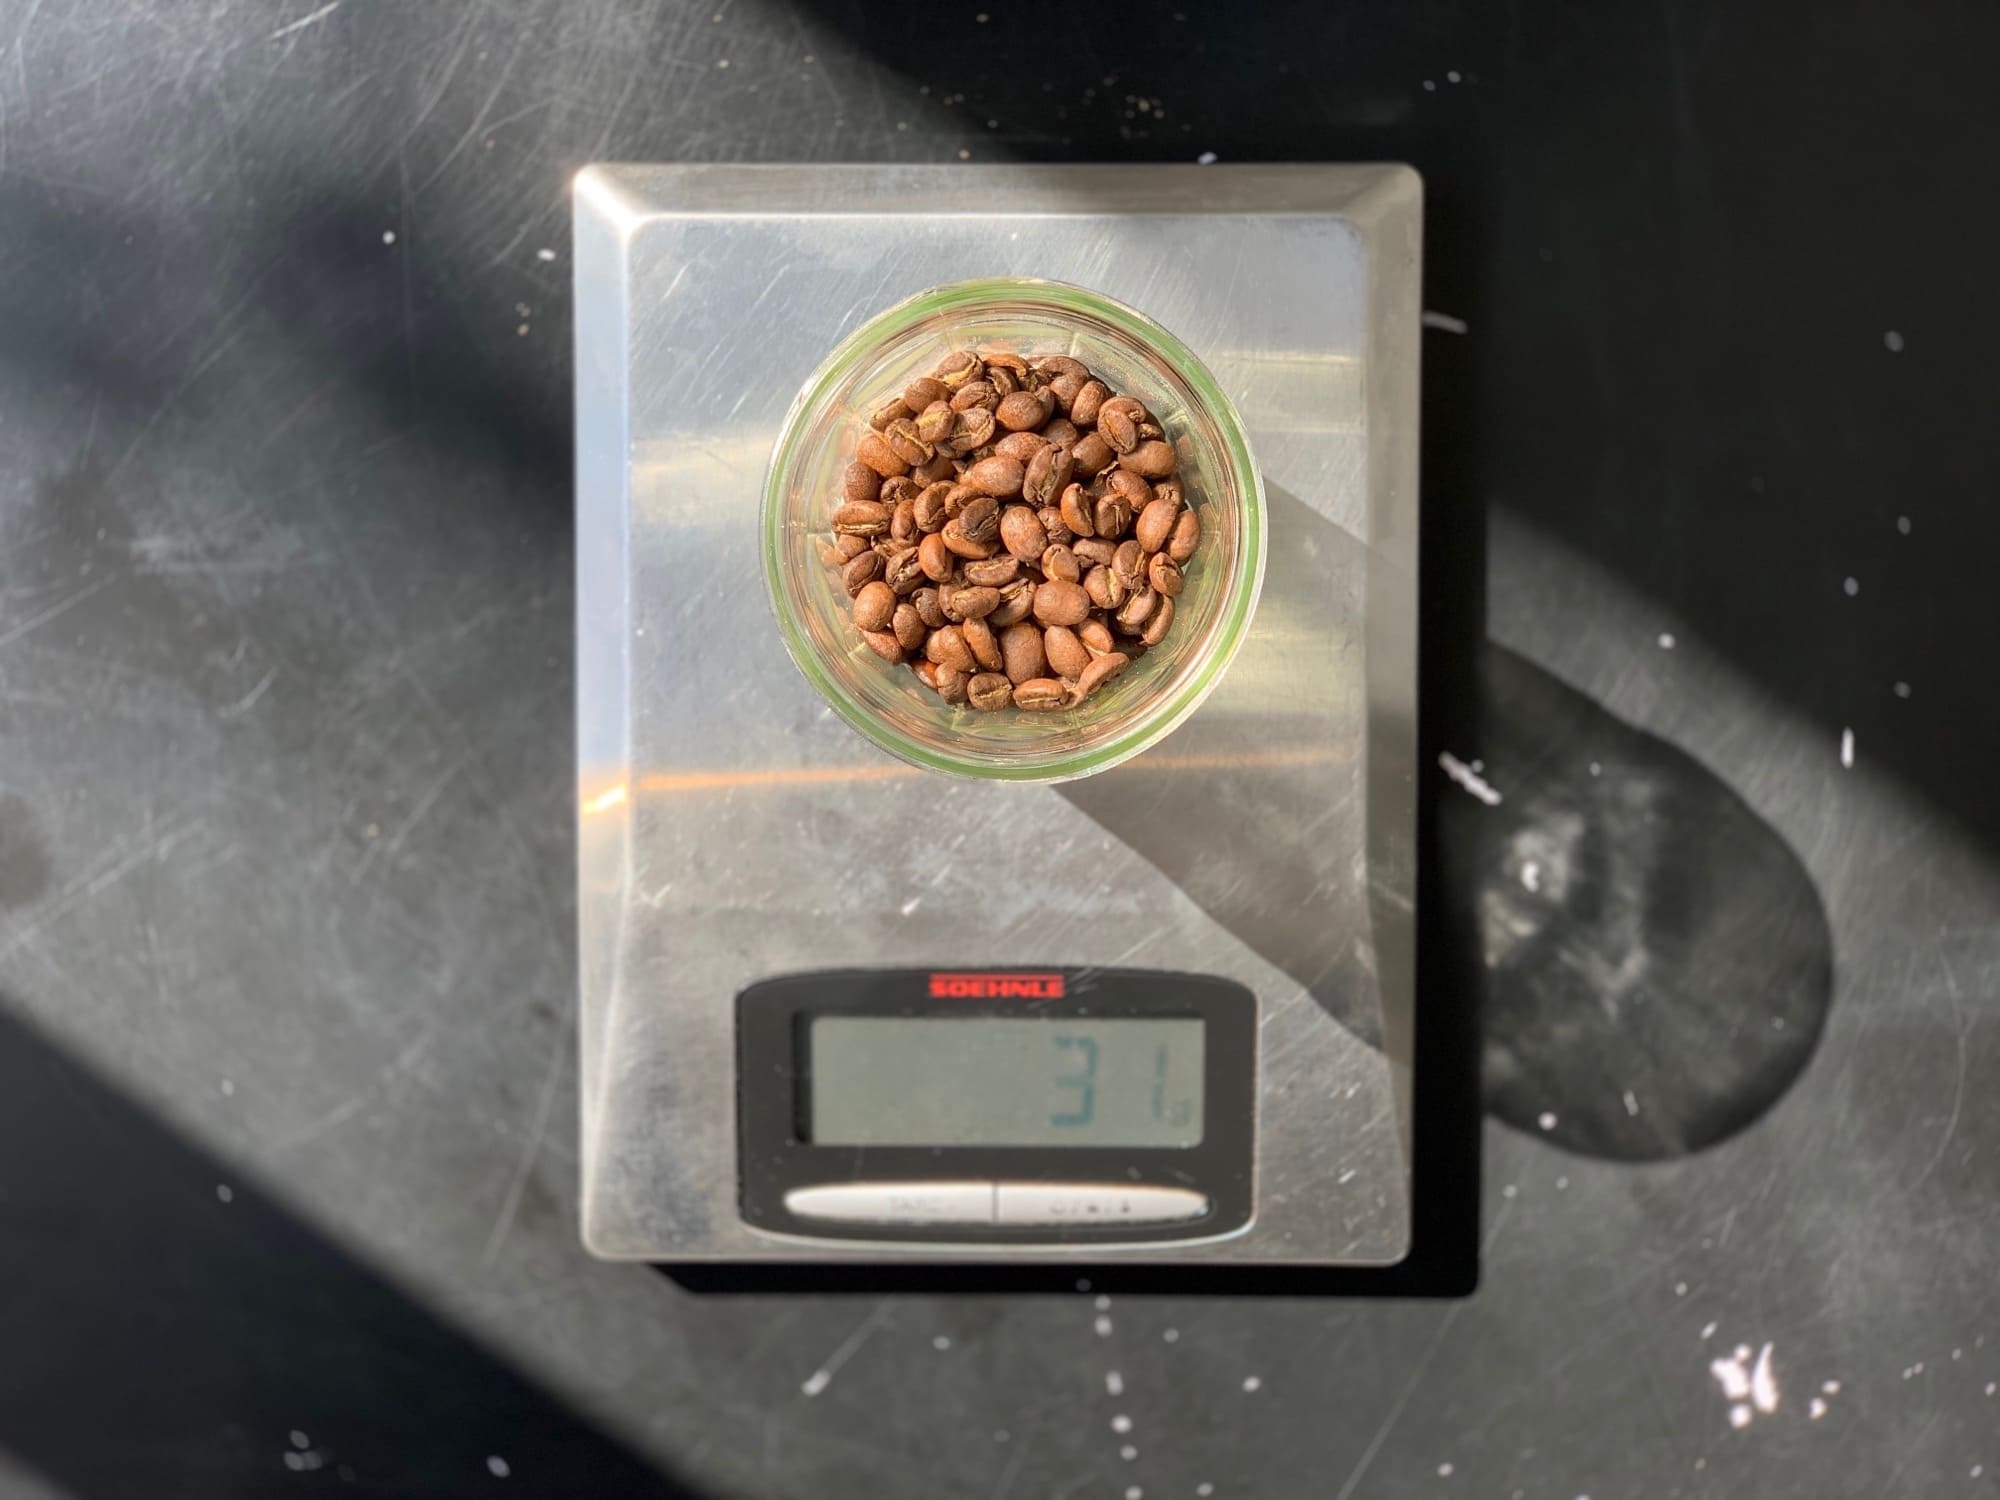
Photo: Charlie Sorrel/Cult of Mac
Boil the water, put a filter in the Clever Dripper (fold the seams on the filter to get them out of the way), and measure the coffee. I use two scoops. A coffee scoop comes with lots of coffee gadgets, and they’re usually the same size. It comes out at around 1.13 ounces (32 grams).
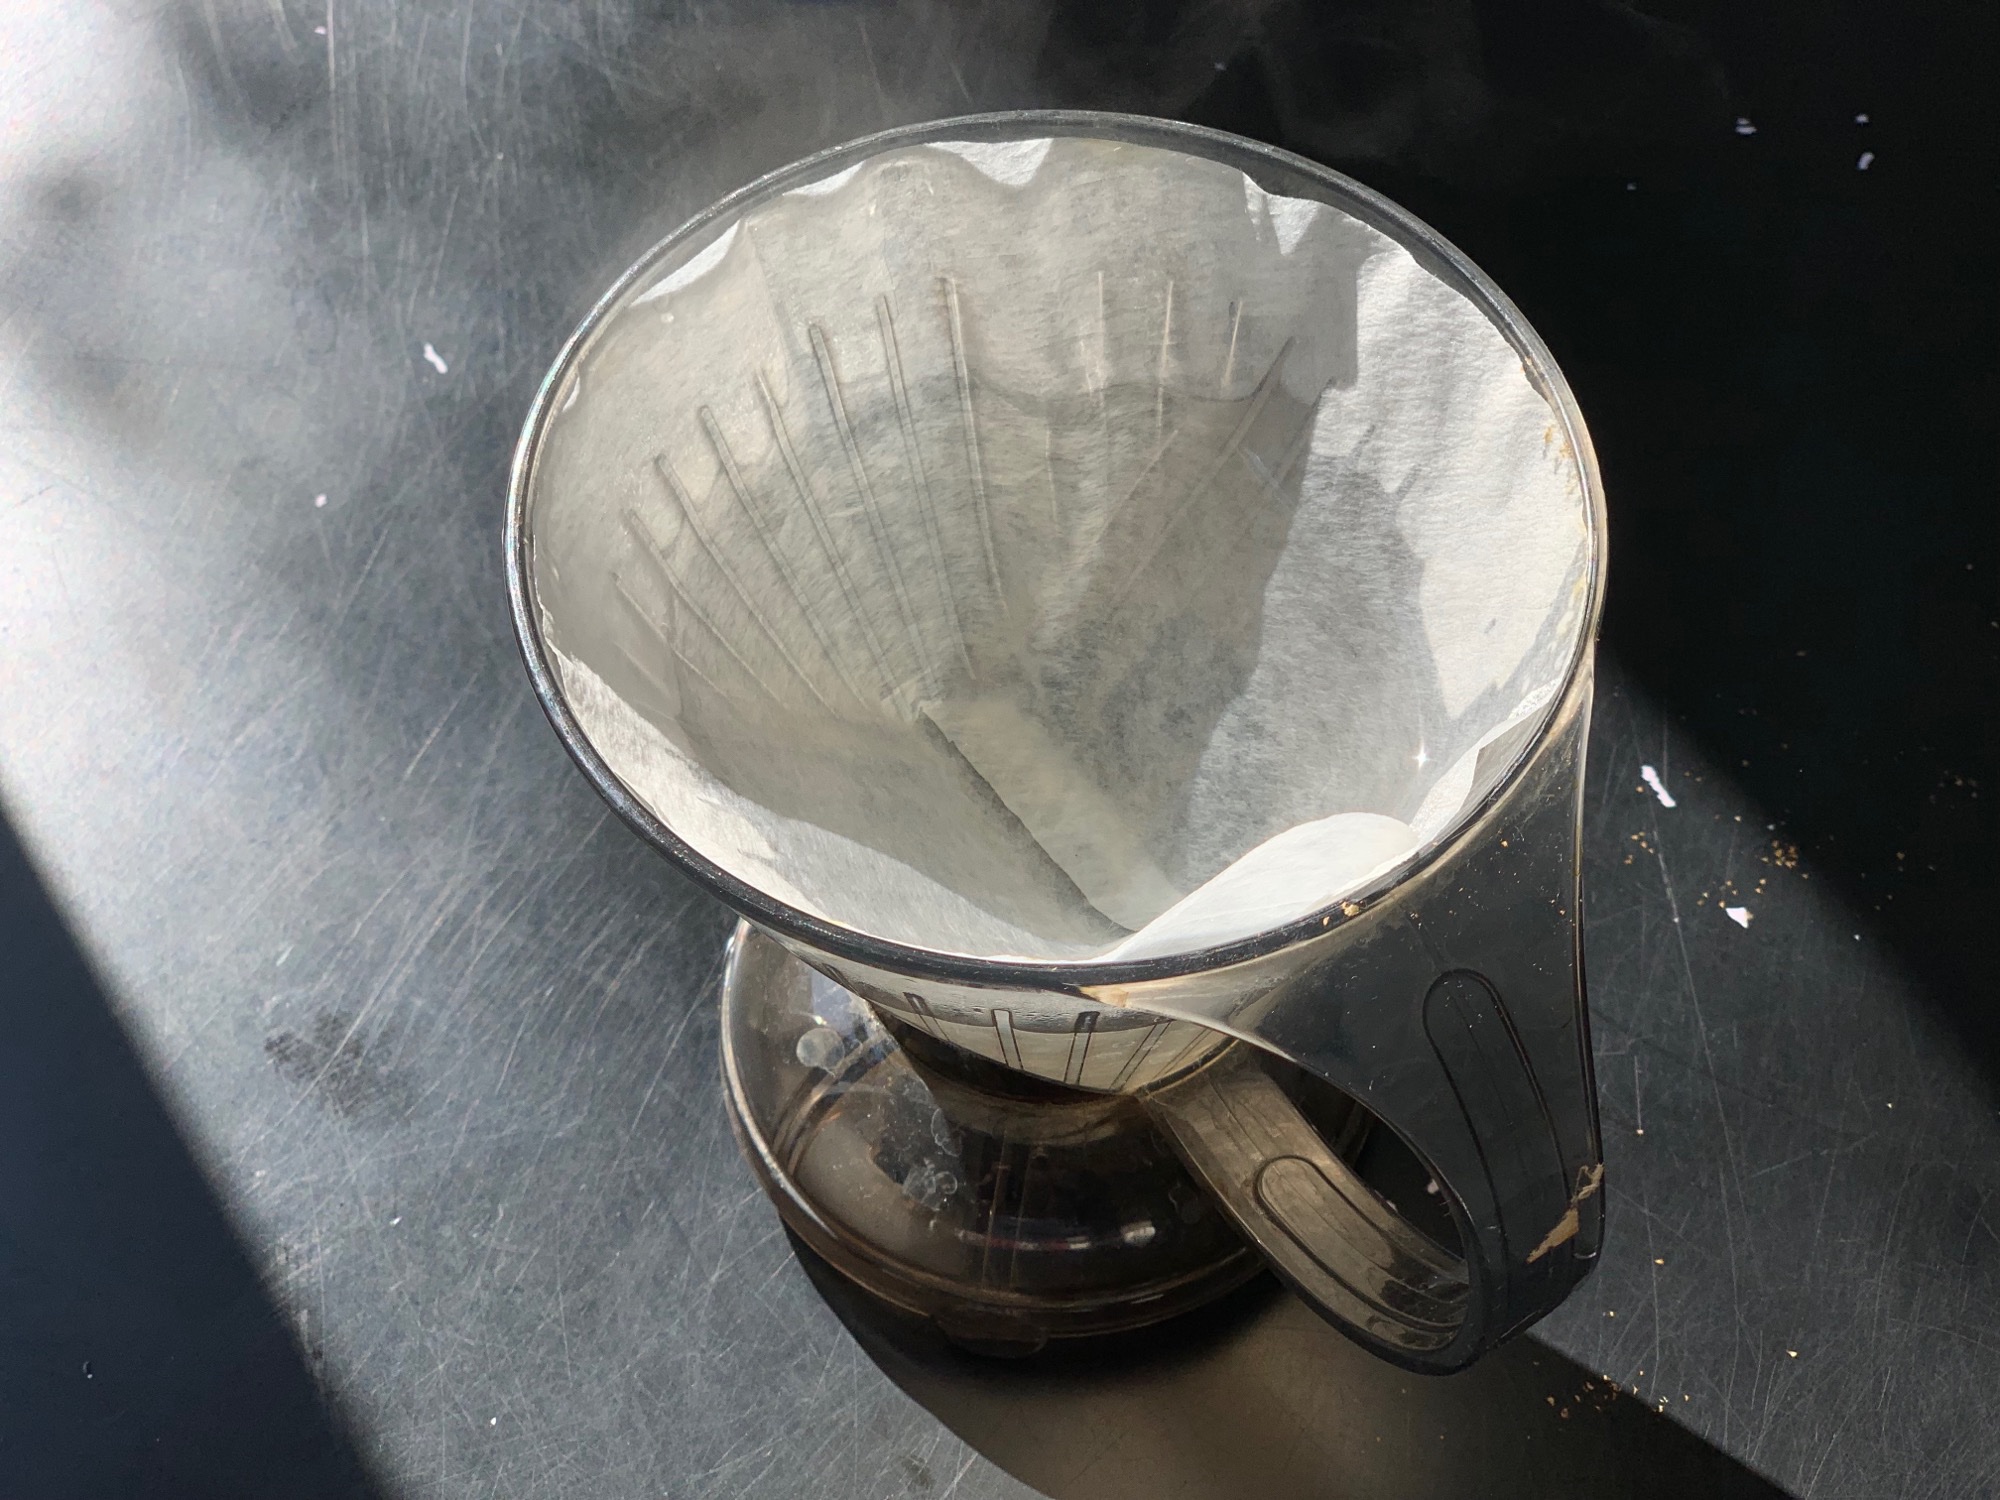
Photo: Charlie Sorrel/Cult of Mac
Pour boiled water into the Clever Dripper, and put on the lid. This will wash the filter, as well as getting the Dripper hot.
Grind your coffee
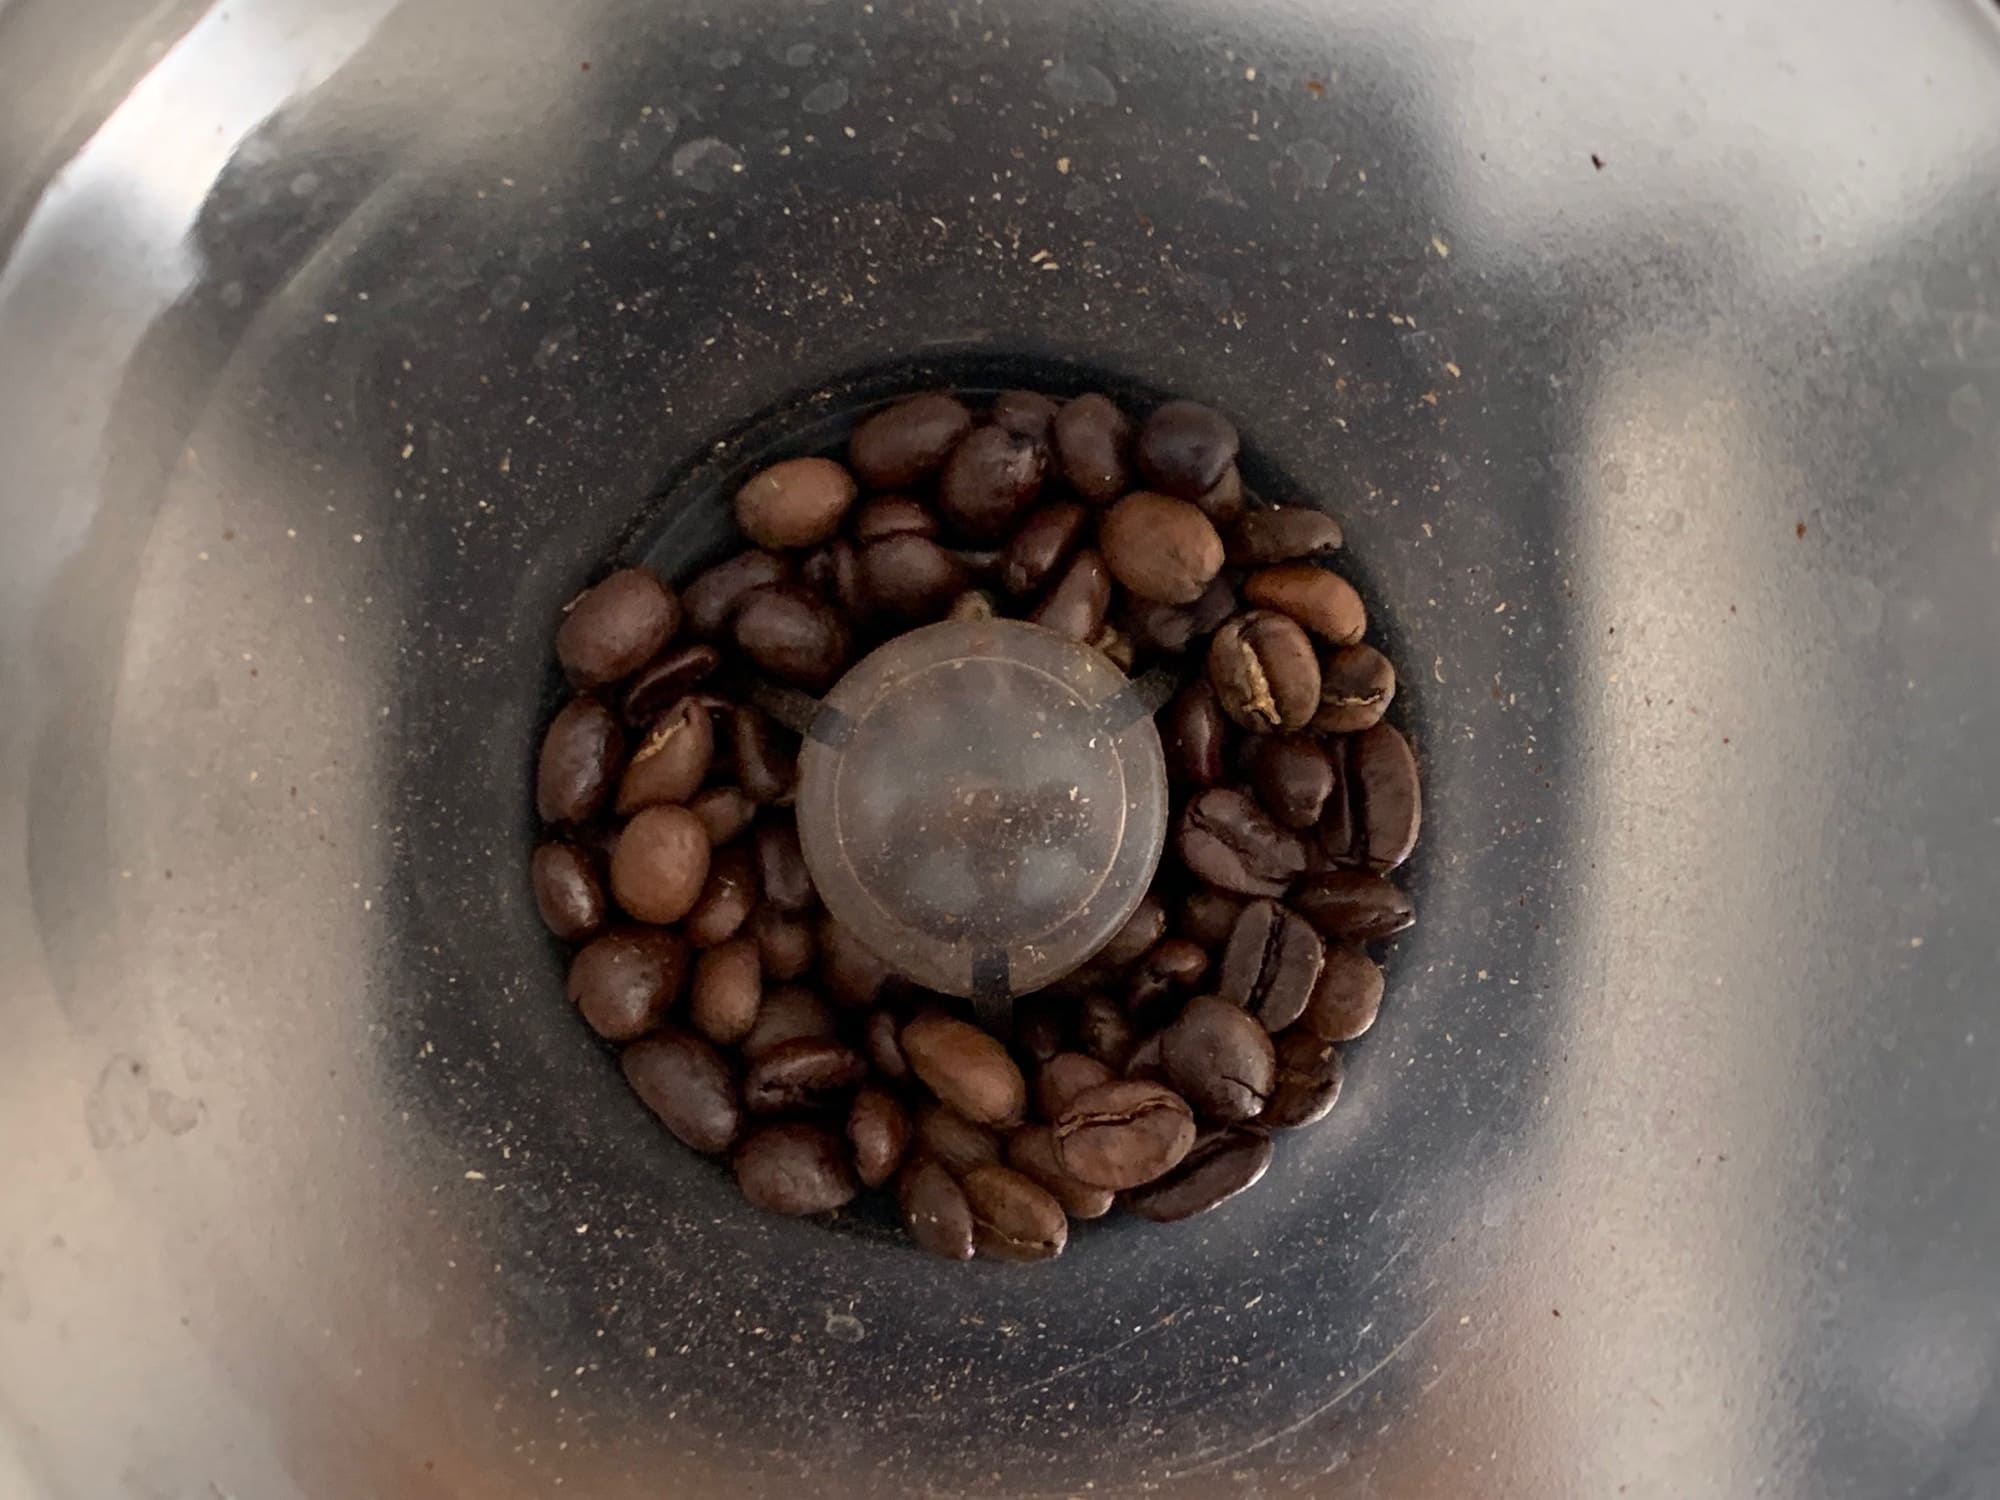
Photo: Charlie Sorrel/Cult of Mac
Grind the coffee. I use the number 22 position on my Baratza Encore grinder. (It’s Wirecutter’s favorite grinder, BTW.) Check the photos to see what that grind looks like. Too coarse, and the coffee will come out weak. Too fine, and it will clog the funnel and over-extract (and your coffee will be equally bad).
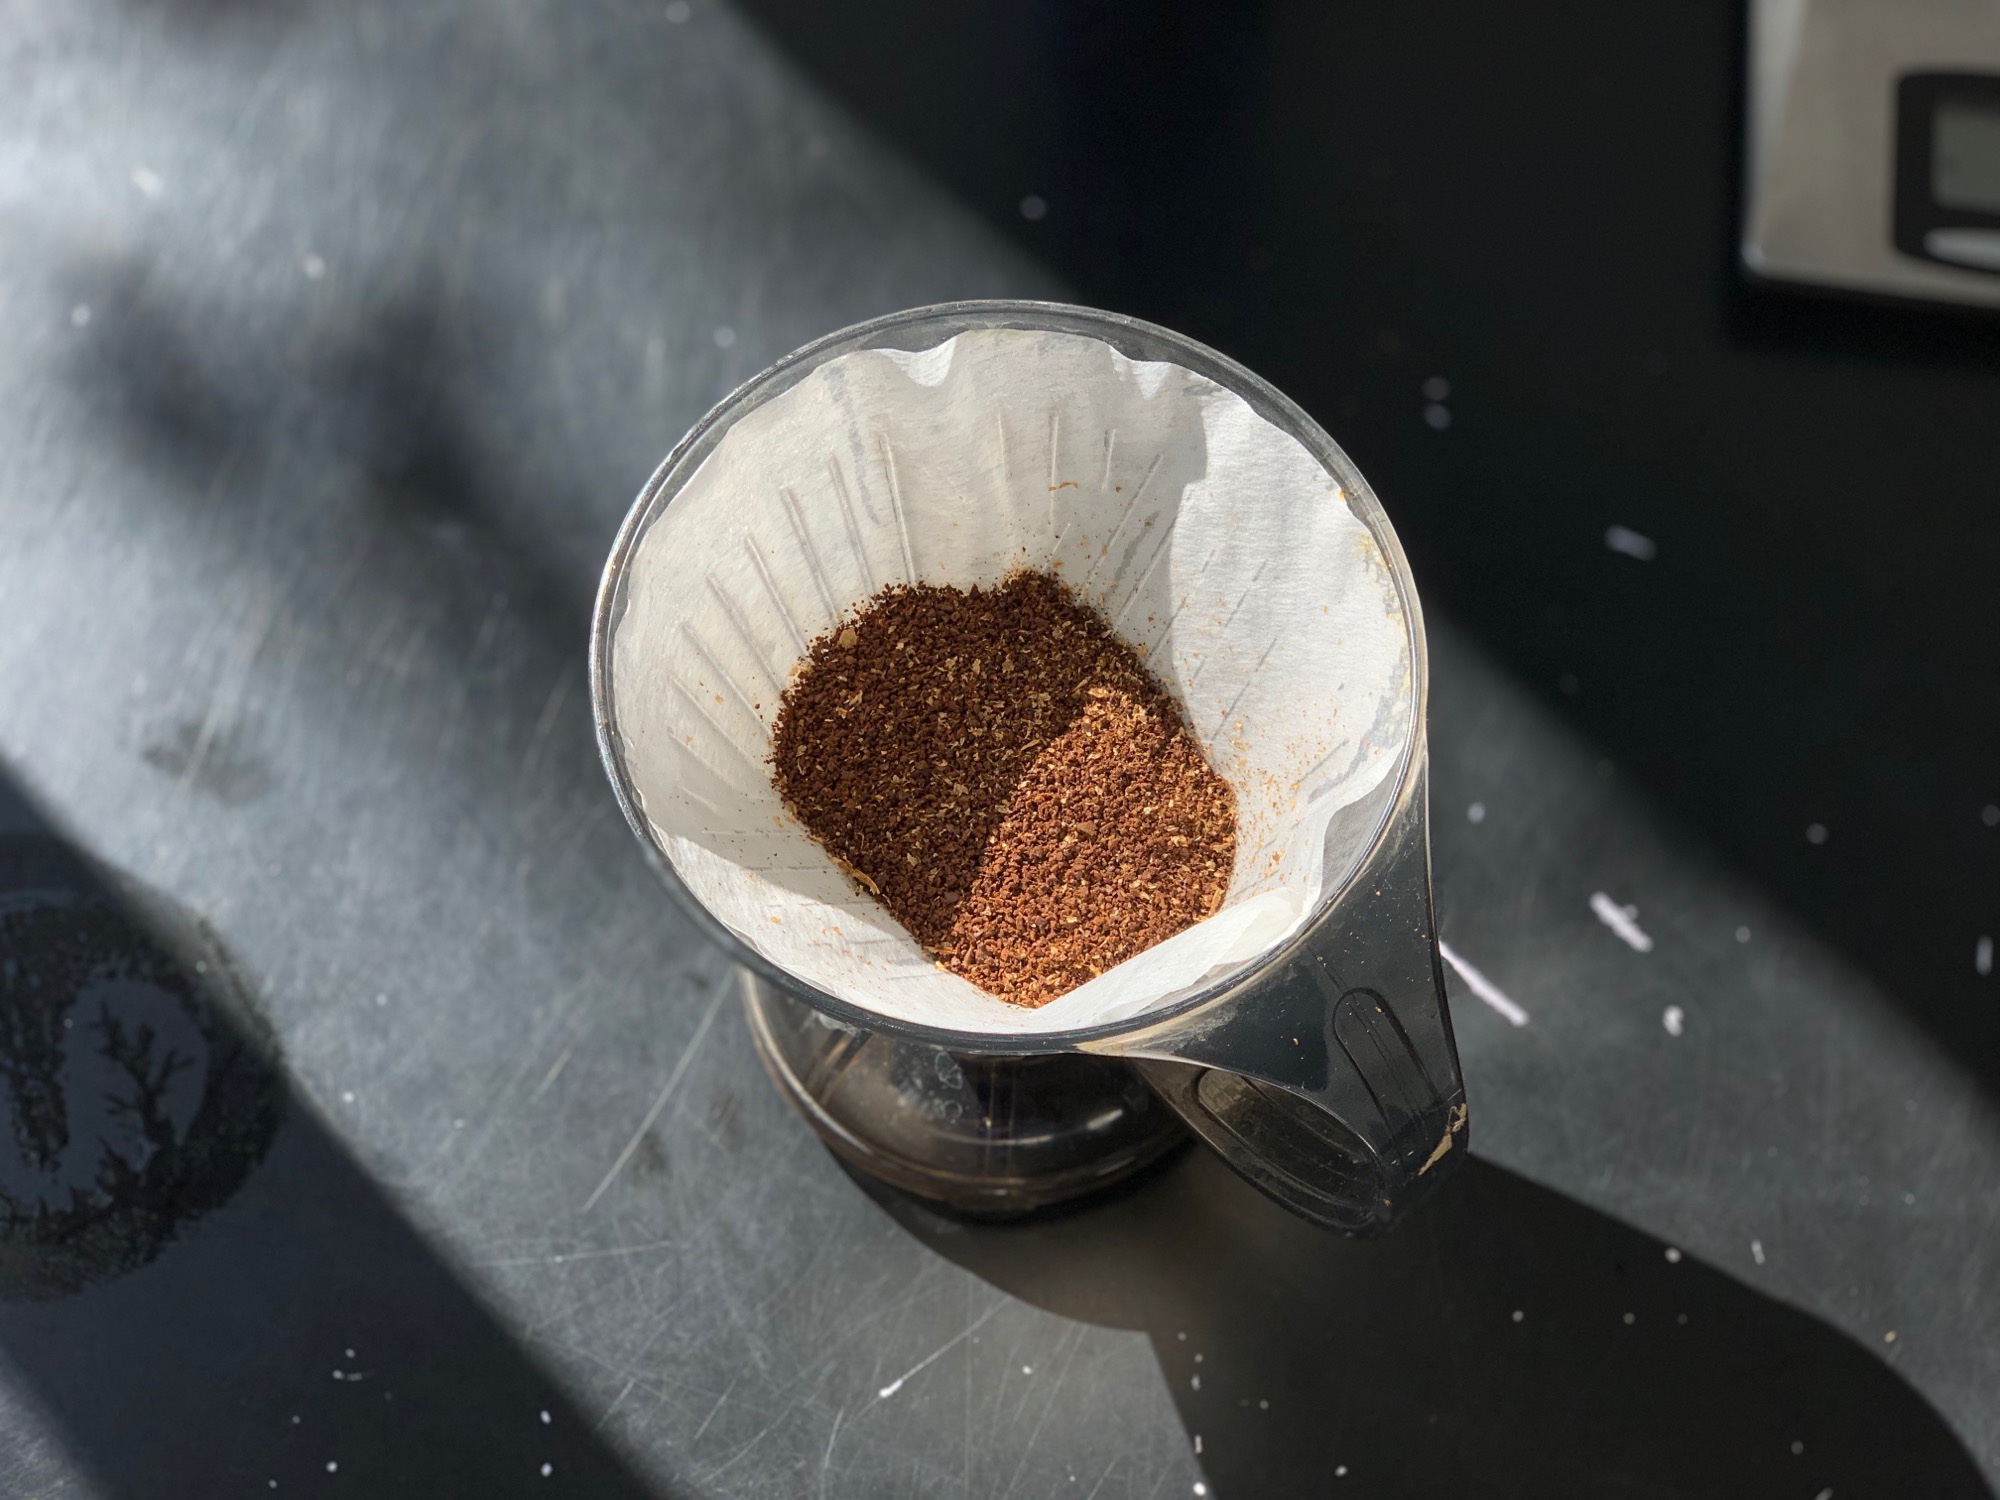
Photo: Charlie Sorrel/Cult of Mac
Put the Dripper on the thermal carafe to empty it. The water will now heat the thermos, so your coffee stays nice and hot. You may prefer to use a jug or cup, but it’s still worth warming it first.
Let your coffee grounds bloom
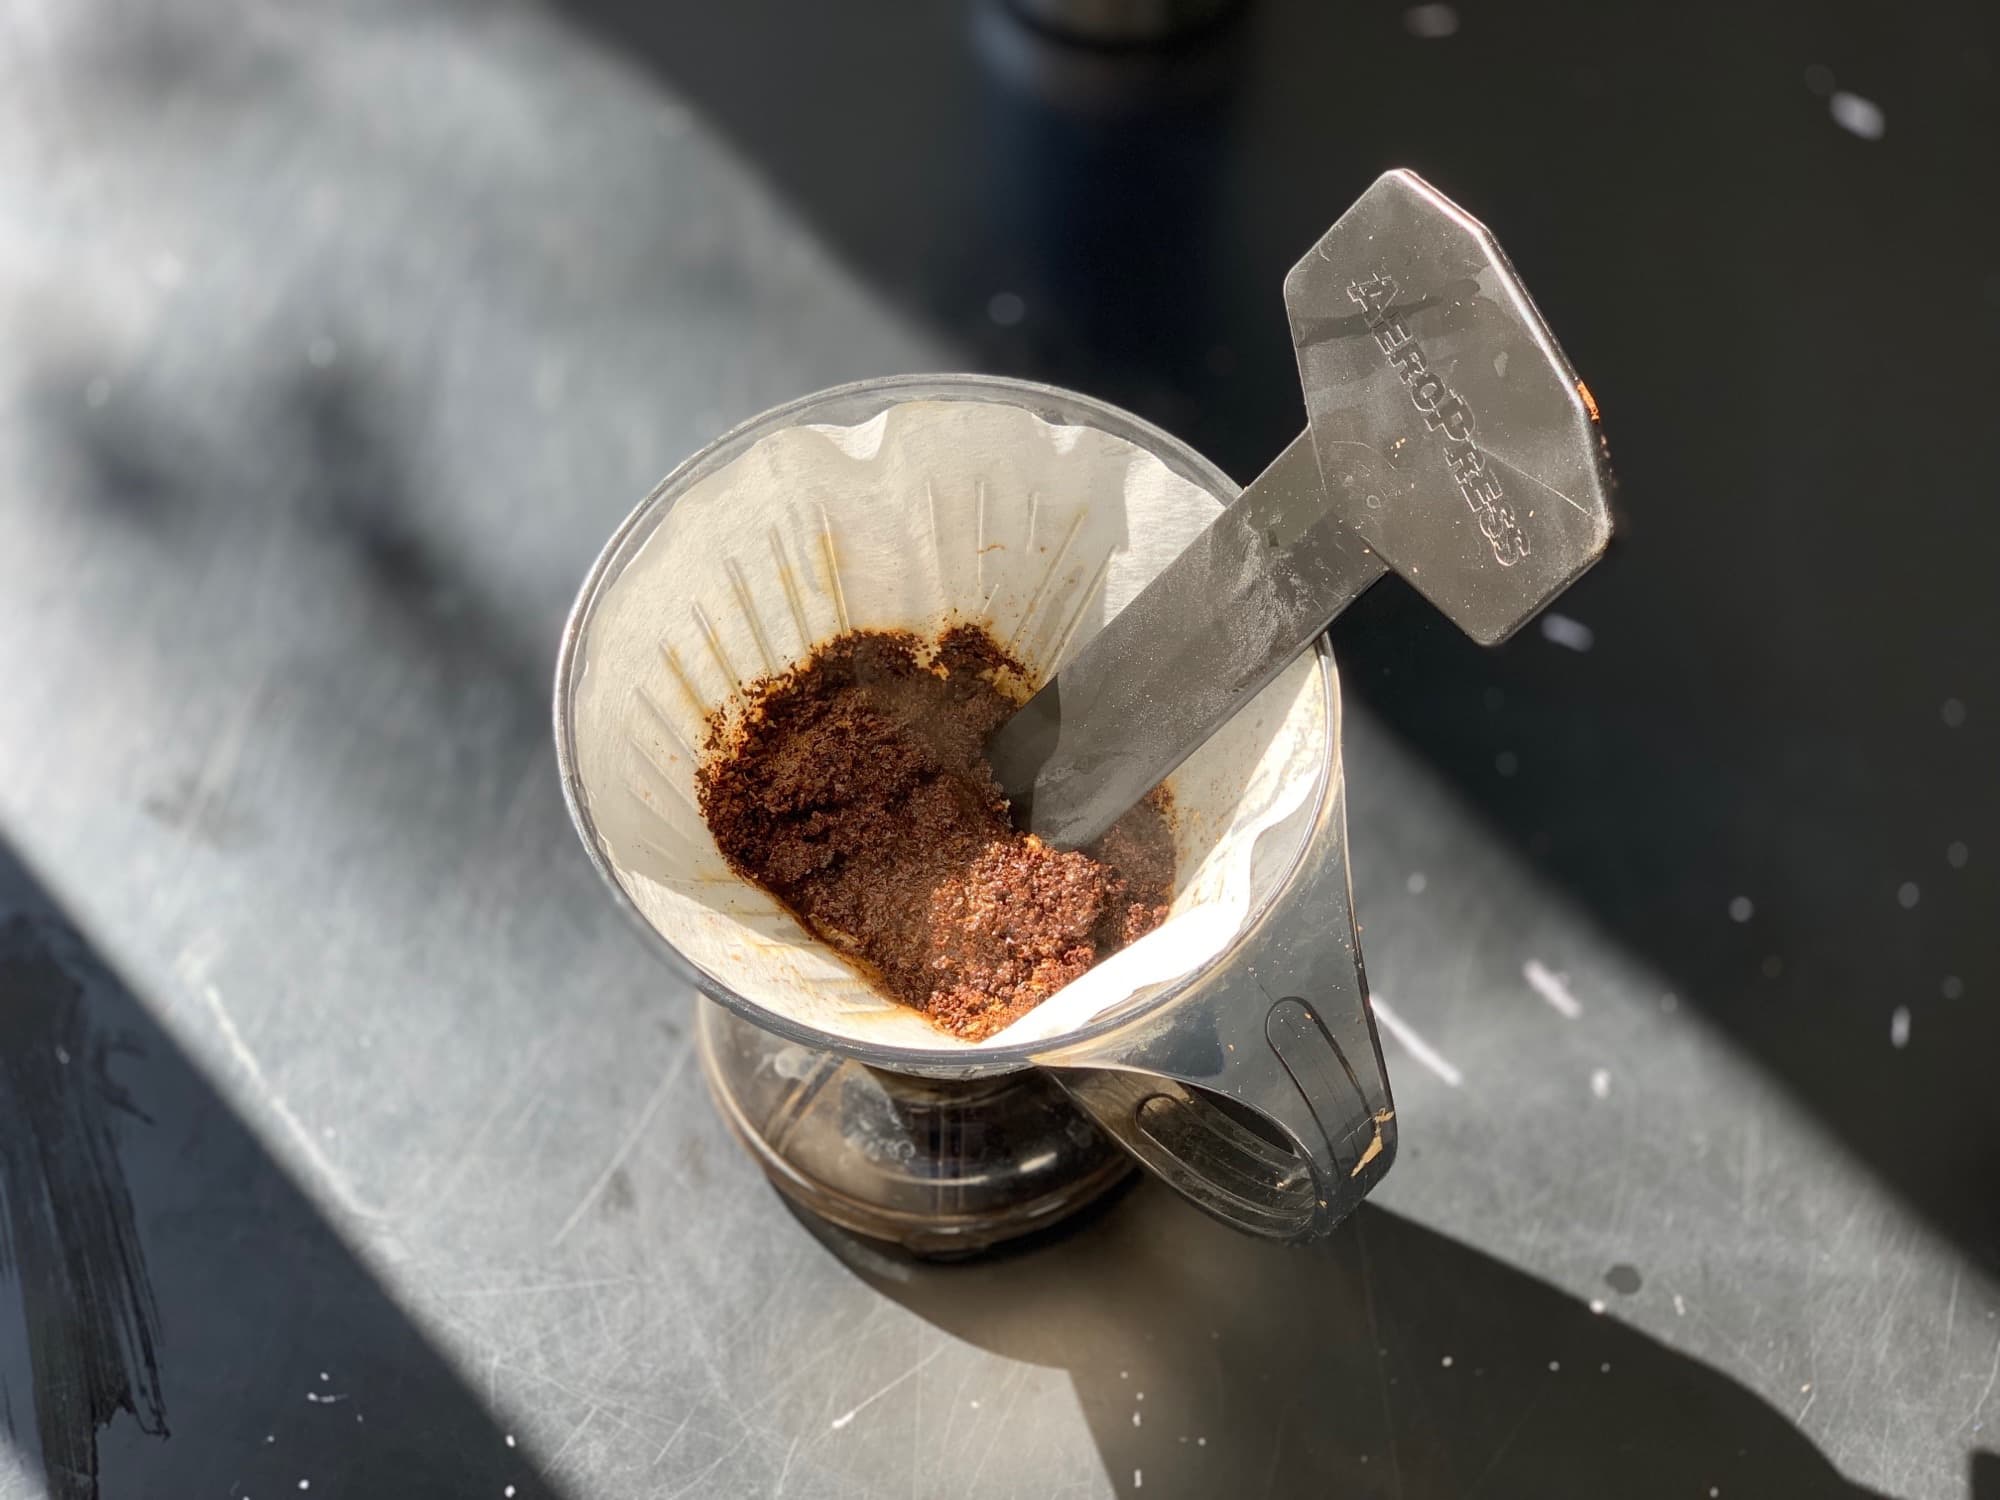
Photo: Charlie Sorrel/Cult of Mac
Now it’s time to wet the grounds. Pour hot (not boiling) water over the grounds until they are just soaked. See the photo above for a guide. The idea is that you want to “bloom” the grounds. This means you add just enough water to get them going, but not enough to start them brewing. If you don’t do this, the coffee will froth up when you pour over the water, and you’ll get lots of grounds floating on the surface instead of staying submerged.
Brew the coffee
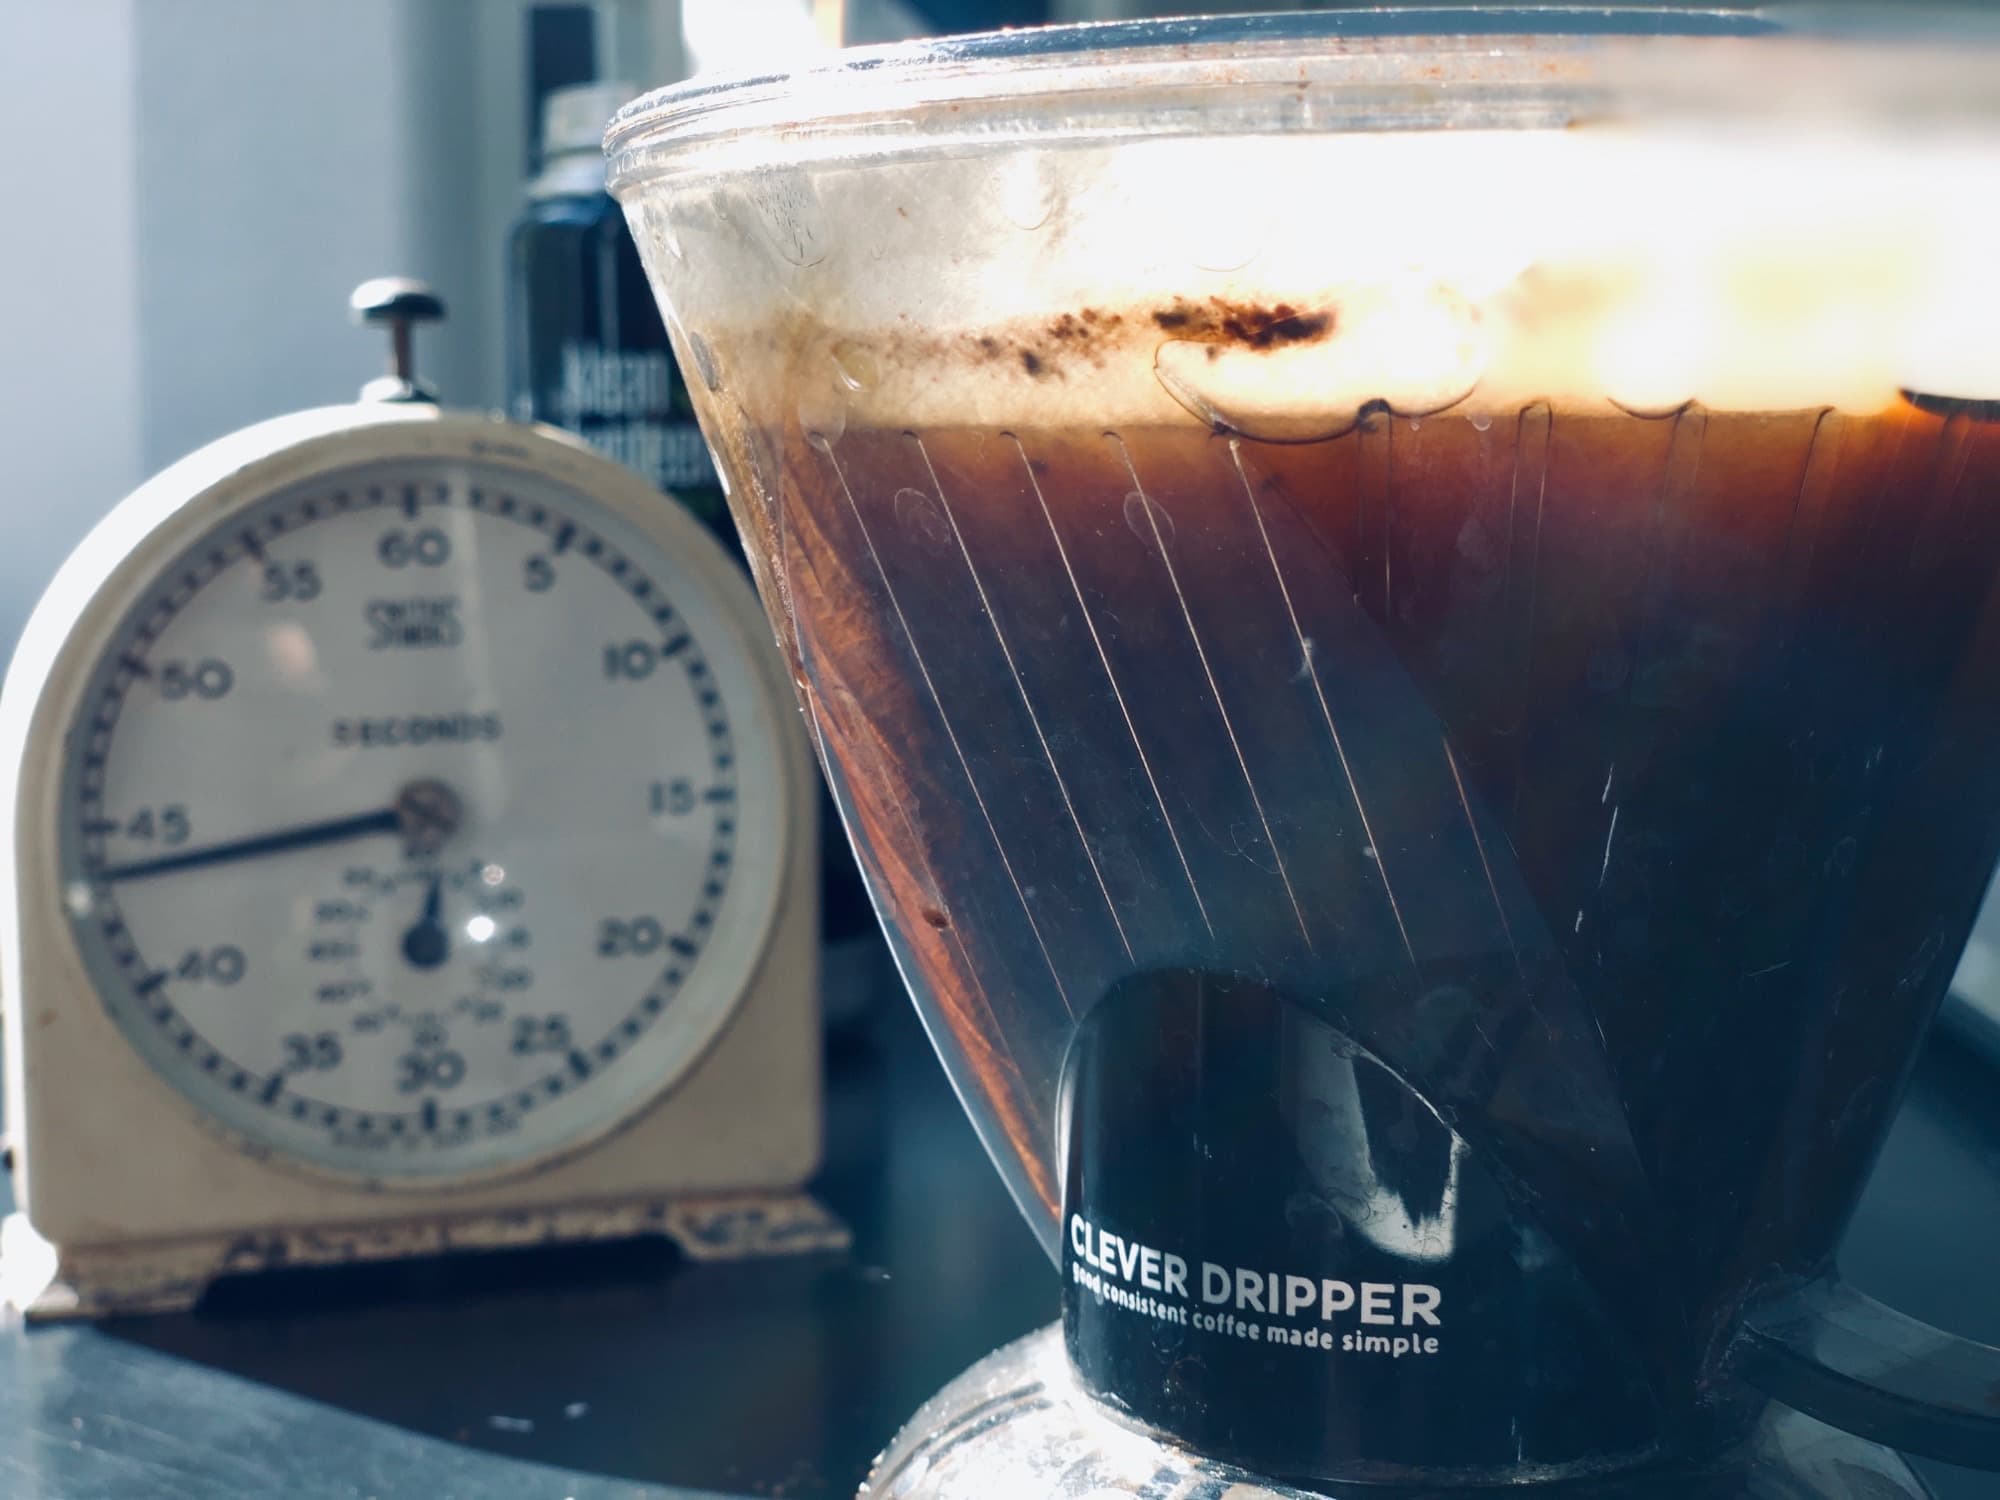
Photo: Charlie Sorrel/Cult of Mac
Now, add the water. If you used the same two scoops of coffee as I do, now you should fill the dripper up to the top of the fluted lines on the side. (Watch out. On newer models of the Clever Dripper, the lines on the ends of the unit are higher than those on the sides. Use the lower ones.)
Next, you need to stir, cover and wait. Your brew time should be 2 minutes and 30 seconds. I stir the coffee again at one minute, and at two minutes.
Then, balance the Clever Dripper on the thermos and let it drain. This will take a further minute. This longish total time is why I use a fairly coarse grind.
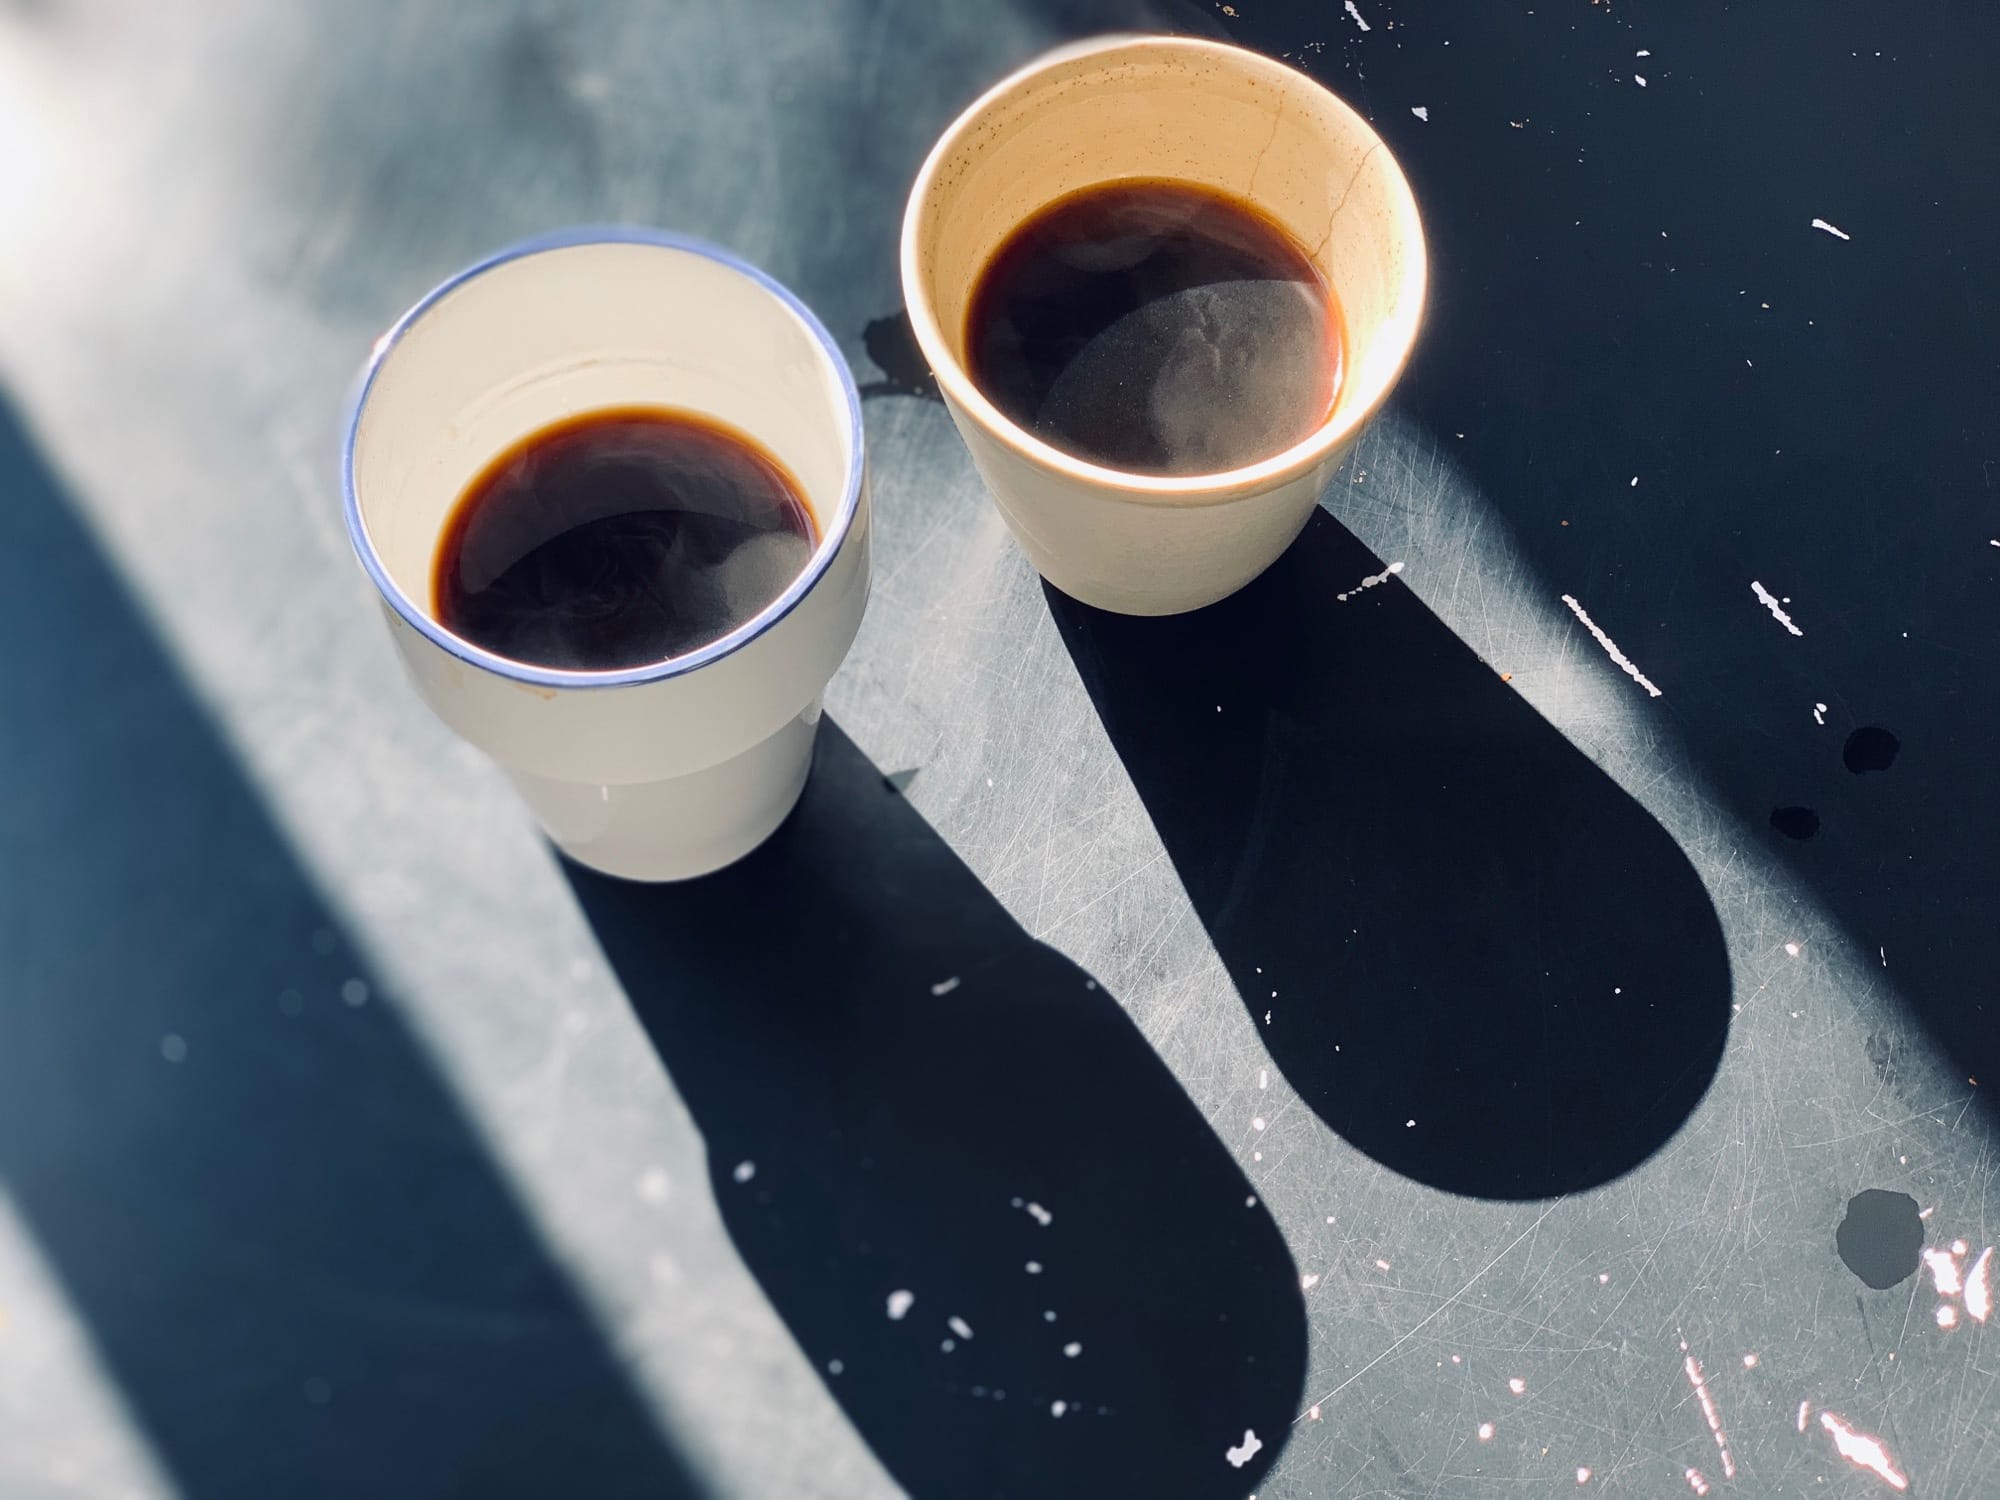
Photo: Charlie Sorrel/Cult of Mac
After that, you have a thermos full of delicious coffee. These instructions may make the whole process seem complex, but it’s very straightforward when you actually make the coffee. So easy that you can do it while still half asleep.
I do this every morning, taking the thermos and my cup back to bed to read the news and start the day. I recommend you try it, too. After all, knowing how to make a good cup of coffee could get you a job at Apple.
Buy from: Amazon
