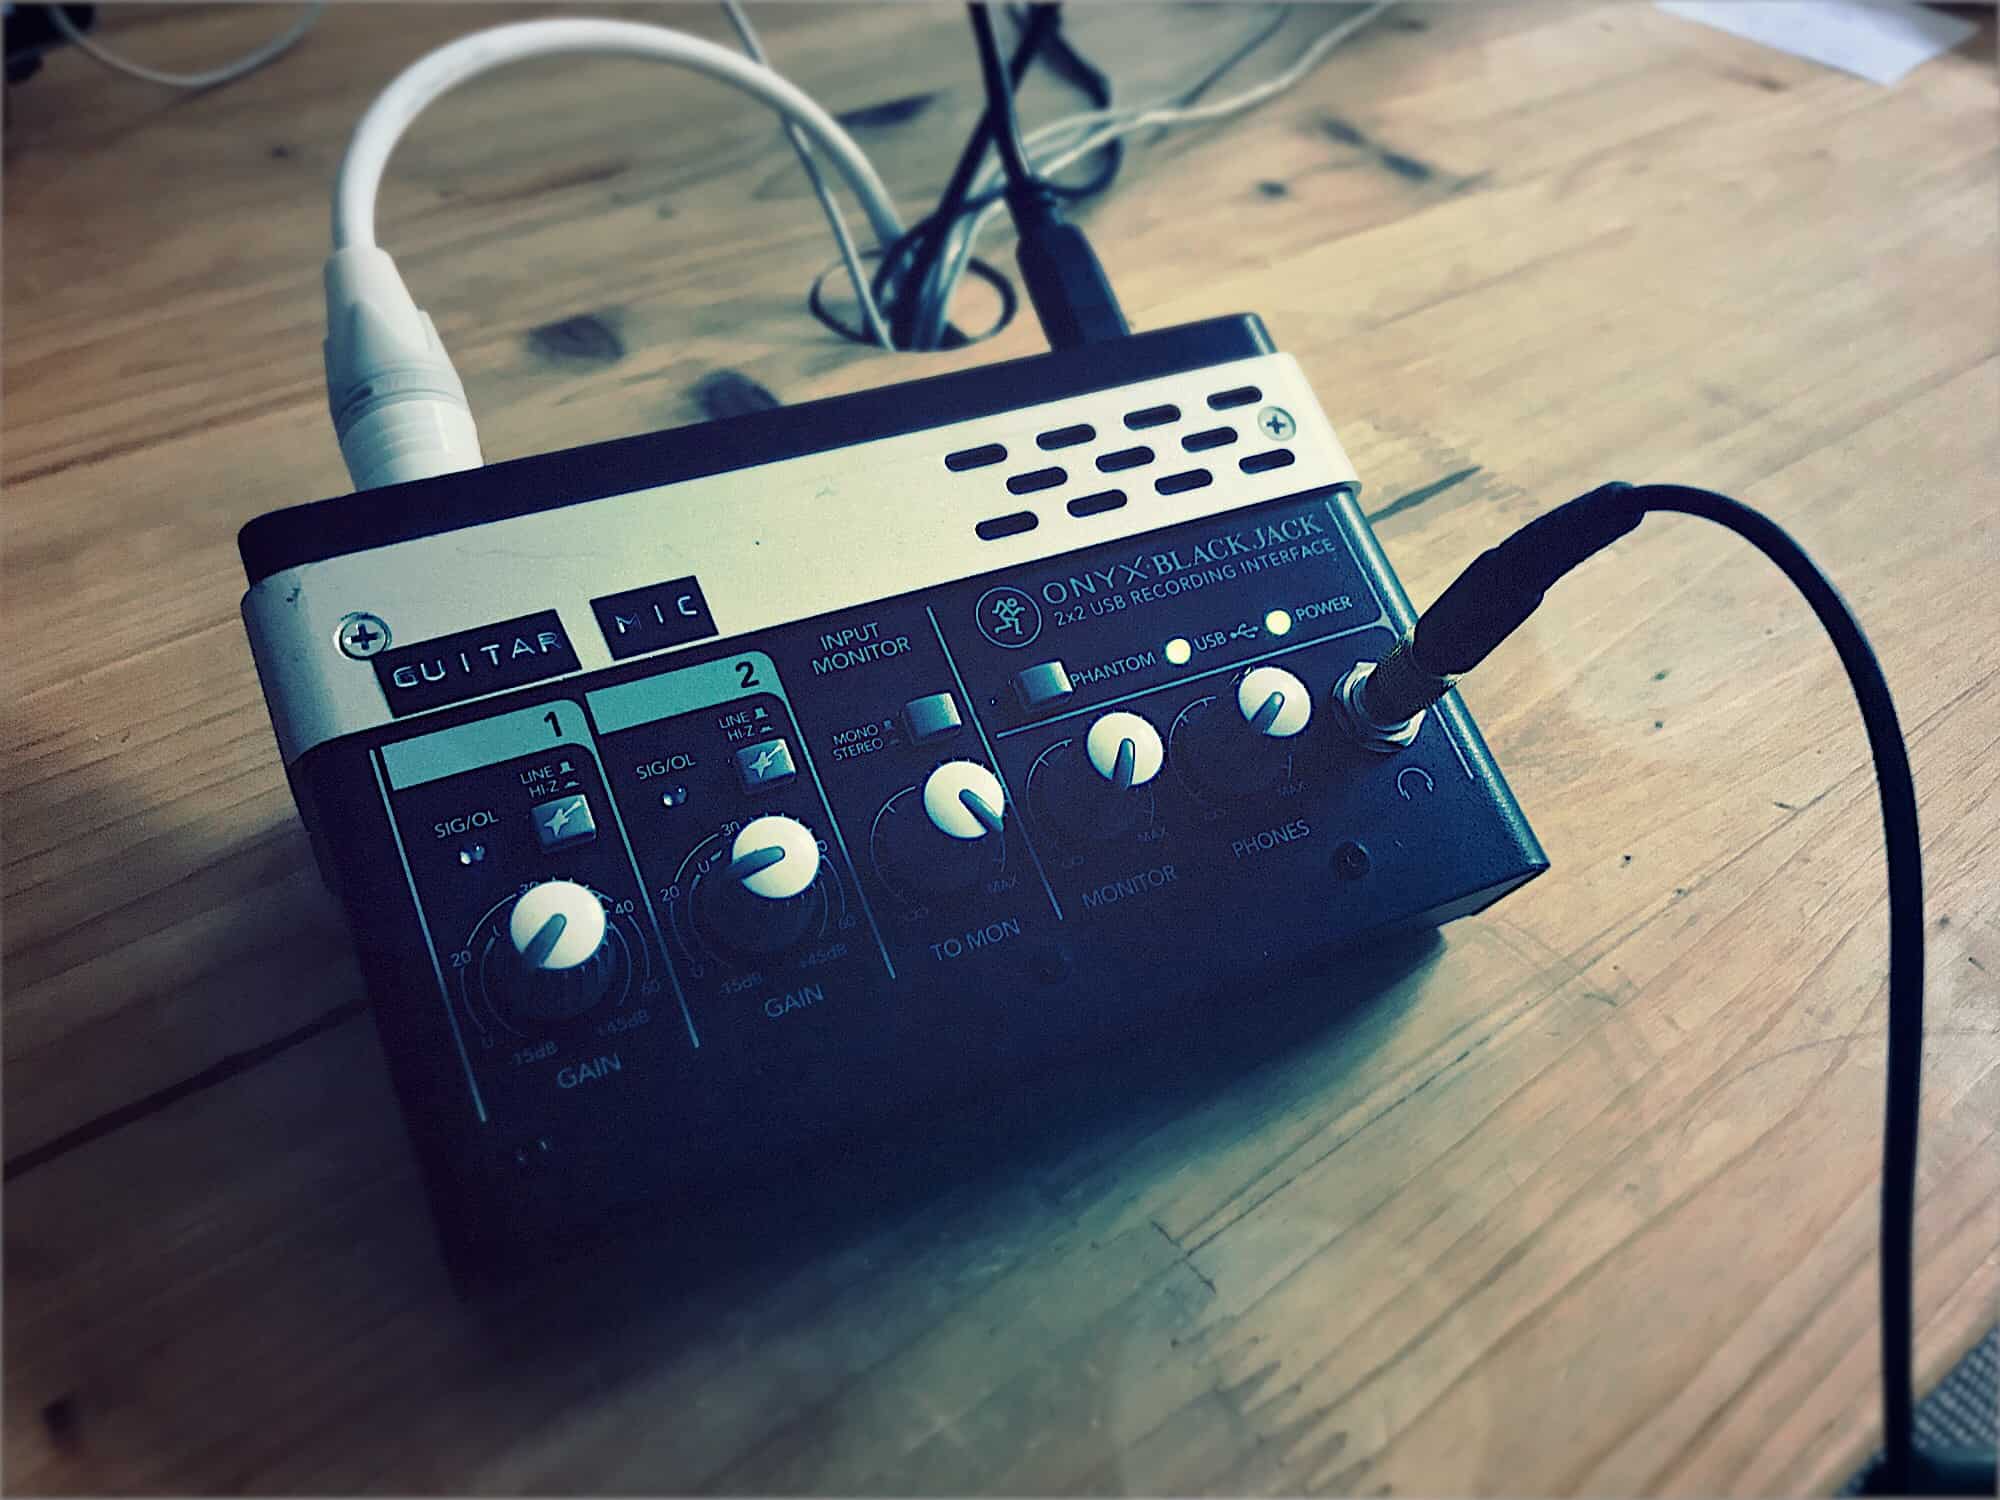
If you want to listen to music on your Mac, you either suffer its built-in speakers, or you plug a speaker into the headphone jack. But what if you want to get sound into you Mac? Or you have some fancy speakers hooked up to a fancy mixer, and the little headphone output doesn’t cut it, quality-wise? Then you should switch to USB. And don’t worry — you won’t have to install drivers, or any of the other crap that makes PC use so painful. In fact, using a USB audio interface is as easy as plugging in a pair of headphones, only better.
Why use USB audio?
If you’ve got a perfectly good headphone jack on your Mac, why bother with anything else? Two reasons — quality, and flexibility. Now, Apple doesn’t cheap out on things that other manufacturers do, thinks like internal speakers, or the DA (digital-analog) converters that turn MP3s into analog headphone signals. But neither does a Mac or iPhone have DA converters anywhere near the quality of a standalone audio device. Adding a USB audio box moves the D-A conversion into a purpose-built unit, with (usually) better sound as a result.
A USB audio interface, will also come with a bunch of its own ports. These may be designed to send audio to a pair of powered speakers, or to accept an input from a microphone, guitar, or other instrument. And, importantly, there may be more than one input and output:
What kinds of USB audio devices are out there?
The simplest USB audio device is a USB microphone, which can be plugged direct into your computer and used to record. These are popular with podcasters, for example. At the other end of the list is something like a mixing console, which will have many inputs, allowing your to hook up, say, 16 different inputs and have them all piped into your GarageBand app. In between there’s a huge range of options, from USB headphone amps costing many thousands of dollars, and meant for just one pair of headphones, to budget mixers that let musicians record great quality audio at home on modest budgets.
Plugging in and finding your new USB audio interface
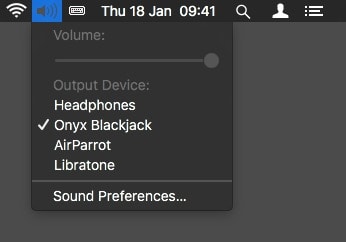
Photo: Cult of Mac
To get started with your USB audio interface, just plug it into a USB port. For best results, hook it direct to a USB port on your Mac. USB hubs can cause complications, and even malfunctions. Many USB audio devices are powered by the USB connection itself. If not, then plug the port adapter in too. And that’s it.
Using your new interface is even easier. Just mouse up to the menubar and click the little volume icon. In the dropdown menu you’ll see a list of options. This will include your new USB audio interface. Click to select, and now all the Mac’s system audio will be routed through it.
Be aware that the Mac’s volume controls will likely now be disabled. If your audio device has a volume knob on it, you use that instead.
Routing Audio
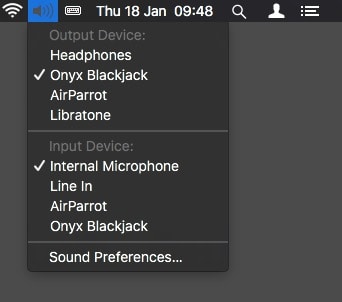
Photo: Cult of Mac
Depending on the audio device, you may have several routing options. For instance, the device may have inputs as well as outputs. You can choose these in the same volume menu item as before. Just press the Option key when you click it, to see the extra options. If you prefer, you can also find all of these choices in the System Preferences Sound tab.
You can also get quite a bit more advanced. Inside your Mac’s Applications>Utilities folder, you’ll find an app called Audio MIDI Setup. This does what it says it does, and lets you configure some more advanced options. For instance, your device might allow you to choose different sample rates for audio conversion. The available options depend on the device you have, but it’s worth taking a look around to see what you can do.
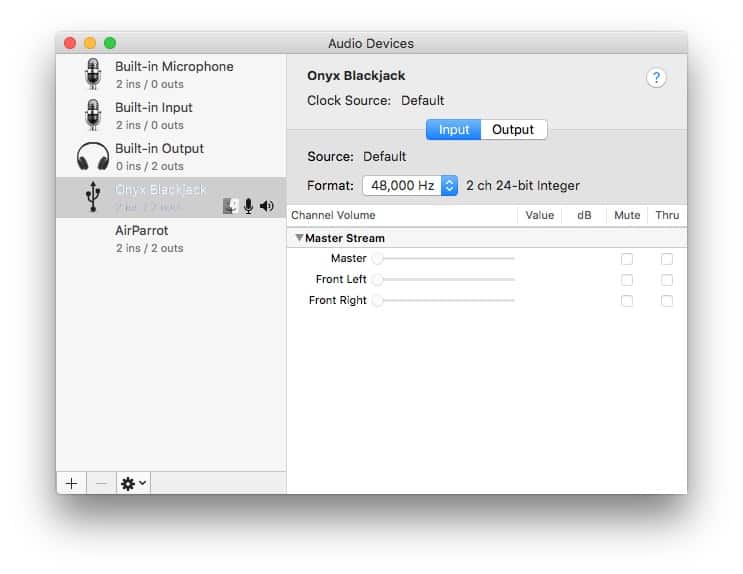
Photo: Cult of Mac
Bonus SoundSource content
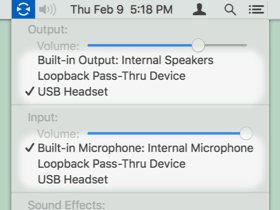
Veteran Mac developer Rogue Amoeba has a neat $10 utility called SoundSource that sits in the menubar and offers more options than the standard volume menu. The app comes with a free trial, so you should definitely check it out. The general gist is that you can easily select input and output devices, as well as a device for interface sound effects, and also control the volume of each of these individually, right there in the menubar menu.
Is that worth $10 to you? My guess is that the answer is either hell yes, or hell no, with little in between.
And that’s it. Your audio and music apps may have their own extra preferences and options, but these are the basics, and probably most of what you’ll ever need. The Mac, iPad and iPhone are great for audio, because they all support something called class-compliant USB audio. That means that a class-compliant device just works, without a driver. This is why the iPad has supported USB audio though the camera connection kit ever since it was launched. Which brings us to a final note. If you make sure your new audio device is class-compliant, then you can use it on both Mac and iOS.
