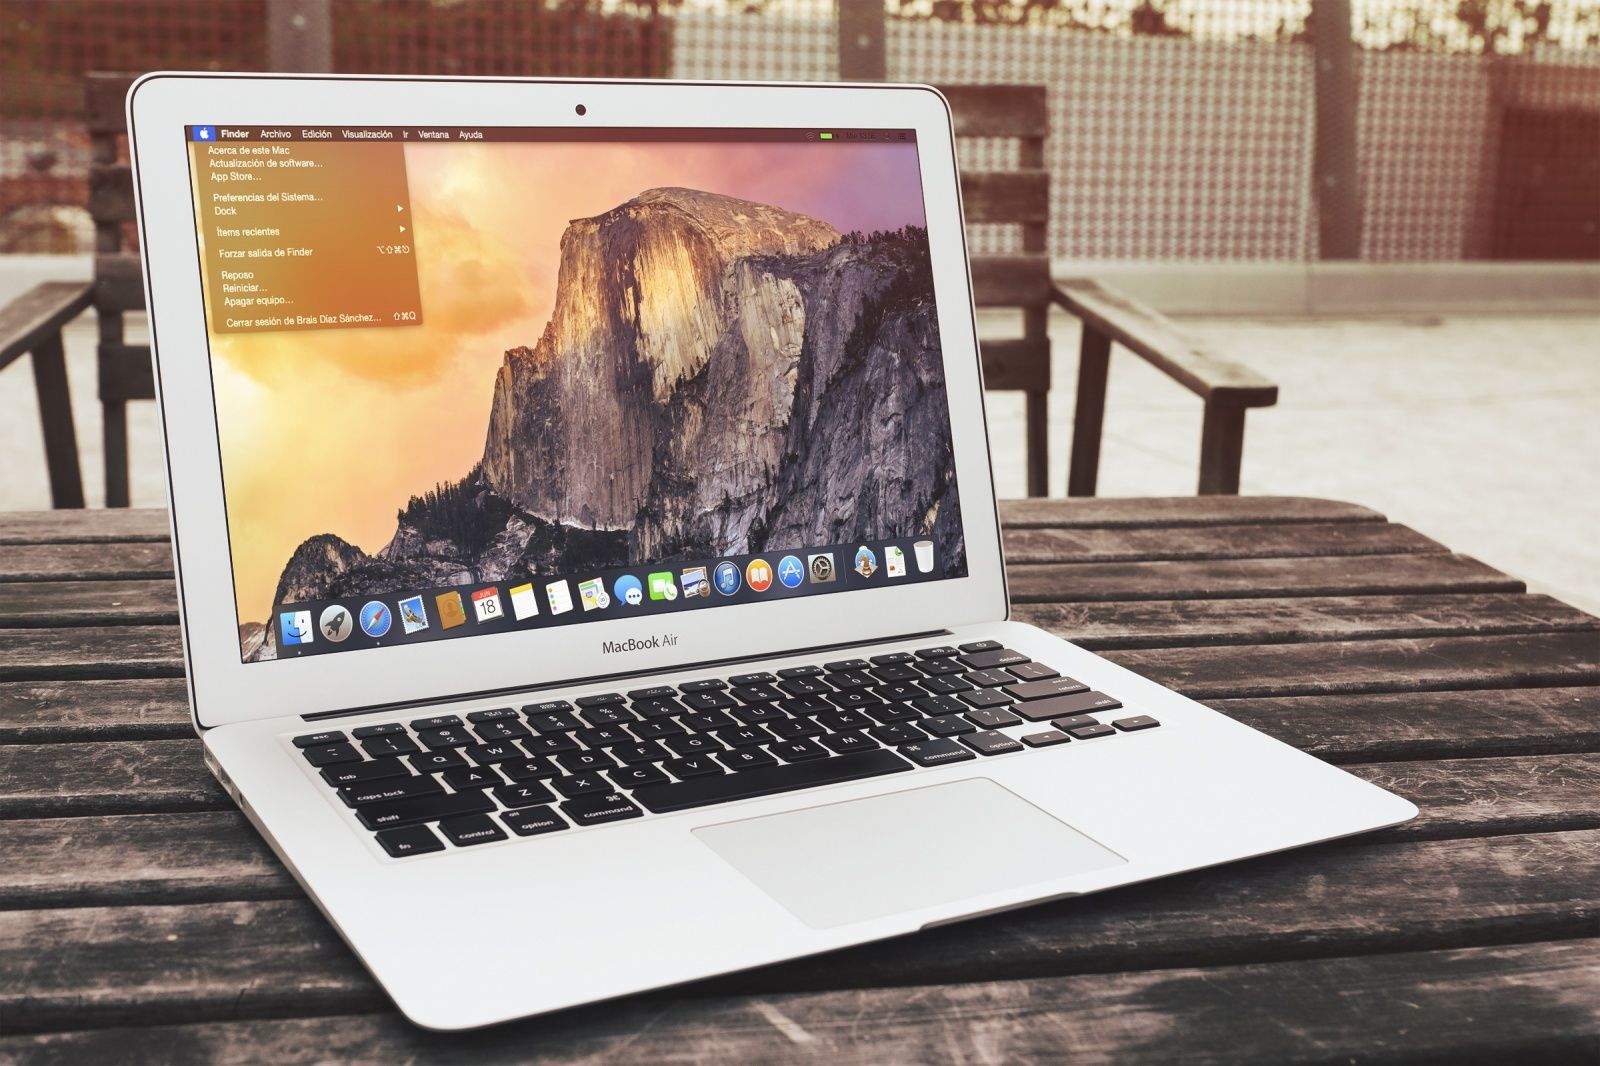
OS X 10.10 Yosemite is gorgeous. It’s the biggest visual overhaul to come to OS X since Aqua, which has caused a rush of Apple fanboys – including our own Leander Kahney – to jump the gun and install the buttery smooth interface on every Mac in sight.
Playing around with Apple’s newest software is a true tech delight, but it can also come with some horrific consequences if you install it as your main OS, as most apps still aren’t optimized for the update. However, unlike iOS 8 there’s a safe way to install it without ruining your Mac until the final version is ready.
Here’s how to install the Yosemite beta in the most responsible way possible:
What you’ll need…
OS X 10.10 Developer Preview – Developers can grab the preview through the Dev Center. Not a dev? You could sign up for the new OS X Beta Program and wait for Apple to finally send out invites, or you can download it right here.
Storage Space – If you’re tight on hard drive space you’ll need to free up at least 20GB or more before beginning the partitioning and installation process.
Creating a safe place…
Rather than slapping OS X Yosemite right over your current version of Mavericks, you can make the testing process much less painful by creating a separate partition to keep the bugs from affecting your finely tuned workflow on Mavericks.
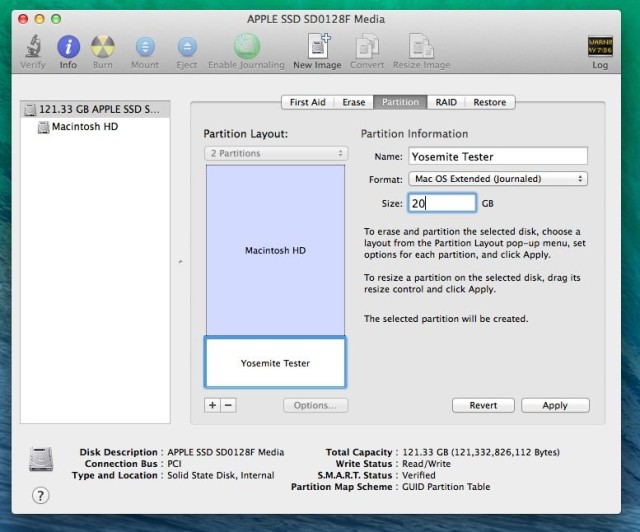
- Open Disk Utility by going to Applications >> Utilities >> Disk Utility
- Select your Mac’s main hard drive (the top one above Macintosh HD)
- Click the Partition tab
- Click the + underneath the Partition Layout section
- Name the partition and set the amount of GB you want to allocate to it
- Click “Apply”
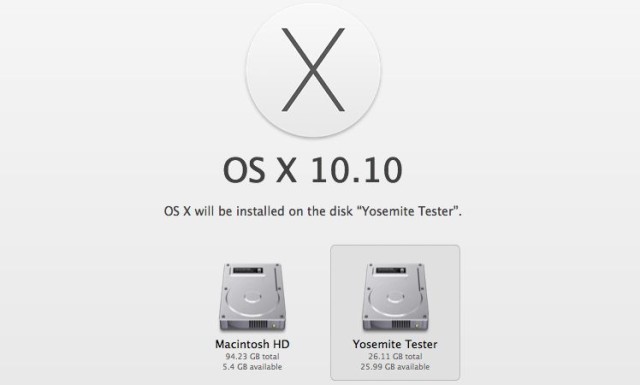
After a few seconds of churning you will now have a second partition on your Mac. Now just load up your OS X 10.10 installer and after a few screens you’ll see the option to select which disk to put Yosemite on.
Switching back to Mavericks..
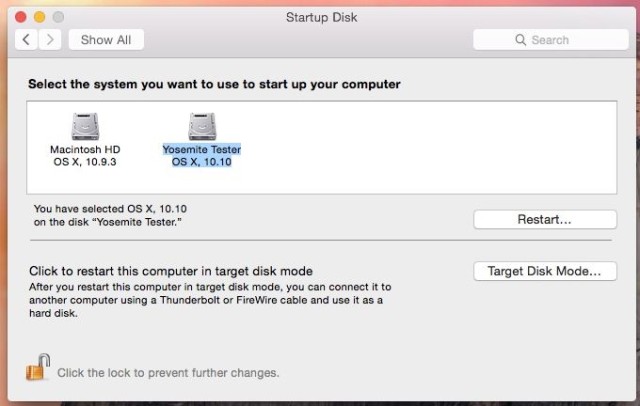
At some point you’ll undoubtedly get tired of the bugs and broken features in the Yosemite beta, but if you created a partition you can slip back into the sweet delights of OS X Mavericks by changing your Startup Disk.
- Open System Preferences
- Click “Startup Disk”
- Select your original OS X 10.9 partition
- Click Restart and BOOM, you’re back enjoying the cleaner shores of Mavericks


