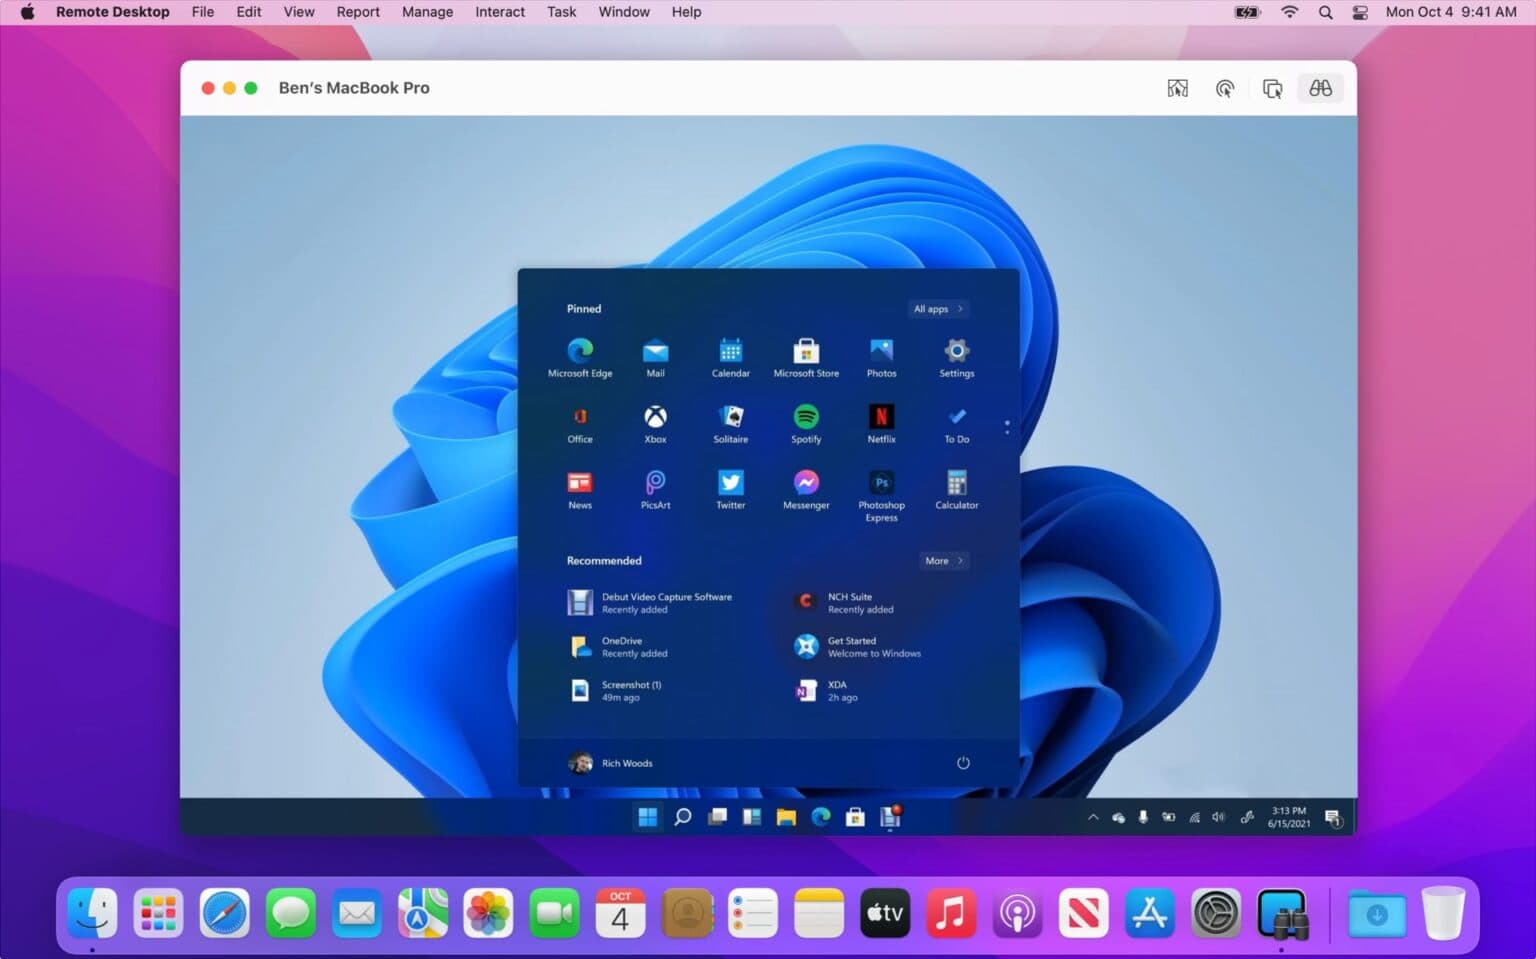
How can you run Windows on a Mac these days? Fifteen years ago, the answer was simple: install Windows using Boot Camp. Today, you have loads of other options — even though Boot Camp itself no longer works.
You can use a virtual machine, pay to access Windows in the cloud from a web browser, use special software to get access to a couple essential apps or simply Remote Desktop in to a PC. Which path forward is right for you? I’ll run through them all.
How to run Windows 11 on a Mac in 2023
Skip to a section:
- Virtual machine: Best for ease-of-installation
- Windows 365: Best for portability
- Boot Camp (Intel Macs only): Best for running Windows natively on a Mac
- Wine/Crossover: Best if you just need to use a few essential Windows apps
- Remote Desktop: Best for remote access at a lower cost
1. Directly on your Mac in a virtual machine: Best for ease-of-installation
Screenshot: Max Tech
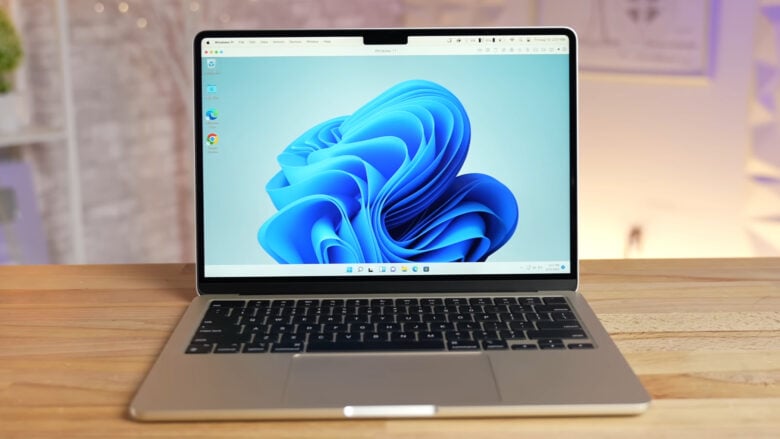
Virtual machine software Parallels is the officially authorized way to run Windows on a Mac. In addition, the software’s Coherence Mode puts your Windows programs side by side with the Mac apps running on your desktop, an advantage exclusive to Parallels.
Virtual machines like Parallels run your copy of Windows on top of macOS. It’s not as fast as booting into Windows directly, but it doesn’t seem like Apple and Microsoft are working toward enabling that on Apple silicon Macs.
Parallels is the easiest system to get up and running, but it is also costly. There are free alternatives like UTM, but they are trickier to configure properly. Windows 11 adds many complications; it may be easier for you to set up a virtual machine with Windows 10 and upgrade down the line.
If you have a Mac with Apple silicon (any Mac with an M1- or M2-series processor) this will work best if you install Windows on Arm. Standard versions of Windows are compiled for the Intel x86 architecture, whereas Apple silicon uses the Arm architecture. Thus, Windows on Arm will run faster and smoother as it won’t have to emulate x86 code.
You can try out Parallels with a 14-day free trial before pulling the trigger on a license.
2. Windows 365 in your web browser: Best for portability
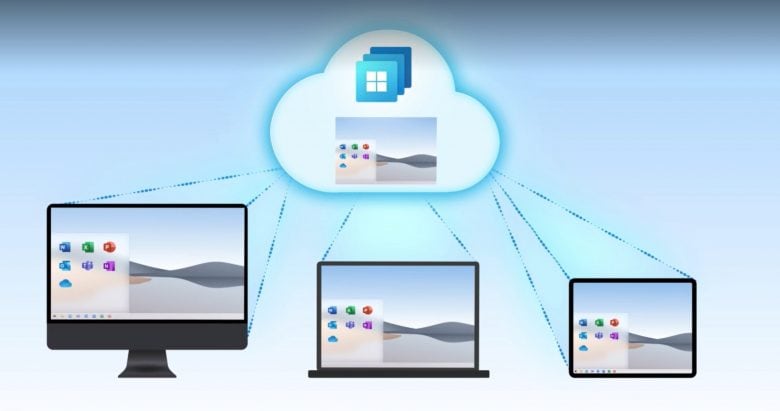
Photo: Microsoft
Windows 365 is a new subscription service offered by Microsoft that gives you a full Windows desktop in the web browser. You don’t need to manage any hardware yourself — and you can access it not just from your Mac, but from any Mac connected to the internet.
Microsoft markets this service to business and enterprise customers. Individuals can still buy it, but because it’s targeted to organizations, it’s expensive for a rather paltry system. At $41/user/month, you get the cloud computing power of two CPUs, 8GB of RAM and 128GB of storage.
If you want a setup similar to this for occasional personal usage, you may be better off buying a cheap tower PC and using Remote Desktop, as described below.
3. Boot Camp for Intel Macs: Best for running Windows natively
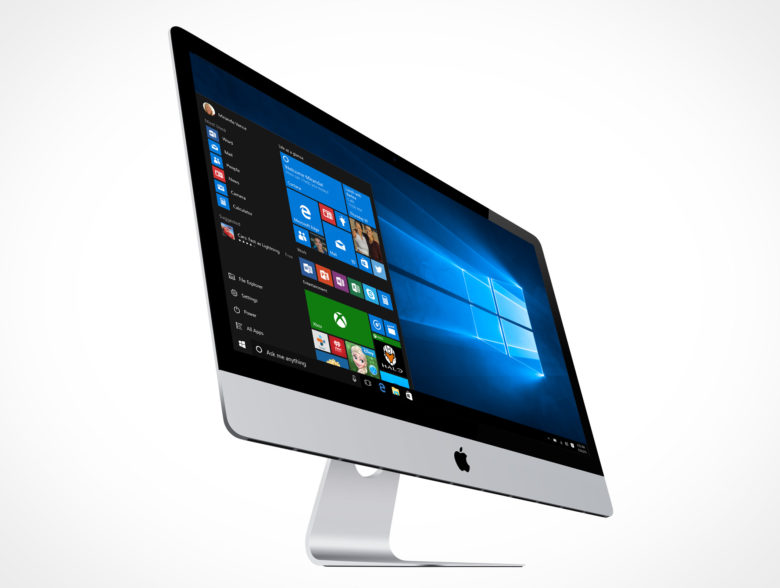
Photo: Apple
If you still have an Intel Mac, by far the best way to run Windows is to use Boot Camp, Apple’s multi-boot utility. With it, you can reboot your Mac directly into Windows like it’s a PC.
Unfortunately, this is not an option for Apple silicon Macs. But if you still have an Intel Mac, it’s easy! Just open the Boot Camp Assistant app that’s already on your Mac. Hit Command-Space and search for it or open Finder > Applications > Utilities. Then simply follow the instructions on the screen.
After your Mac reboots to the Windows installer, make sure to install Windows on the BOOTCAMP partition.
When your Mac reboots into Windows, Boot Camp will need to finish installing some things in Windows. Follow the on-screen instructions. (If this doesn’t appear for you, download it manually here.)
Check out this page on Apple Support if you need more information.
4. Wine and Crossover: Best for a few essential Windows apps

Screenshot: D. Griffin Jones/Cult of Mac
Maybe you don’t need a full Windows installation — like if there are just two or three programs you need to run that aren’t made for macOS. Wine acts as a translation layer, running (some) Windows programs on your Mac, without the rest of Windows.
Wine is a free and open-source project, but it’s awfully finicky to set up. Even as a computer science major and amateur programmer, I couldn’t get it to run after an hour or so of installing and troubleshooting.
Crossover turns Wine into an easy-to-use commercial product, for better or worse. It’s a little pricey at $74, but it couldn’t be any easier to use. I started a free trial and was playing Hover! for Windows 95 within minutes.
A downside is that it’s not guaranteed to work flawlessly with every Windows program. Bigger, complicated programs are bound to have some issues. But it’s worth trying out Crossover first — it’s free for 14 days with no credit card required. And you don’t need a Windows license for it to work.
5. Remote desktop to an existing PC: Best for remote access at a lower cost
Screenshot: Apple/Microsoft
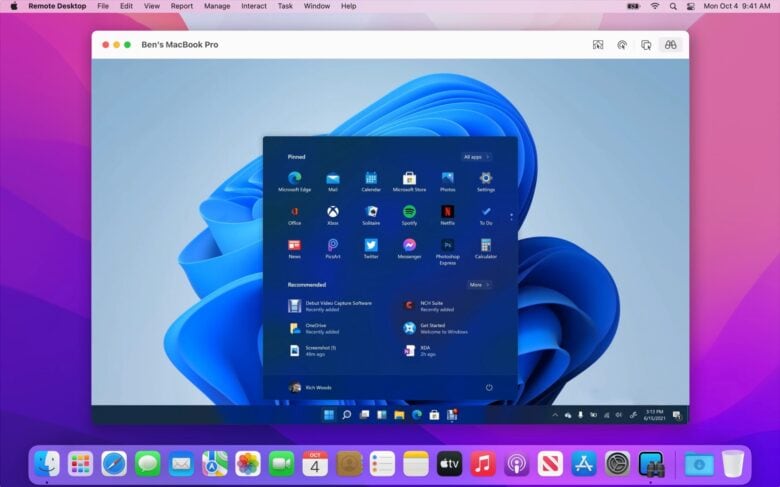
We’re starting to stretch the definition of “running Windows on a Mac” here, but this may be the solution you need. You don’t need two permanent setups — you can set up a PC and run it “headless” without a display, but leave it powered on and connected to Ethernet. Then just launch Remote Desktop on your Mac to connect to it.
VNC (virtual network computing) is a cross-platform protocol that lets you remote desktop between computers. Apple makes one for the Mac for free, Remote Desktop. Just download it from the Mac App Store.
On your PC, download an app like TightVNC. Set up TightVNC as a server, and be sure to assign your computer a static IP address,
From Remote Desktop on your Mac, click Scanner in the sidebar and select Network Address from the toolbar. Type in the public IP address and get connected.
If you need more help, check these instructions on the Apple Support website (just the first section) and TightVNC documentation.
