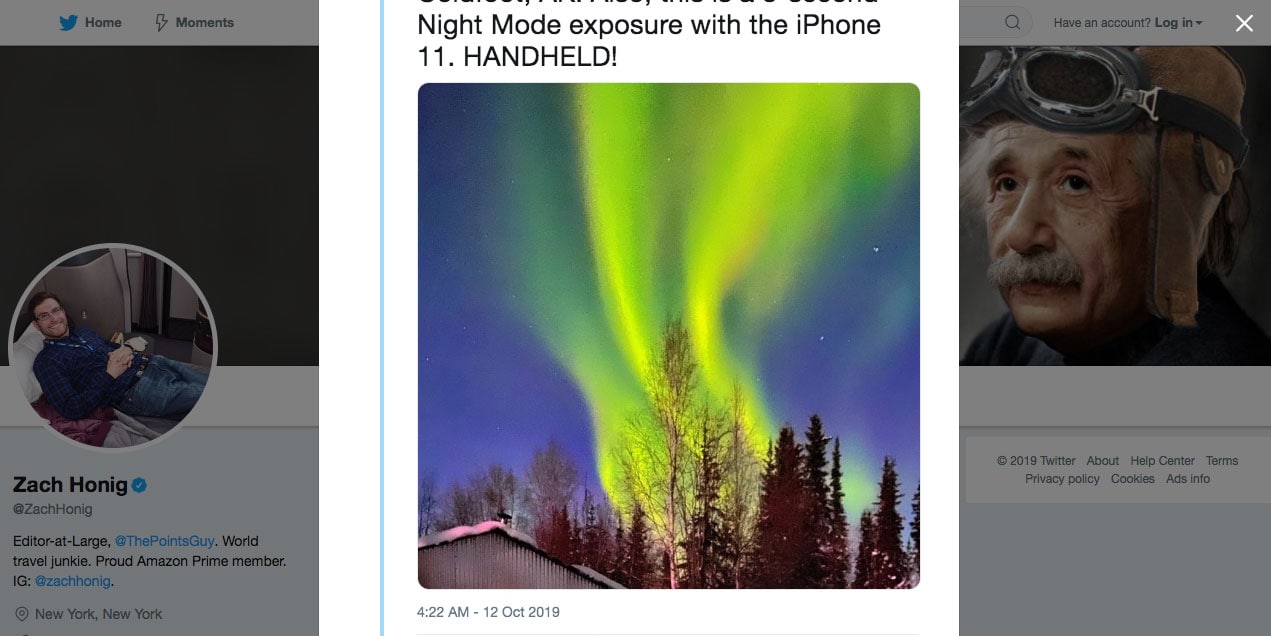
Travel blogger Zach Honig hiked into a remote part of Alaska with a tripod and Sony camera to capture the Northern Lights.
But his best photos came from his new iPhone 11 Pro Max – without a tripod.
Honig, the editor-at-large for The Points Guy, takes readers of his latest post through the steps and settings for making a stunning iPhone photo of the Aurora Borealis.
The self-proclaimed travel junkie snapped an undulating ribbon of green and yellow light over a cabin in Coldfoot, Alaska.
Most Aurora Borealis photos need a tripod and long exposure to achieve saturated colors while getting some darkened detail in the foreground.
The star feature of this 11 Pro Max shoot was Apple’s new Night mode.
“Since Night mode appeared automatically, most of the time it was as simple as pointing the camera at the sky and tapping the shutter button,” Honig told the photography site PetaPixel. “I did need to use a flashlight to illuminate an object and help the iPhone focus for a few of the shots.”
Capturing the Northern Light on the iPhone 11 Pro

Photo: Zach Honig/The Points Guy
Here are the five things he did to get his shots.
1. Chose his composition to include the cabins, snow and trees. This gives the photo a sense of place and makes it more interesting.
2. Used a flashlight to shine on an object in front of him. This allowed the iPhone camera to lock in on focus.
3. Ensured Night mode was set. He used the 1x lens.
4. Shot a lot of frames. The Northern Lights shift and dance quickly and multiple shots increase your chances of getting something memorable. He was able to hand-hold his iPhone for a 3-second exposure.
5. Reviewed his pictures every few shots to make sure focus was sharp and exposure was on.
The initial photos were a little dull. In editing, Honig increased the shadows, reduced the warmth and boosted tint and vibrance to better capture the scene before him.
Honig also shows readers how to track the Northern Lights, with the best opportunities above the Arctic Circle, like in Alaska or Scandinavia.


