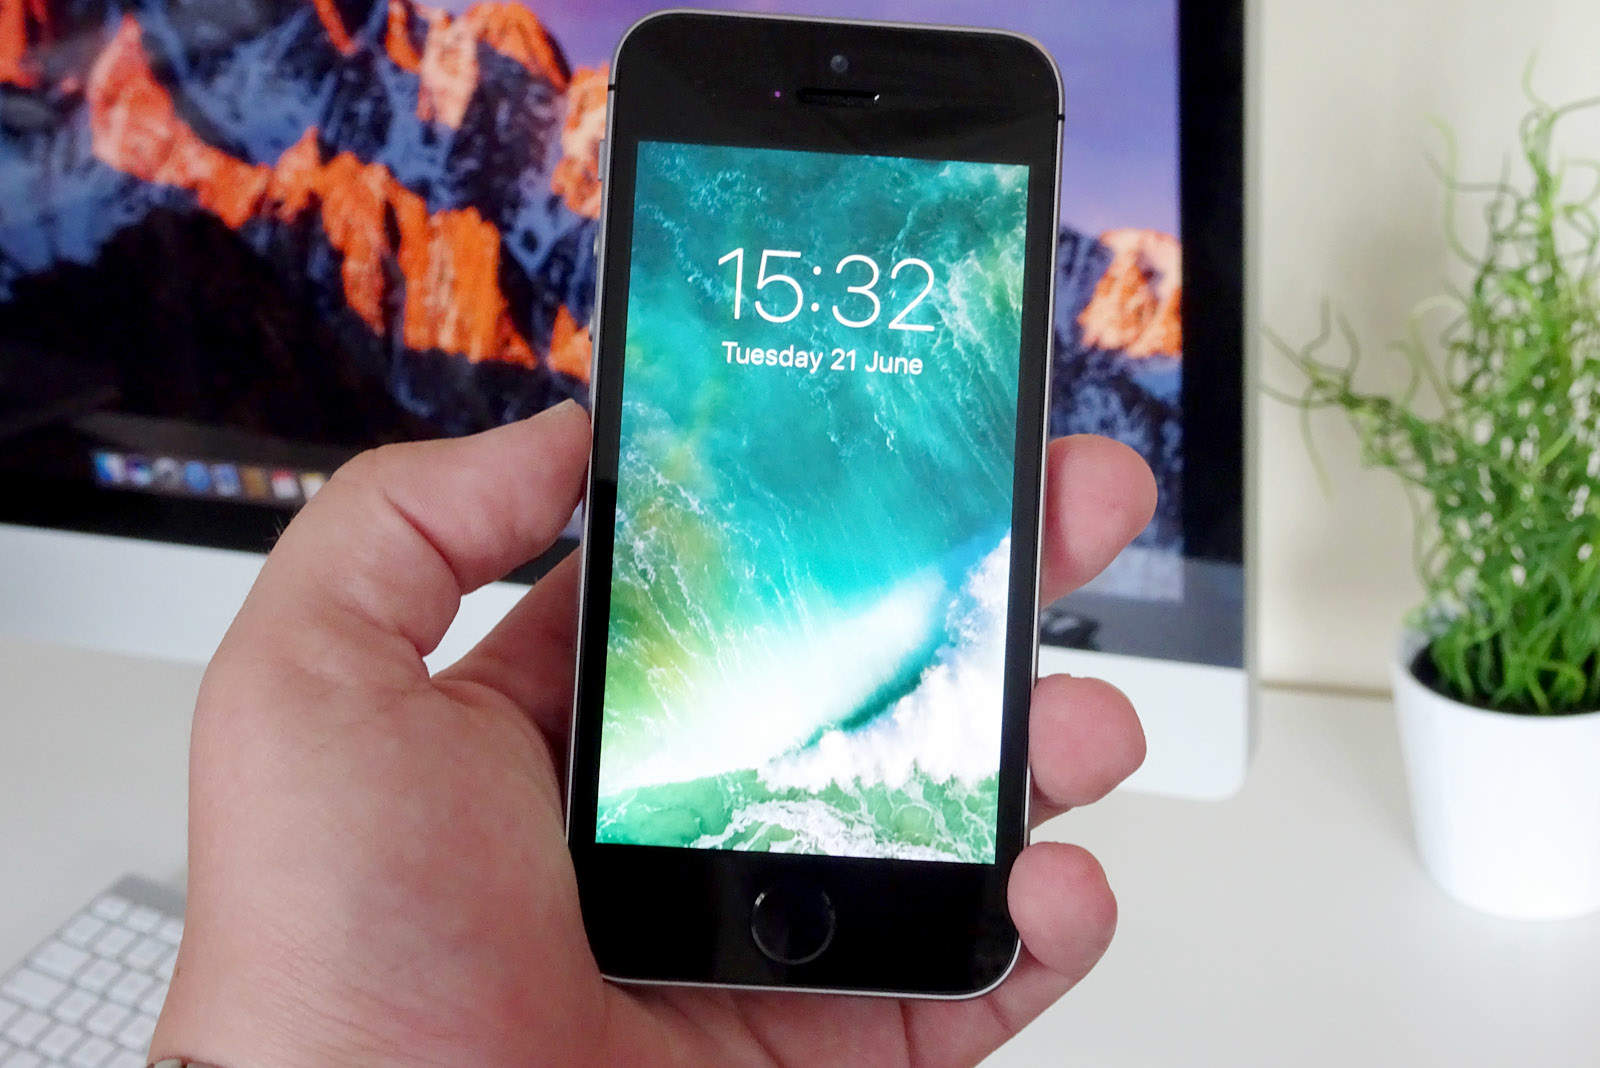
iOS 10 will finally roll out to all compatible devices on Tuesday, September 13, bringing awesome new features to Messages, revamped Music and Apple News apps, a redesigned lock screen interface, and more.
Before you upgrade your iPhone, iPad, and iPod touch, there are some steps you should take to ensure everything goes smoothly. Here’s how to prepare for an iOS 10 upgrade the right way.
Check your device is compatible
Before you do anything else, you’re going to want to check your device is compatible with iOS 10, otherwise you’re going to be following the next few steps for nothing. If you have a more recent device, you’re going to be absolutely fine; it’s only older units you need to worry about.
Here is Apple’s official list of compatible devices:
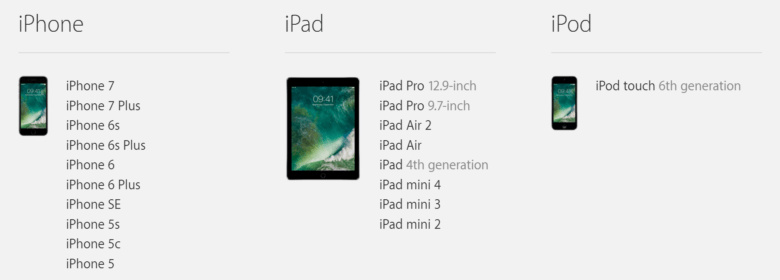
Photo: Apple
Remove unwanted apps
Assuming your device appears on the list above, it’s time to start preparing it for iOS 10.
A great place to start is by removing any unwanted apps from your device. These take up local storage space that could come in handy later on, and they make the backup that you’re going to need to make later bigger than it needs to be. They will also be taking up iCloud storage space.
I have a three-month rule when it comes to iOS apps; if I haven’t used a particular title in three months, it’s not essential, and so I get rid of it. There are a couple of exceptions to this rule, but it’s generally a good one to follow — especially with larger game files.
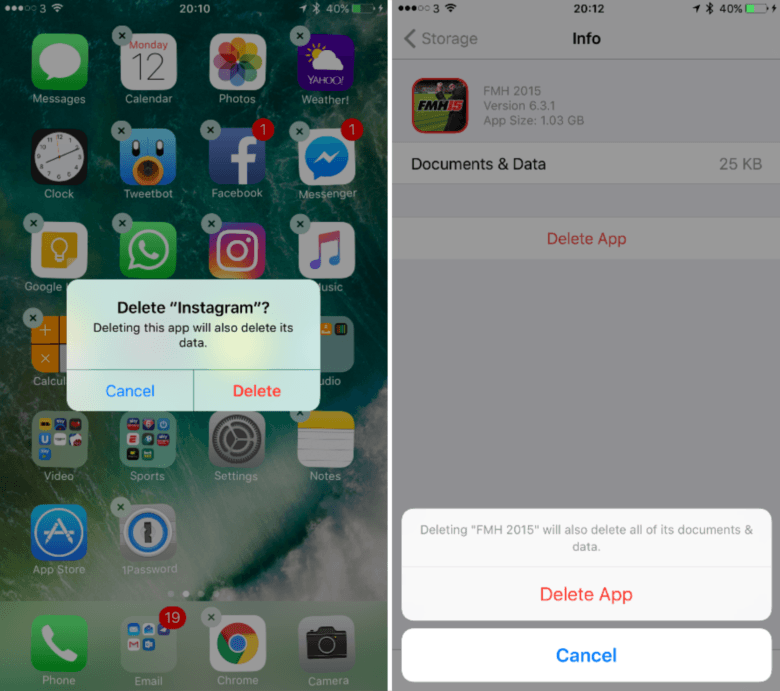
Screenshot: Cult of Mac
Flick through all your home screens and folders and identify any apps you no longer want, then remove them. Alternatively, you can go into Settings > General > Storage & iCloud Usage > Manage Storage to view everything that’s installed in one list, then remove them from there. This also shows you how much space each title is taking up.
Organize your home screen
Now that all of your unwanted apps are out of the way, it’s a good time to finally organize your home screen to make everything easier to find. Of course, how you organize is entirely up to you — but here’s what I like to do.
My main home screen (the first page) is where I keep all the apps I rely on multiple times a day, like Messages, Camera, WhatsApp, Tweetbot, 1Password, Photos and the App Store. I want to get to these as quickly as possible, so they all sit on page one.
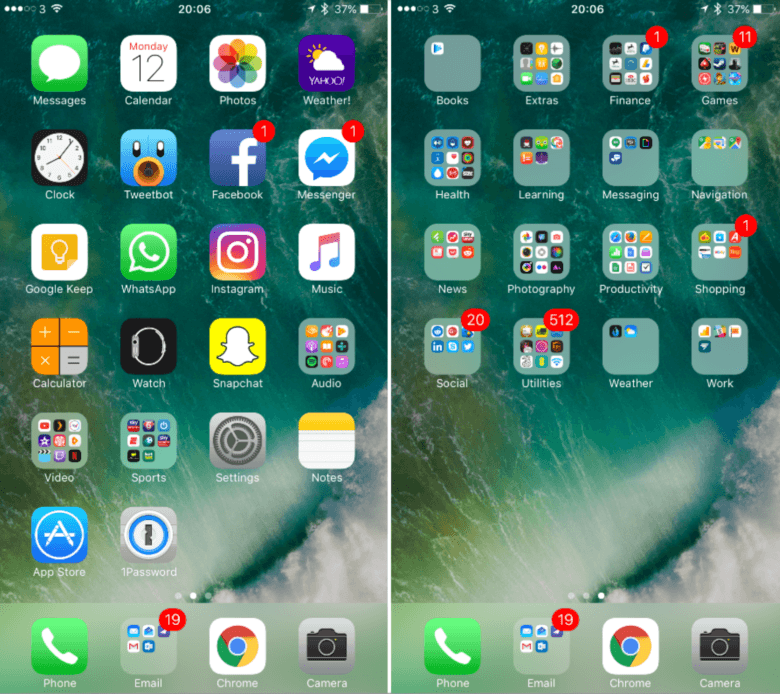
Screenshots: Cult of Mac
After that, I create folders for different categories — Finance, Games, Health, Learning, Messaging, News, Photography, etc. — on page two, and all my other apps are organized into those. I then put those folders in alphabetical order.
This might sound a little excessive, and it takes a little bit of work. But once your home screens are organized, finding the apps you use often is a whole lot easier. And those you don’t use that much are tidied away so they’re not making a mess.
Manage your media
If you have apps and games you no longer use, chances are your device will be filled with media you no longer want, too. Let’s start by getting rid of any unwanted music.
Go to Settings > General > Storage & iCloud Usage > Manage Storage, then find and tap Music. In here, you’ll be able to see how much space your songs are taking up on your device. You can then delete all those songs by swiping All Songs to the left and choosing Delete, or you can delete all the songs from individual artists using the same gesture.
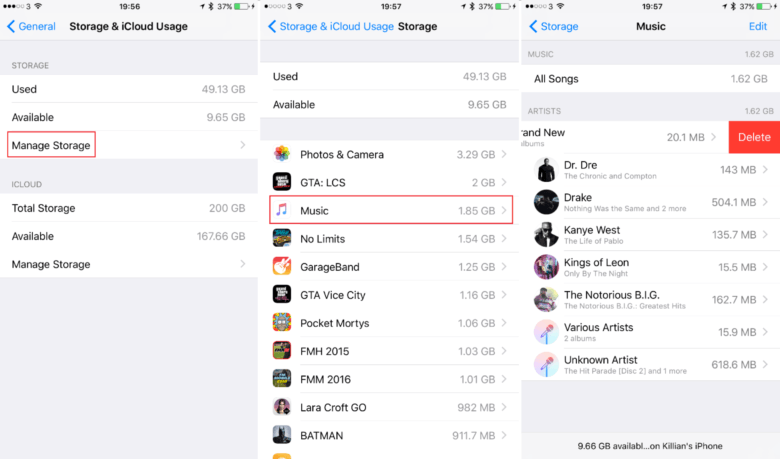
Tapping on an artist will also allow you to delete individual alums, while tapping on an album will allow you to delete individual songs.
You can do exactly the same thing for movies and TV shows by going into Settings > General > Storage & iCloud Usage > Manage Storage, then Videos.
The best way to remove unwanted photos and home videos (without clearing your entire library) is to open up the Photos app, tap Albums then All Photos, then tap Select and choose all the items you wish to delete. Remove them by tapping the trash can.
Backup, backup, backup!
Perhaps the most important step in this guide is to backup all your data. Creating a backup covers you if anything goes wrong during the iOS 10 upgrade process. If the upgrade fails and your device has to be restored, none of your data will be lost.
There are two ways to backup your iOS device: iCloud or iTunes. Personally, I like to use a combination of the two — especially before performing a big upgrade.
If you have iCloud Backup enabled, then everything should already be taken care of. However, I like to ensure iCloud has a recent backup by going into Settings > iCloud > Backup, then choosing Back Up Now to manually force another one.
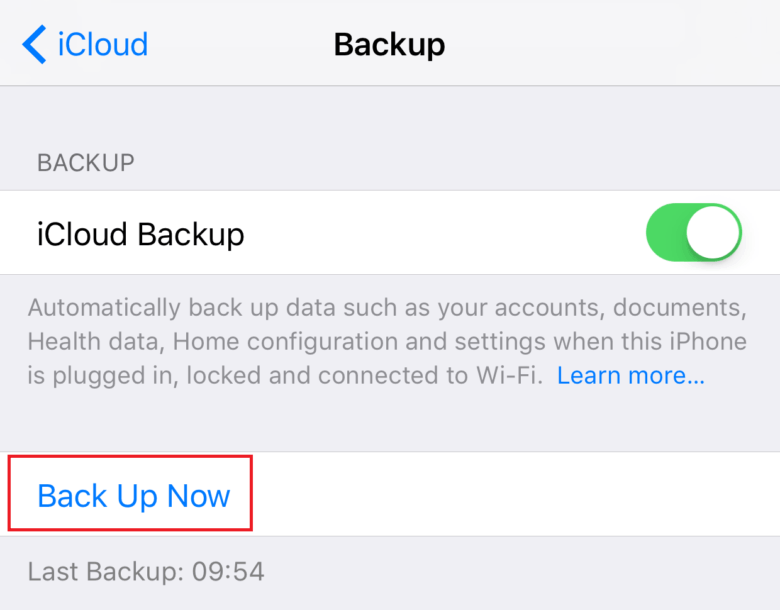
Screenshot: Cult of Mac
If you don’t have iCloud Backup enabled, you can do so by going into Settings > iCloud > Backup, then hitting the toggle. If you don’t want to use iCloud Backup or pay for more storage, you should definitely create an iTunes backup.
Do this by plugging your device into your computer, opening iTunes (if it doesn’t open automatically), clicking the devices button, then choosing Back Up Now.
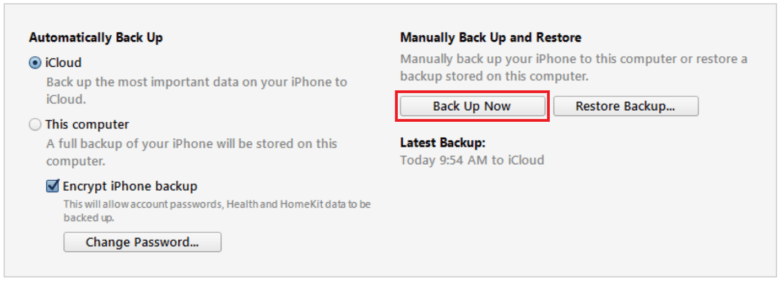
Screenshot: Cult of Mac
