(Yes, this is tip #18 and it’s appearing out of order – that’s my fault, because I wrote it then forgot to post it. Apologies to all. Now without further ado…)
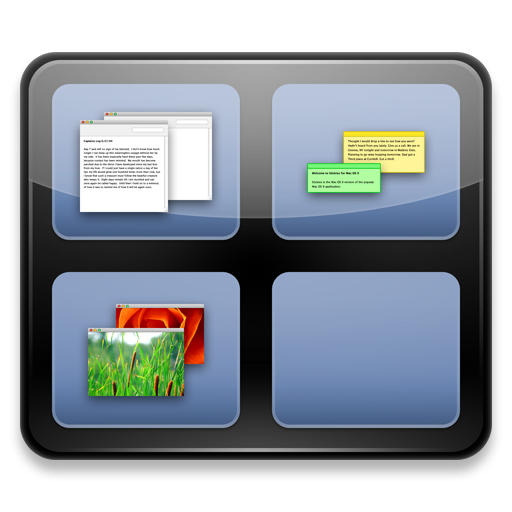
Spaces is Apple’s implementation of an old idea known as virtual desktops. You might have used virtual desktop software on your PC.
It’s pretty self-explanatory. With Spaces active, your computer suddenly has a bunch of virtual screens hovering in mid-air around your monitor. You can switch between them with a keyboard shortcut or a mouse command, and make it seem like you have much more screen space available than you actually do.
Virtual desktops are a matter of personal taste. Some people swear by them and find they can’t use a computer without them: other people find them a waste of time. Personally I’m somewhere in the middle: I can see circumstances when they’d be useful, but I rarely find myself in those circumstances, so I don’t make use of Spaces very often.
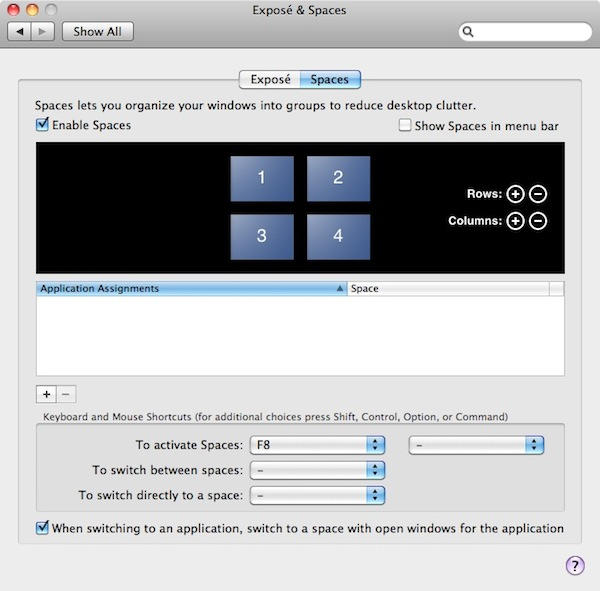
On your Mac, Spaces is an application in its own right – but (confusingly to some) you have to set up how Spaces works from a pane called “Exposé and Spaces” inside System Preferences.

Here you can switch Spaces on and off, and decide how many desktops you want. You can also set up what are called Application assignments. These are rules that tell particular applications to always display themselves in a particular virtual desktop.
For example: you might want to keep your music stuff – iTunes, last.fm, Pandora – all together in one space. You can do that, by assigning those apps to that space in System Preferences. In future, when you open one of those apps, you’ll be automatically transferred to that space to see it.
As I said, Spaces is a personal preference thing. It can get confusing if you have windows from one app (like Finder) scattered across many different virtual desktops. At the bottom of the setup pane in System Preferences, there’s a checkbox that says: “When switching to an application, switch to a space with open windows for the application.” I’d recommend leaving that checked, it makes life easier.
Don’t be put off from trying Spaces out; if you like it, great. And if you don’t, you can simply uncheck the “Enable Spaces” tickbox and Spaces will deactivate, leaving everything as it was before you started.
(You’re reading the 18th slightly-out-of-order post in our series, 100 Essential Mac Tips And Tricks For Windows Switchers. These posts explain to OS X beginners some of the most basic and fundamental concepts of using a Mac. Find out more.)


