Up next in 10


How to unlock the potential of Quicktime X
Show More Show Less View Video Transcript
0:06
hey everyone today I'm going to show you
0:07
how you can make QuickTime 10 more
0:09
useful for you now when Apple launched
0:12
QuickTime 10 with Mac OS 10 snow leopard
0:15
it seemed like a cool idea at first they
0:17
completely revamped the user interface
0:20
it looks a lot nicer but still for a lot
0:22
of people it's just a basic video player
0:24
and that's pretty much all they use it
0:26
for truthfully there's a ton of stuff
0:28
you can actually do with quick time 10
0:31
just a lot of people don't know about it
0:32
and they're relatively not hidden but
0:35
unknown features to it and you can
0:37
actually use Quick Time 10 as a basic
0:39
video editor and there's a whole bunch
0:40
of nice built-in tools so it is pretty
0:42
nice so I'm going to launch quick time
0:44
10 it's also right in your applications
0:46
folder so first off if you click on the
0:49
file menu and click new movie recording
0:52
right here you can record videos right
0:54
from your eyesight camera uh just like
0:56
you do in photo booth but you have a
0:58
couple different options first of all
1:00
you can select different microphones and
1:03
you can choose your different qualities
1:05
so if you choose Medium you're going to
1:06
get a relatively low quality video um
1:10
but if you have a non HD eyesight Mac
1:14
such as the one I'm on so not the new
1:16
iMac or the new Macbook Pro and you
1:19
click maximum quality now this only
1:21
works on Mac from I believe 2008 and up
1:24
you'll get this option to record in 1280
1:27
x 1024 resolution this is a resolution
1:29
ution you normally can't get with other
1:32
applications so you can actually record
1:34
slightly above uh 720p
1:37
resolution with any eyesight camera the
1:41
next thing you can do is go under the
1:43
file menu once again and click new audio
1:45
recording and from here you can just
1:47
record your voice and you can see the
1:48
little waveforms there of how I'm
1:50
talking once again you can choose the
1:52
different qualities and the microphone
1:54
input so if you like audio recording but
1:57
you don't really want to have to go
1:59
through any type of editing process with
2:01
garage manand this is a little simple
2:04
way you can do quick audio recordings
2:06
just like that with an external
2:07
microphone or even the one built into
2:09
your Mac the next thing you can do is go
2:12
up to the file menu and click new screen
2:14
recording now this is a entirely new
2:16
feature to QuickTime 10 and this is one
2:18
I I think a lot of people don't really
2:20
know about for all the how-to videos I
2:23
do for cul of Mac I use the application
2:26
screen flow uh to record my screen but
2:31
if you want to you can actually use
2:33
QuickTime 10 to record your screen so
2:35
you get a couple options you can choose
2:37
your microphon and the quality where you
2:39
want to save it to once again you're
2:40
going to get your little audio waveforms
2:43
and you can click record and start
2:45
recording then up in your menu bar right
2:47
here you're going to see little stop
2:49
recording button so right now your
2:51
screen is recording and everything I do
2:54
will be recorded so when I go up and
2:57
click stop recording then it's going to
2:59
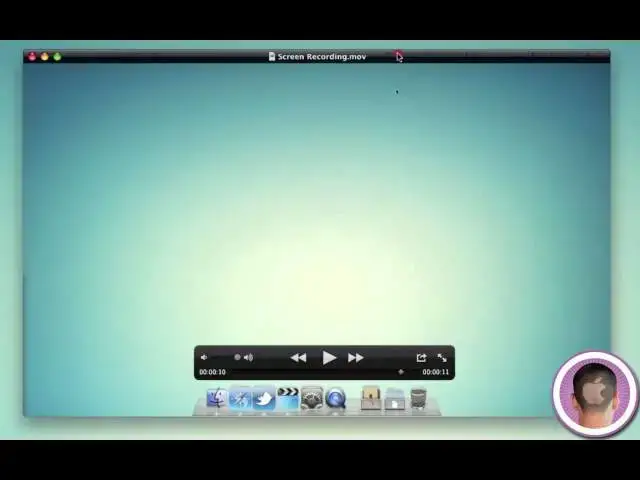
process and you're going to see the
3:02
video come down now I can play it back
3:05
and you'll see just how it recorded the
3:17
screen so it does record in a a pretty
3:19
decent quality it's a little bit CPU
3:21
intensive the only problem with it and
3:23
the reason that I don't use it for my
3:25
screen recordings is that it's a little
3:27
bit limited and there's not really a lot
3:29
you can do with it as far as post
3:32
production but if this is something
3:34
you're looking to do and you don't
3:36
really want to spend any money quick
3:39
time 10 is built into every Mac and you
3:40
have a free screen recording
3:43
application and this brings me to
3:45
another Point once you have a movie open
3:48
you can click on this little arrow kind
3:50
of jumping out of a box and you can
3:52
click trim and right here you have basic
3:54
video editing capabilities now this is
3:56
nothing that you're going to see in you
3:58
know Final Cut or even iMovie for that
4:00
matter uh but this is kind of iPhone
4:02
esque video trimming so I can choose the
4:05
start and end times just like that and
4:08
let's say I just want this part where
4:10
I'm opening up the applications folder I
4:12
can do that and I can click trim and
4:14
it's going to trim the video for me and
4:15
I can play it back just like
4:19
this and it's just that segment now I
4:22
can also go like this and I can share it
4:24
to either iTunes it'll go into my iTunes
4:26
library Mobile me gallery or even
4:28
YouTube and I can click click this I can
4:30
enter my YouTube credentials and upload
4:32
videos directly to YouTube this way so
4:35
let's say if you use the movie recording
4:37
feature and you want to directly upload
4:40
that to YouTube you can from QuickTime
4:42
10 you can also upload screencast right
4:44
from Quicktime and this YouTube
4:47
publishing is a very handy feature that
4:48
you find an iMovie uh but it's quite a
4:51
bit simpler to actually just open up
4:53
quick time and upload videos right from
4:55
there if you don't want to have to go
4:57
through the whole YouTube process on a
4:59
browser and when you go to save your
5:01
movies QuickTime gives you a lot of
5:03
options here too you can save this is
5:05
optimized for an iPhone an iPad an Apple
5:07
TV your computer and then HD 480p which
5:11
isn't really high definition HD 720p and
5:15
HD 1080p so you can choose any of those
5:18
and likewise when you go up to your
5:20
share menu and click iTunes you're going
5:22
to get some different options here as
5:23
well iPhone and iPod Apple TV and
5:26
computer and it's instantly optimized
5:29
for those devices so that's about all
5:31
those are just some quick and easy tips
5:33
for you to make quick time 10 more
5:35
useful than you probably think it can be
5:38
and you're also going to get some of the
5:39
features that were previously only seen
5:41
in QuickTime Pro which was a paid
5:44
application so I hope you found this
5:46
video useful and thank you for watching
#Online Media
#Online Video
#Software
#Multimedia Software
#Photo & Video Sharing
#Photo & Video Services
#Video Sharing
#Event & Studio Photography